May is the craziest of months! So busy. In the midst of the crazy we all wanted to share some great projects with you so thanks for hopping along on our Monday Montage Blog Hop!
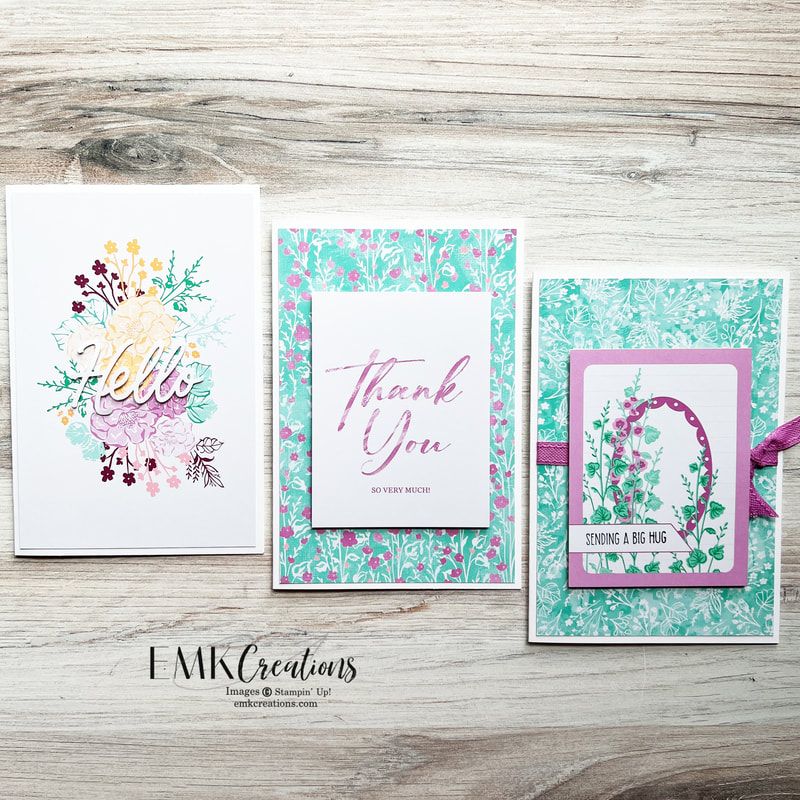
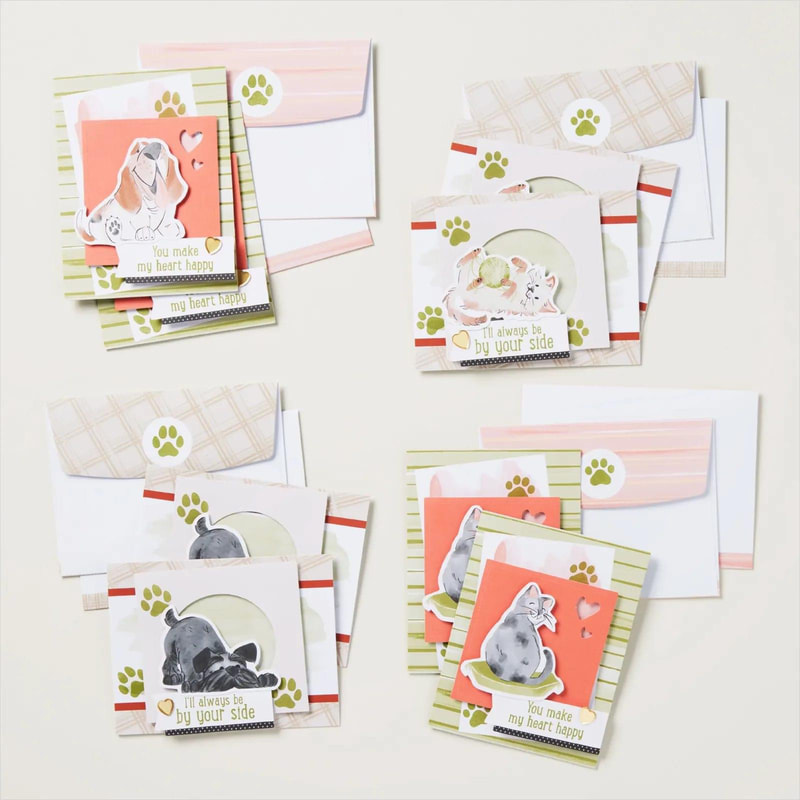
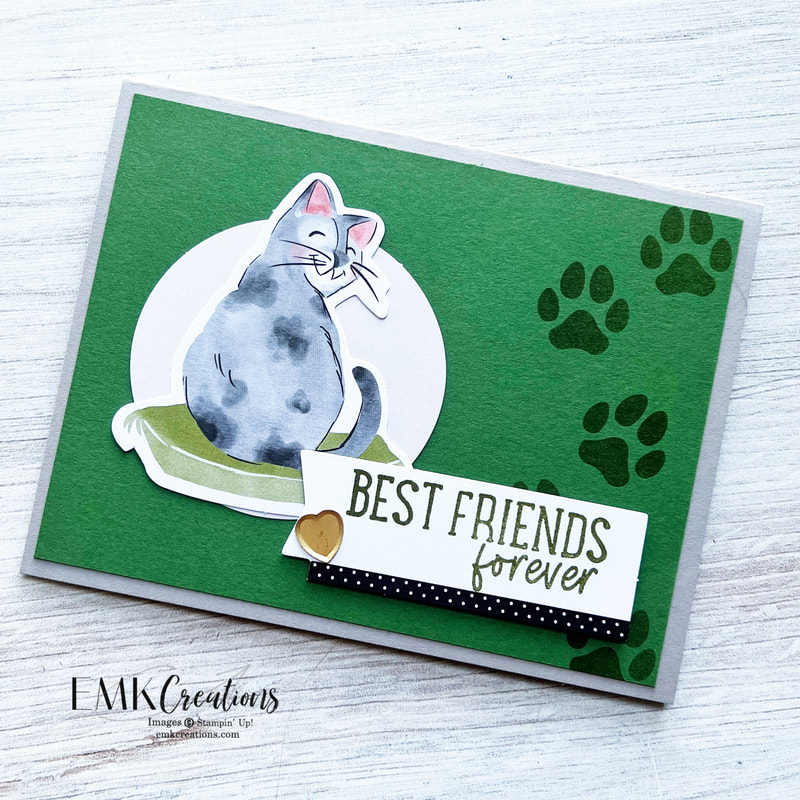
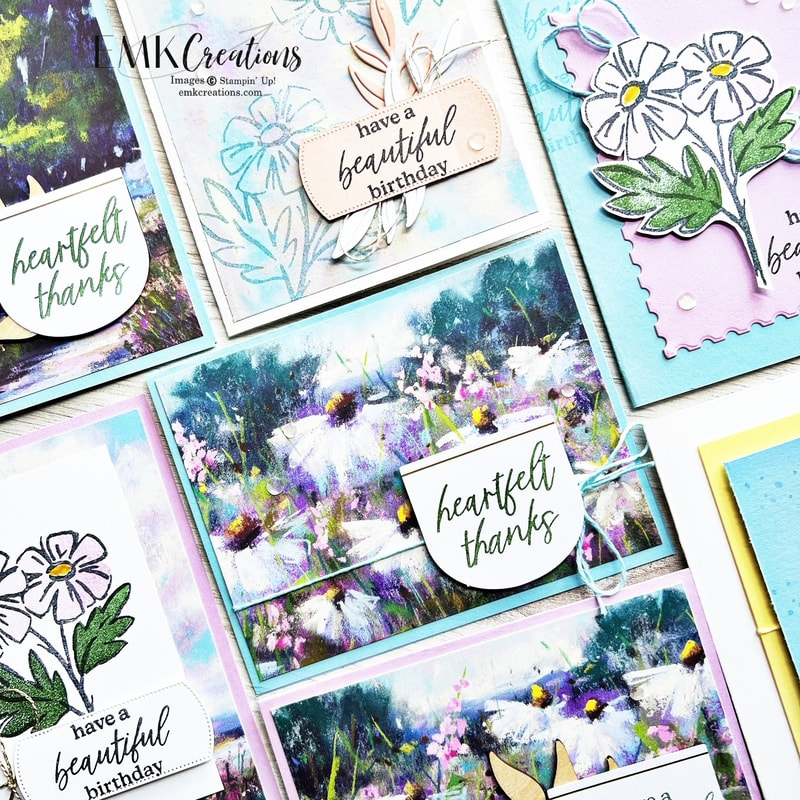
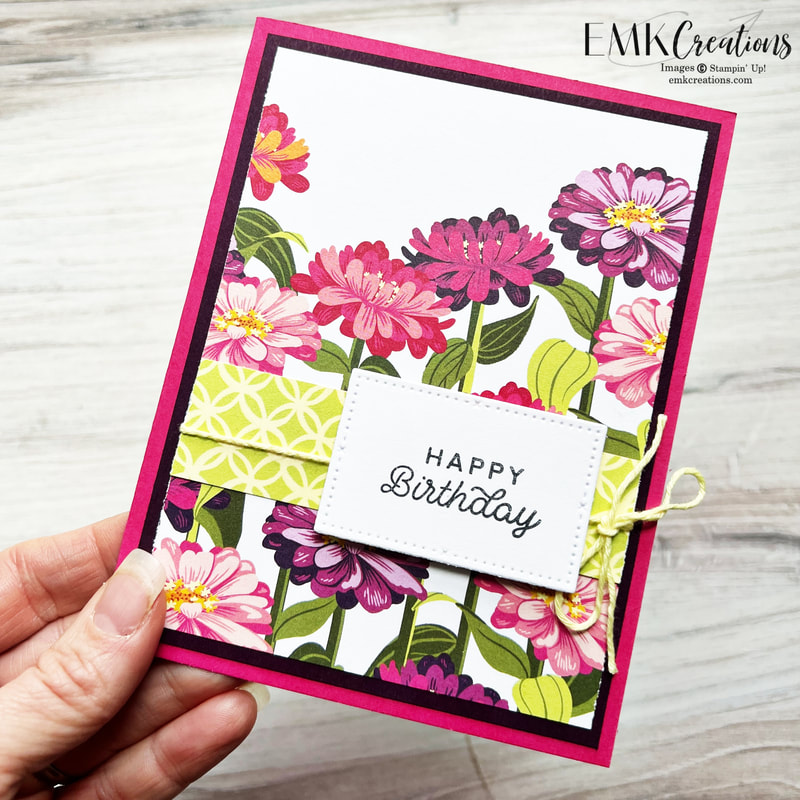
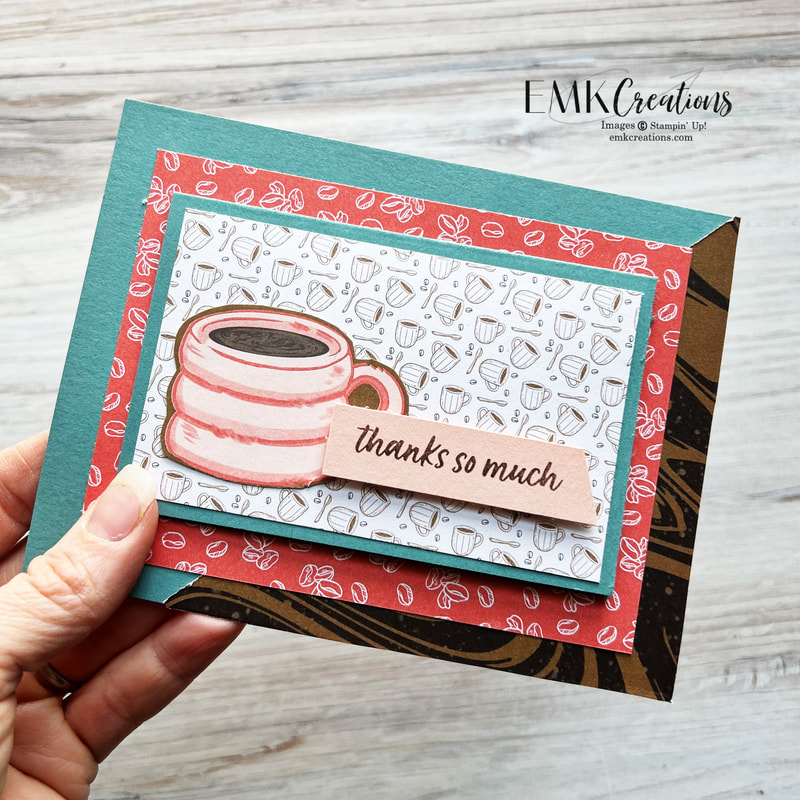
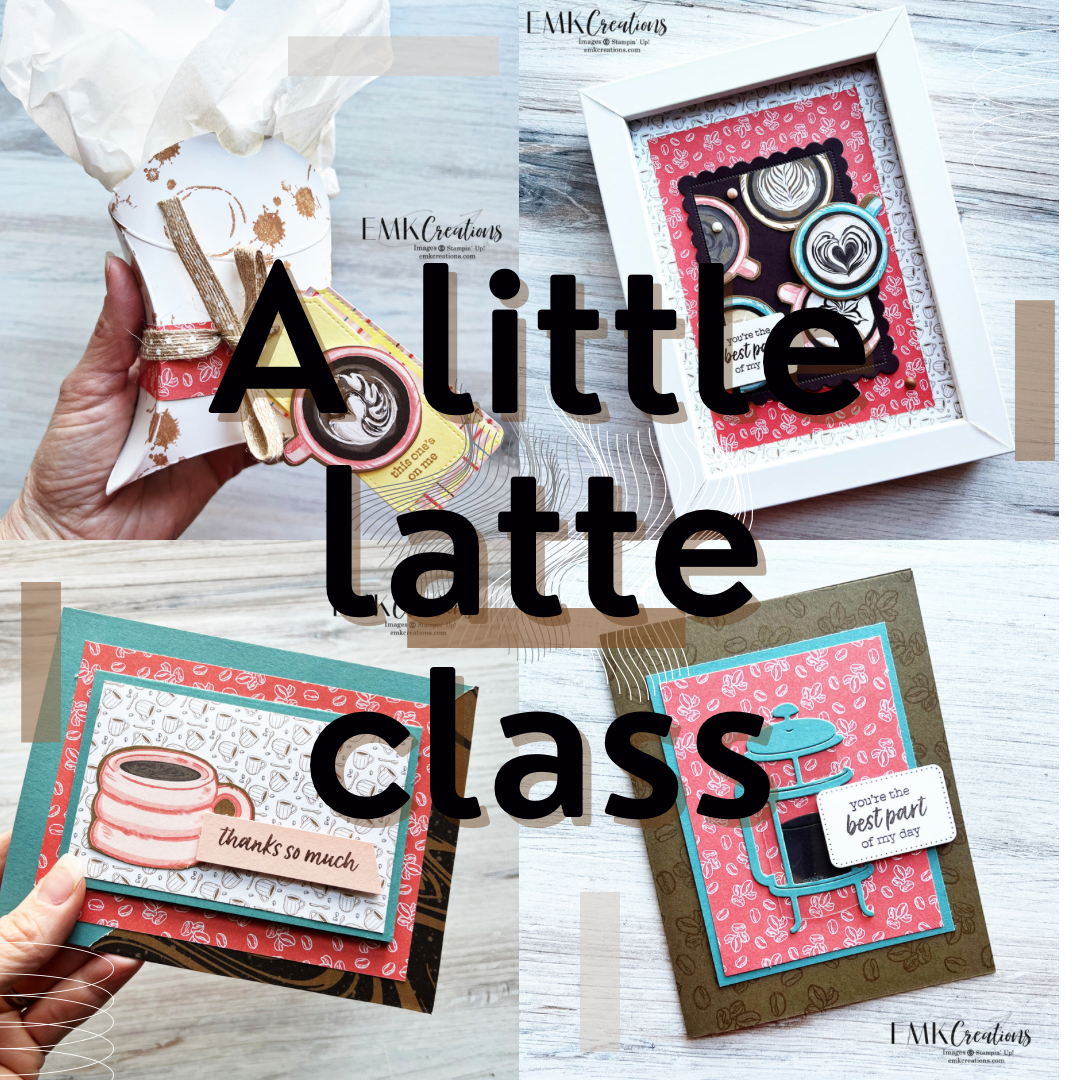
I'm busy prepping for my Open House next weekend and I'm having fun creating with new products. I love our Memories and More packs. With every catalog they are some of the first things I order because they make it so easy to create both cards and scrapbook layouts. Pair them with our Assorted Memories & More card and envelopes and you can create 20 cards in minutes.
I'm busy prepping for my Open House next weekend and I'm having fun creating with new products. I love our Memories and More packs. With every catalog they are some of the first things I order because they make it so easy to create both cards and scrapbook layouts. Pair them with our Assorted Memories & More card and envelopes and you can create 20 cards in minutes.
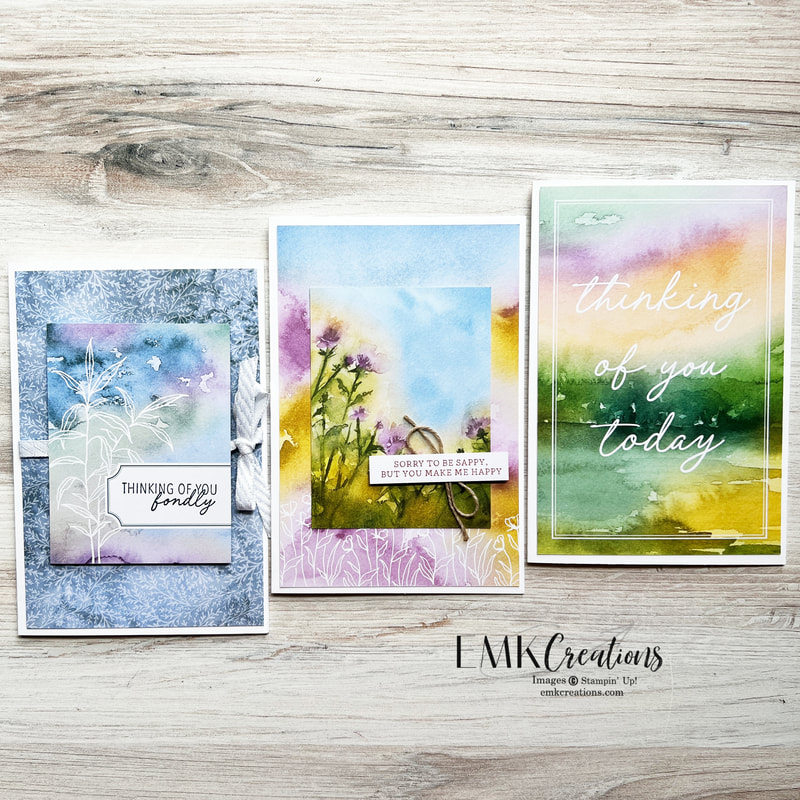
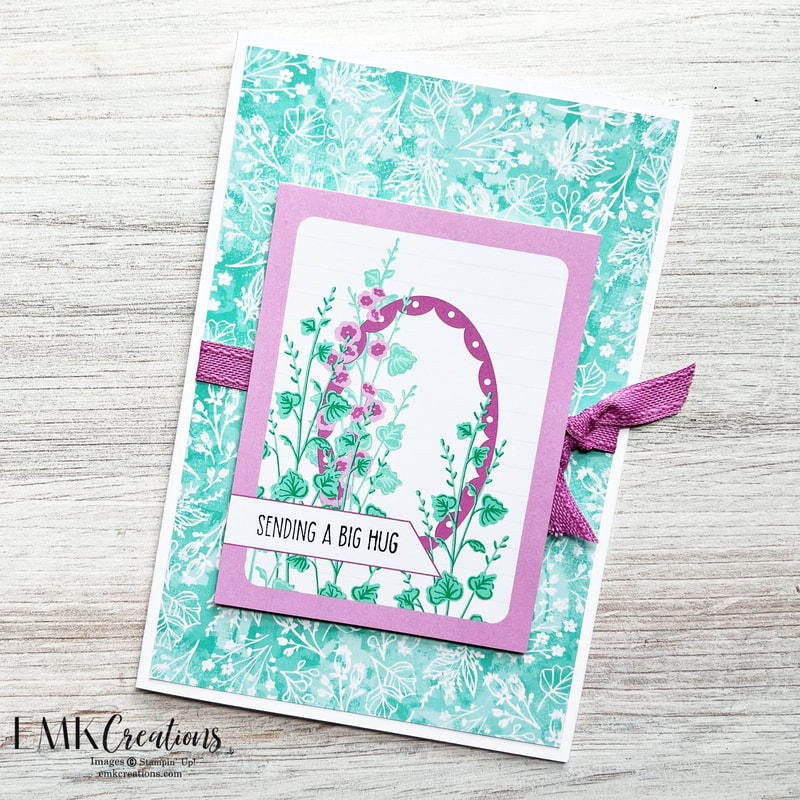
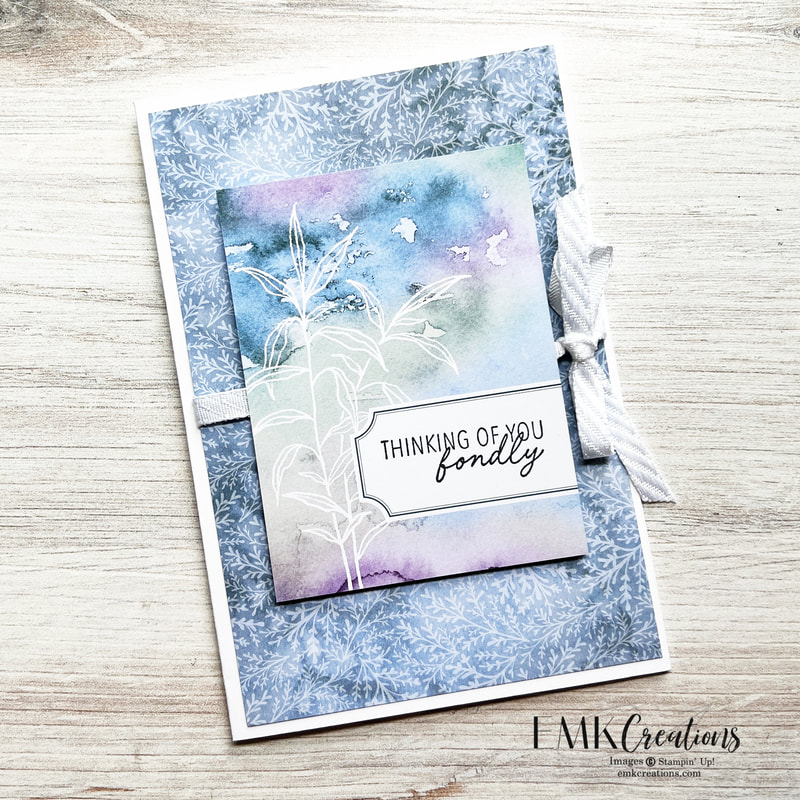
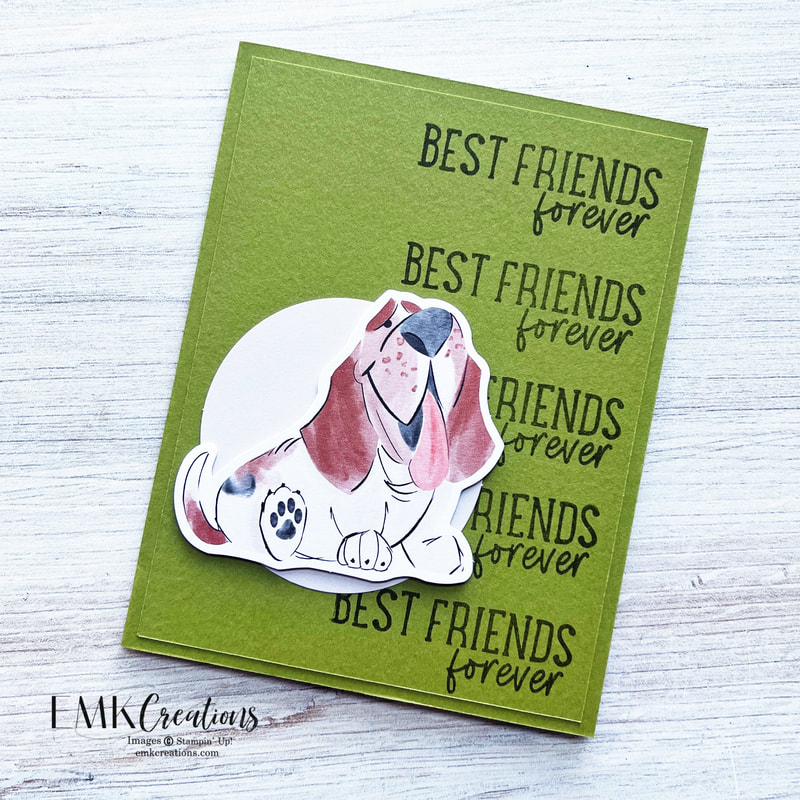
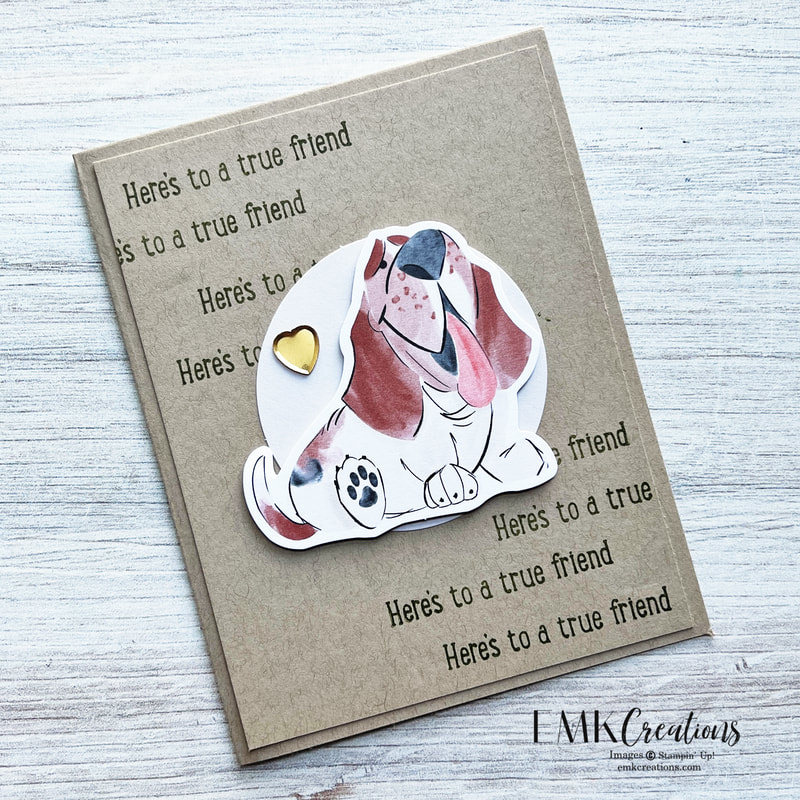
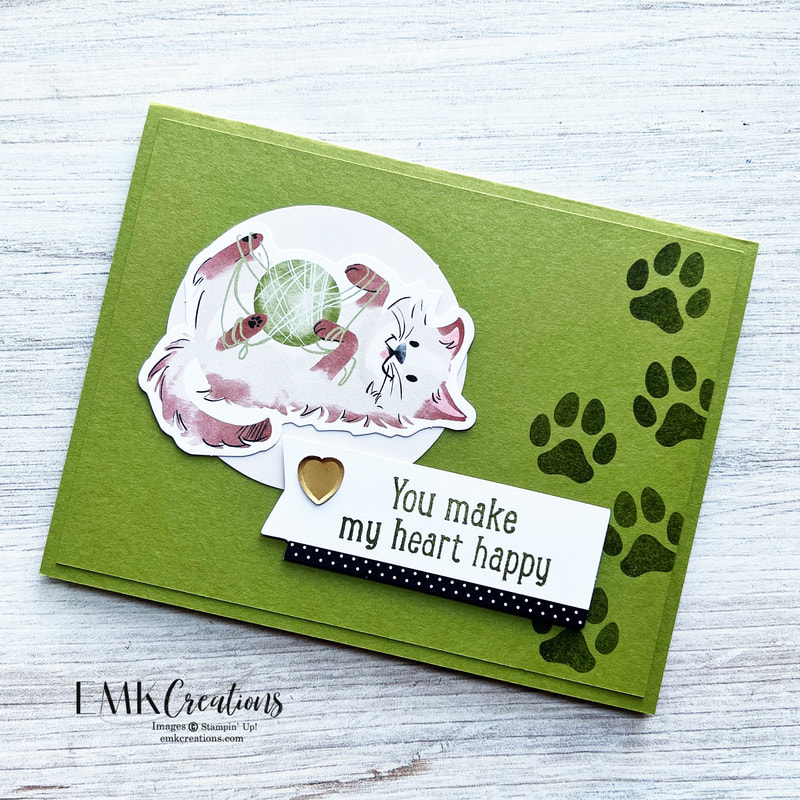
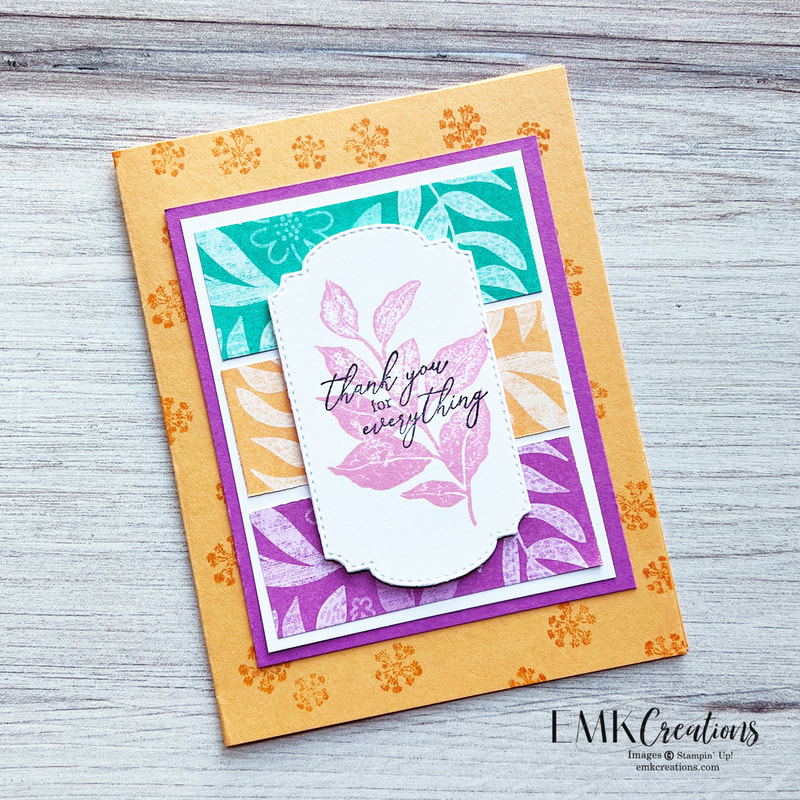
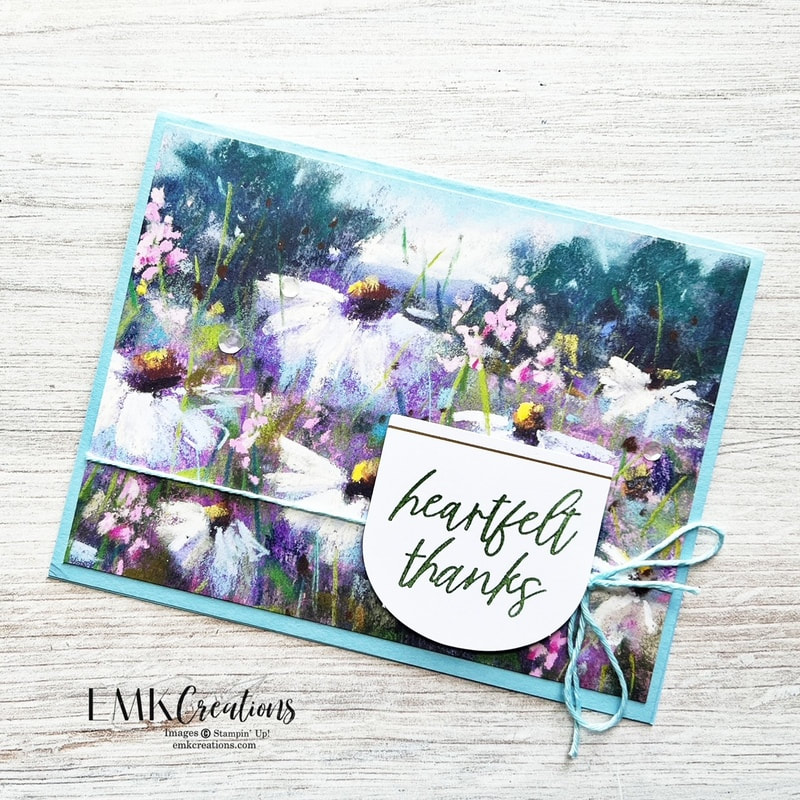
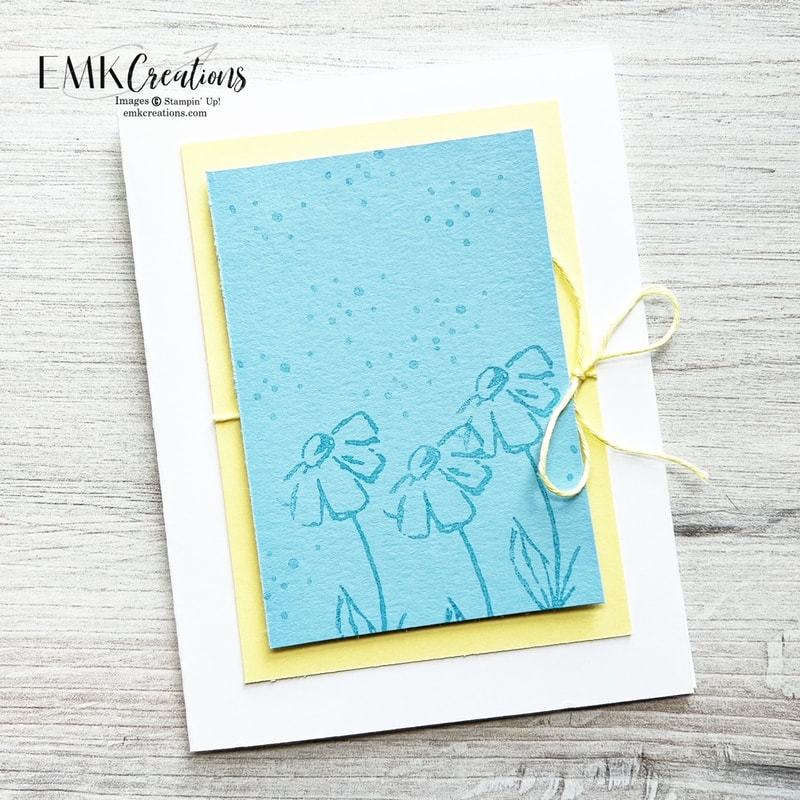
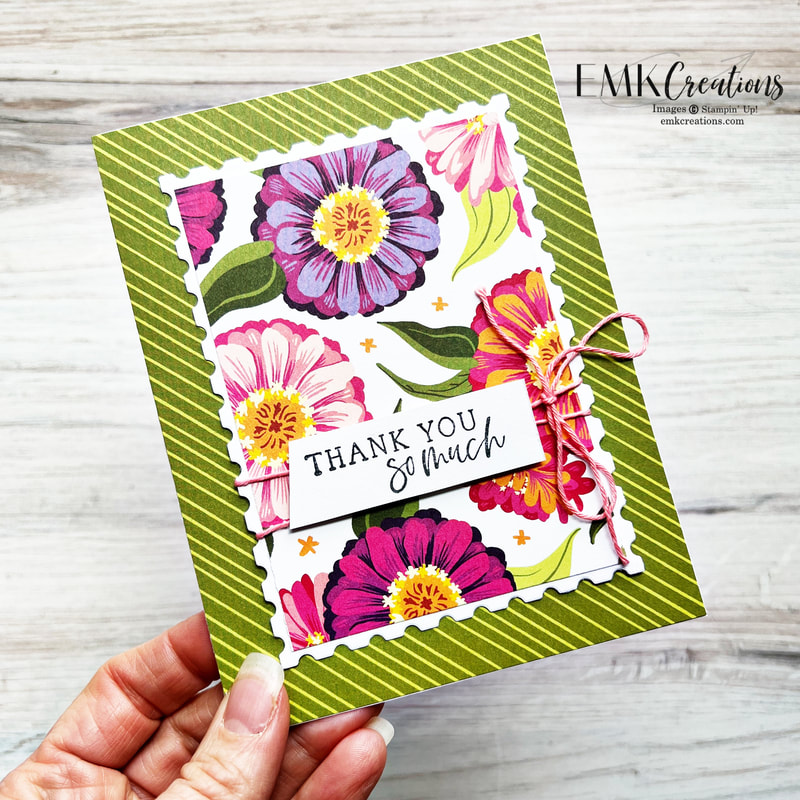
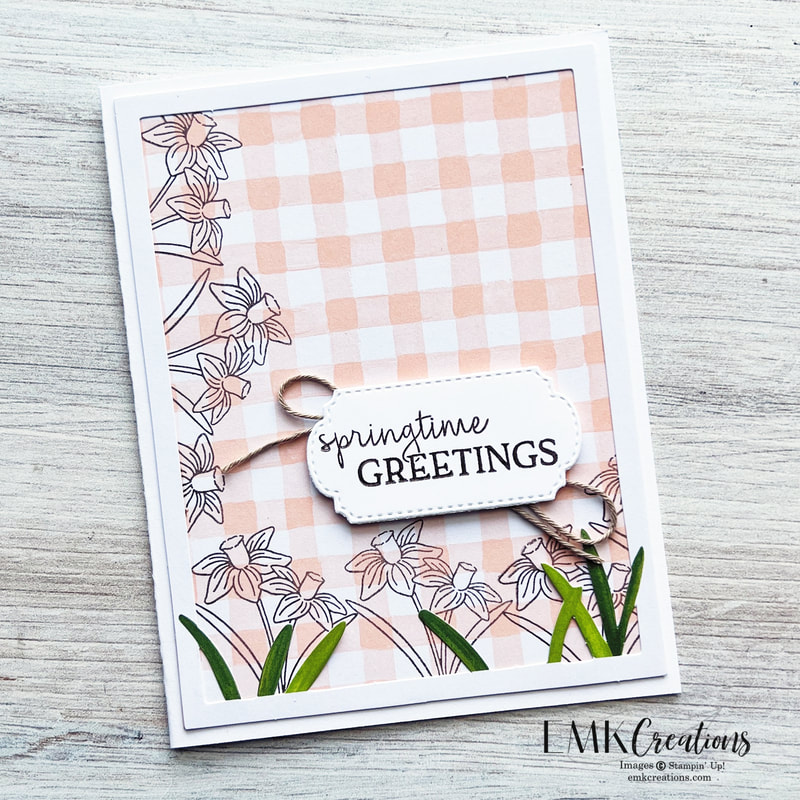
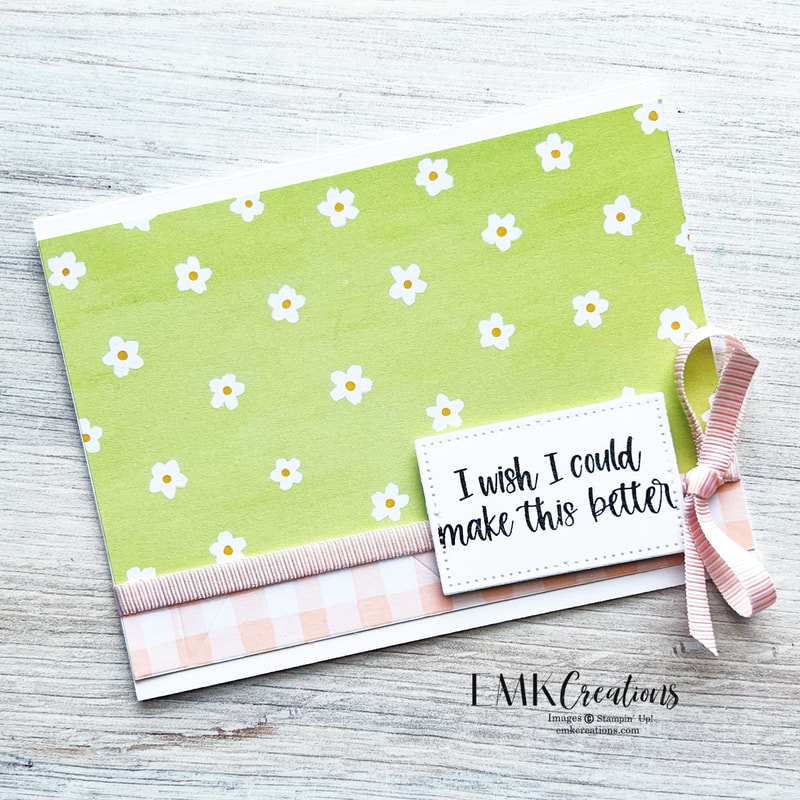
This card is so simple. Add a 4 x 6 card to your base and a word from our great new ephemera packs and you are done!

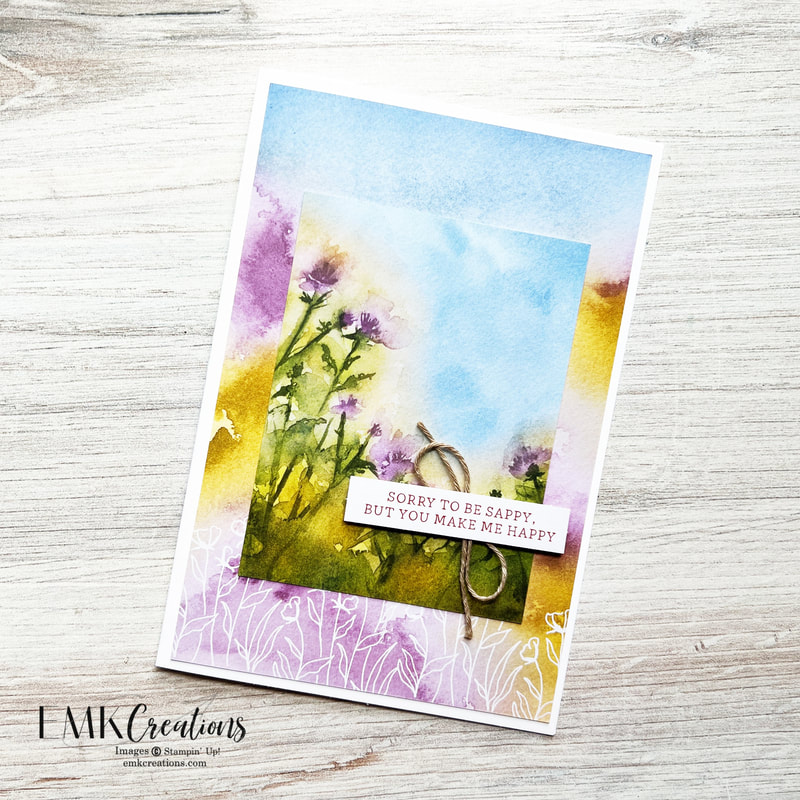
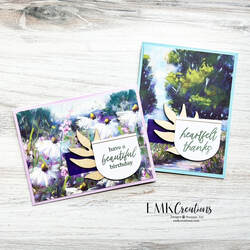
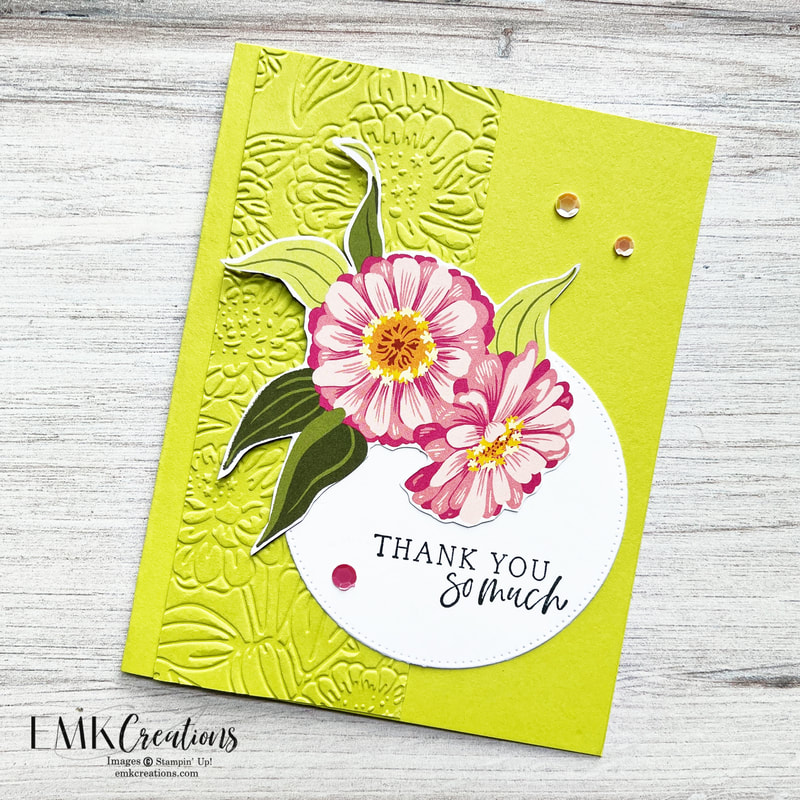
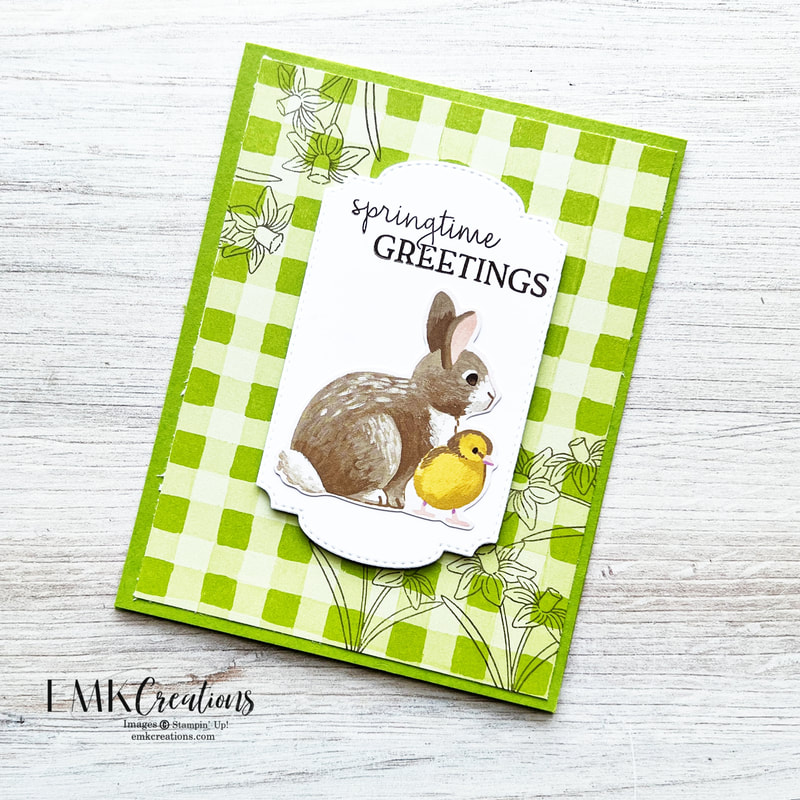
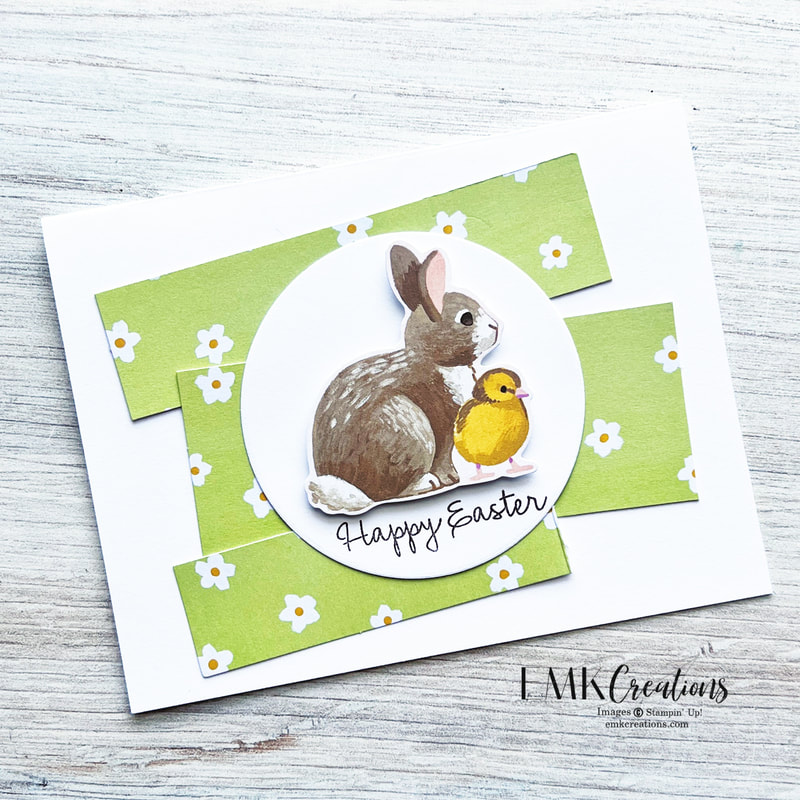
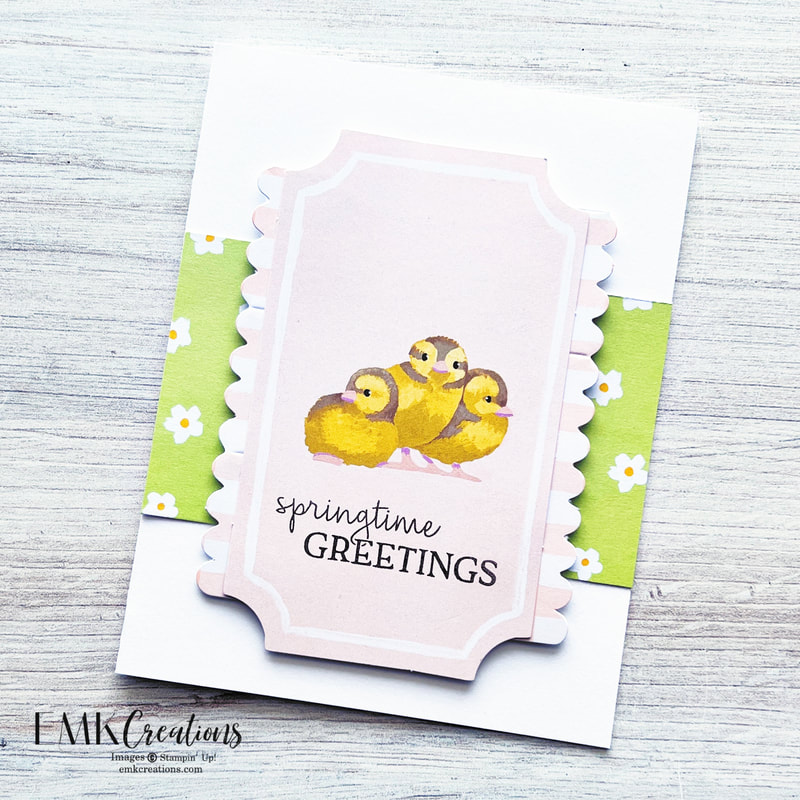
Both sets of Memories & More cards are so different but I love both. The water color images in the Thoughtful Journey pack are stunning.
Which pack will you order first?
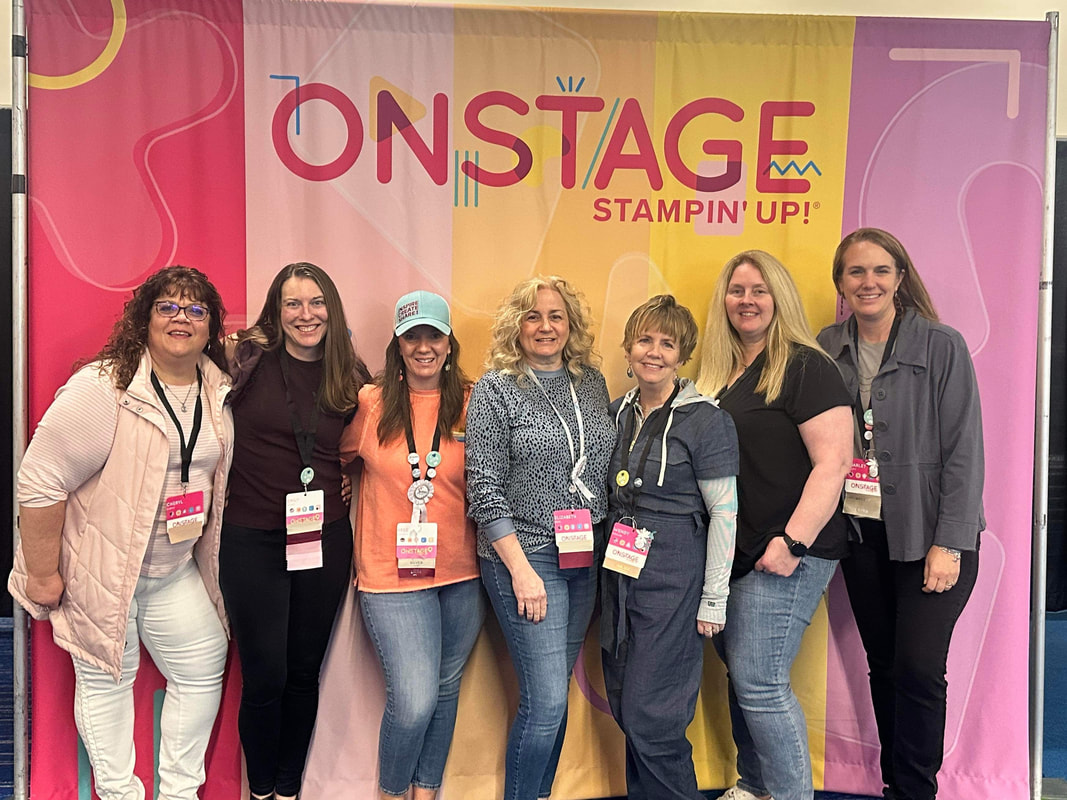
Be sure to click next to check out Wendy's great project.
Be sure to click next to check out Wendy's great project.


")

 Bordered Ribbon")

 Diagonal Trim Combo Pack")
")


")


 Trim Combo Pack")


")


")


")
 Designer Series Paper")
")


")

")


 RSS Feed