Each month I cut my card bases so I can create more cards!
Every month the Paper Pumpkin kits get better and better. This one coordinates with the upcoming Floral Charm suite that will be available on July 1. Each month I cut my card bases so I can create more cards! I used the coordinating dies and paper from the Floral Charm bundle. Don't miss another kit! Sign up here by July 10th to get your own.
0 Comments
The May 2025 Paper Pumpkin kit was fabulous. I loved the colors and the nature scenes. As usual, I cut up the bases which let me double the number of cards I could make. I created tons of thank you, birthday and masculine cards. The bases are so pretty with great muted colors and flowing designs. Masculine birthday cards are harder for me because I always go for flowers and sparkly stuff! This kit was great for creating more neutral cards. For this card I cut one of the card fronts to 3 3/4 x 5 1/4 and then cut the panel into three 1 1/4 pieces. For the next two I couldn't decide If I liked the white base or the crumb cake base better. Remember to use your scraps! I save the pieces I cut off the bases and then create a striped background with them.
Love is in the air with the January Paper Pumpkin kit. This kit had so much included in it which made creating alternatives easy. As usual I cut each card base in half to double my options. For this card I added some Flirty Flamingo ink to my white card stock piece to create a subtle background. I always like the look of white on white for a clean and classy card. I did not need more Valentine's Day cards so I thought the kit components were great for creating other types of love cards like wedding cards. The photos do not do justice to the beautiful gold foil on these cards. I loved creating with them! You can check out my reel here showing off even more samples. If you aren't signed up for Paper Pumpkin yet you can here! Be sure to sign up by February 10th to get this month's kit. It looks so fun with a beautiful garden theme.
Paper Pumpkin never disappoints in my opinion! I love receiving my kit in the mail each month and opening up to the surprises inside. This month's kit coordinated with the Nests of Winter suite in the holiday mini catalog. My favorite parts of the kit were the beautiful foiling on the card bases. I loved the tri fold designs and especially loved that it gave me even more options for alternatives! I did not do a lot of stamping on my first alternatives. I let the imagery serve as the focal points. Did you get the add on dies for this quarter? The tag die is a great size and was perfect to use to create these tags from some of the card bases. Cardinals are always a striking bird to feature. This card could definitely be a holiday card but doesn't have to be! I can think of lots of other occasions to use it for. Want to get your own kit? Click here to subscribe or get more information.
I love getting my Paper Pumpkin kit delivered to my door each month. Although I rarely create the cards as intended most of the time! I love to create alternatives instead. However, the beauty of the kits is that if you do want an easy button for your creative time then these craft kits are perfect for you. Each kit contains everything you need to create beautiful projects (usually cards). To create my alternatives the first thing I always do is cut the card bases into 4 x 5 1/4 pieces which are the perfect card front size. This months bases were printed on both sides and were absolutely gorgeous! Check out the colors of the leaves. By simpleing adding a little card stock you can more than double your number of cards with each kit. The wood slices also made these cards perfect for masculine cards if you, like me, struggle with coming up with cards that aren't covered in flowers and bling! Paper Pumpkin can be canceled or paused at any time so no worries that you are locked into something. Want to start your own Paper Pumpkin subscription? Brand new subscribers can get 40% off the October kit by signing up using code HOLIDAY40 by October 10th! Go here to sign up.
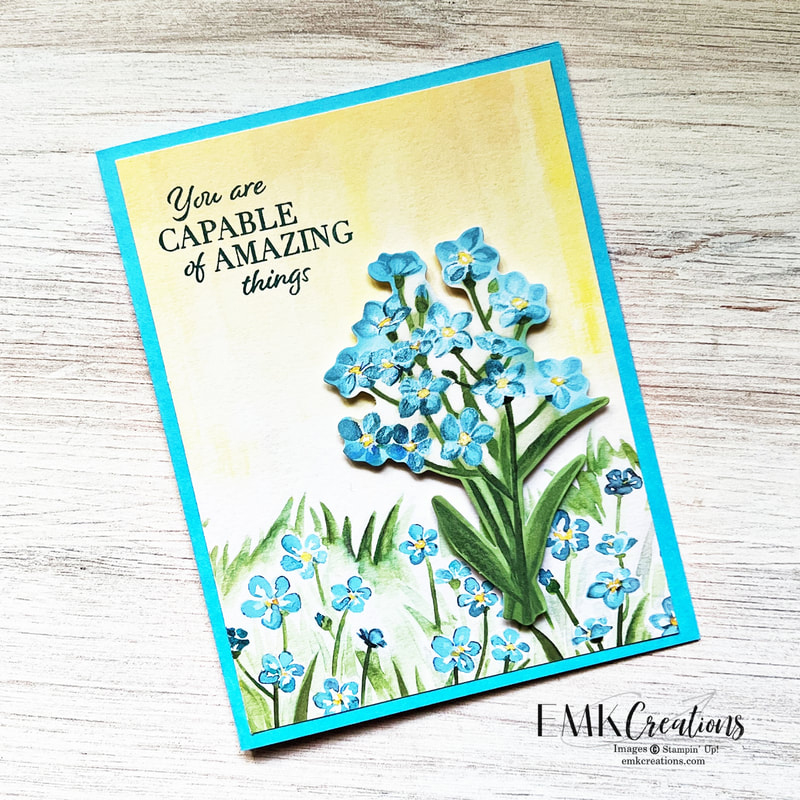
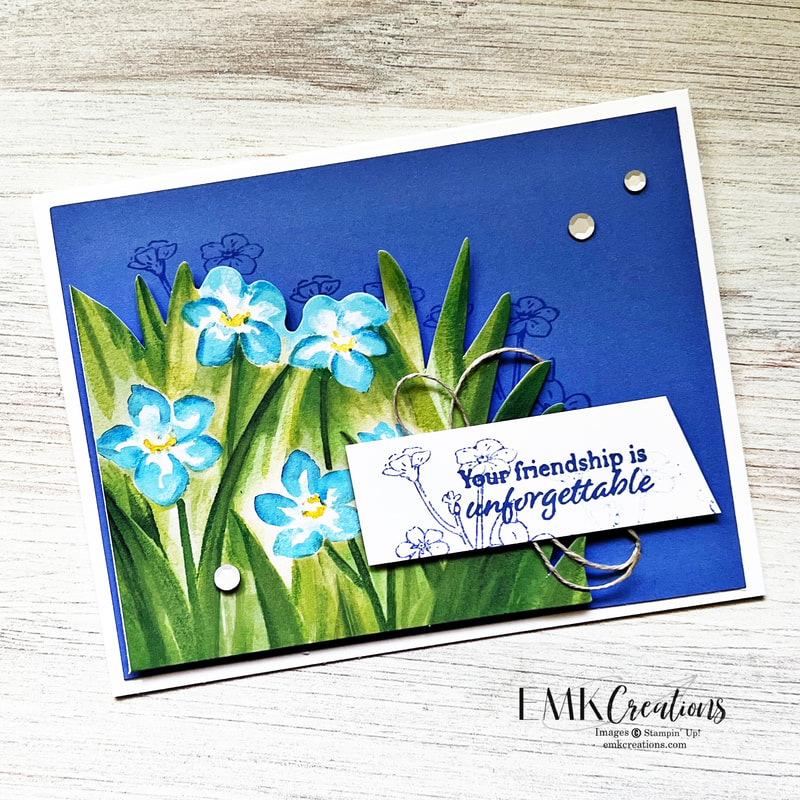
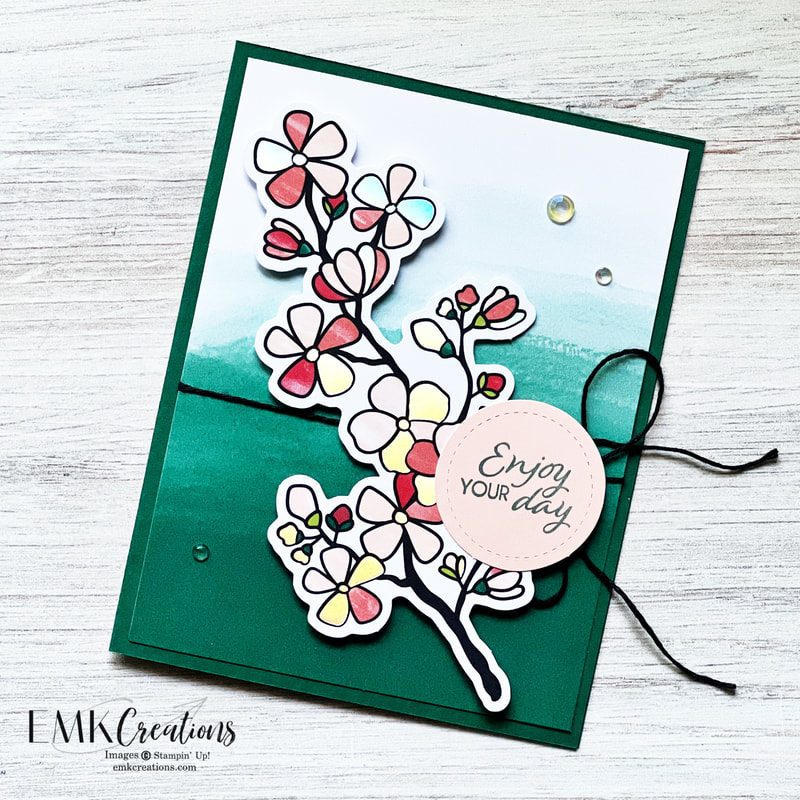
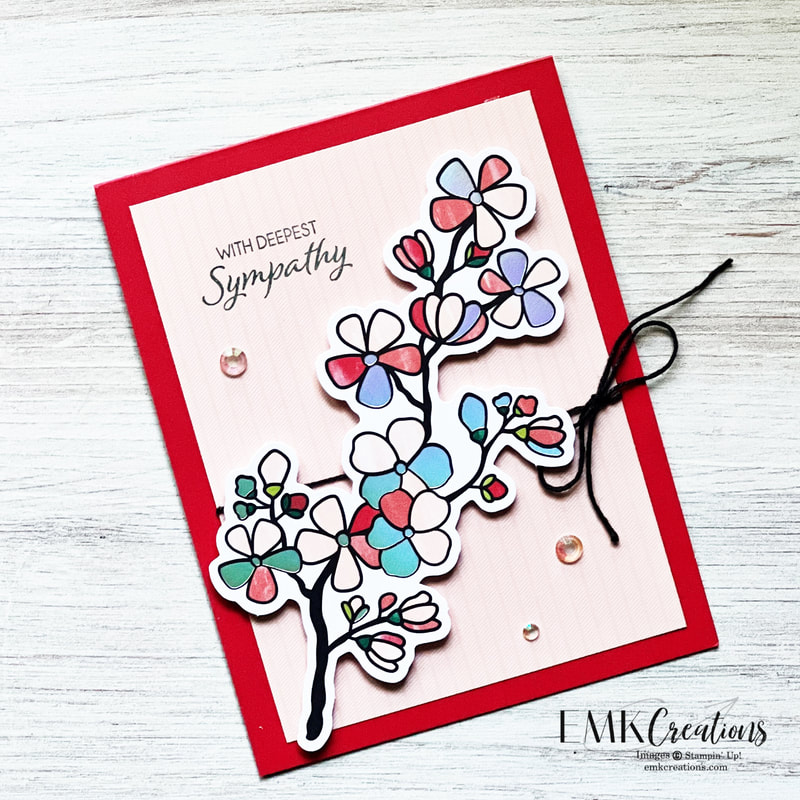
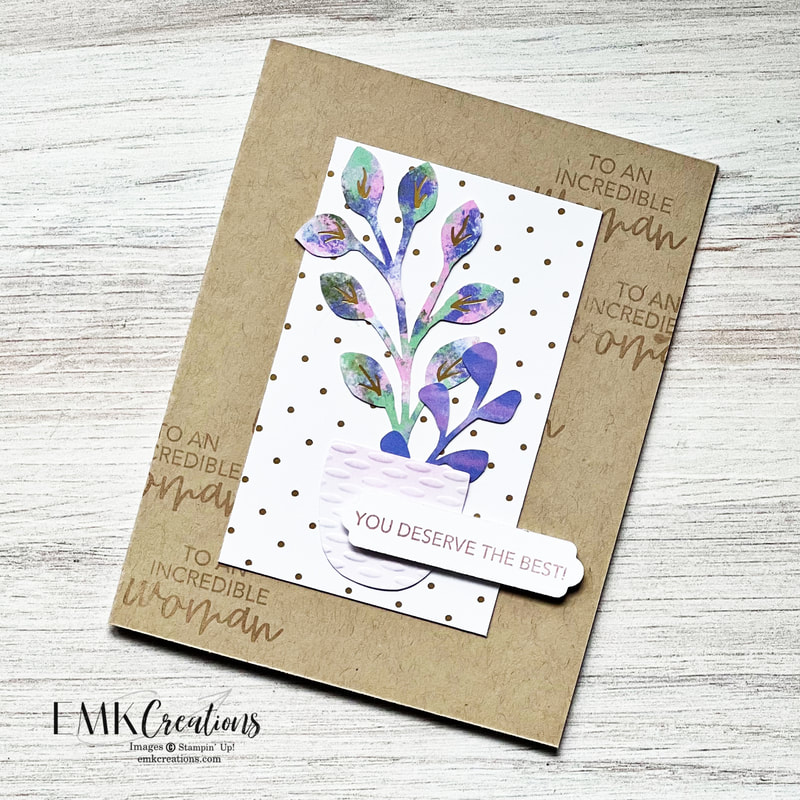
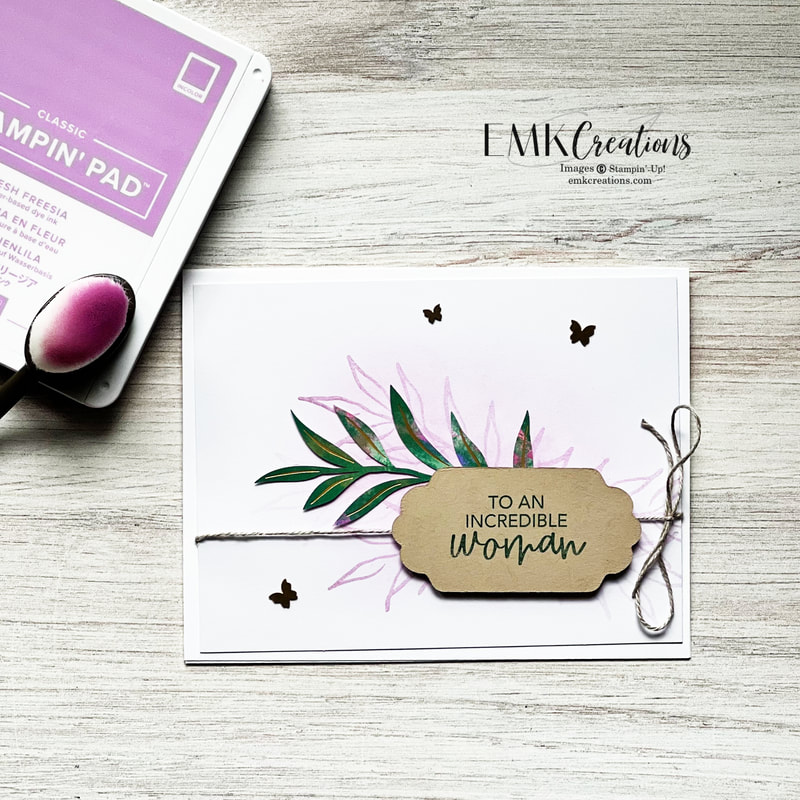
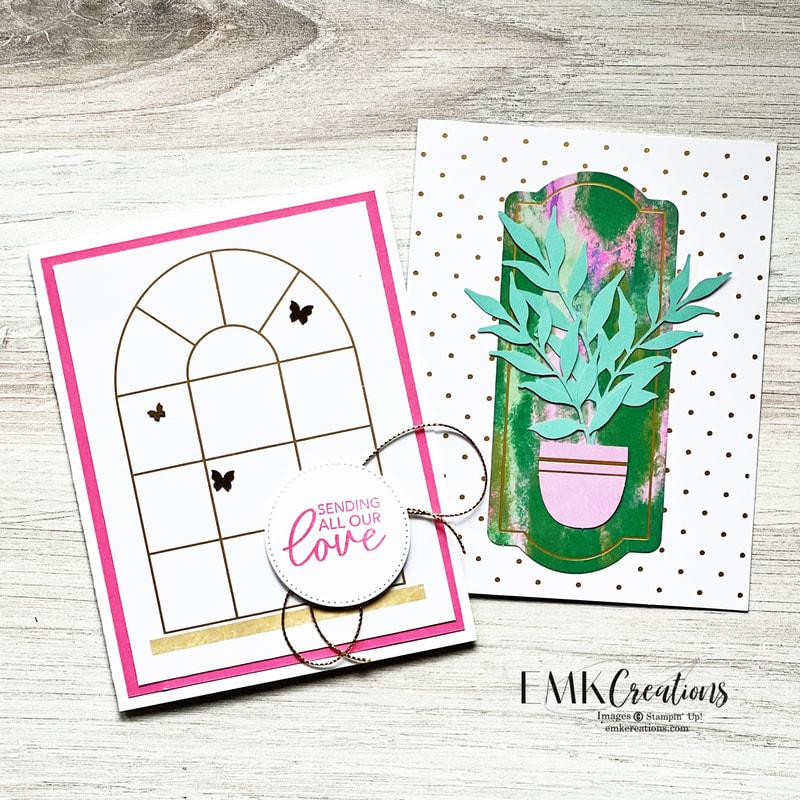
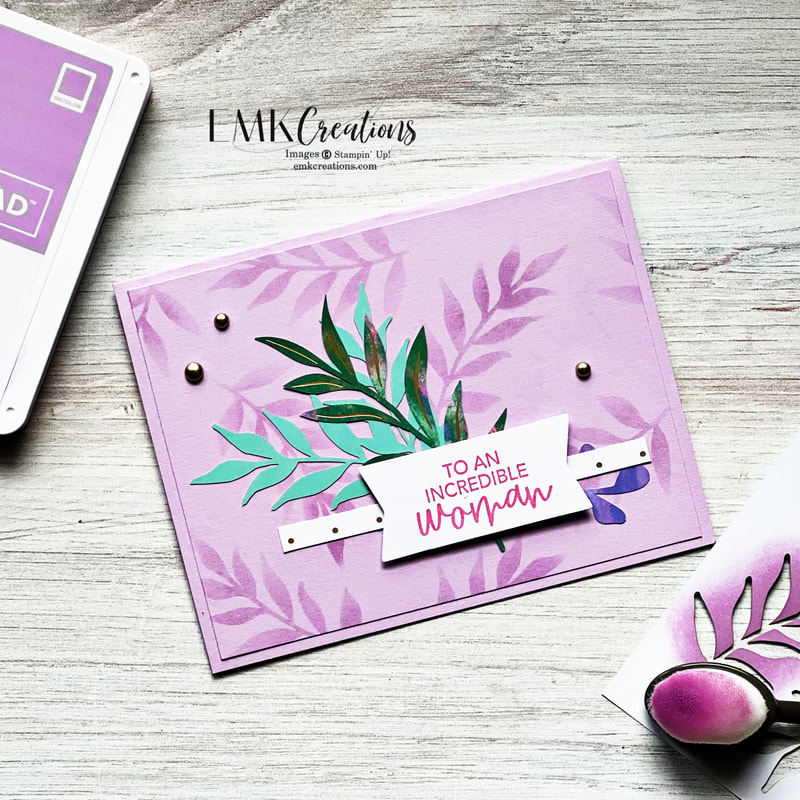
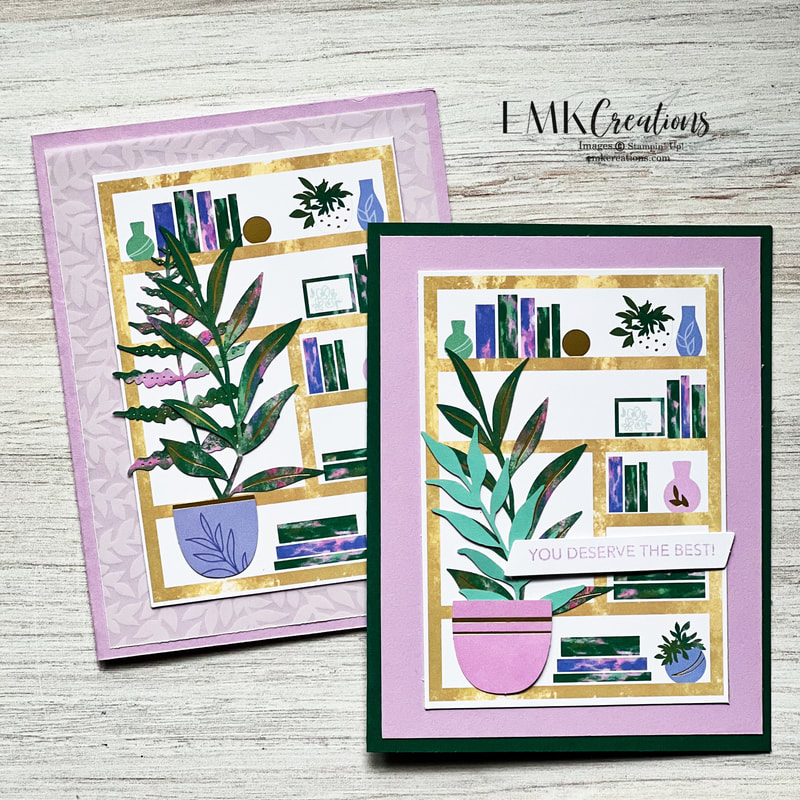
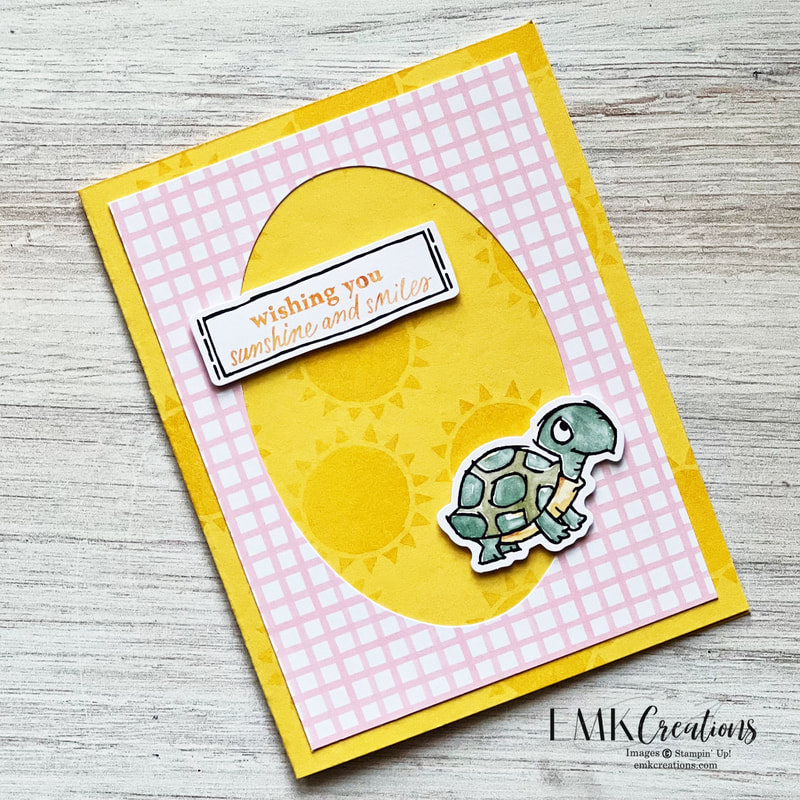
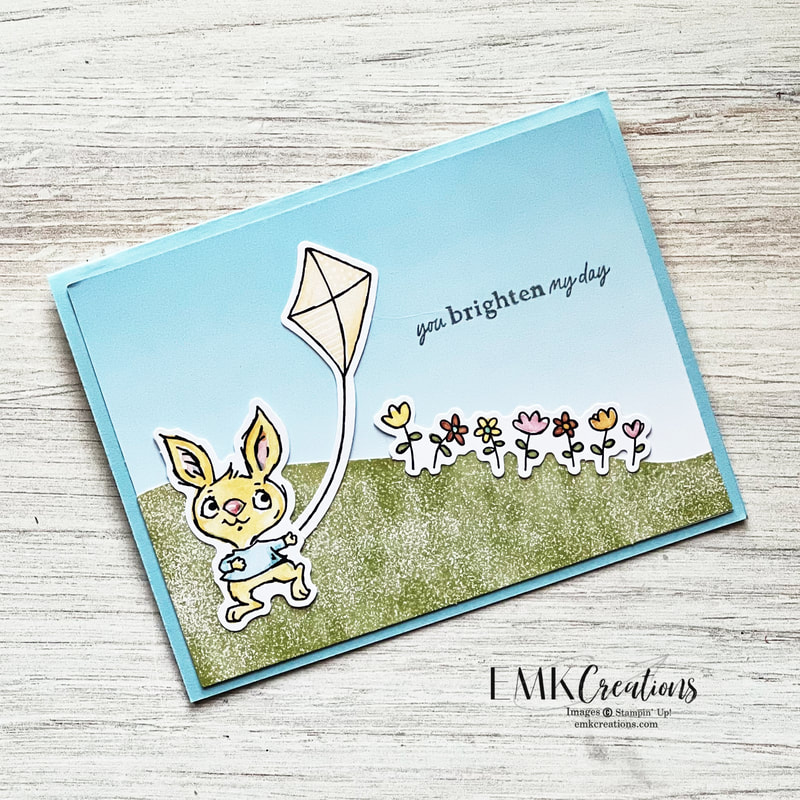
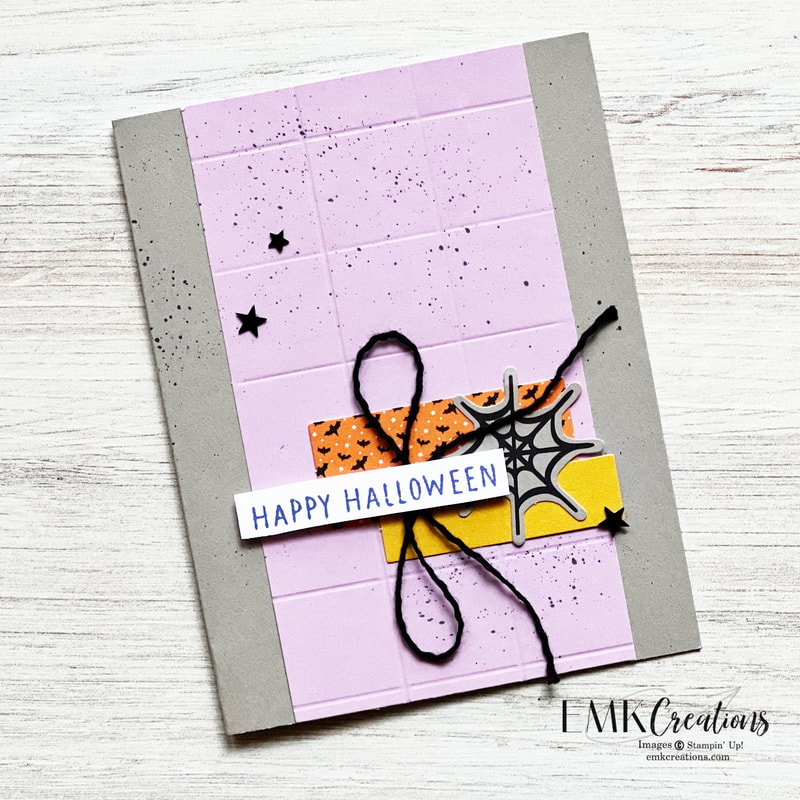
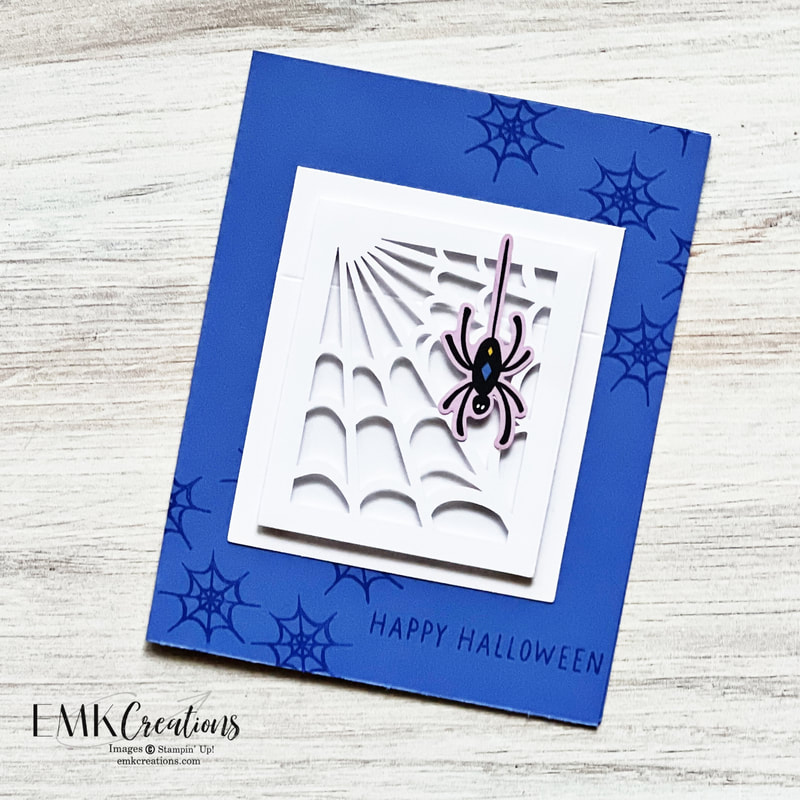
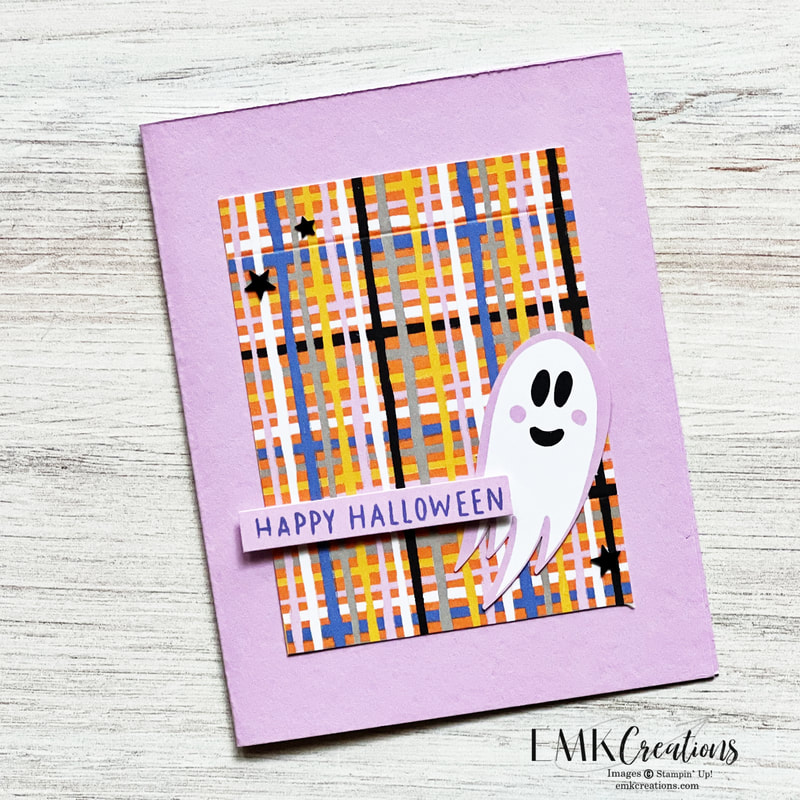
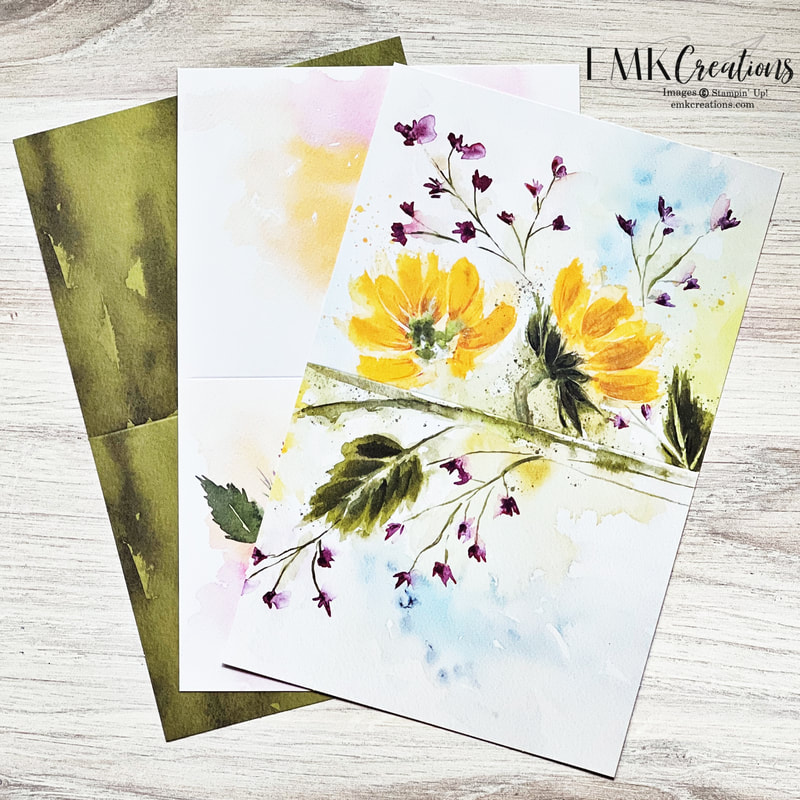
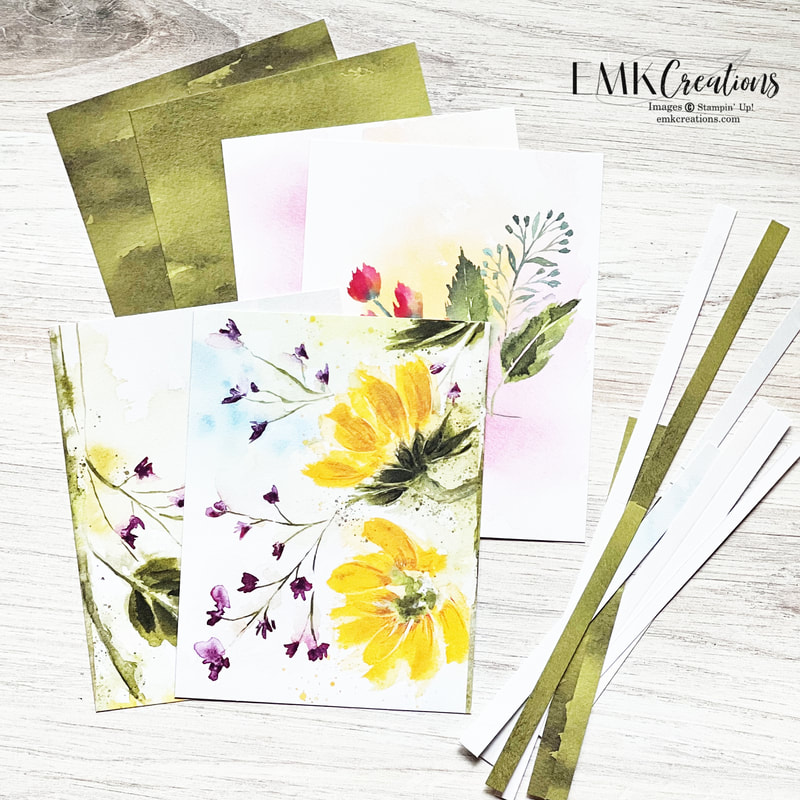
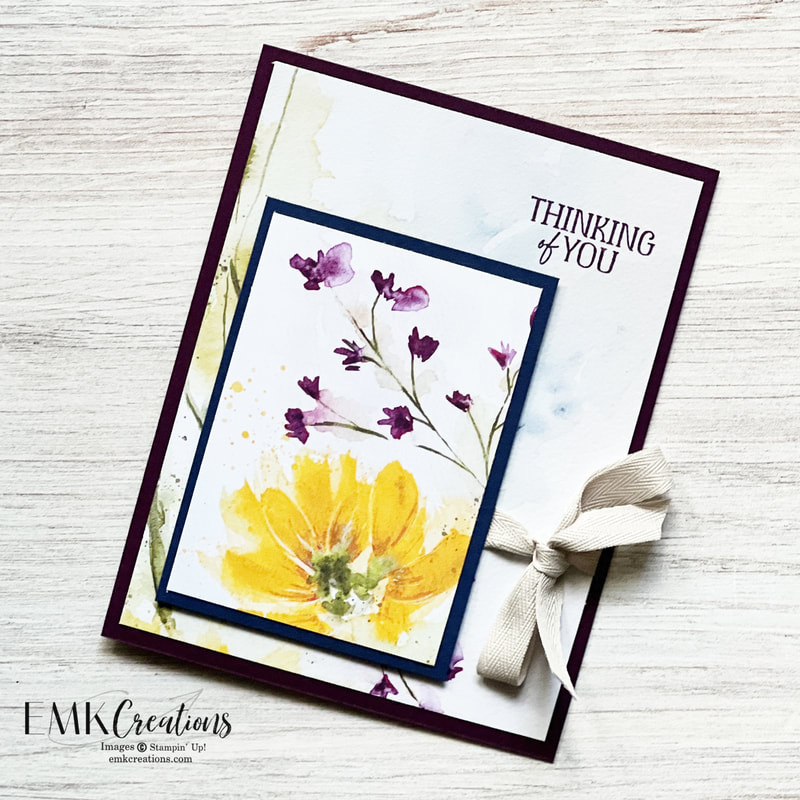
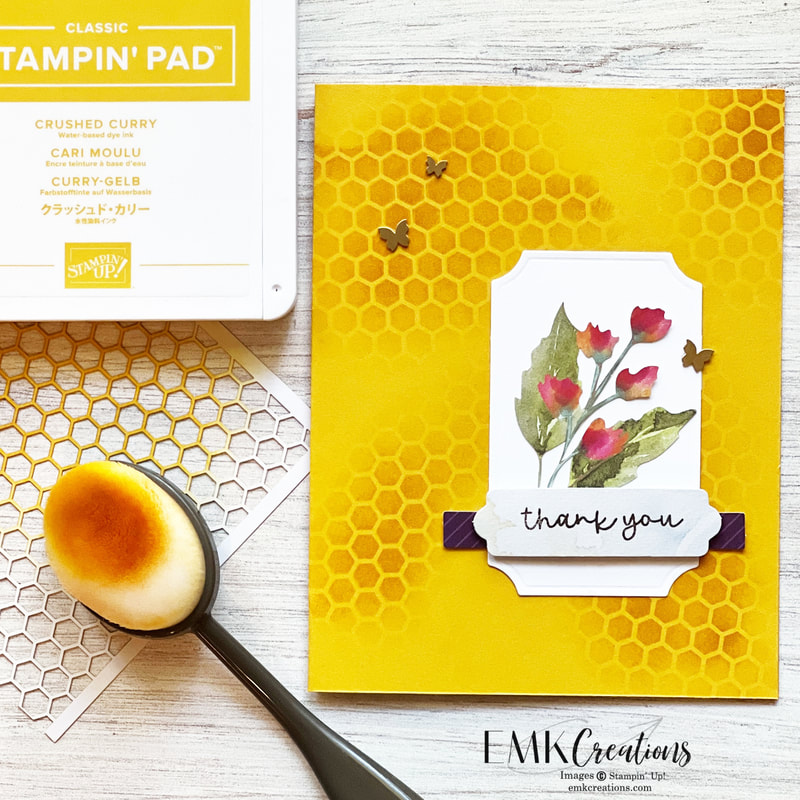
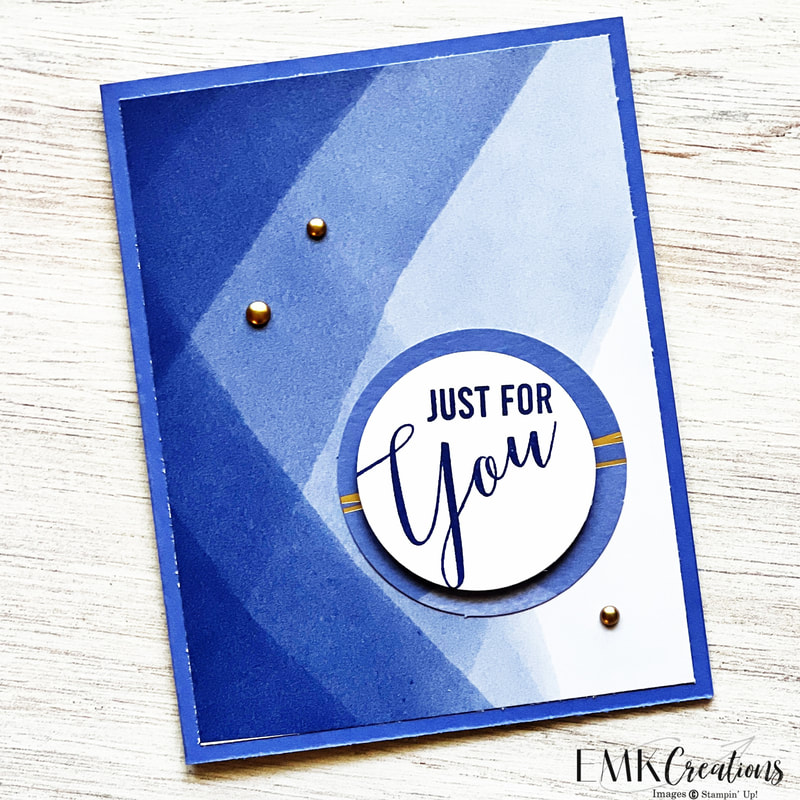
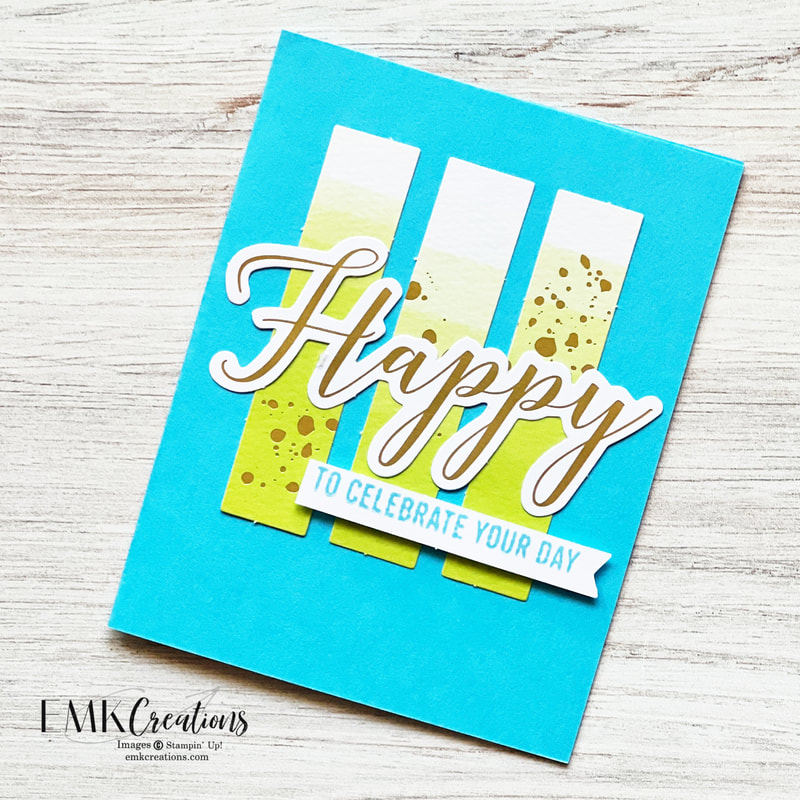
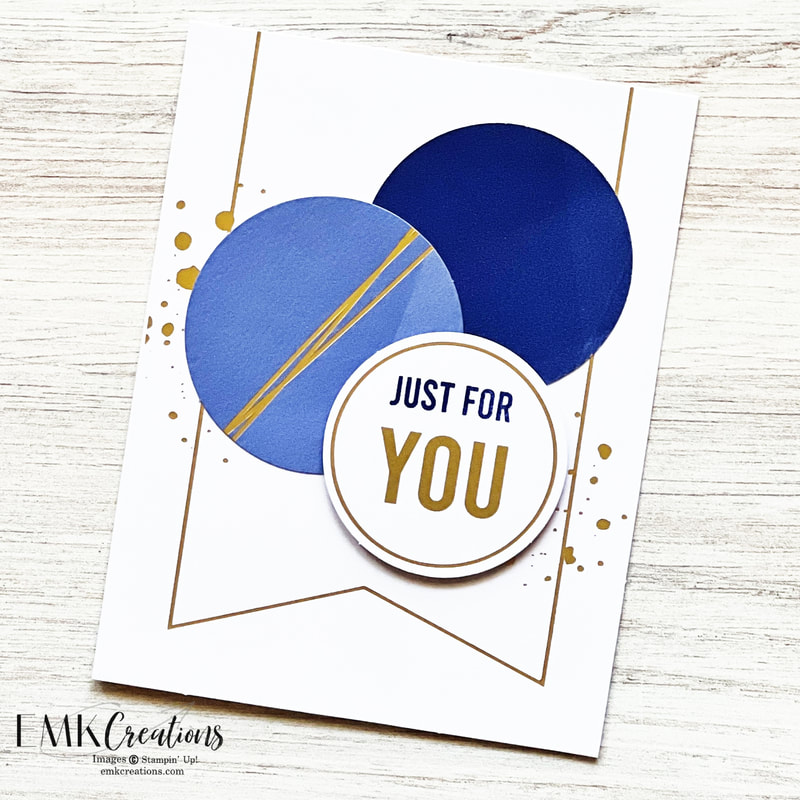
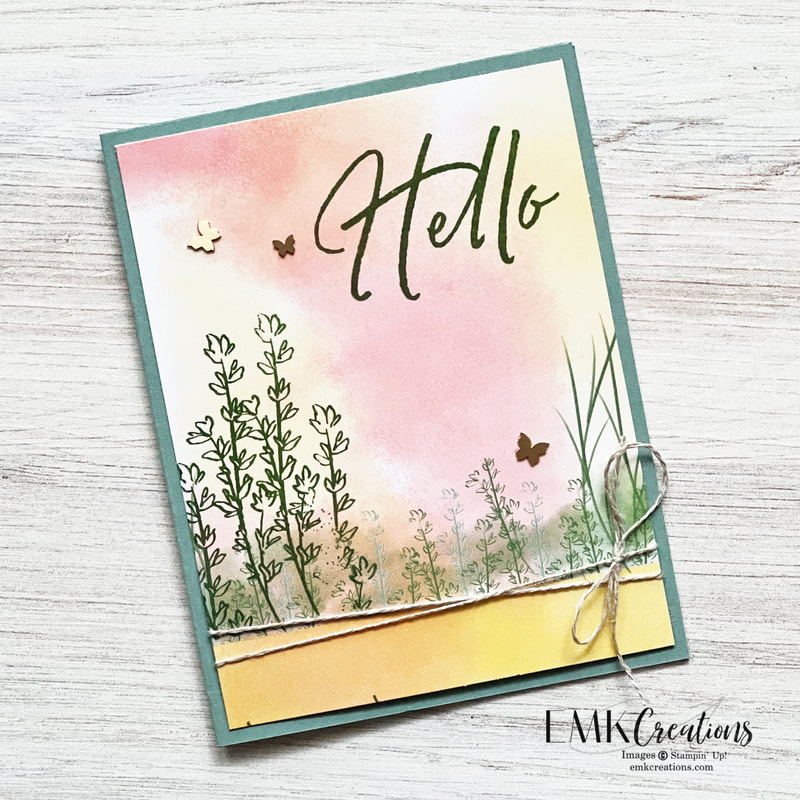
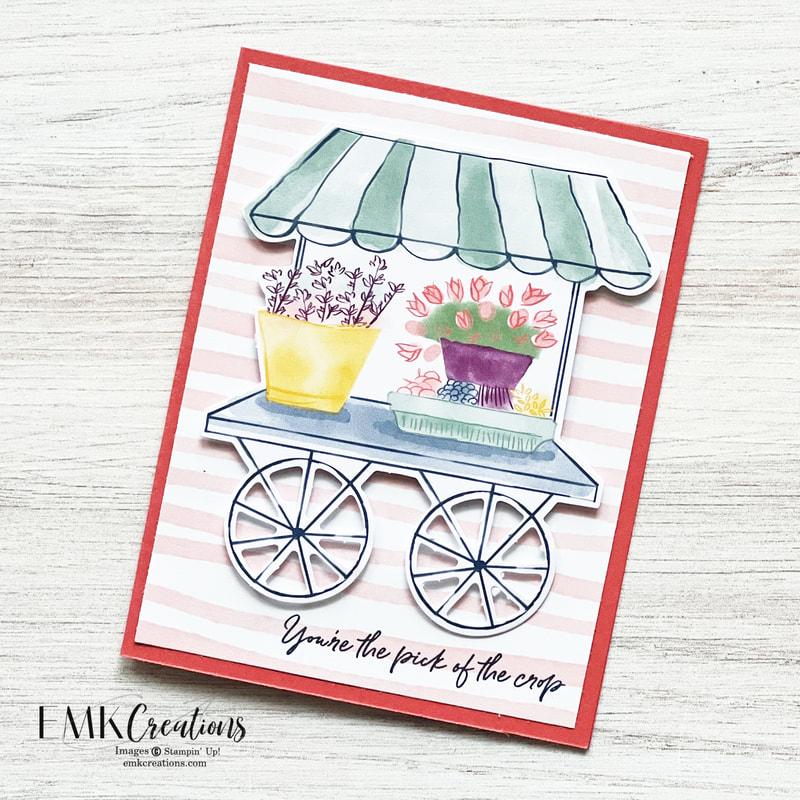
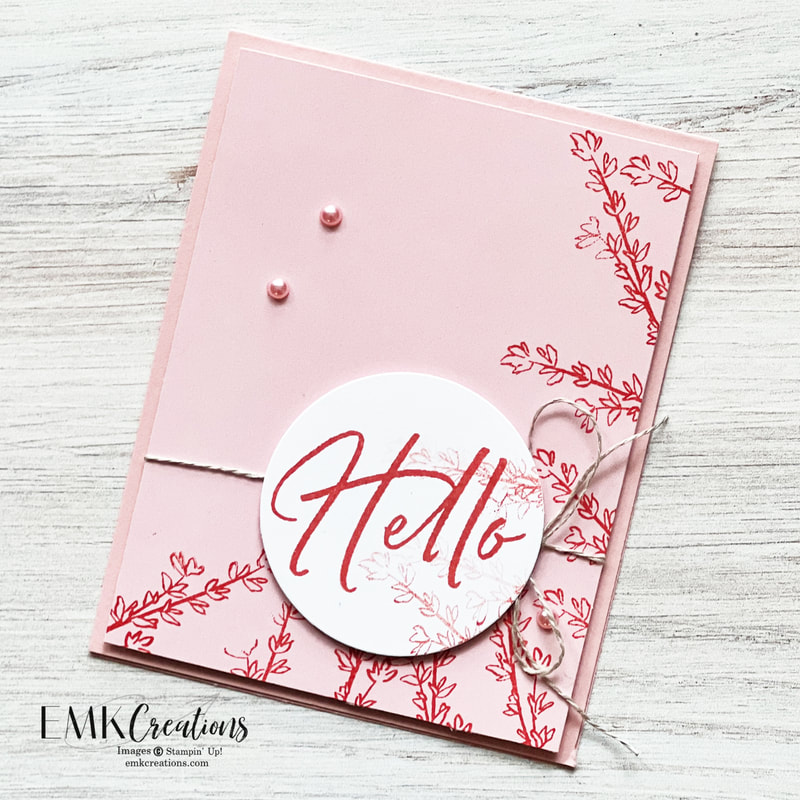
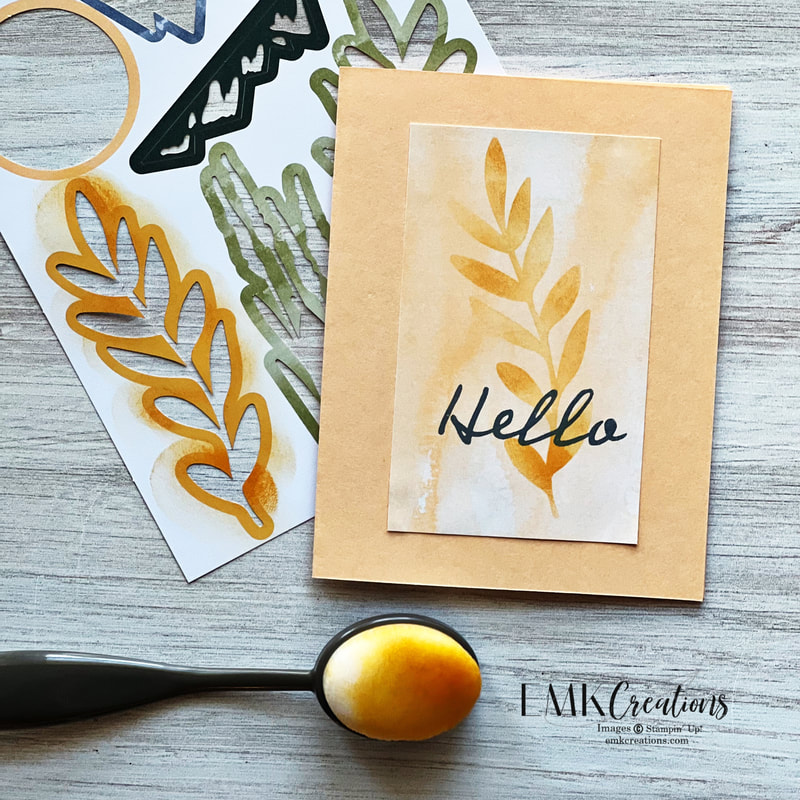
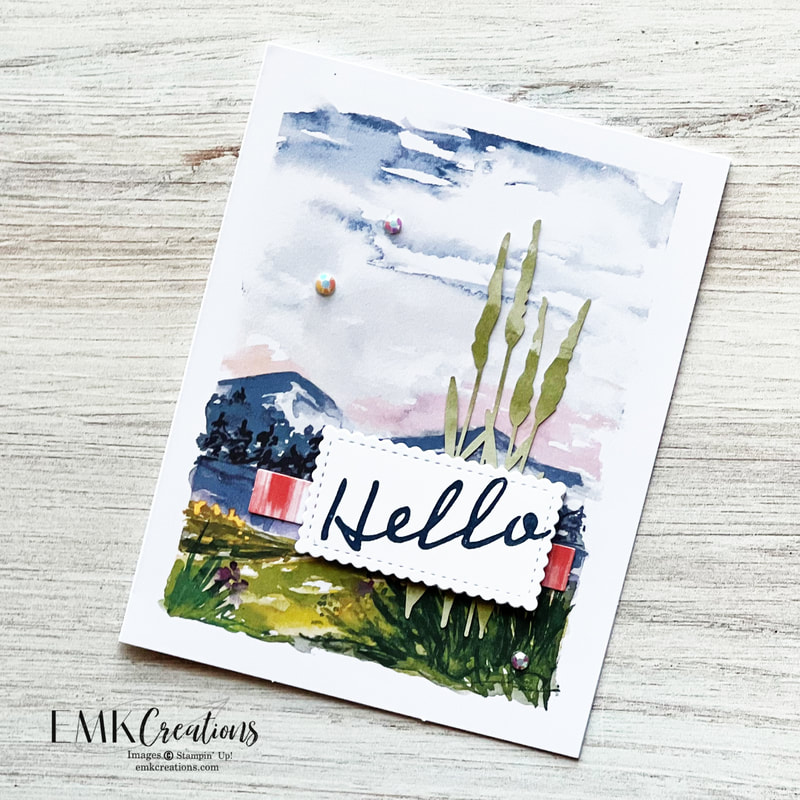
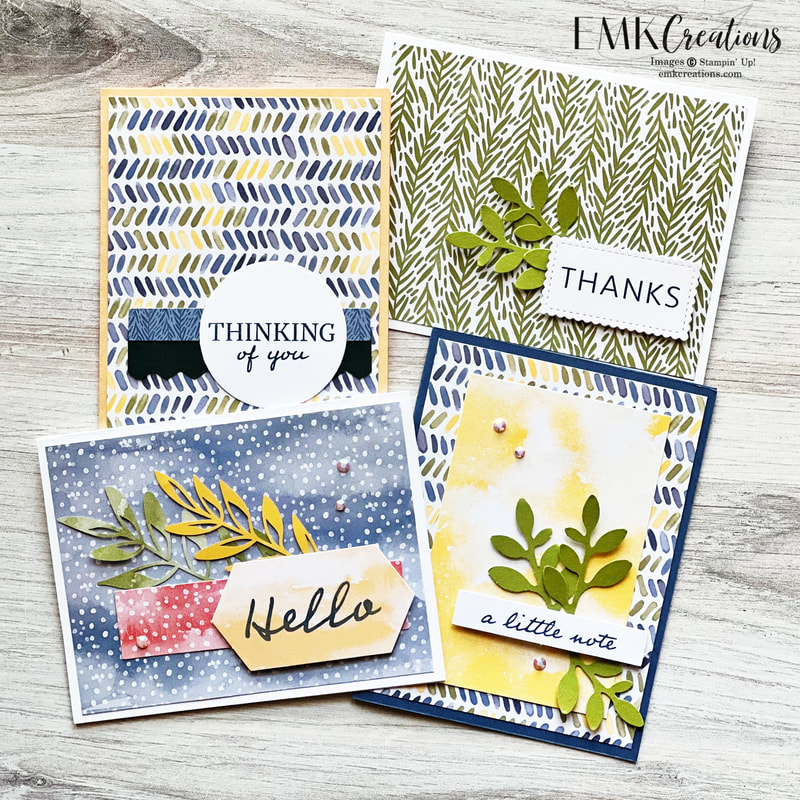
It's taken me awhile to get my alternatives done and ready to share from the August 2023 Meaningful Flowers Kit. I loved the pretty flowers in this kit. I'm a sucker for flowers so this one was easy to work with. 
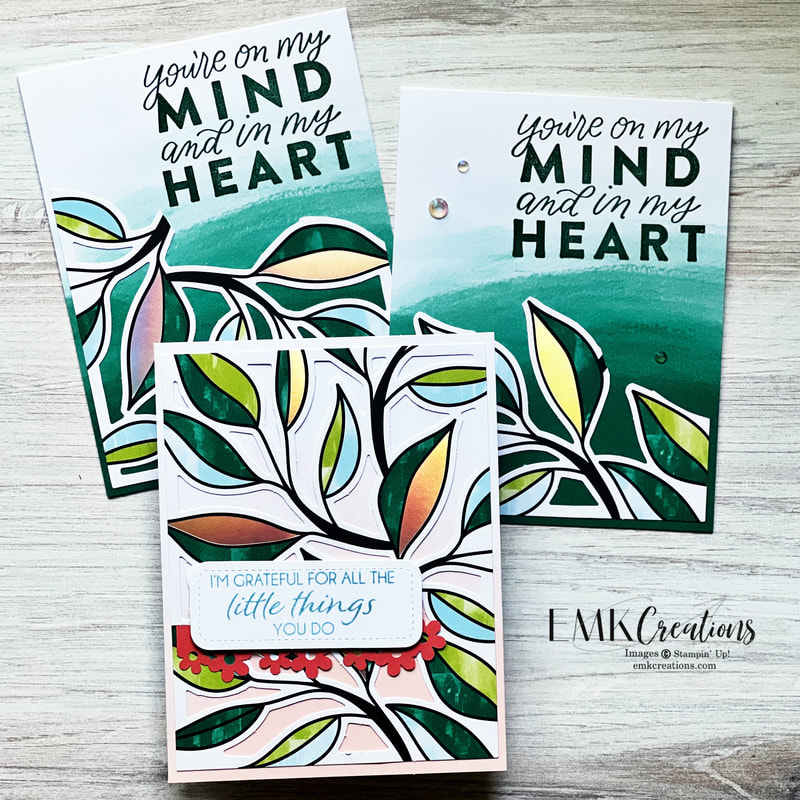
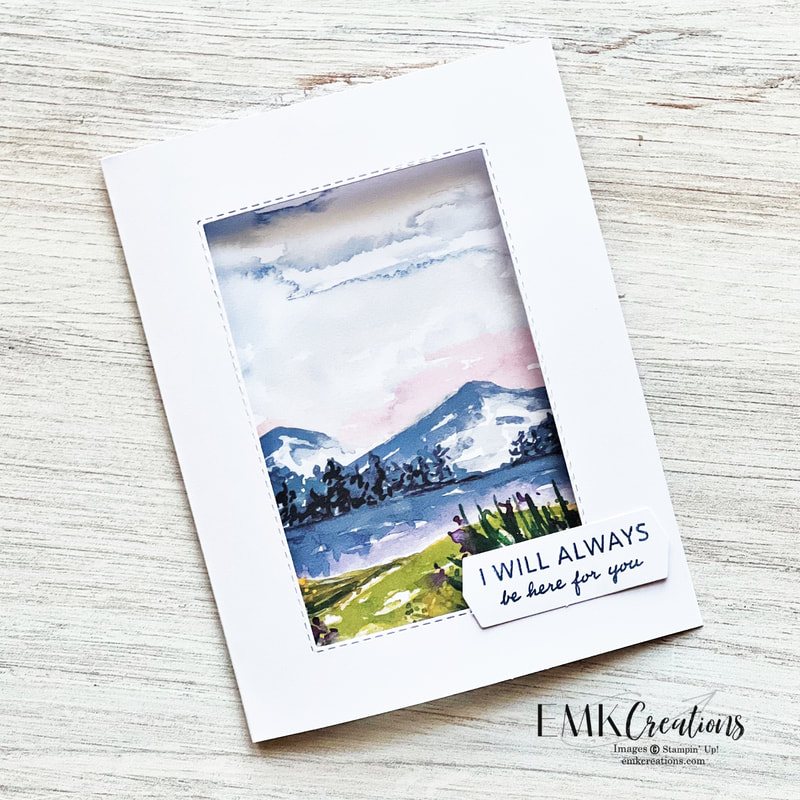
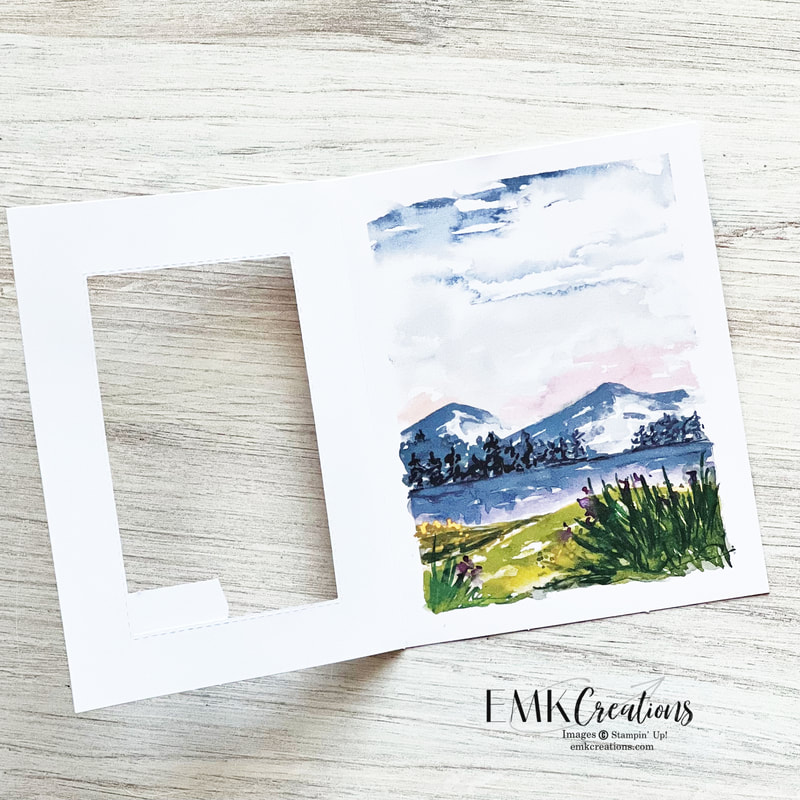
As always, I started with cutting one of each card base in half to create alternatives. Because these had writing on the back they didn't necessarily give me double the pieces to work with but I liked having the fronts to create with. 
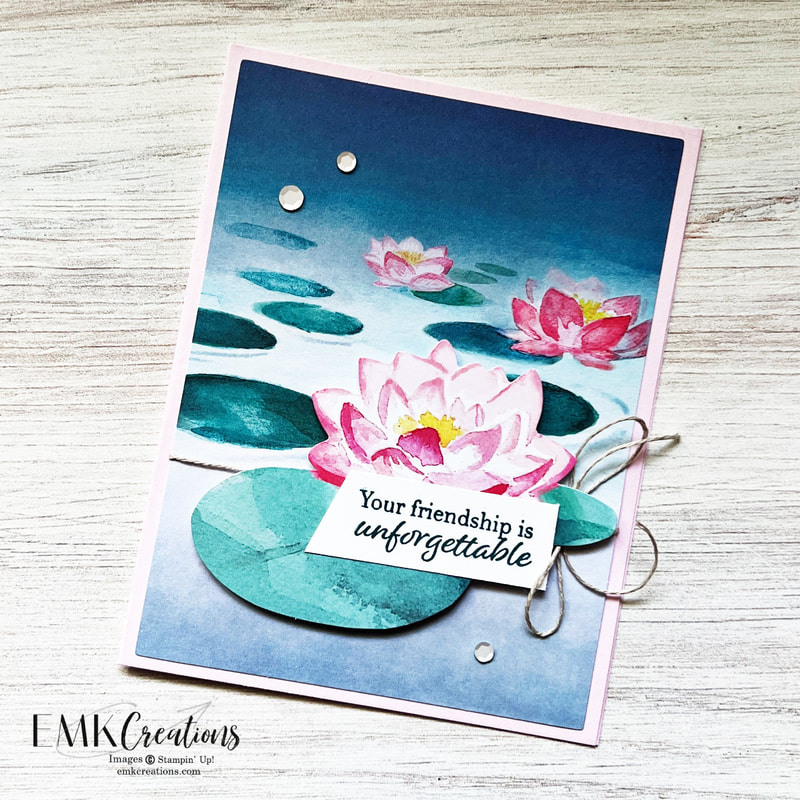
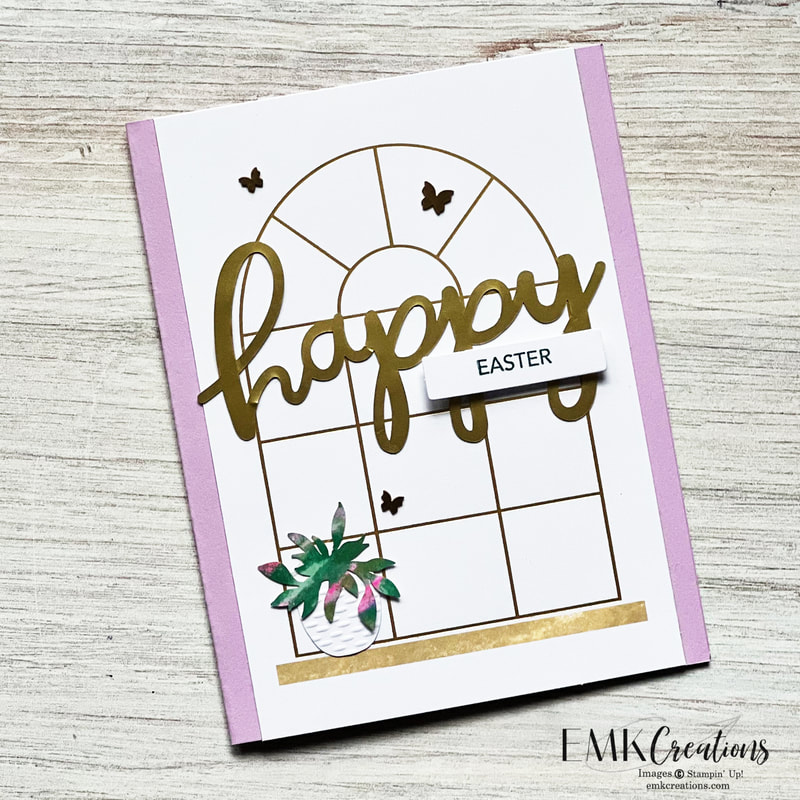
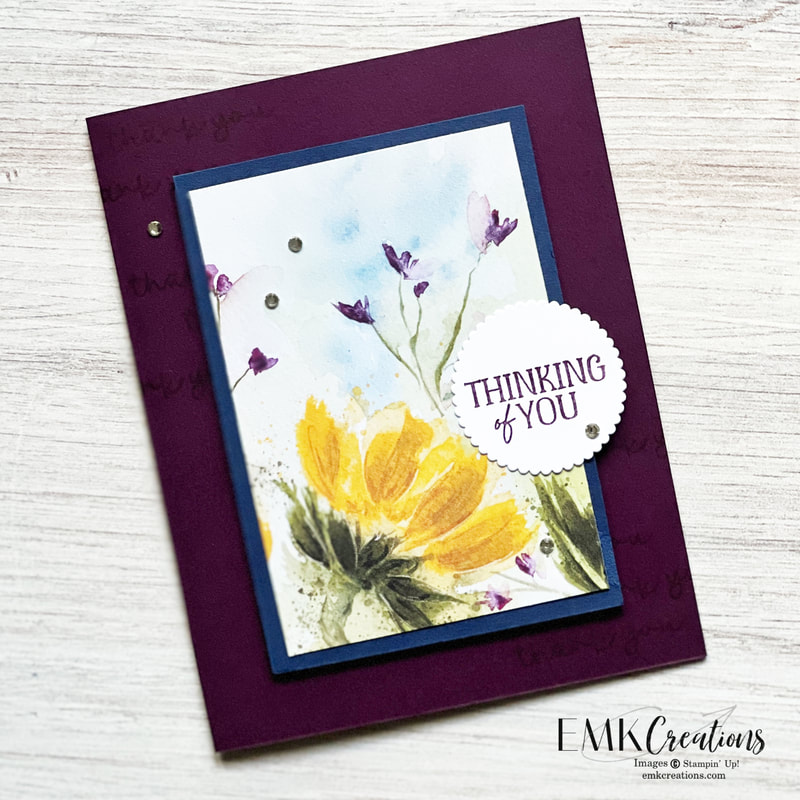
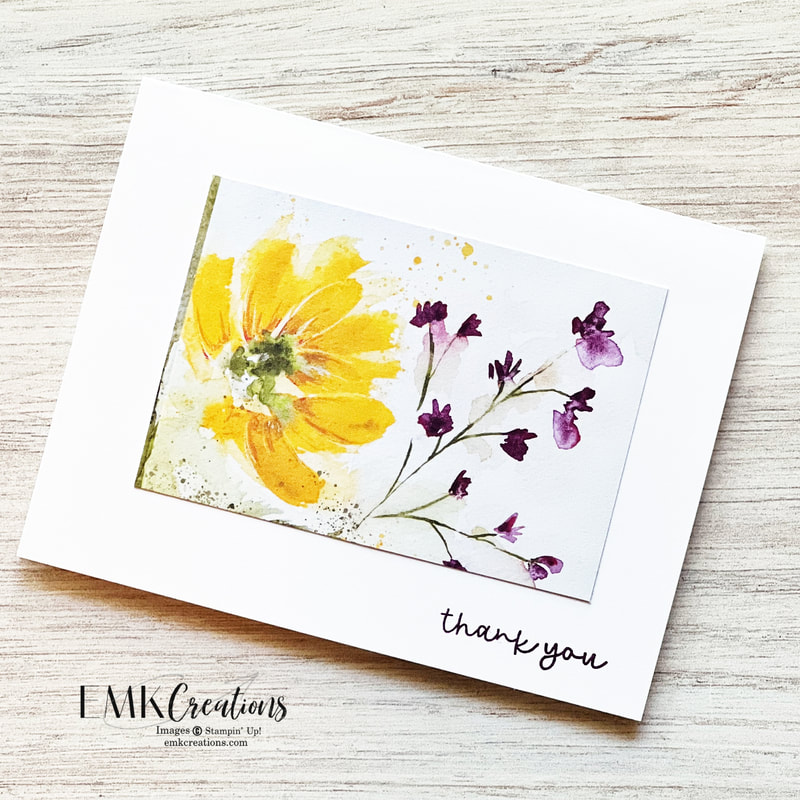
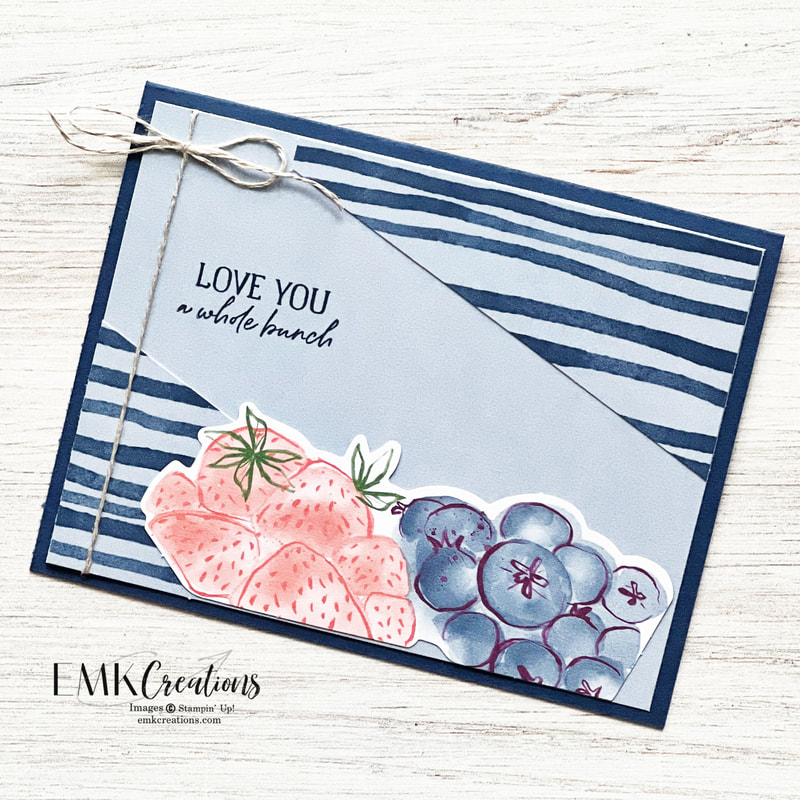
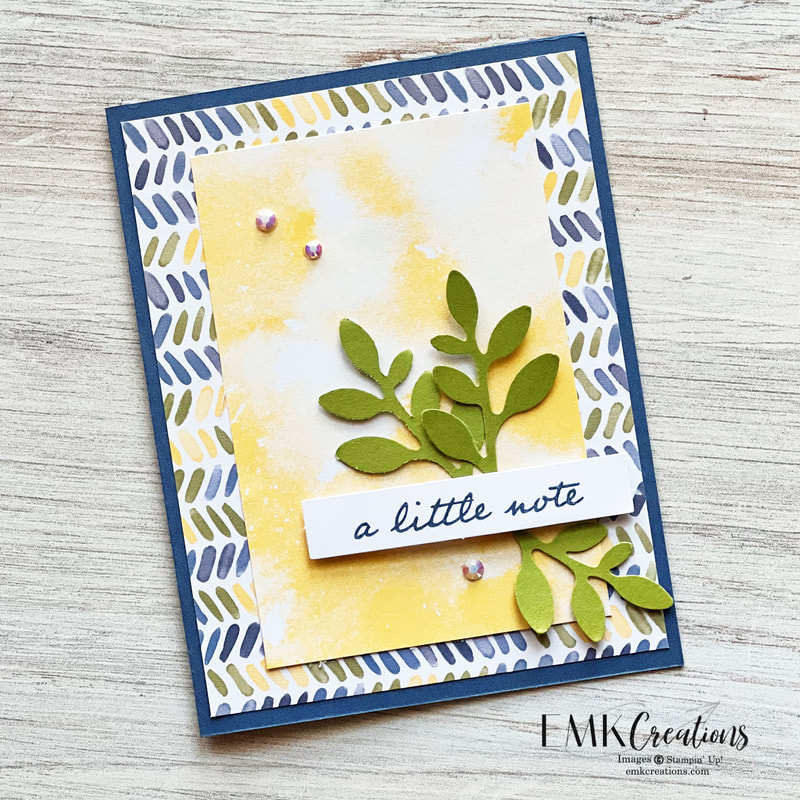
This was such an easy card to put together but so pretty! 
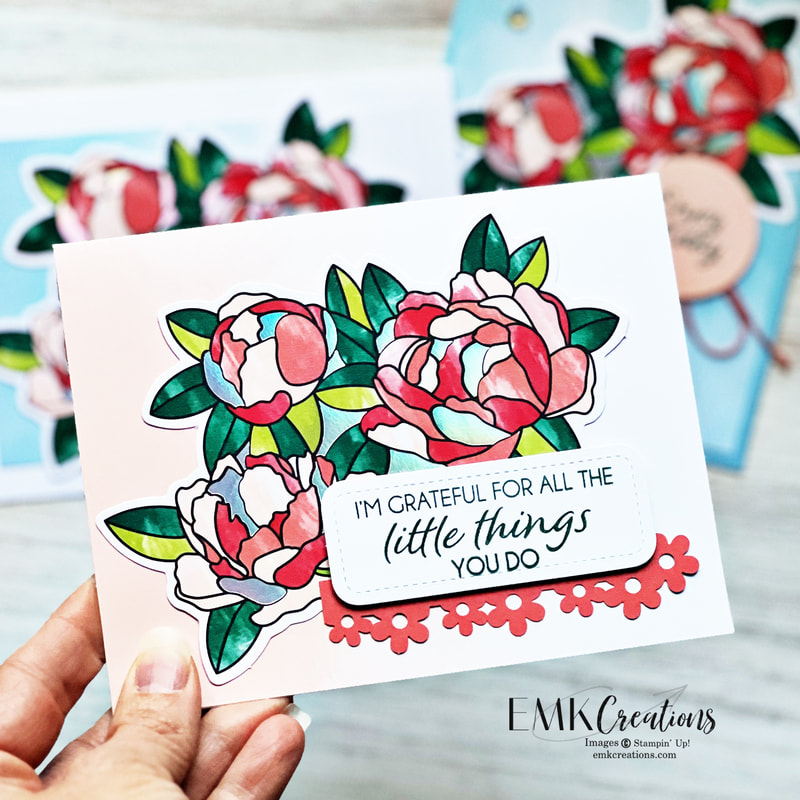
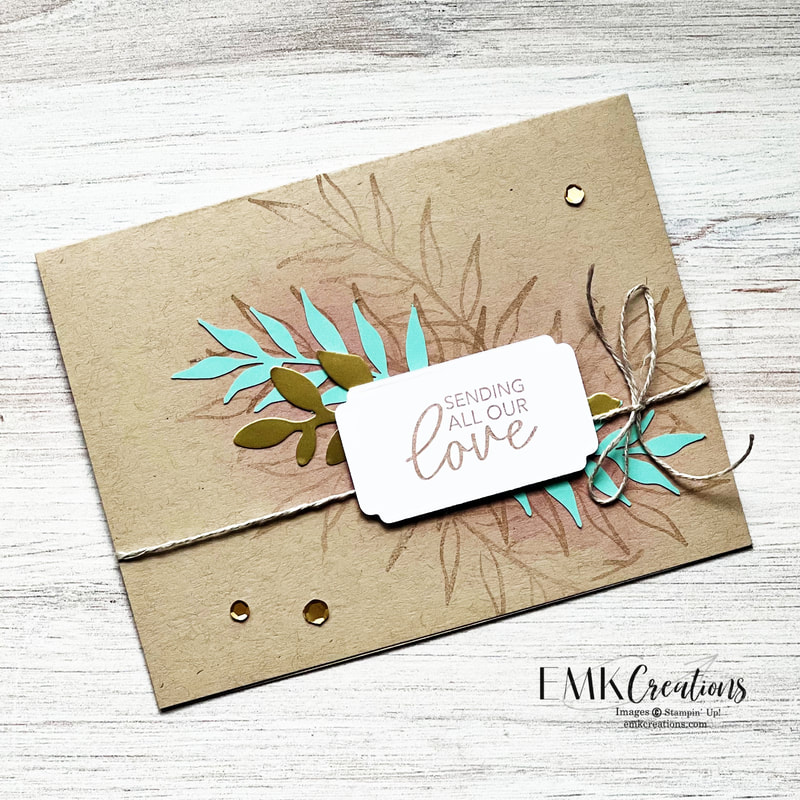
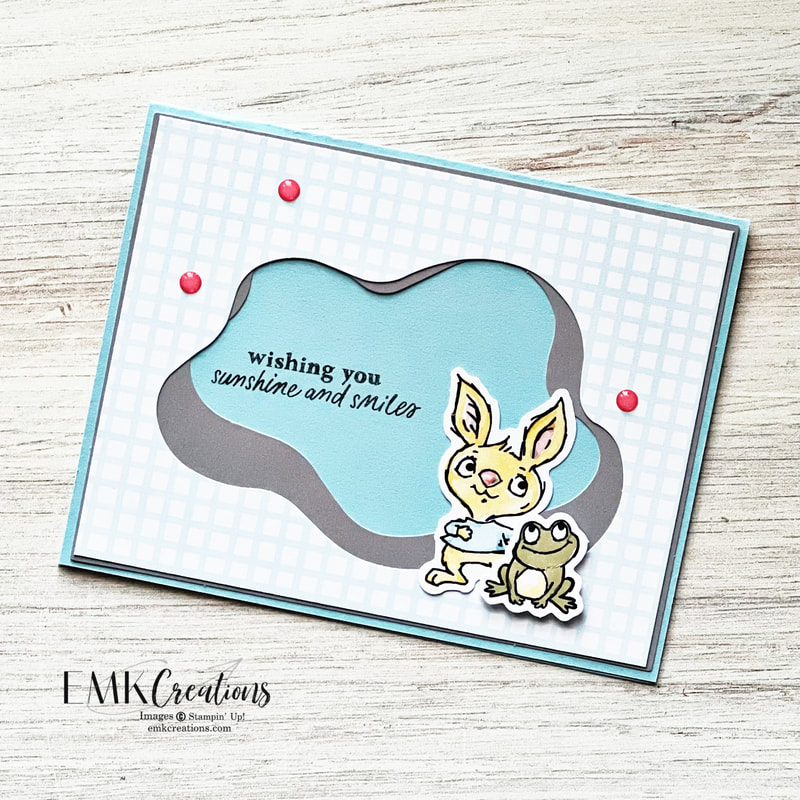
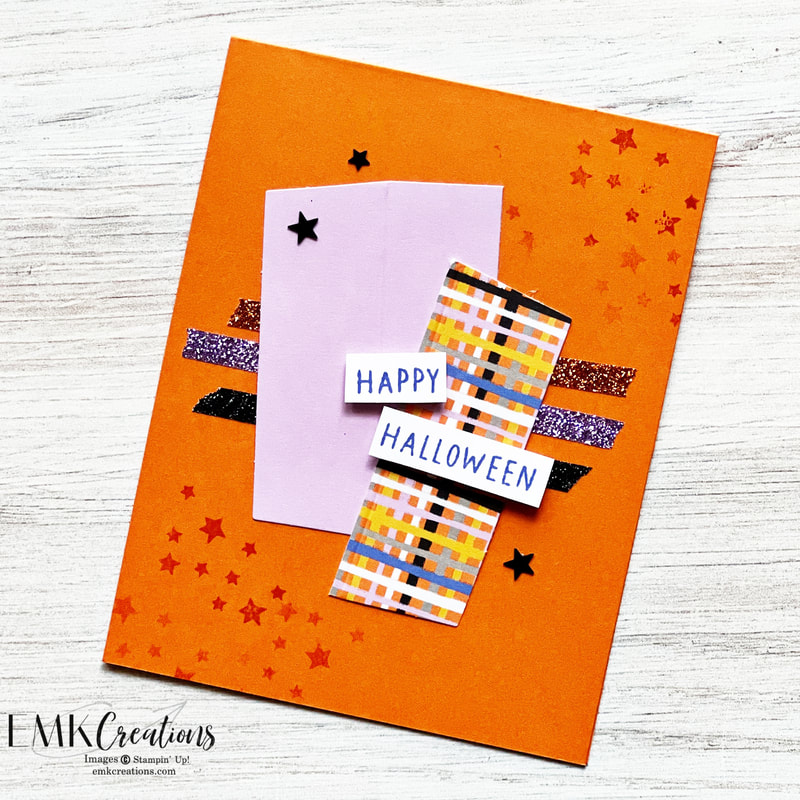
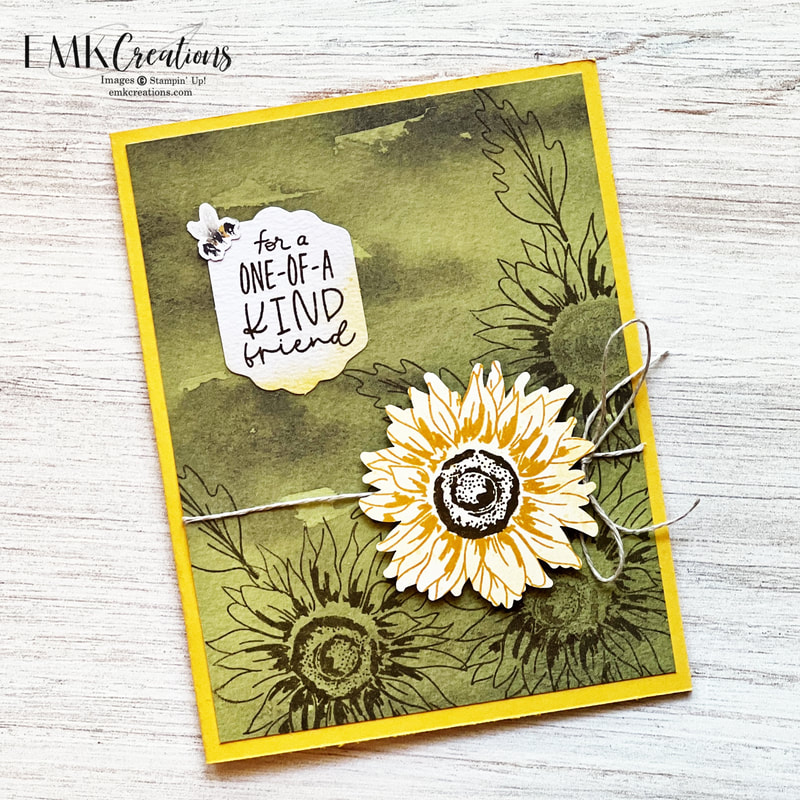
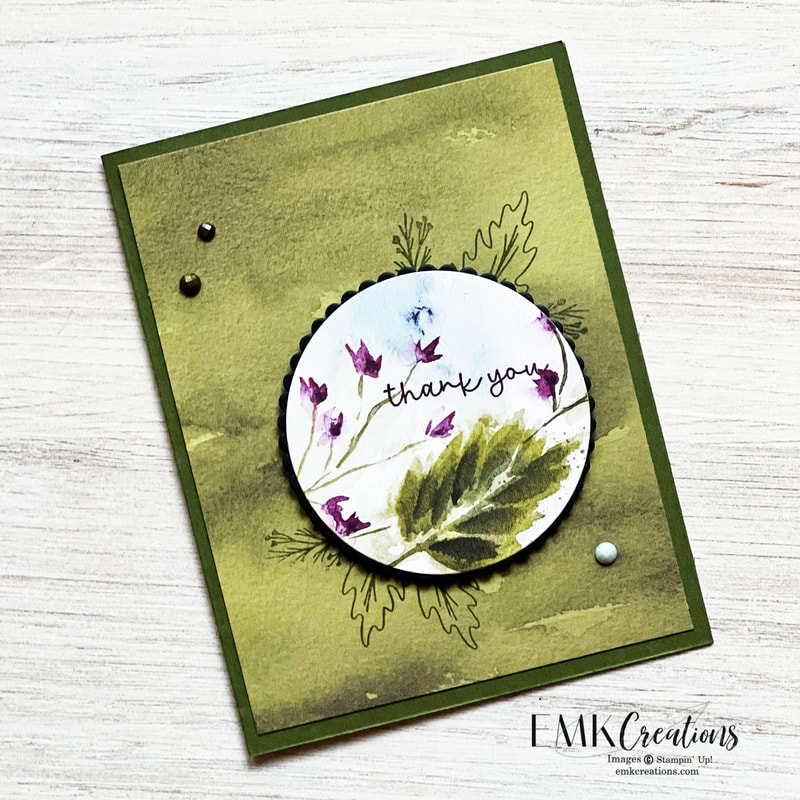
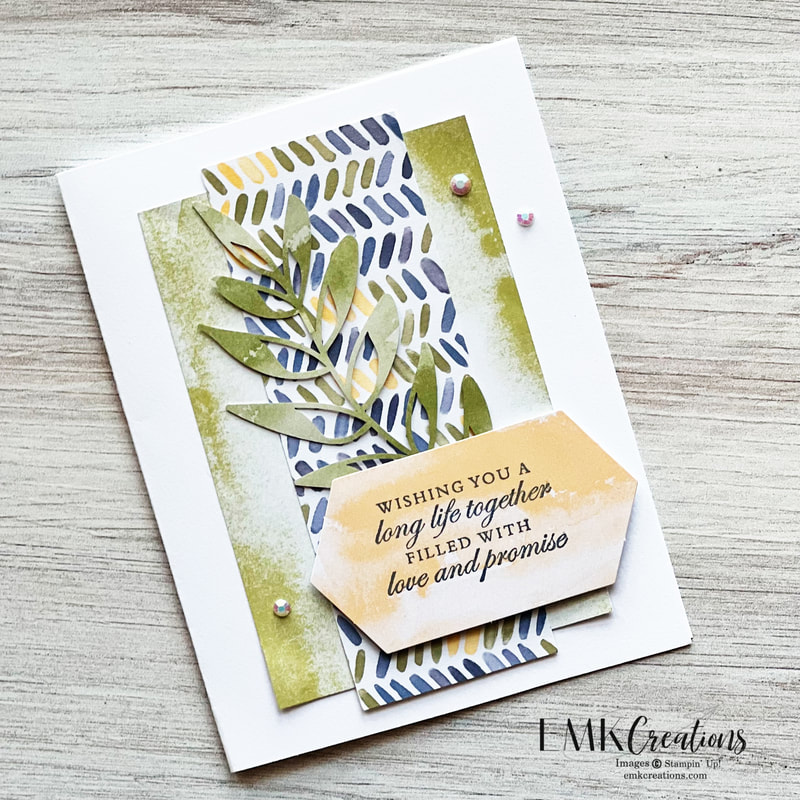
I was inspired to create this one from one of the alternatives that Stampin' Up! offered in the instruction booklet. They always showcase a few optional designs in the back of the instructions. I stamped the flowers in the background and then adhered the die cut piece on top. I stamped flowers in the background on the sentiment piece as well. ![]() Do you like to create alternatives or enjoy the fact that a Paper Pumpkin kit makes card making SO easy?
If you aren't receiving your own kit each month sign up here! I'm available to answer questions as well. The April 2023 Paper Pumpkin kit "All the Little Things" did not disappoint. The foil accents on the main pieces were beautiful. As usual, I created one of each card and then began playing around with the pieces to create alternatives. This one did not have pieces that were well suited for stencils and most of the bases were one sided and pretty plain however, I did find some fun ways to create. These next two each use the same focal piece but look very different depending on the background I paired them with. I used these for my weekly "this or that" on social media. Which would you pick? This leafy piece is beautiful and I thought quite a bit about how I wanted to use it. I ended up cutting one of them into two pieces which created a pretty area on the card and left a perfect spot at the top for a large sentiment. Still wondering about these kits? Each month is a new kit with an exclusive stamp set, a mini ink pad (colors never repeat in a calendar year), all the paper and embellishments needed to complete the projects and instructions. The only thing you might need...scissors! Everything else is included even the glue dots and dimensionals.
Interested in getting Paper Pumpkin for yourself? Click here to sign up! You can cancel or pause anytime but I think you'll love the kits too much to want to miss out on one! You can also contact me to order a prepaid subscription for yourself or as a gift for someone else.
I can not believe that Paper Pumpkin has been around for 10 years already. I've been subscribing from the beginning and can tell you from experience that the kits have gotten so much cooler as time has gone by. Have I loved every single one over the 10 years? No, but I've loved most of them.! Even the ones I didn't care for I was able to make alternatives with that I did love. Plus, did you know that Stampin' Up! offers a guarantee on the kits? If you truly hate a kit contact them and they will help make it right.
When I get my kits I usually make one of each project as intended and then I create alternatives. I have a few things I tend to do right away: 1. Cut the card bases into two 4 x 5.25 pieces and keep the strips that are left 2. Cut up an envelope or two if they are printed Doing this gives me even more to work with. For this first card I used Crumb Cake card stock and ink. I blended a little Fresh Freesia with a blending brush and then stamped the leaves over it. The gold leaves are punched from the leftover gold from the happy die cuts. I added a die cut with a sentiment, some linen thread and sequins.
I stuck with Crumb Cake and again stamped with the same color ink for the background. I did add some Fresh Freesia with my blending brush to the pot for some added color. The polka dot background is cut from one of the original card bases.
It's pretty light in the photo but I did add some Fresh Freesia to the white base before I stamped the leaves. These butterfly embellishments were the perfect compliment to these cards. You'll notice I used them on quite a few!
Did you catch that we have Small Blending Brushes now? I love the small size when I'm working with a small space or item.
Two more very simple alternatives. Again, the butterflies are a perfect accent.
Don't forget about using the negative space on the die cut pieces as stencils. It creates a gorgeous background on the card stock.
I trimmed the bookshelves down for both of these cards. I thought the vellum was a great coordinating item! I also like the bookshelves matted on color rather than all white.
A simple but pretty Easter card was the last project I made with the kit.
If you prefer video you can catch all these on Instagram or Pinterest.
Interested in getting your own Paper Pumpkin kit? Check it out here! Be sure to sign up by the 10th of the month to get the next kit. You can cancel or pause anytime. Contact me with any questions. Looking for more alternatives for your Paper Pumpkin kits? I have a board on Pinterest where I share my designs and pin others.
The Sunshine and Smiles Paper Pumpkin kit is such a cute kit! I haven't had a lot of time to play with it but I've had a chance to make a few alternatives.
The Cloud Punch is a perfect compliment for this kit. I added some lines with my black Stampin' Write marker.
I think this will make a perfect baby shower card! I love these umbrellas.
Remember to cut down your bases to give yourself a lot more options!
Ready to get your own Paper Pumpkin kit each month? Sign up here.
Better yet, get a pre-paid now through Tuesday and you could earn a FREE Sale a Bration reward and possible host rewards as well. Check out this graphic for details. You can order on an online store order or contact me. You will receive an emailed code after purchasing.
Here are some of my alternatives with the Ho Ho Ho Paper Pumpkin kit from October. As usual St! created a wonderful kit. Originally designed to create nine cards but I chose to make alternatives.
I love when they include a die cut that works as a stencil. This snowflake design was perfect! Grab your Blending Brush and a ink of choice and you can create this background too. I chose the back side of the piece to apply color to so that I could still use the intended side on a card when I was done.
Here is a closer look.
The Real Red Pearlized Enamel Effects were a great addition to the middle of the snowflakes.
This Santa stamp is so cute. I stamped him and fussy cut him out. I paired him with a piece from the Celebrate Everything Host DSP pack.
If you've seen my designs in the past you know I like to cut up the printed envelopes as well. This card was one I created with pieces of some of the envelopes after I had cut them.
This is another card using part of the envelope as well as a leftover piece of the card bases I cut down. I cut apart the hohoho die to create three separate pieces as well.
This is one of my favorites and it's such a simple design! I adore the fonts in the new Framed & Festive stamp set.
One final alternative.
If you are not a subscriber you can sign up here. The November kit is tags that coordinate with this kit!
|
AuthorI'm an independent Stampin' Up! demonstrator and paper artist. Archives
June 2025
Categories
All
|