Check out a few cards I've made with this newly updated paper. This first one was one of the cards from my recent game night. A simple but effective layout.
I can never resist a pun!

Did you get the adorable bee paper last spring? Well Stampin' Up! has rereleased it in new colors and as part of our scrapbooking line! You can get paper, a bundle and a new scrapbooking kit all featuring these adorable images. Check out a few cards I've made with this newly updated paper. This first one was one of the cards from my recent game night. A simple but effective layout. I can never resist a pun! ![]()
Here is the card recipe if you'd like to create this one on your own!
Your browser does not support viewing this document. Click here to download the document.
This card is one that I provided to my team in their monthly packet in February. Did you know that my team meets once a month to chat about SU! and craft together? We usually meet on Zoom since we are spread out. I'd love to have YOU join my team!
0 Comments
The Wildly Flowering suite in the 24-25 Stampin' Up! Annual Catalog is a beautiful suite that is perfect for so many occasions. I love the muted colors in the papers. Most of the cards I've made so far are along the lines of "thinking of you" cards. The messages in the stamp set are sweet.
For this first card the layout is a simple one but it packs a punch if you ask me. The blue background helps the flowers to stand out. I fussy cut around the sentiment to give it some dimension.
The new Dashing Designs embossing folder is such a cool background. Don't overlook it.
I'm also a little obsessed with the Greetings of the Season Dies. They are an online exclusive and so useful. This stamp comes from the Everyday Greetings stamp set that is also an online exclusive.
The die makes such a great focal point on the front of a card.
Which card is your favorite? Have you gotten this suite yet?
Be sure to sign up for my email list so you'll know about upcoming classes by mail that I'm offering!
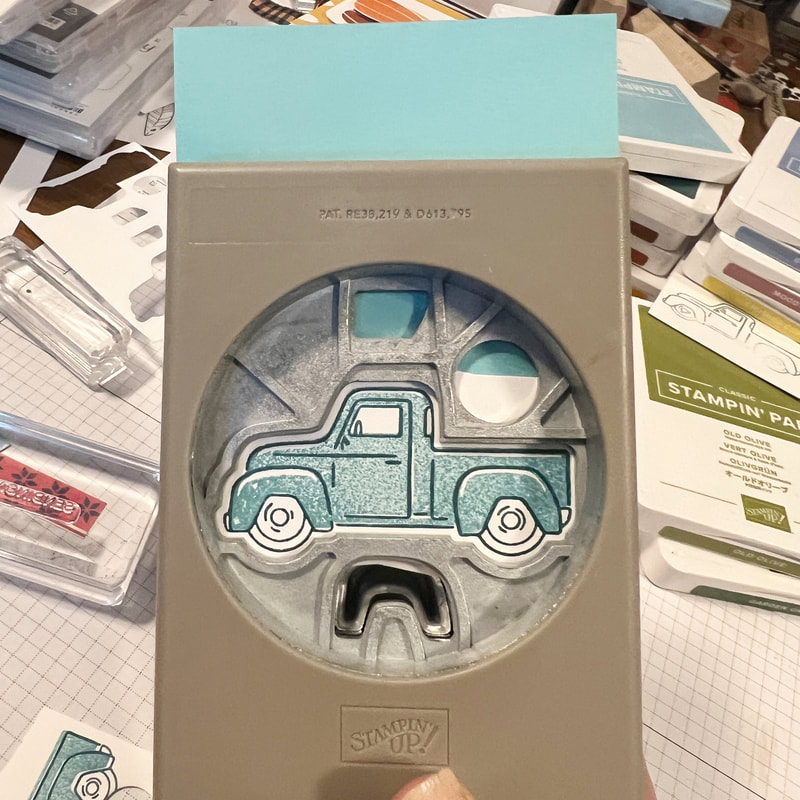
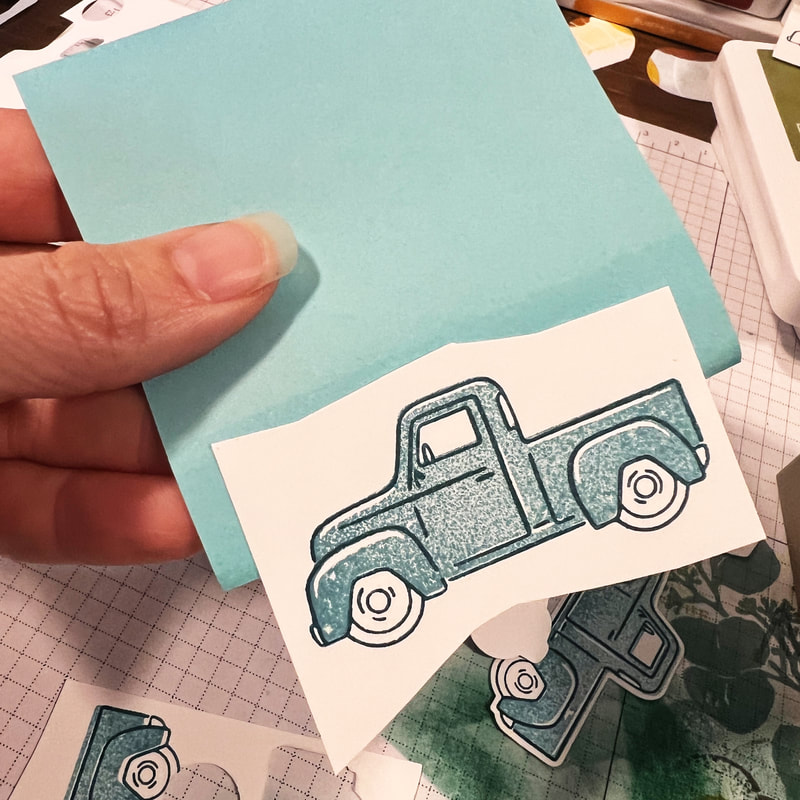
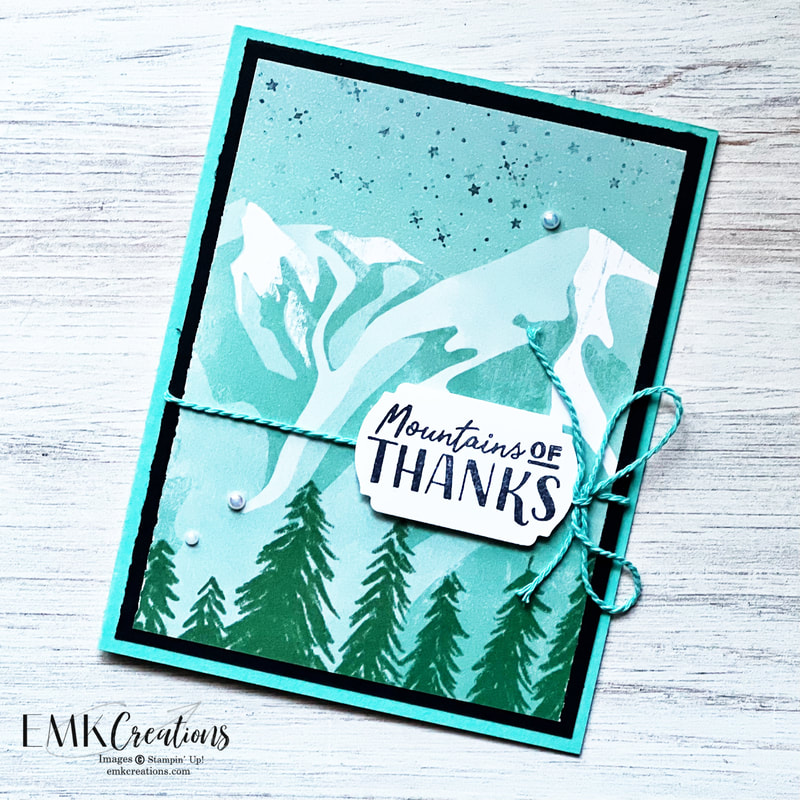
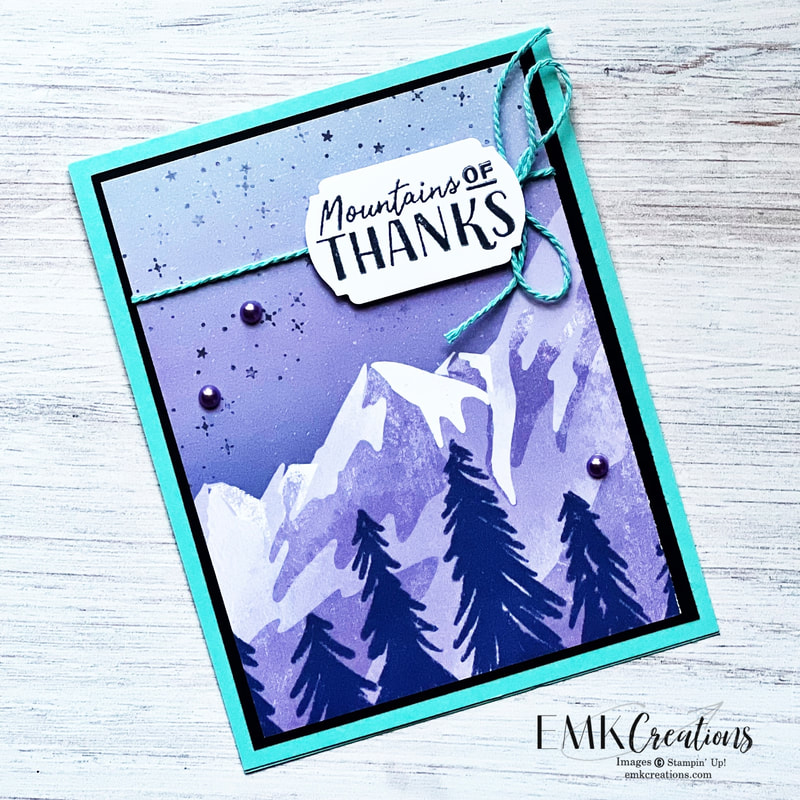
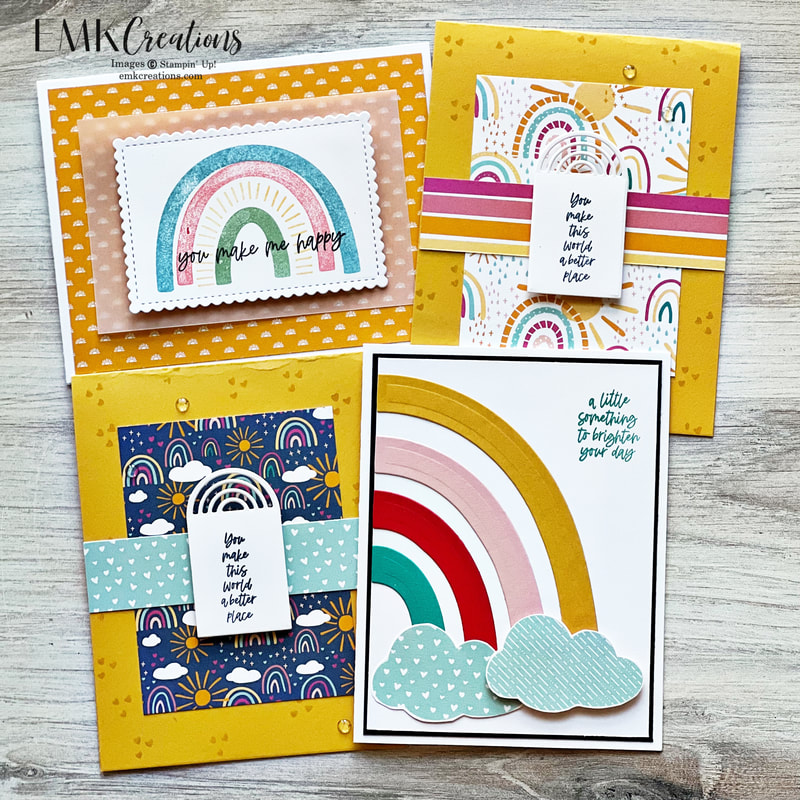
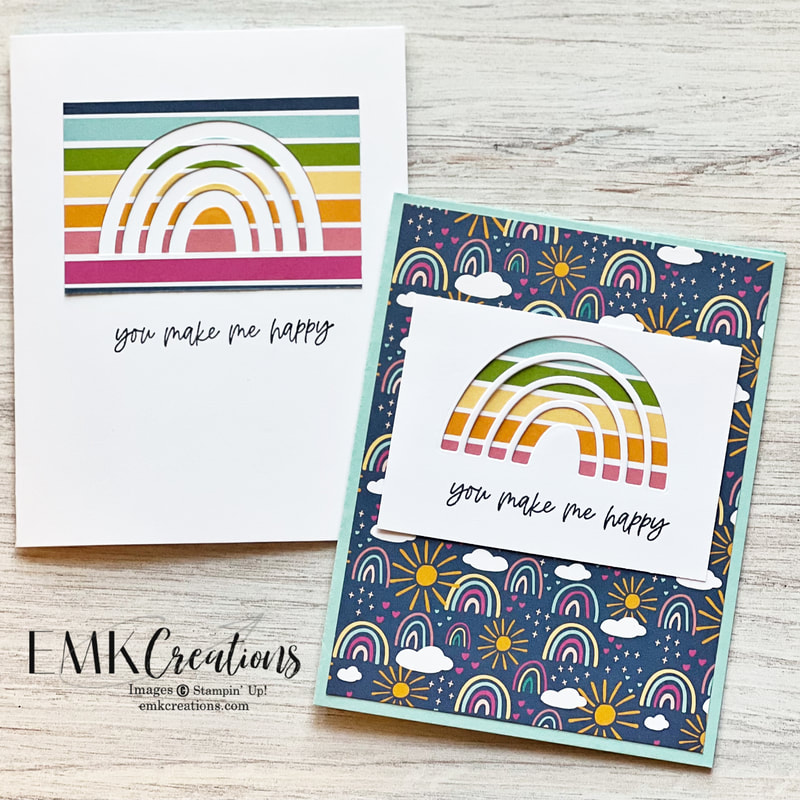
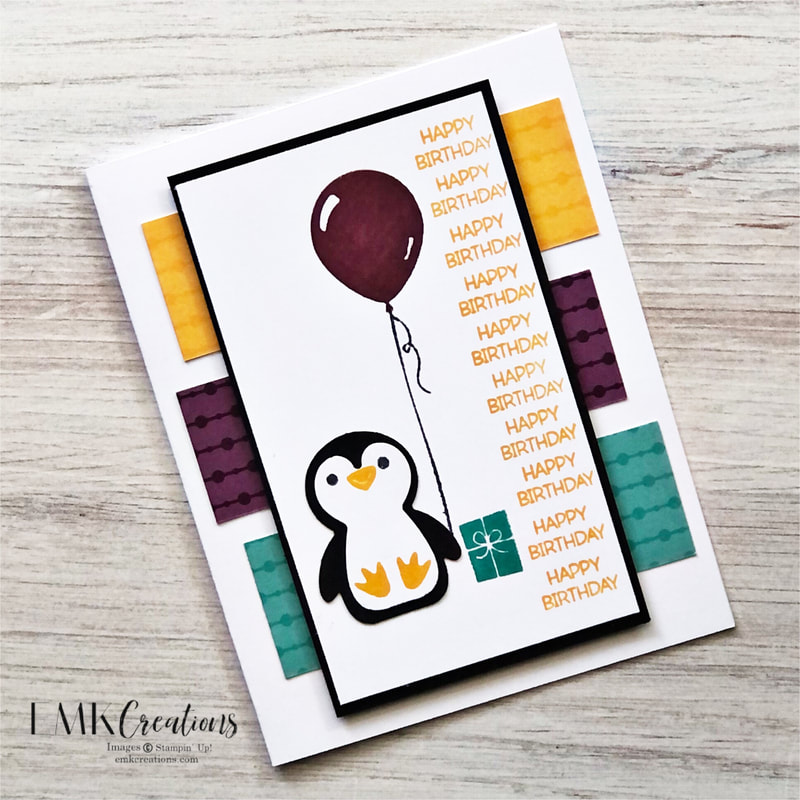
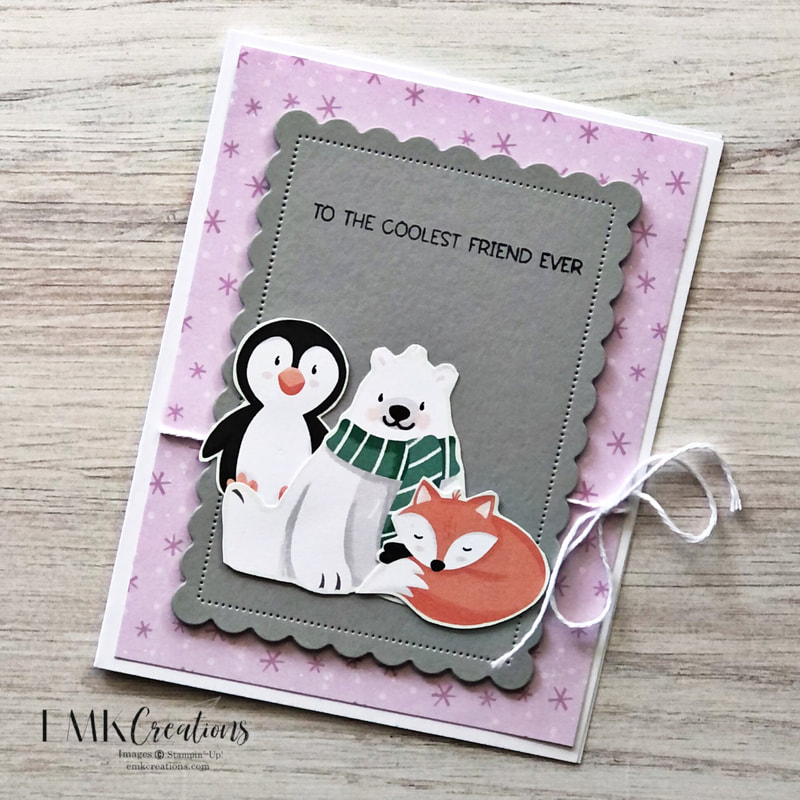
I'm so excited for the new mini catalog and Sale a Bration starting in January. One of the best parts about being a Stampin' Up! demonstrator is being able to view and order from catalogs early. My preorder has arrived and I've been having fun using the soon to be released Sunny Days Sale a Bration paper. Check out these fun card ideas.
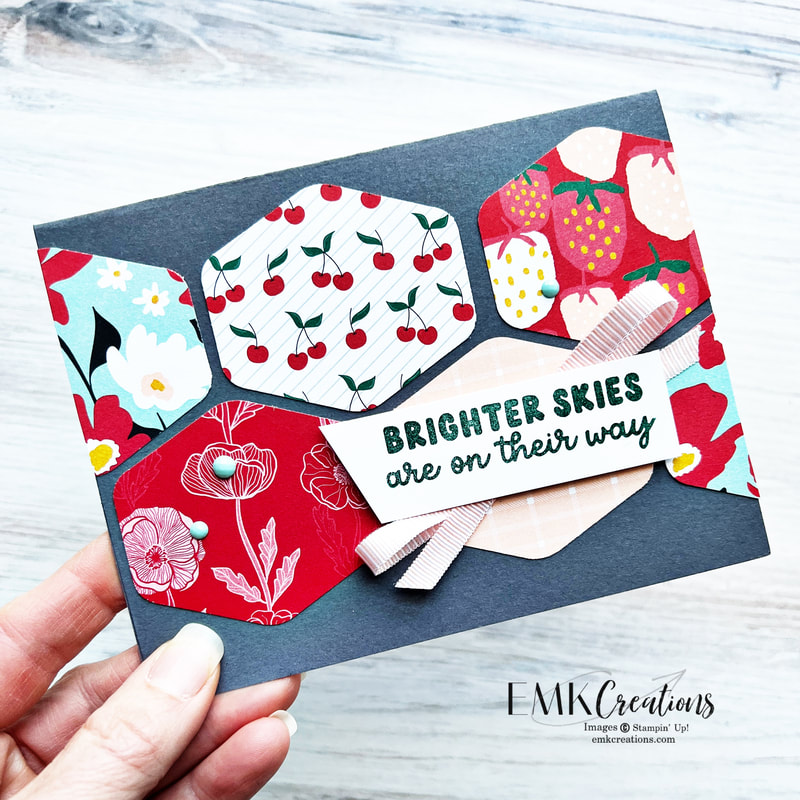
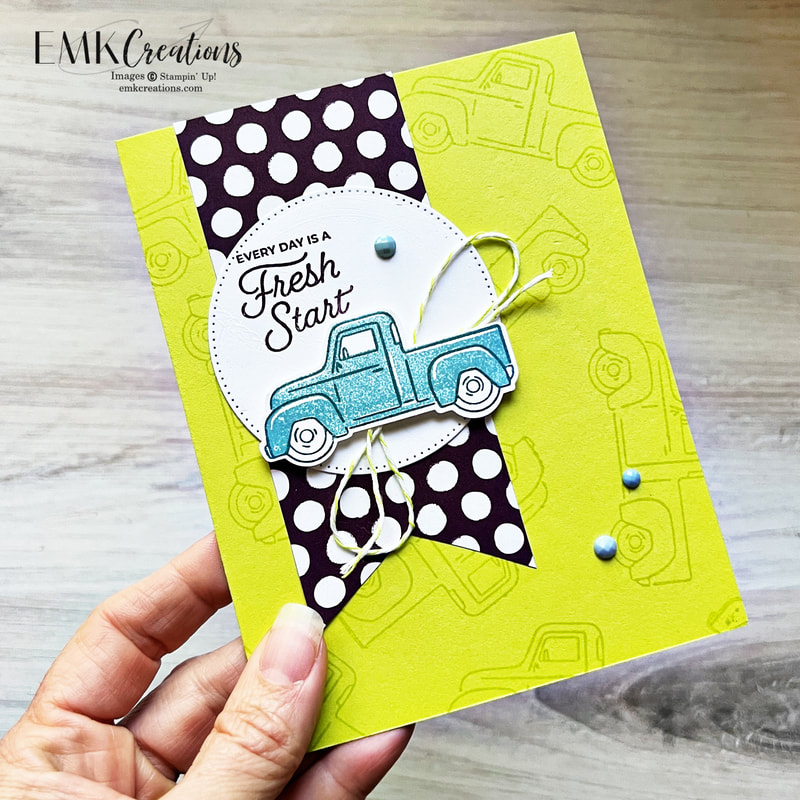
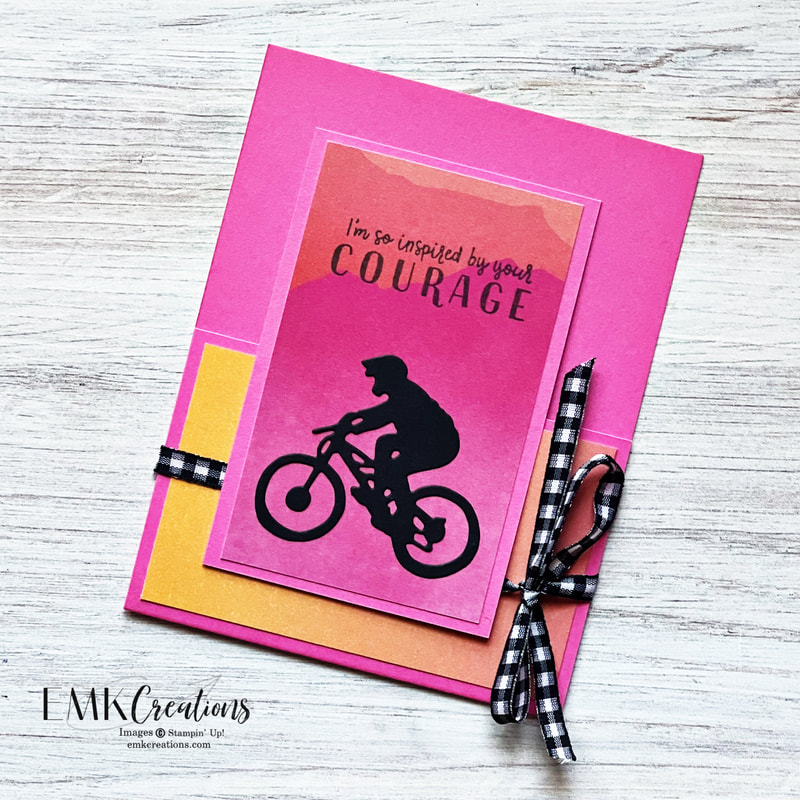
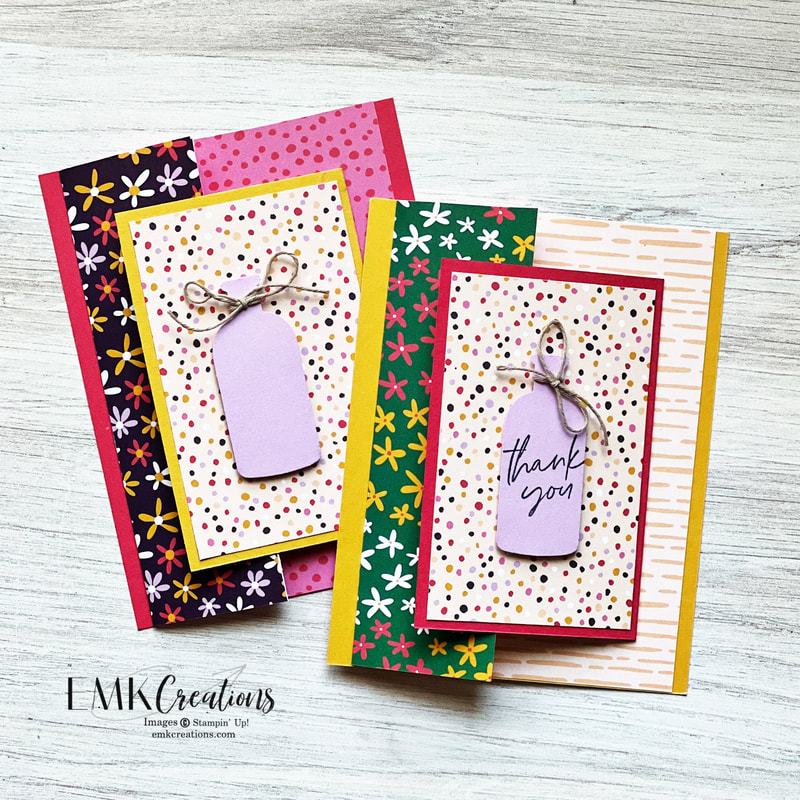
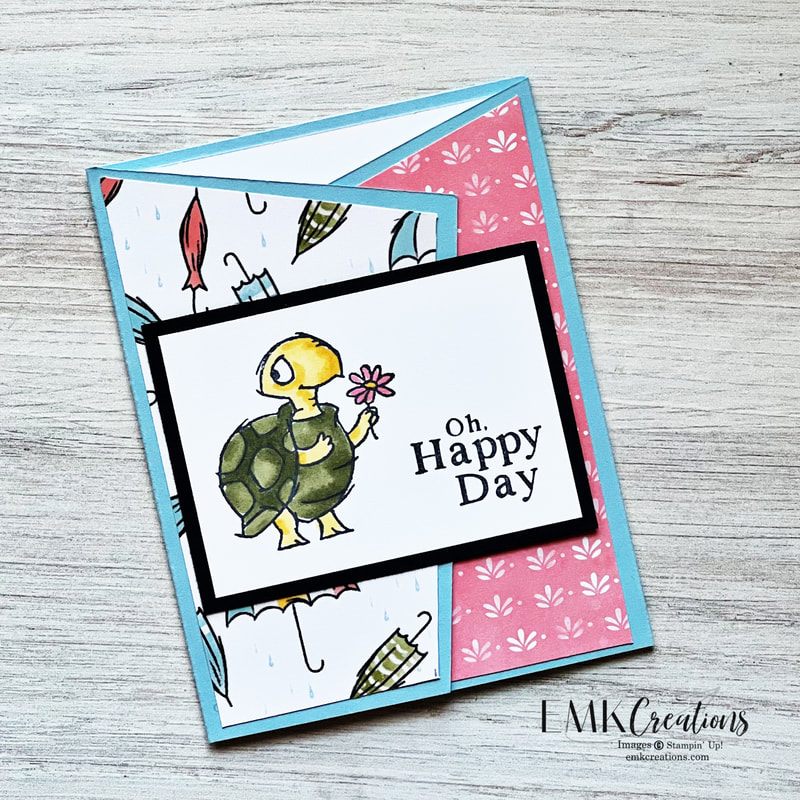
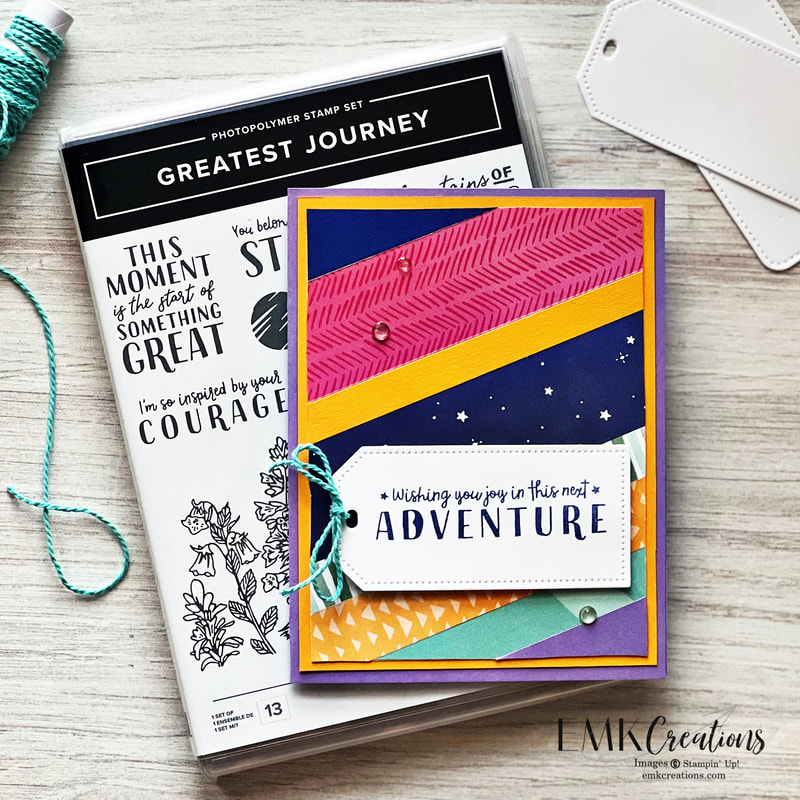
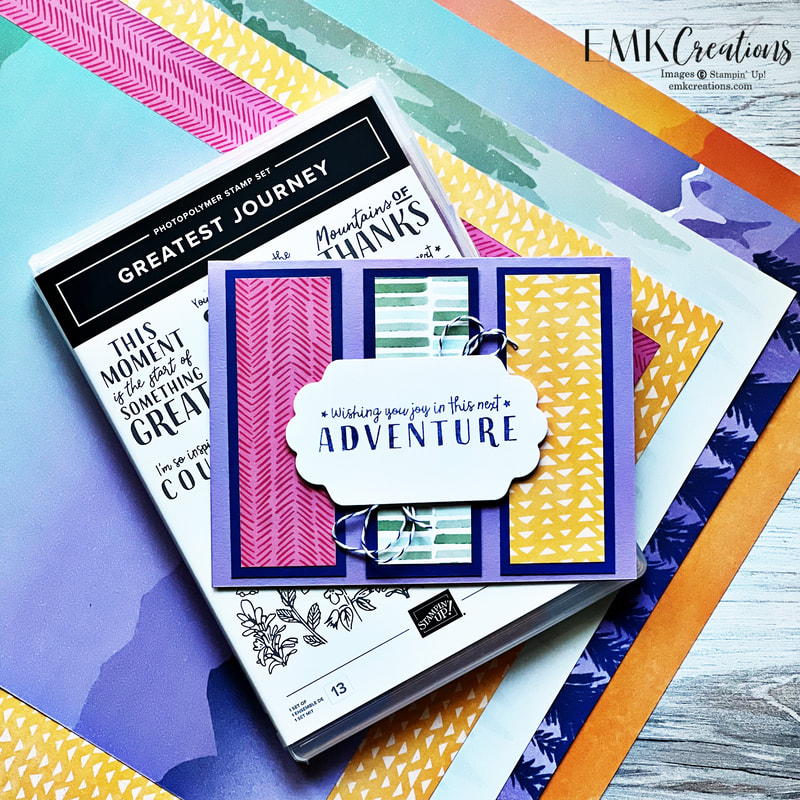
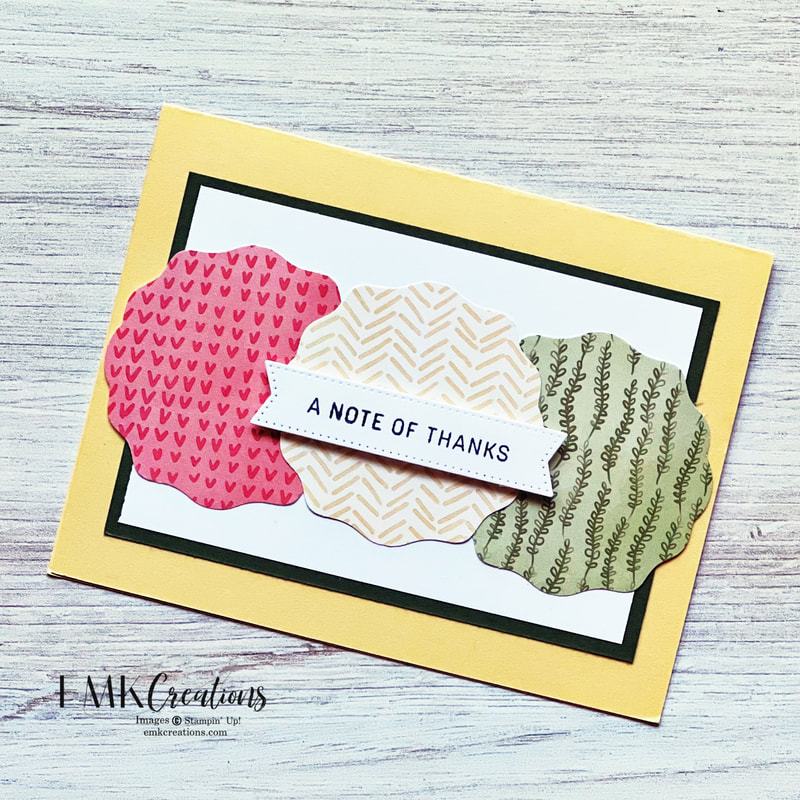
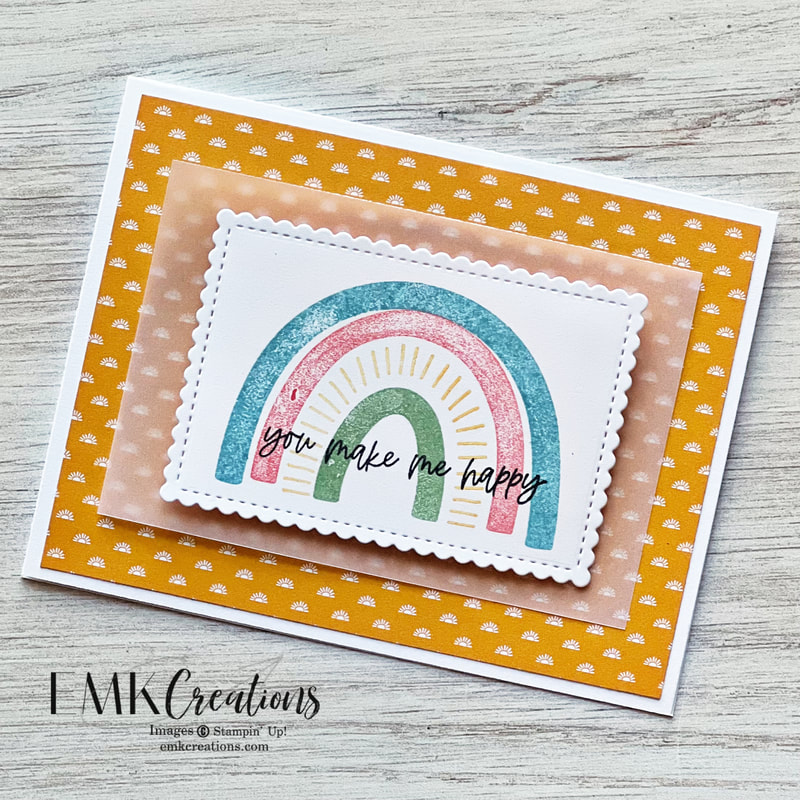
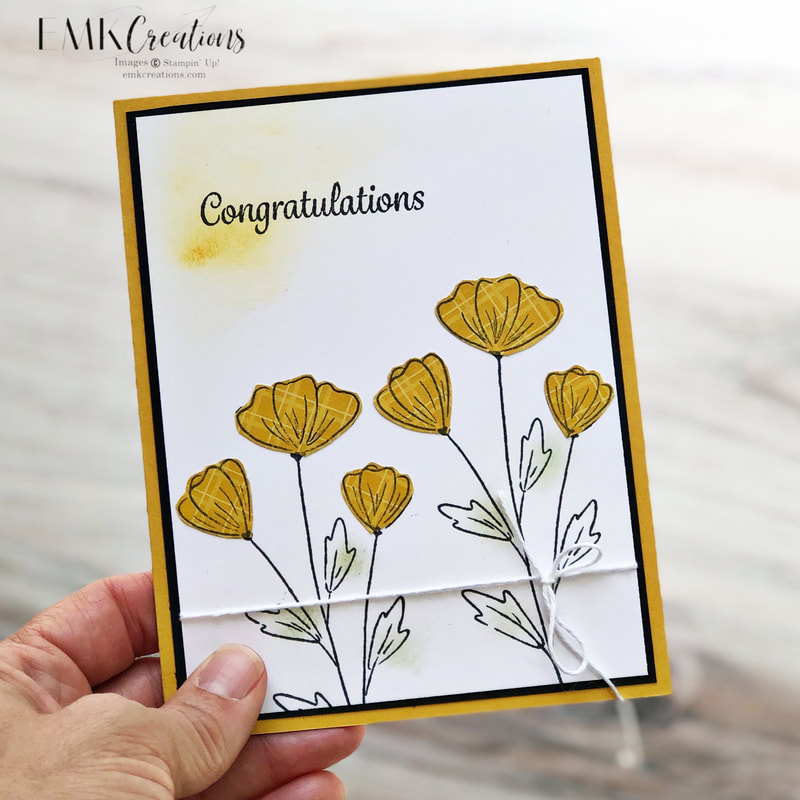
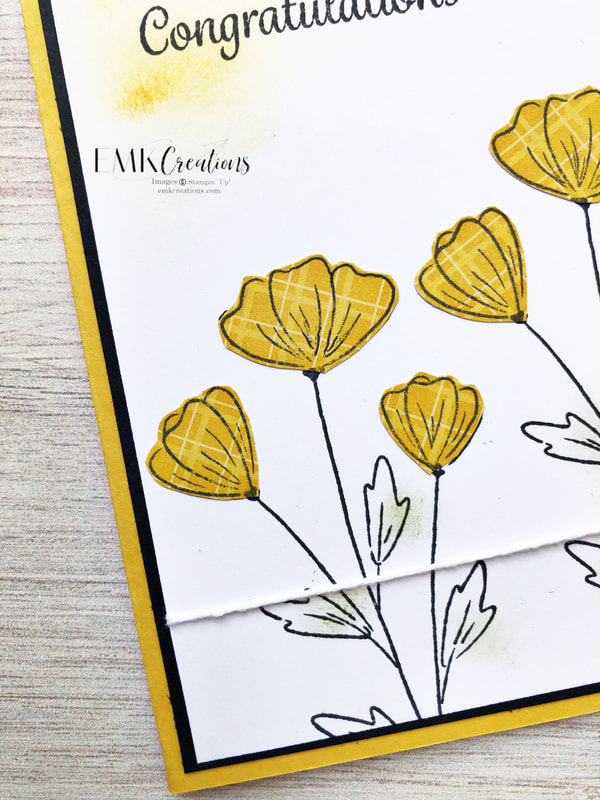
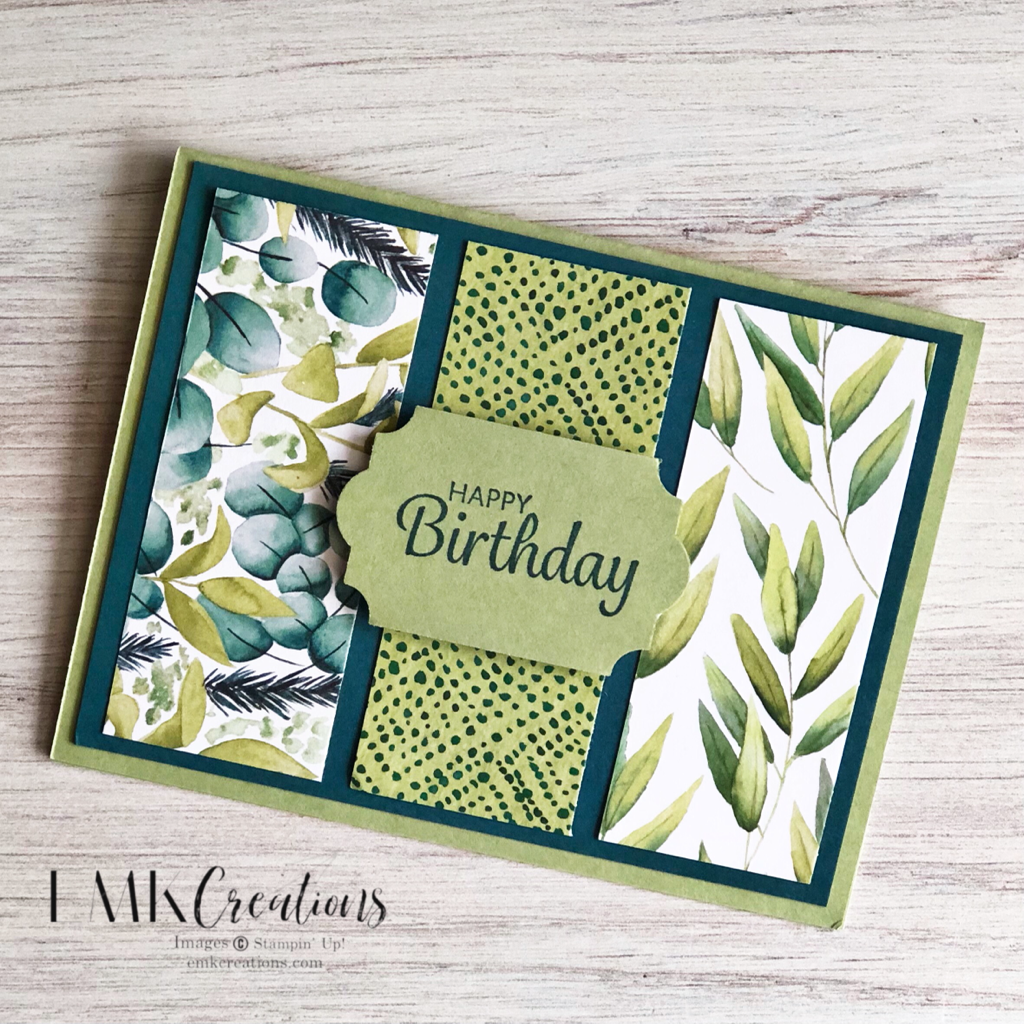
I used the Heartfelt Hexagon punch on this first card. It's an easy layout that lets you show off lots of different patterns of paper. The Sunny Days paper coordinates with the Bright Skies bundle and that is where the sentiment came from.
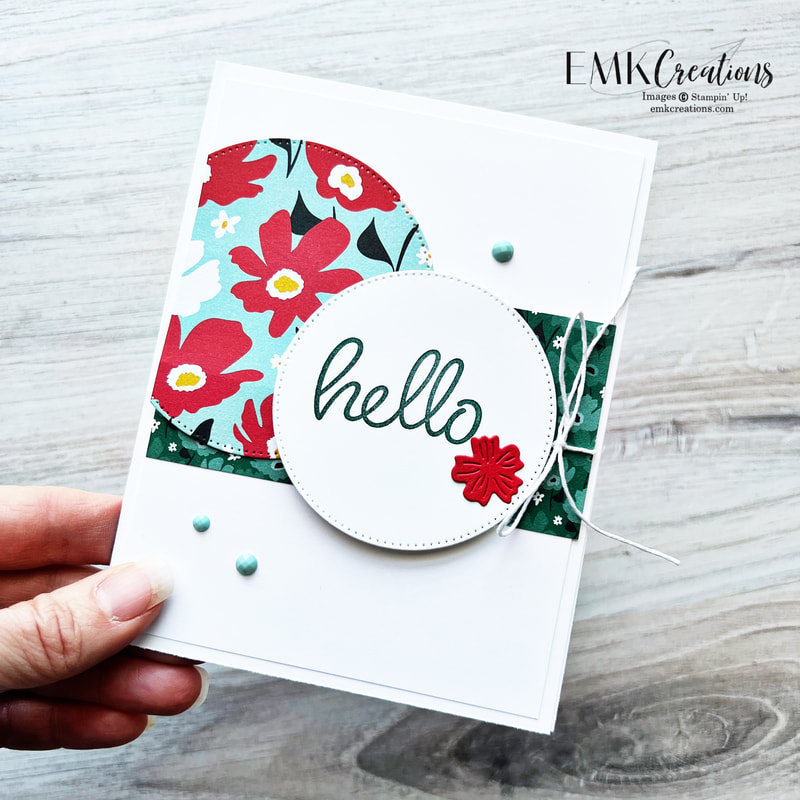
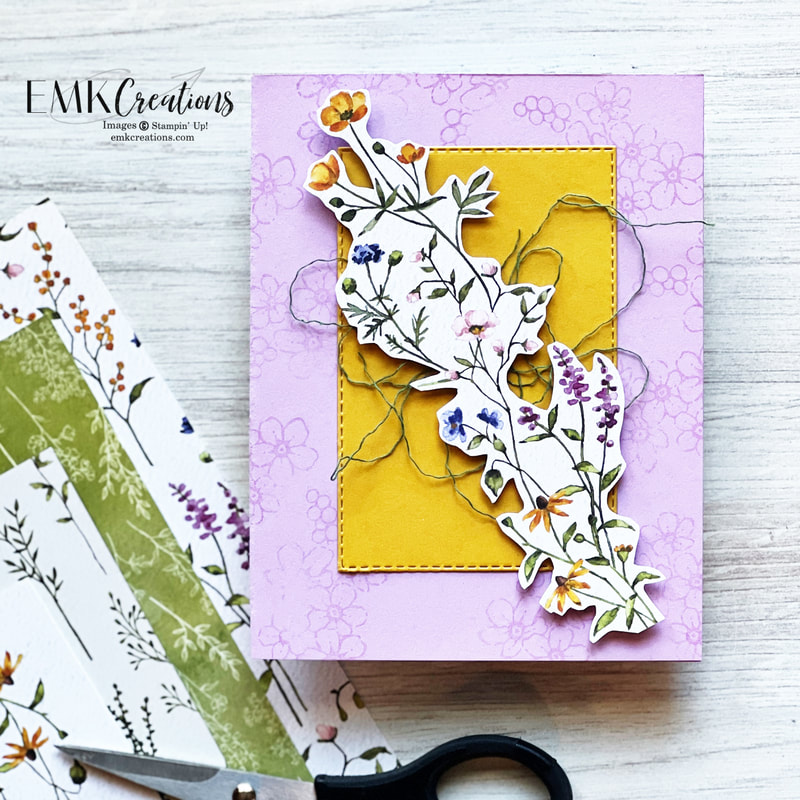
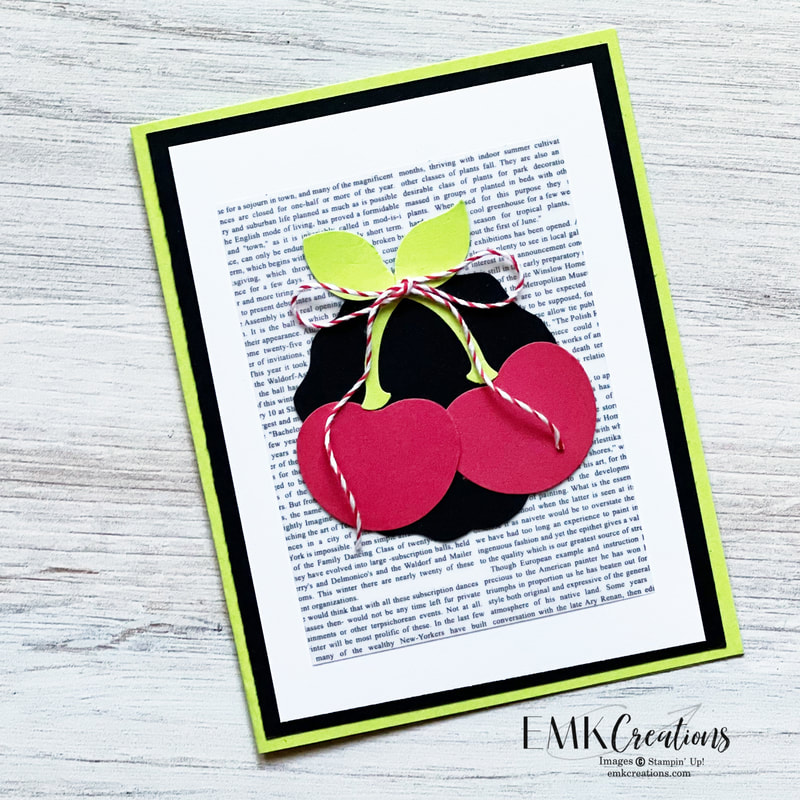
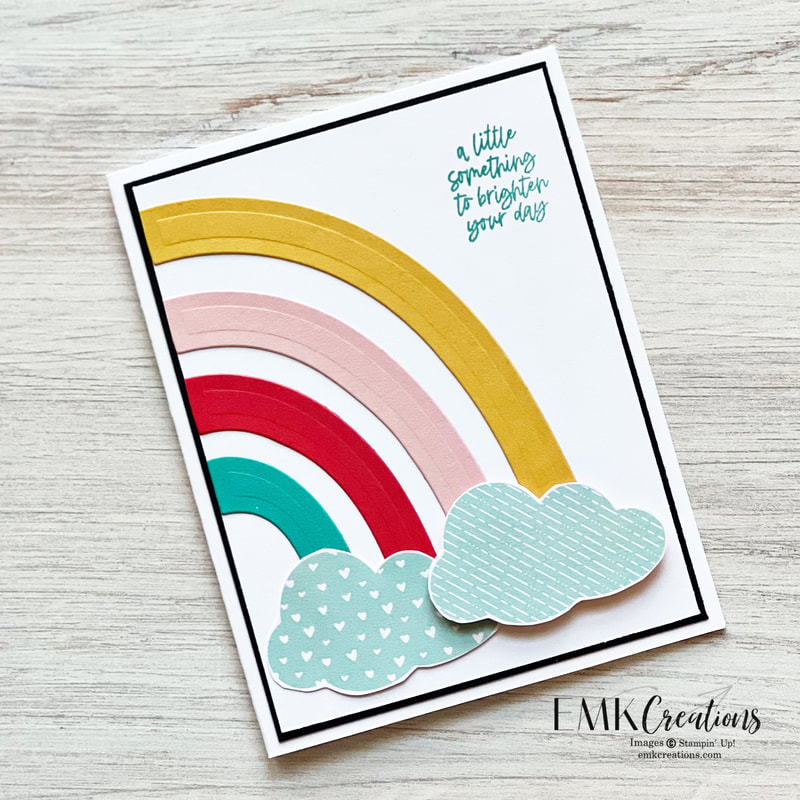
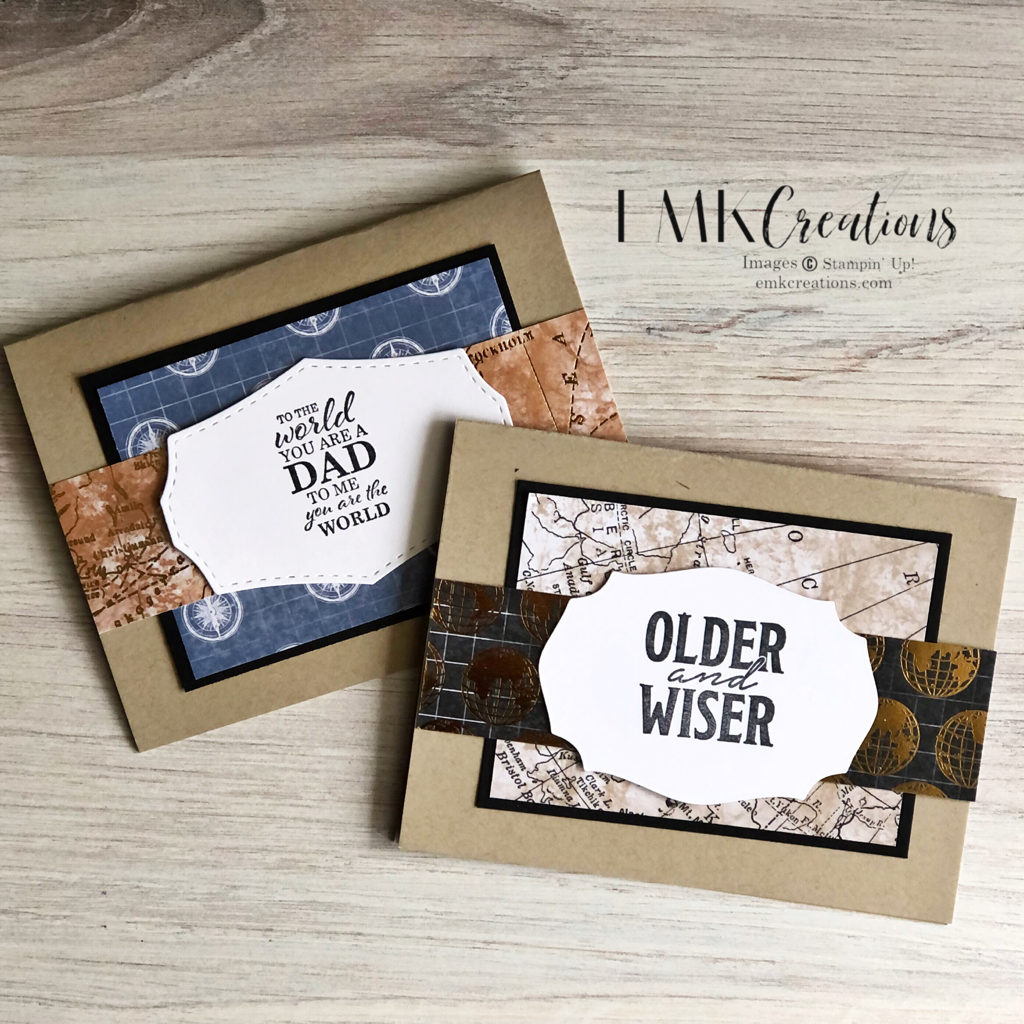
This layout is a simple one to recreate but the bright bold paper makes it pop! I love the tiny dots on the edges of the circles. It adds a little something extra to the die cuts.
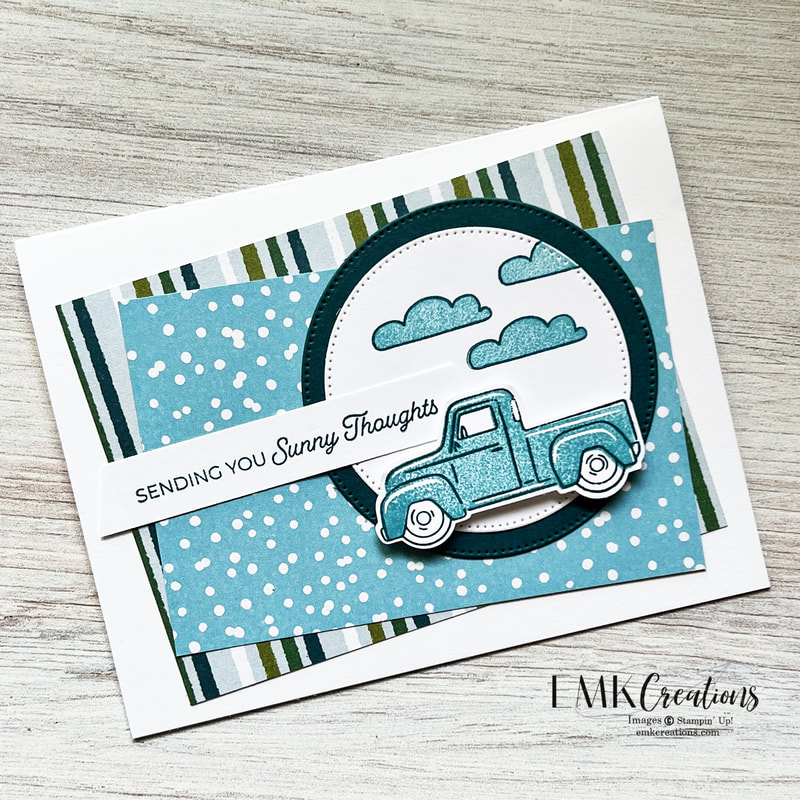
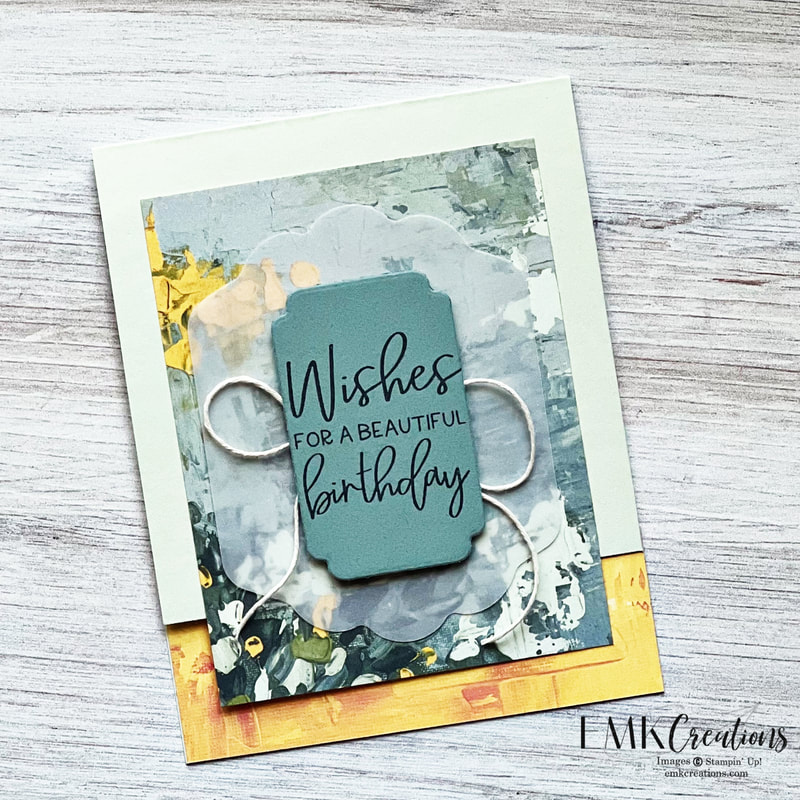
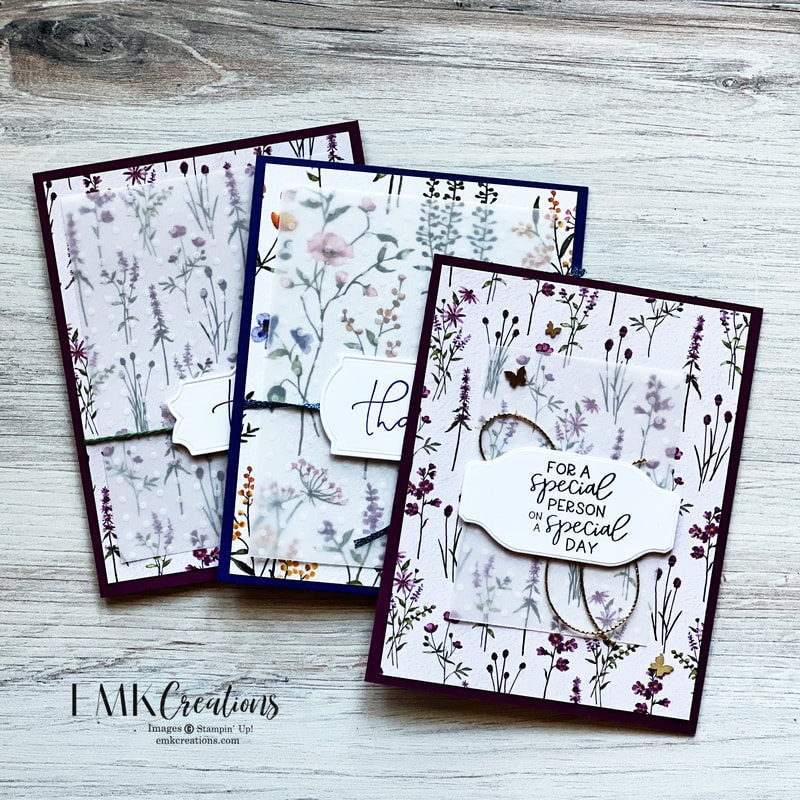
Did you catch the Online Exclusive Gold and Silver Adhesive Backed Glimmer Paper? It's awesome! It's always nice when you can die cut and stick it straight on your project without needing to deal with glue. Here is used it for the cloud but it's such a time saver when you are doing words and intricate dies.
You're going to want to add these products to your wish list!
Don't want to wait? Join my team now and you can get them as part of your starter kit or on a pre order once you've joined. I'm happy to answer questions.
The new Stampin' Up! Online Exclusive Trucking Along bundle is so fun! So many possibilities and ways to use it. Be sure to check out all the Online Exclusives. More are being added on November 7th!
I loved the color combos in the new A Walk in the Forest Designer Series Paper. It doesn't have to be used only for Christmas! Did you catch that this paper is also our "Making a Different" product for the mini catalog. For every pack sold SU! will donate $3 to Toys for Tots.
You can certainly use the Trucking Along bundle for holiday cards as well. This was a simple layout that can be repeated easily. The Joy of Christmas paper has some very pretty designs.
This card is a totally different color scheme. I used Lemon Lime Twist, Blackberry Bliss and Balmy Blue. What do you think?
Stamping with the same color ink on card stock is one of my favorite ways to create a background.
Quick tip for punching images. Do you ever have trouble lining up your image because it's on a small scrap of paper? Stick it to the sticky part of a Post It Note to give yourself extra room.
Happy stamping!
Truth be told, I've always been a little intimidated by fun fold cards...or at least ones with lots of scoring or strange cuts! I've been trying to challenge myself to try more of them and recently offered a class where we created four different fun folds.
I offered the class on Zoom only. This allowed everyone to be able to participate even if they do not live near me. I actually had more people in WI on the call than in IL where I live! Pretty cool. The first one we created is pretty simple and straightforward. After scoring your card base (11 x 4 1/4) in half you trim off a 1 1/4 inch piece from the bottom. This allows you to put your Designer Series Paper (DSP) strip on the bottom and have it show. I called this one "peek a boo". It's a great way to use up 6 x 6 paper as well since you can use the flip side of you paper for the bottom piece.
My favorite part about this design is that when you cut off the 2 3/4 in piece from the front of the base it is the perfect size to use as the front piece! The card only takes one 1/2 sheet of card stock (cut 11 x 5 1/2 inches) to create.
I've had a great time using the Greatest Journey bundle lately. The black stands out so well on the pink card stock and the orange in the Designer Series Paper is the perfect compliment.
I called this the double fold fun fold! It's another great card idea for showing off both sides of your Designer Series Paper. A 5 1/2 x 5 1/2 square of Designer Series Paper is what you need along with two 4 1/4 x 5 1/2 pieces of solid card stock in coordinating colors.
This was the hardest of the cards for me but once I made a couple it got easy! Learning to make the angled cuts is what had me nervous. I ended up creating a template (shown below) because I'm a visual learner.
Here's a look at how the card opens.
The base is a 5 1/2 x 11 inch piece of card stock scored at 3 3/8 on both sides. Measuring 1 inch down from the top of each side and one inch in on the bottom of each side is how you create your marks for cutting.
Have you tried any of these before? If you like videos you can check out all the cards here! Plus many more card ideas on my Pinterest. Be sure to click follow on both.
Supplies are listed below. Current Host Code is 9DPN3A3J.
Did you see that Stampin' Up! released new Sale a Bration reward options? One that I was very excited about was the Enjoy the Journey Designer Series Paper (DSP). You can earn it for free with a $50 order (be sure to use item number 164425 instead of the number in the catalog) through the end of the month. I wanted to show off ways to use!
These cards are such an easy way to use the beautiful sheets with the mountains on them. I cut down the large 12 x 12 sheet into six pieces measuring 3 3/4 x 5 inches and layered those on black cardstock pieces measuring 4 x 5 1/4 inches. The Three Twine Combo pack is the perfect coordinating item to bring it all together.
I loved the play on words with this sentiment from the Greatest Journey stamp set as well and it works perfectly with the Label Me Fancy punch.
I added the stars to this one and used the Pearl Basic Jewels.
If you watched the Reel of me making the card above you might have noticed I had a section missing from my black card stock mat. I try to cut shapes out of my mats to get the most out of my supplies. You only see a quarter inch of the piece so why waste all that paper in the middle?! I cut a stack of mats all at once and then die cut or punch out shapes. This also gives me various mats and die cut shapes to have on hand when I'm crafting.
I used these two cards for my "this or that" this week and it was so close! Everyone seems to love blue and purple.
This card I created using the scraps left over from the other projects you see in this collection. This was done the same way as the card I showed how to make in this video.
![]()
Measurements for this card are 1 1/4 x 3 3/4 inch strips of DSP layered on 1 1/2 x 4 inch strips of Starry Sky.
I loved this saying from the Picturesque stamp set and thought it would be great for so many different occasions.
You can check out a video of me creating this card here. Be sure to follow my Instagram page! A week to Christmas! Are you ready? I am getting there...shopping done but no cards sent yet! I'll get there. In the meantime it's time for a Monday Montage Blog Hop. I have started to play with my pre-order for the new mini catalog and Sale a Bration. Get ready for January 5th! Here's a sneak peek of one of the items you can earn for FREE. The Dainty Flowers Designer Series Paper is so pretty. Check out a few ways to use it. This first card did require a little fussy cutting but I think it was worth it. This is a favorite way of mine to use Designer Series Paper. Cut it to 4 x 5.25 and then layer a piece of velum over it. This vellum will be in the new mini catalog as well. If you look closely you can see the pattern on it. This is the easiest of cards! It's just stamps and inks. I love a card that comes together this easily. Be sure to hop along to Wendy or back to Elizabeth. They have wonderful projects to share with you.
Happy Holidays! I hope you have a chance to relax and enjoy the next few weeks.
I hosted another Stampin' Game night last week and these are the cards we made. A few people joined over Zoom so the projects had to be ones that could be completed with stamps they had at home (no stamped images allowed in class packets per company policy).
As you can see, the new Decorative Circle punch is amazing! Use it as a focal point, a backdrop or to stamp a sentiment on. You can't go wrong. This first card also features the Happy Forest Friends paper.
The Sweetest Cherries Bundle was one of the game round prizes so I had to use it on one of the cards! This card could be used for so many occasions and I loved using the bright new In Colors.
This card is our fun fold from the evening. The middle section opens up to reveal your message.
The Lasting Label punch is another one you need for your collection. I paired it with the Design a Daydream Host Designer Series Paper Pack. The patterns and colors are awesome in this huge (48 sheets) paper pack. Also, make sure you don't overlook the Limited Edition stamp set. Not only is it just what you need to meet the Angel Policy (if you sell your handmade cards that feature SU! products) but the great sayings like this one are a must for your collection!
The final card used the beautiful Abigail Rose Designer Series Paper paired with the Uniquely Artistic stamp set.
The new Solid Faceted Gems are my current favorite embellishment. Everyone who attended received a pack as their attendance prize.
Which project is your favorite? They are all different for sure!
Are you ready for a sneak peek of new product coming in January? I am having so much fun with the new Rainbow of Happiness bundle. Paired with the Sunshine & Rainbows Sale a Bration Designer Series Paper (which you can earn for free in January) it makes easy and adorable cards. My favorite kind! Both of these are so simple. The card on the left is a simple die cut on a piece of the Designer Series Paper (DSP). Adhere to card front and stamp your sentiment. Done! The second is a CASE from a sample in the Sale a Bration brochure. I changed it up a little by cutting the DSP to 4 x 5 1/4 and layering on a card stock base. This card showed me I needed to re-ink many of my ink pads! I still like how it looks but that is not full ink coverage for sure. I love that our inks can be reinked so you don't have to keep buying new ones. It's another easy layout but I like the look of adding velum over DSP to give a muted look. Adding the white 4 x 5 1/4 panel to the black panel gives it a pop against the white card stock base. I did fussy cut the clouds from the DSP because I did not have the new cloud punch yet.
All of these cards make me happy. I love rainbows and bright colors! No supply list since the items aren't available for purchase until January but I hope you enjoy the sneak peek.
The Penguin Place Suite and coordinating Penguin Playmates Designer Series Paper are a current favorite of mine. There are so many ways to use these products to create adorable cards.
The penguin can be stamped or punched thanks to the coordinating punch.
Above I stamped the cute critter directly on my card stock. I coordinated with Regals colors to create a fun birthday card. Using the Regals 6 x 6 Designer Series Paper makes an easy background. It's hard to see in the photo but there's some Wink of Stella on that balloon!
For this card I switched to the Designer Series Paper and fussy cut some of the cute critters out. The paper makes putting together a card so easy! The only stamping on this one is the sentiment. The rest is all thanks to the adorable paper which is a FREE Sale a Bration item you can earn with a $50 purchase.
Product List
|
AuthorI'm an independent Stampin' Up! demonstrator and paper artist. Archives
April 2025
Categories
All
|