Truth be told, I've always been a little intimidated by fun fold cards...or at least ones with lots of scoring or strange cuts! I've been trying to challenge myself to try more of them and recently offered a class where we created four different fun folds.
I offered the class on Zoom only. This allowed everyone to be able to participate even if they do not live near me. I actually had more people in WI on the call than in IL where I live! Pretty cool.
The first one we created is pretty simple and straightforward. After scoring your card base (11 x 4 1/4) in half you trim off a 1 1/4 inch piece from the bottom. This allows you to put your Designer Series Paper (DSP) strip on the bottom and have it show. I called this one "peek a boo". It's a great way to use up 6 x 6 paper as well since you can use the flip side of you paper for the bottom piece.
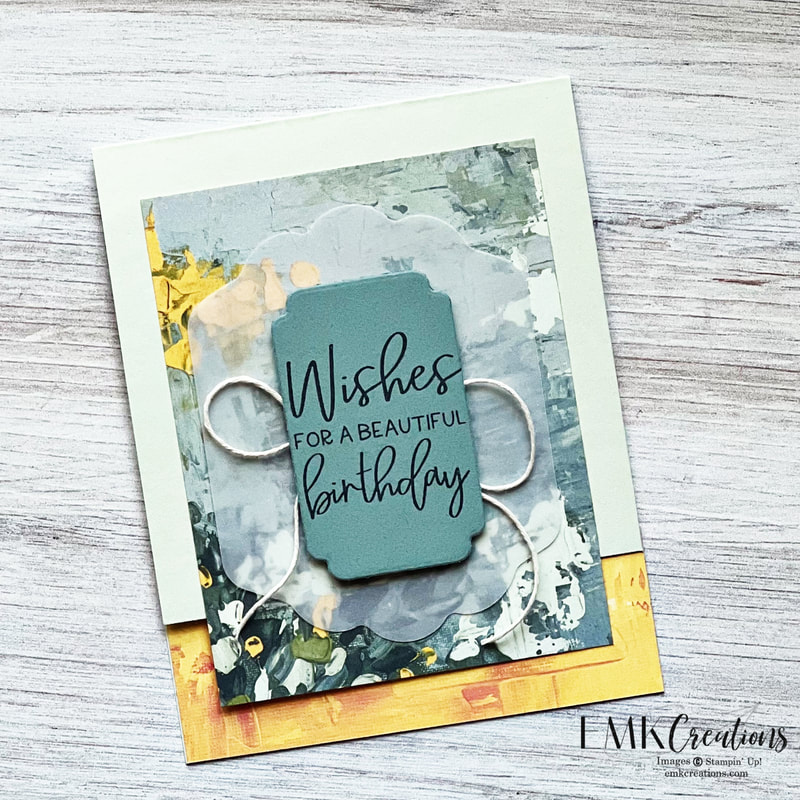
Fun Fold Card with Fancy Flora
My favorite part about this design is that when you cut off the 2 3/4 in piece from the front of the base it is the perfect size to use as the front piece! The card only takes one 1/2 sheet of card stock (cut 11 x 5 1/2 inches) to create.
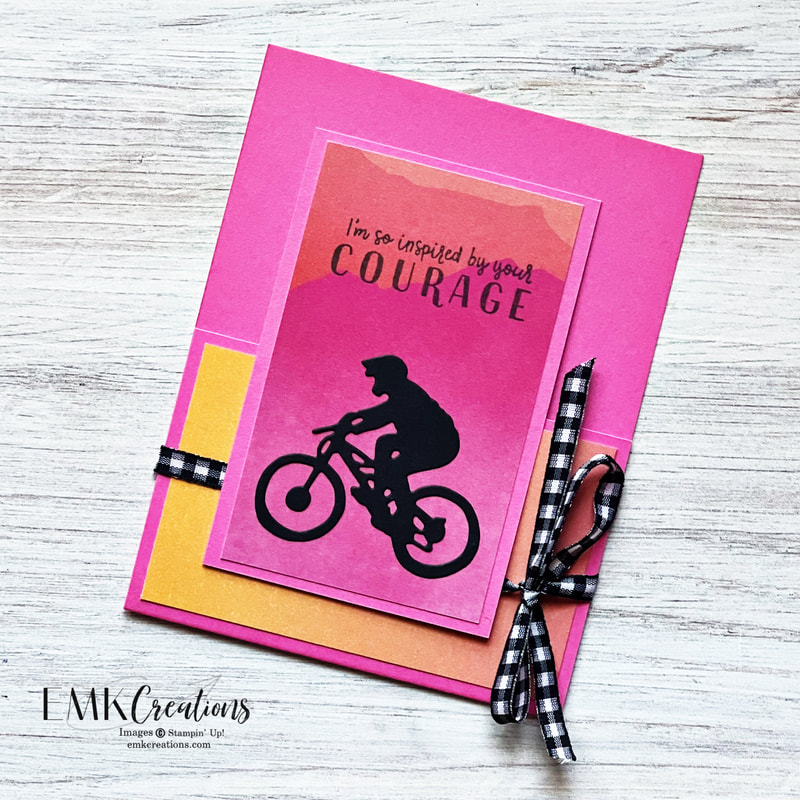
I've had a great time using the Greatest Journey bundle lately. The black stands out so well on the pink card stock and the orange in the Designer Series Paper is the perfect compliment.
I've had a great time using the Greatest Journey bundle lately. The black stands out so well on the pink card stock and the orange in the Designer Series Paper is the perfect compliment.
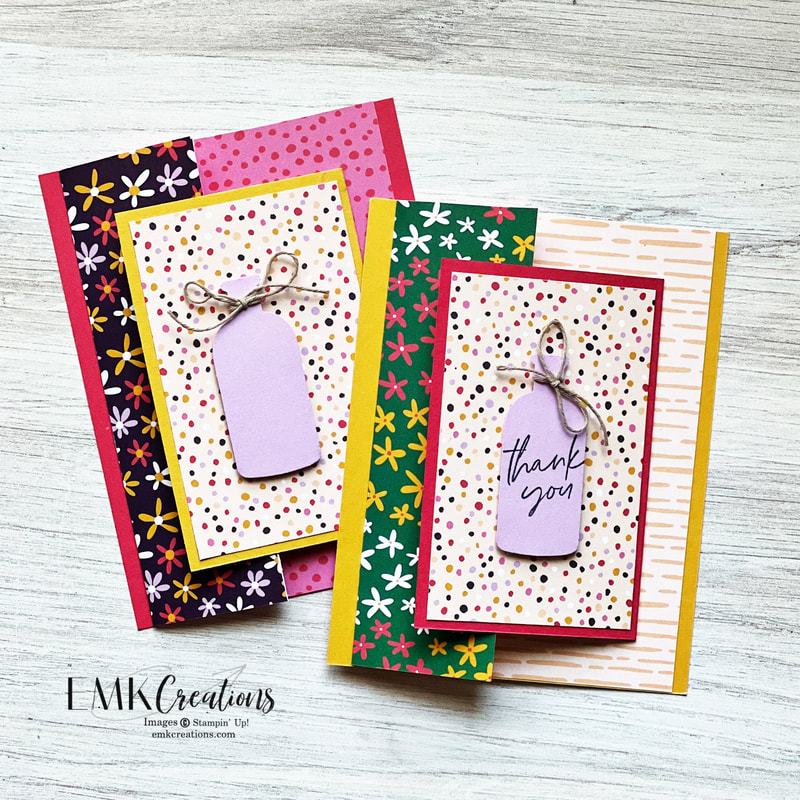
I called this the double fold fun fold! It's another great card idea for showing off both sides of your Designer Series Paper. A 5 1/2 x 5 1/2 square of Designer Series Paper is what you need along with two 4 1/4 x 5 1/2 pieces of solid card stock in coordinating colors.
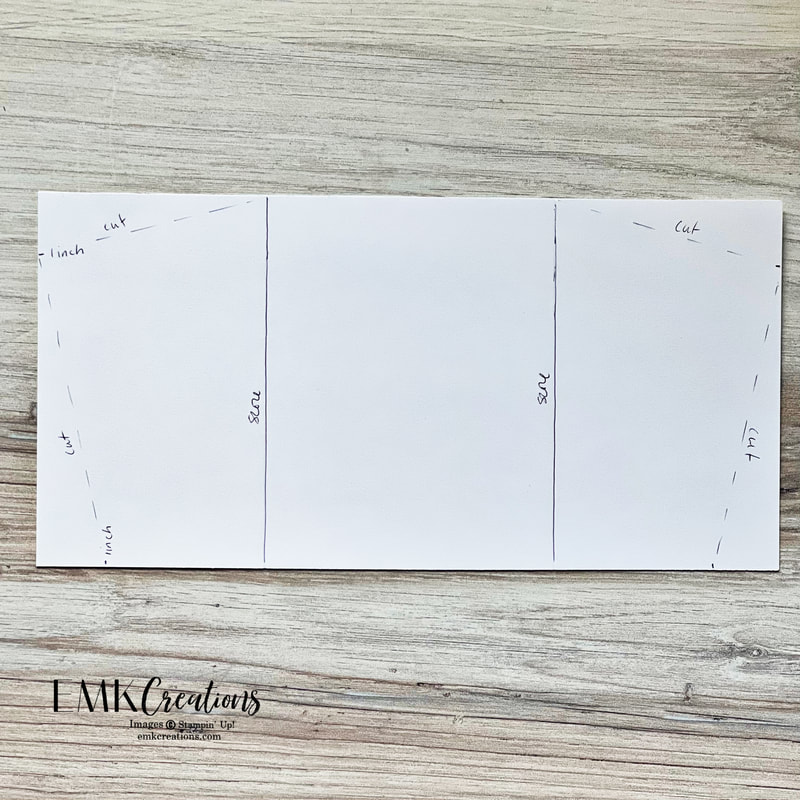
This was the hardest of the cards for me but once I made a couple it got easy! Learning to make the angled cuts is what had me nervous. I ended up creating a template (shown below) because I'm a visual learner.
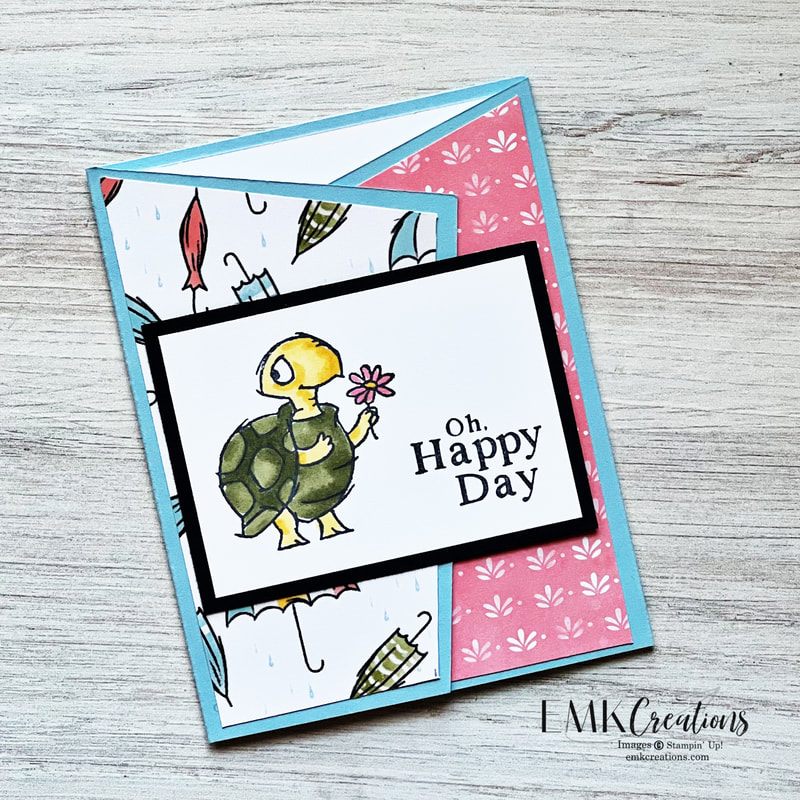
Here's a look at how the card opens.
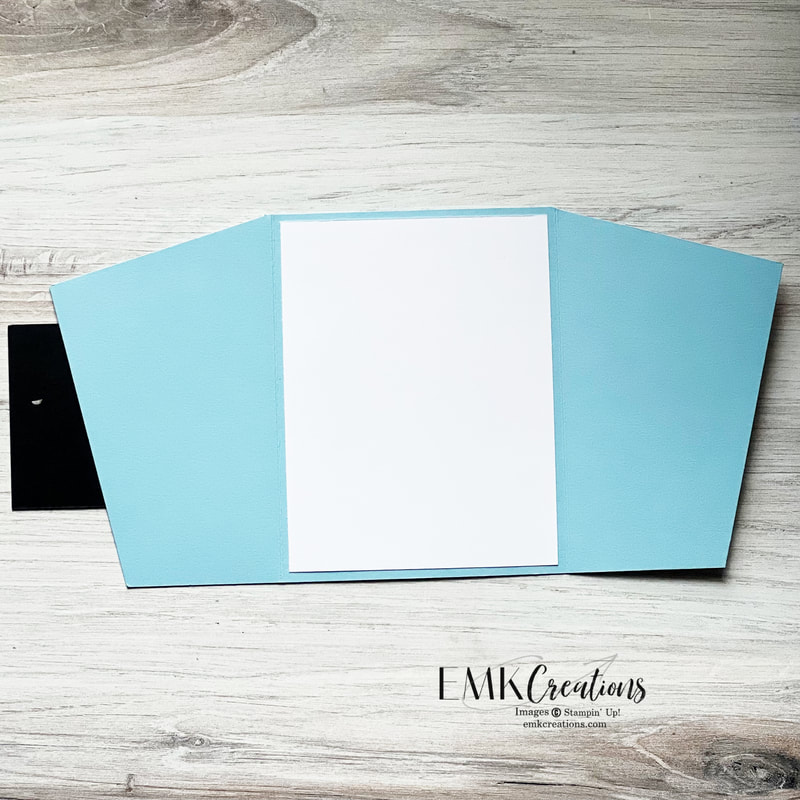
The base is a 5 1/2 x 11 inch piece of card stock scored at 3 3/8 on both sides. Measuring 1 inch down from the top of each side and one inch in on the bottom of each side is how you create your marks for cutting.
Have you tried any of these before? If you like videos you can check out all the cards here! Plus many more card ideas on my Pinterest. Be sure to click follow on both.
Supplies are listed below. Current Host Code is 9DPN3A3J.
Supplies are listed below. Current Host Code is 9DPN3A3J.
Product List


")


 Designer Series Paper")

 Designer Series Paper")
 Gingham Ribbon")


 Host Designer Series Paper")

")
 Designer Series Paper")

 RSS Feed