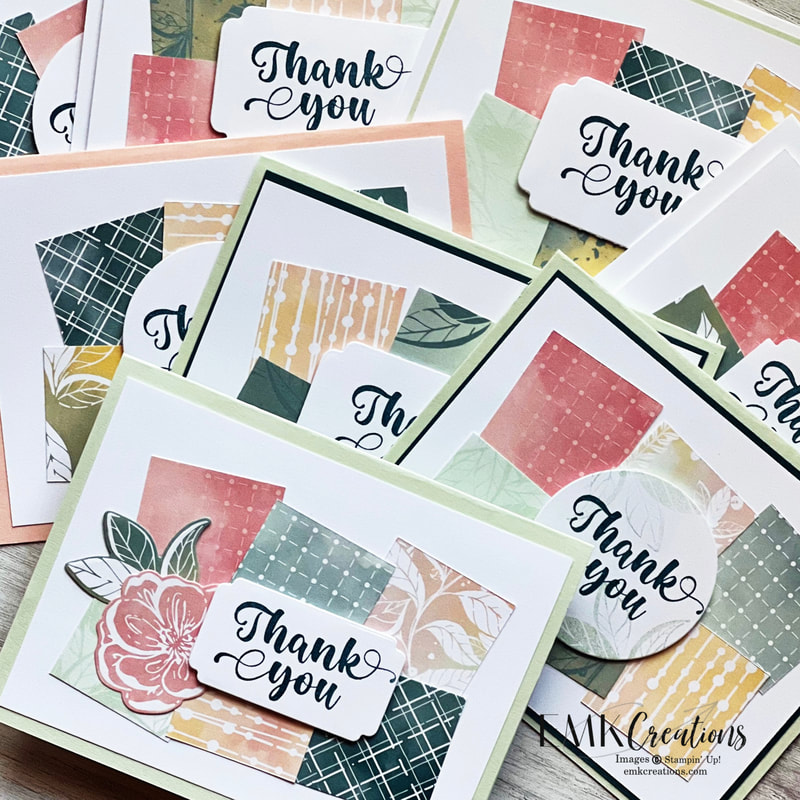
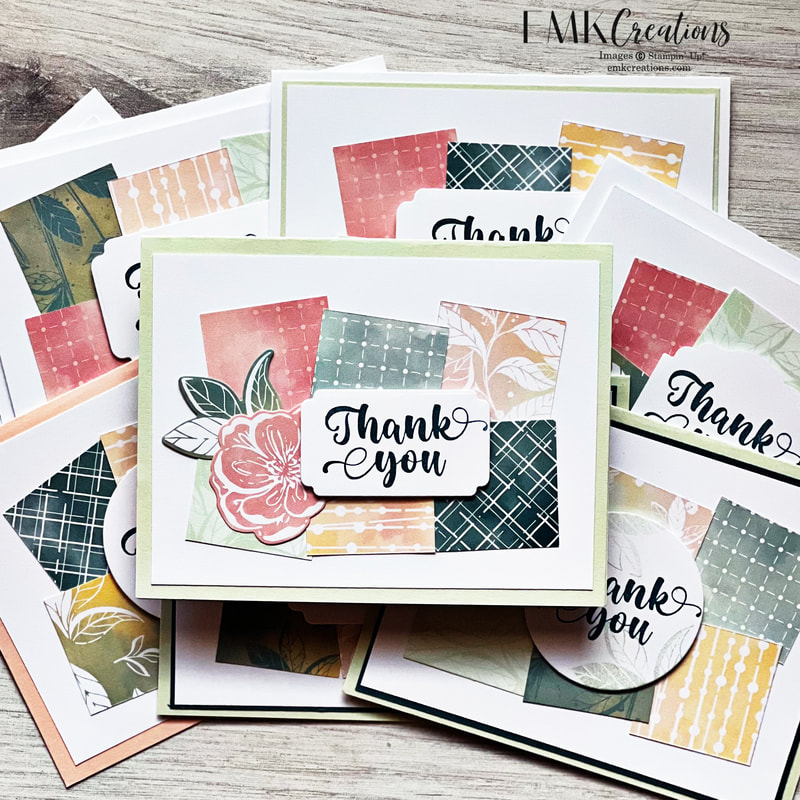
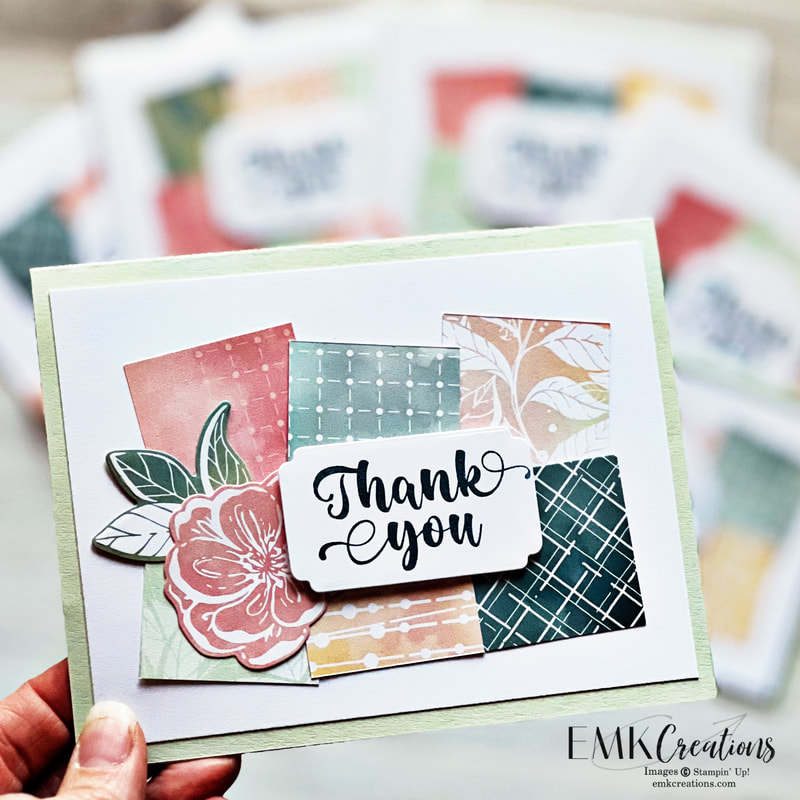
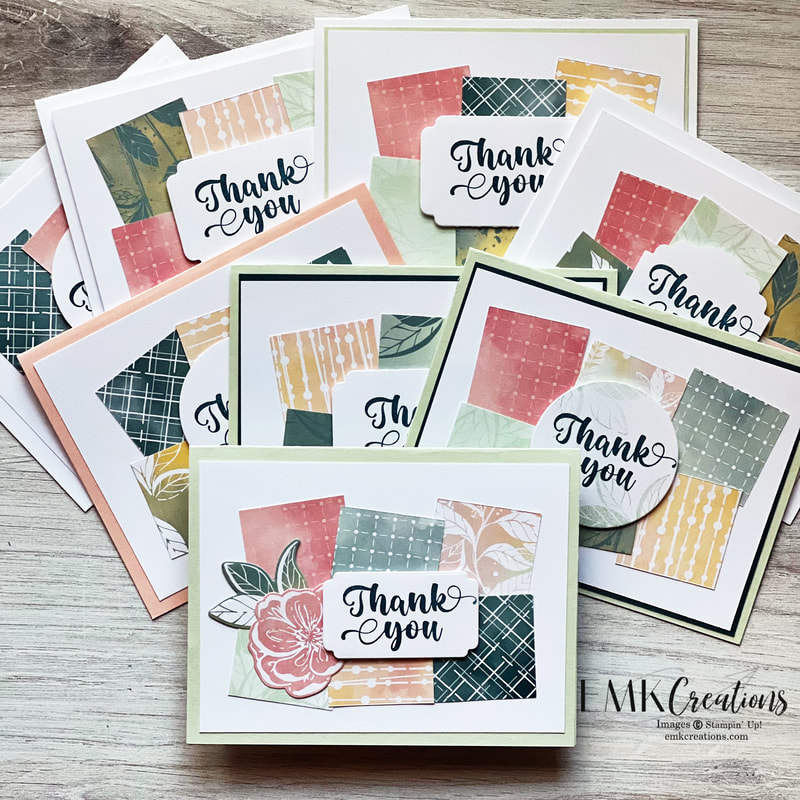
I needed to create my customer thank you cards for March. When I need a lot of cards at once I like to find a layout that I can use by mixing and matching so I don't get bored! This one was fun and so easy.
|
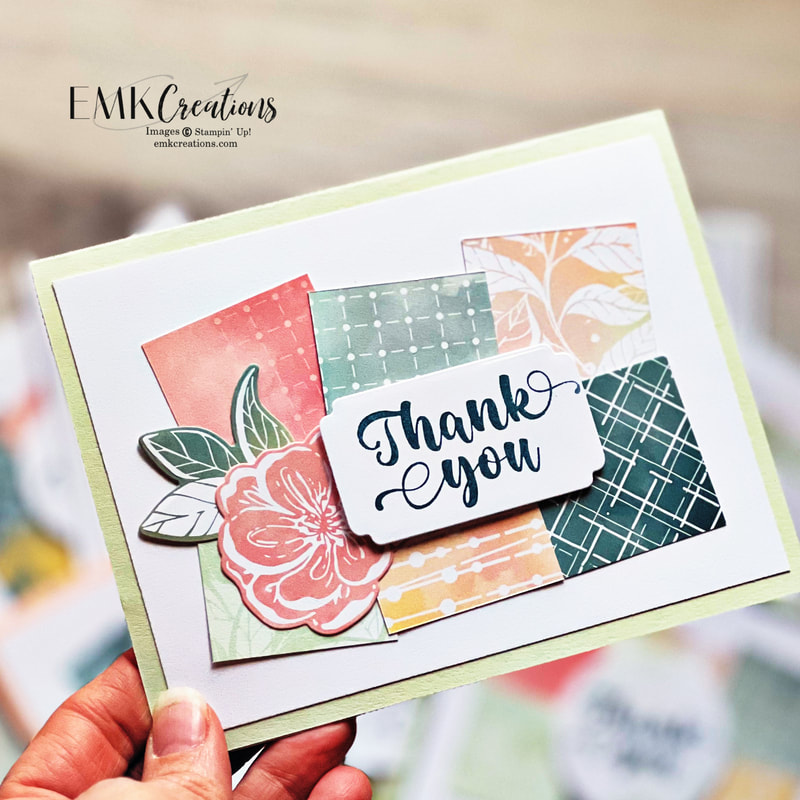
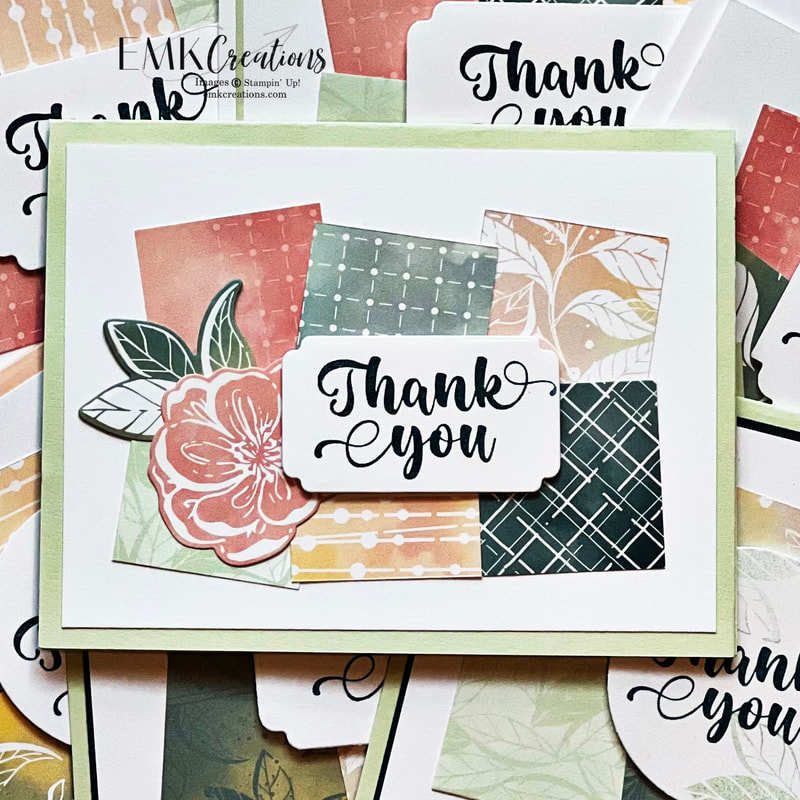
The new Stampin' Up! Hello, Irresistible paper is beautiful! It is available starting Wednesday and you are going to need it. I needed to create my customer thank you cards for March. When I need a lot of cards at once I like to find a layout that I can use by mixing and matching so I don't get bored! This one was fun and so easy. The squares 1 1/2 inch by 1 1/2 inch. Most of the white card stock pieces are 3 7/8 inch x 5 1/8 inch so that if I wanted to layer them I could put them on a 4 inch x 5 1/4 inch piece of card stock before adhering on the base. The sentiment is from the coordinating stamp set Irresistible Blooms. The flower and leaves were die cut from another sheet of the designer series paper. You are going to want the whole suite! The coordinating colors Daffodil Delight, Flirty Flamingo, Lost Lagoon (returning), Petal Pink, Pretty Peacock (returning) and Soft Sea Foam. What do you think?
0 Comments
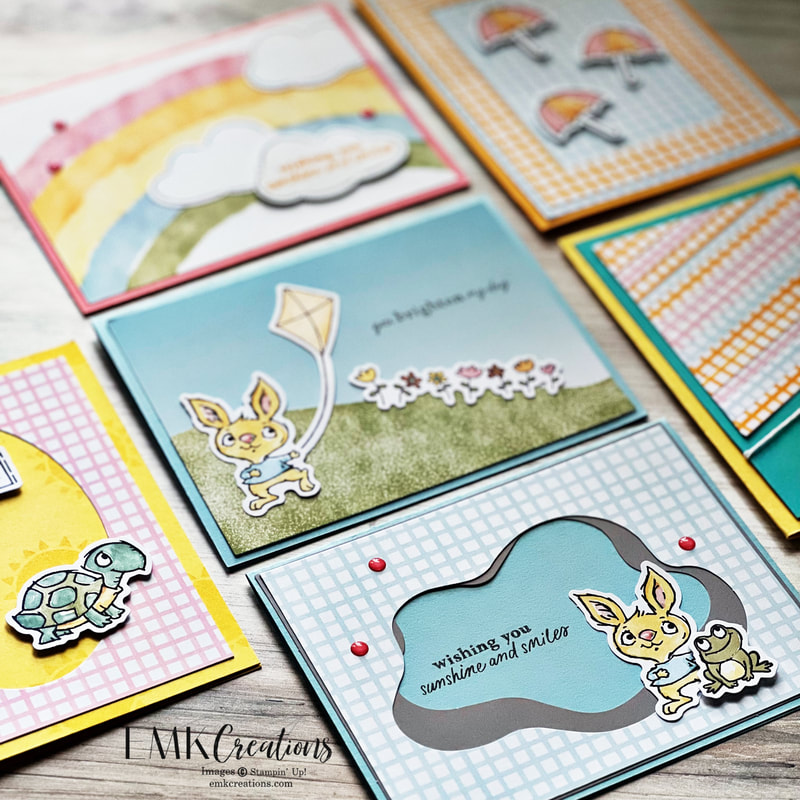
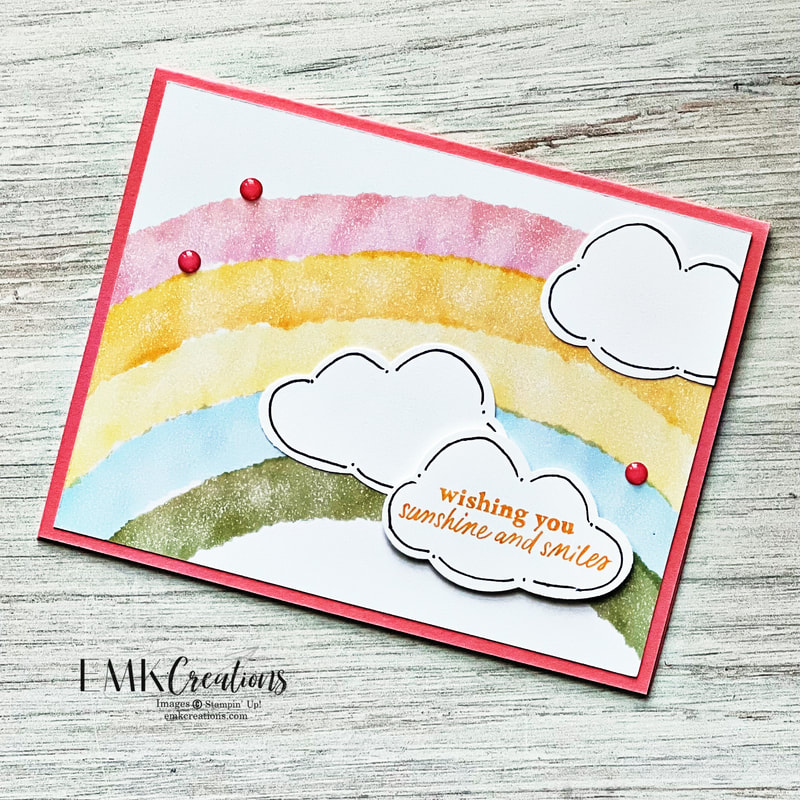
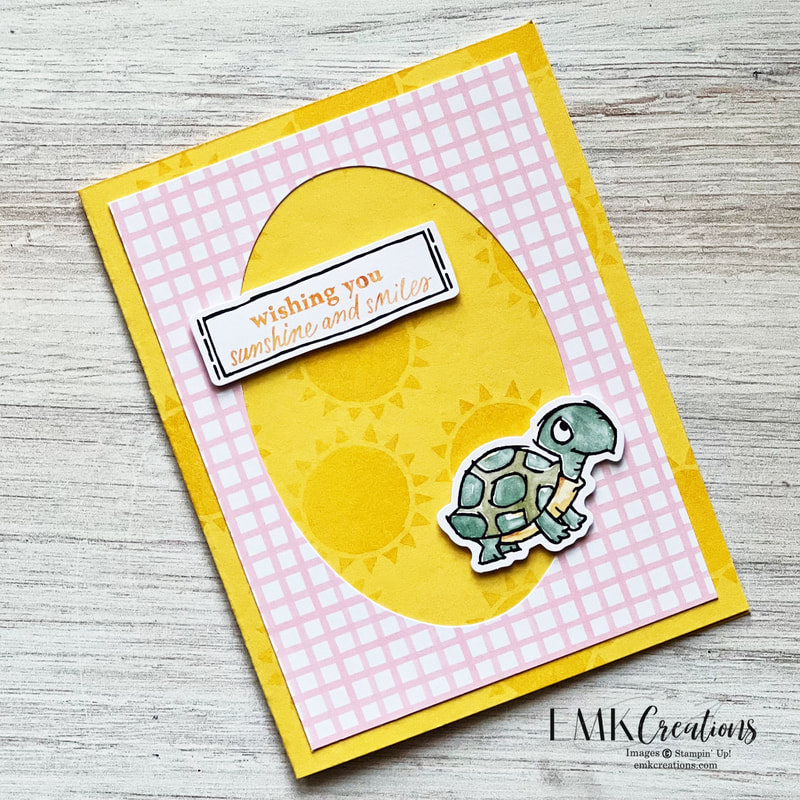
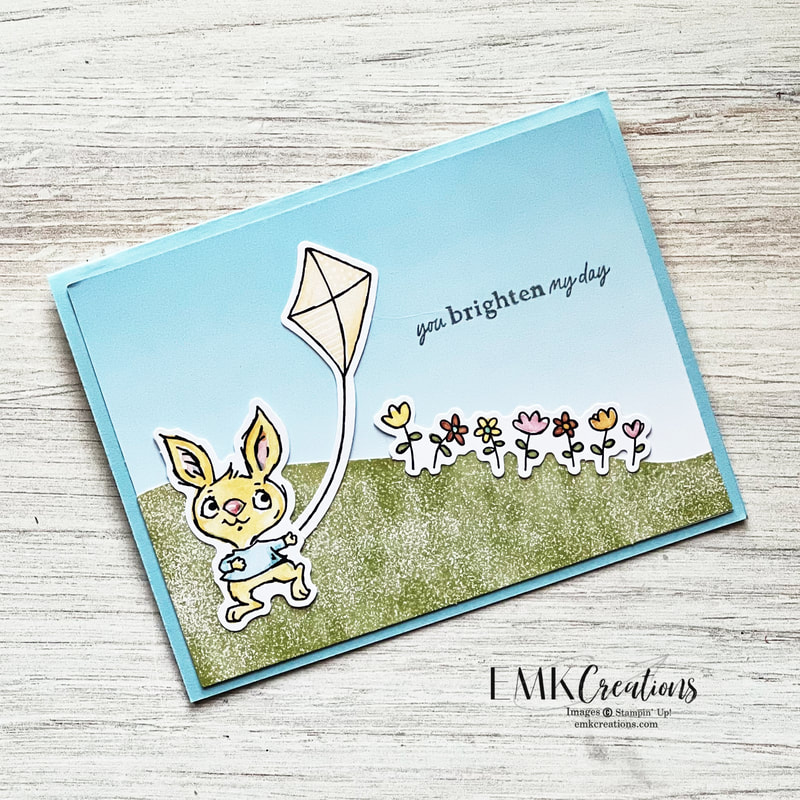
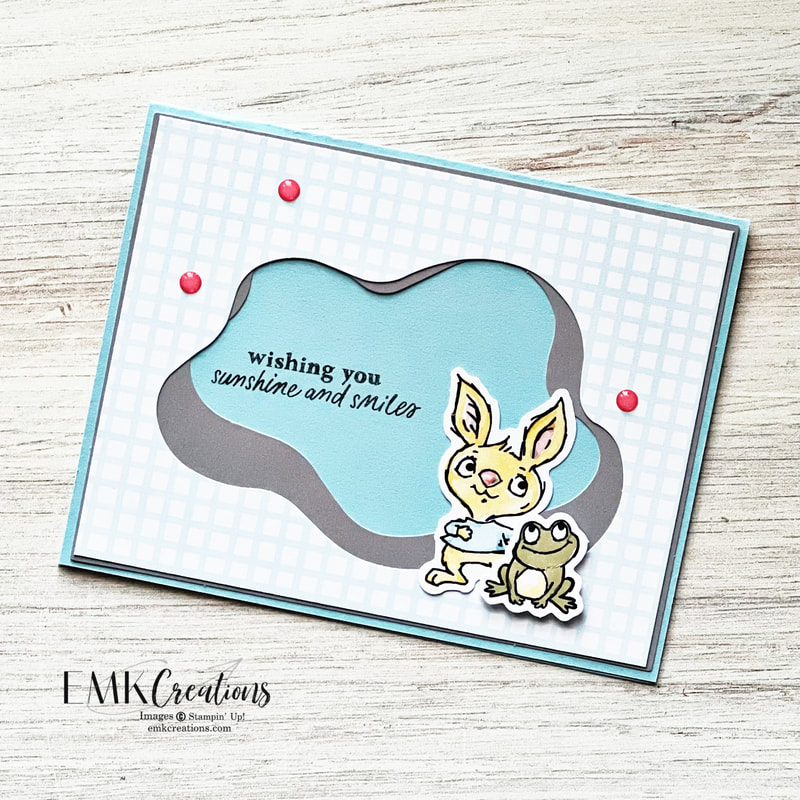
The Sunshine and Smiles Paper Pumpkin kit is such a cute kit! I haven't had a lot of time to play with it but I've had a chance to make a few alternatives.
The Cloud Punch is a perfect compliment for this kit. I added some lines with my black Stampin' Write marker.
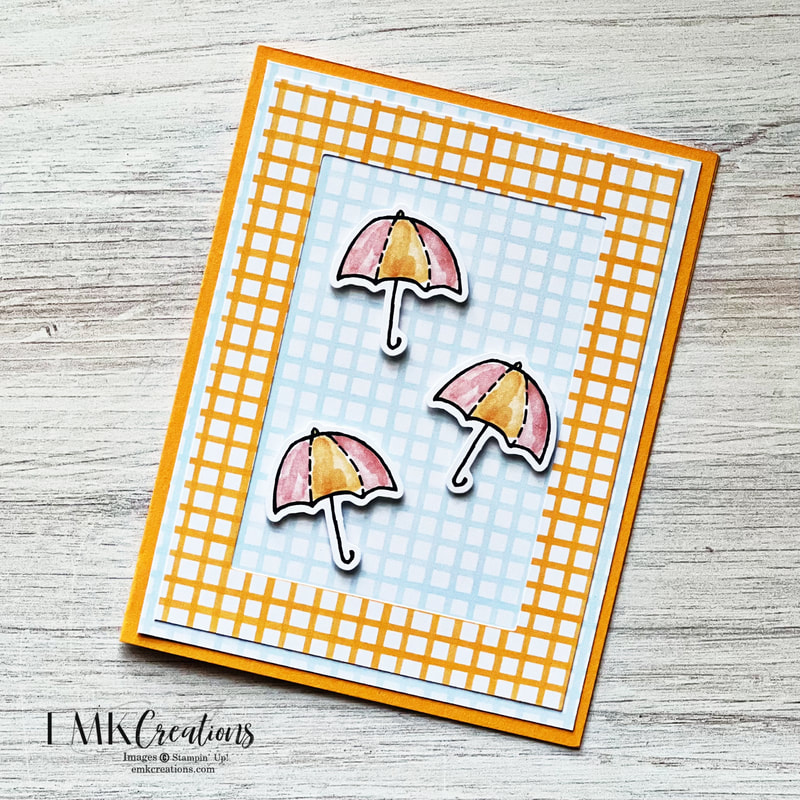
I think this will make a perfect baby shower card! I love these umbrellas.
Remember to cut down your bases to give yourself a lot more options!
Ready to get your own Paper Pumpkin kit each month? Sign up here.
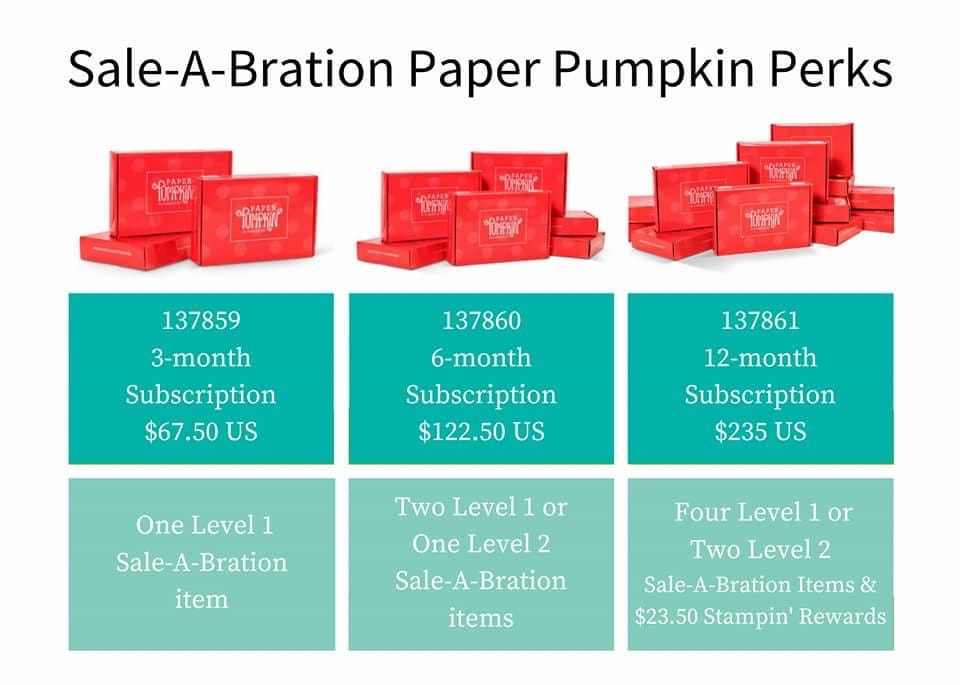
Better yet, get a pre-paid now through Tuesday and you could earn a FREE Sale a Bration reward and possible host rewards as well. Check out this graphic for details. You can order on an online store order or contact me. You will receive an emailed code after purchasing.
February is flying by but we had 50+ degree weather this weekend and it's staying light past 5 pm so I am happy!
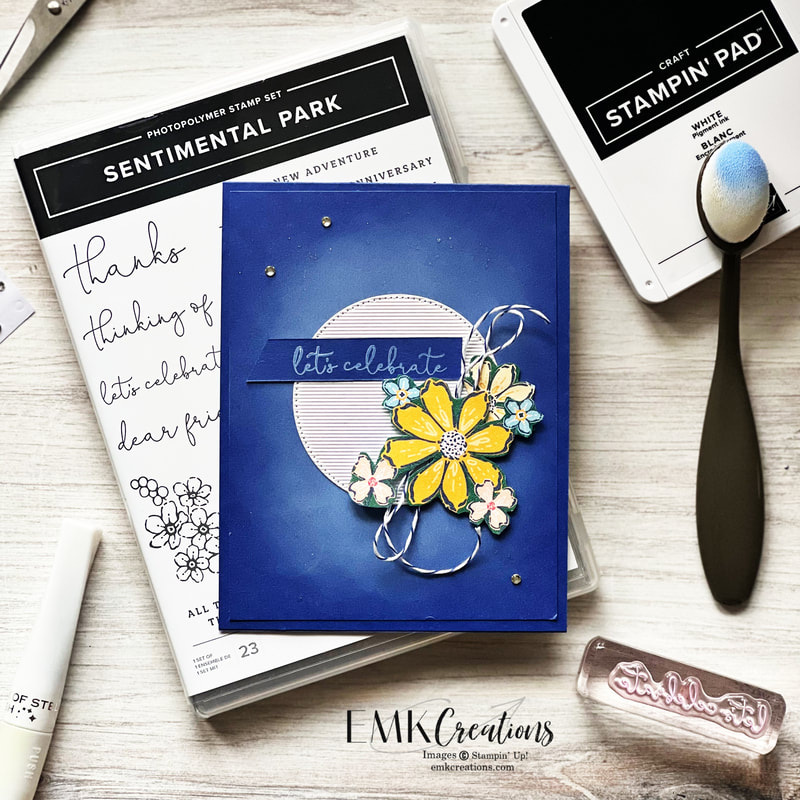
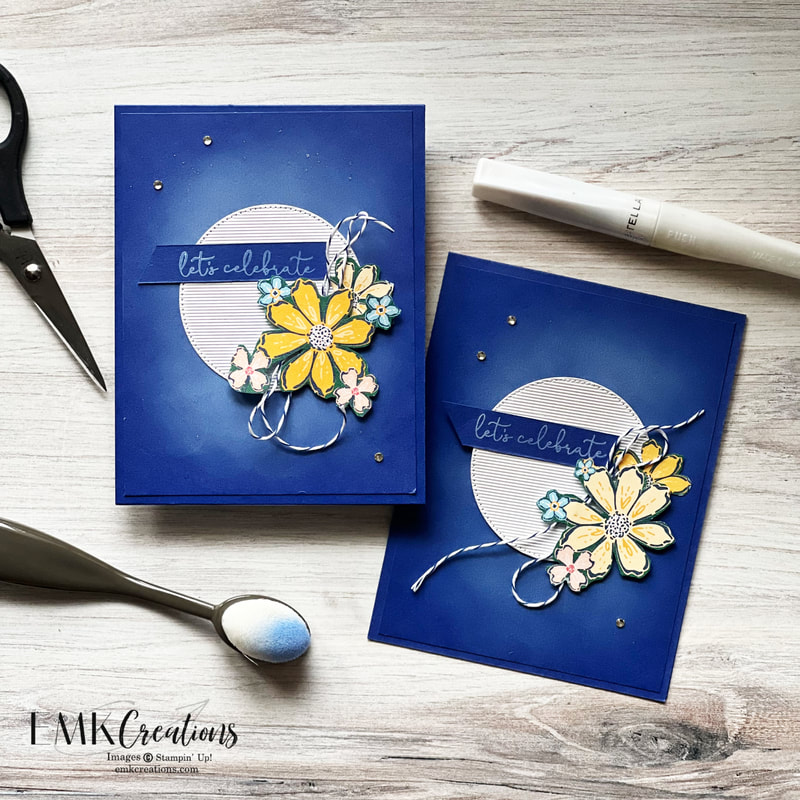
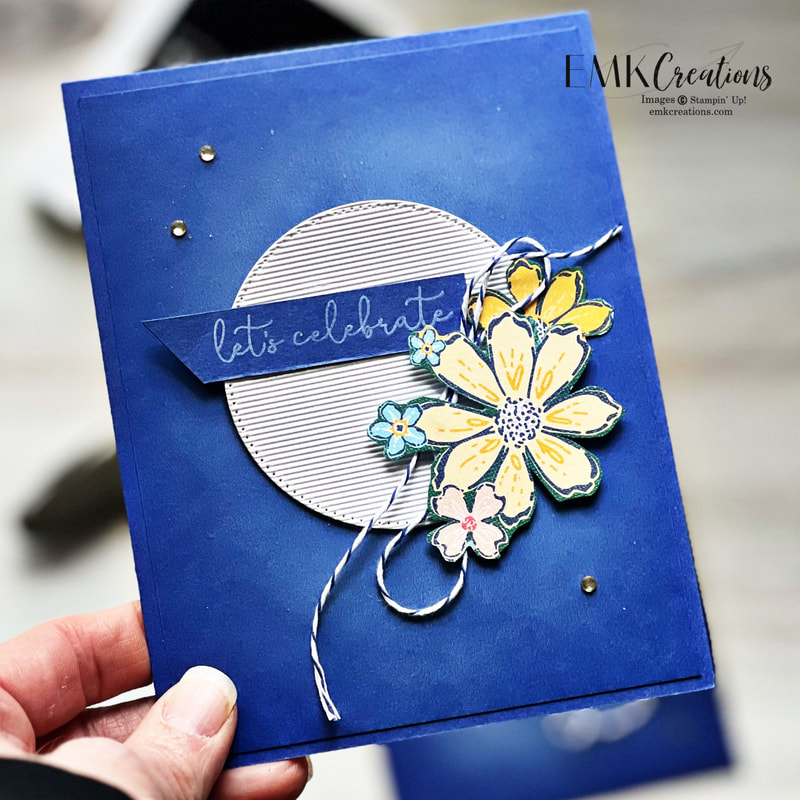
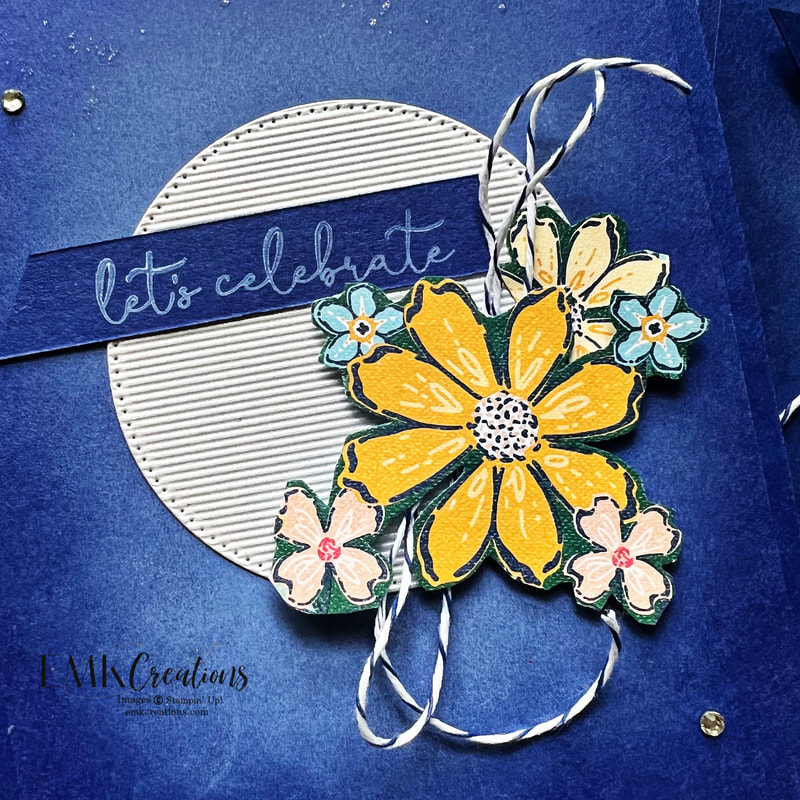
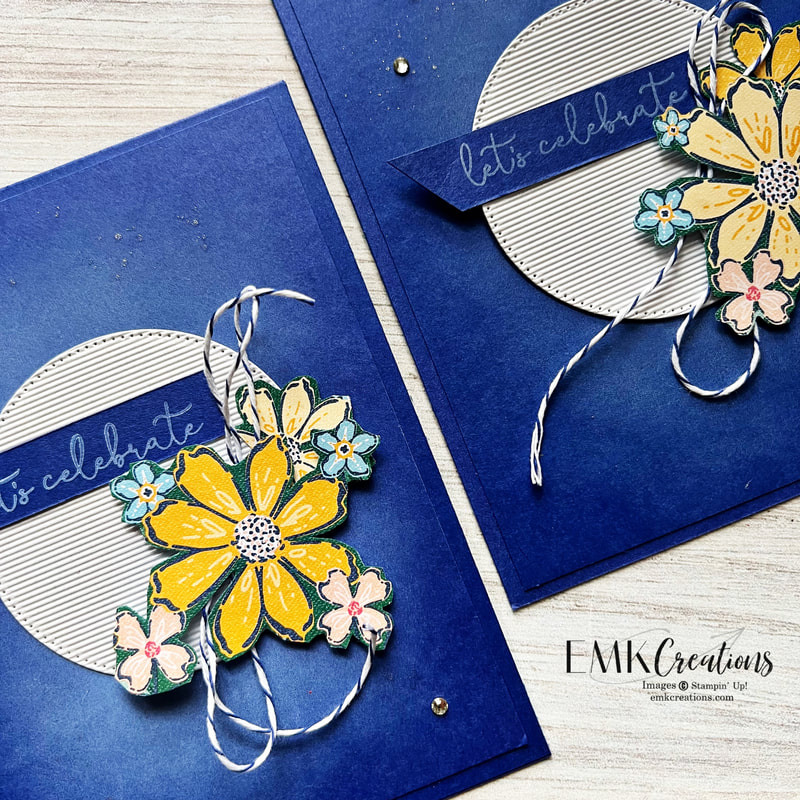
It's time for another Monday Montage and I am in love with this card I'm sharing. I wanted to try adding white ink to a dark card stock to see what I'd get. It turned out so cool.
I paired it with the Textured 12x12 Shimmer Paper. I had this sitting on my desk but hadn't tried using it yet. I love that it has both texture and shine already on it. Be sure to check it out. It comes with two other colors as well.
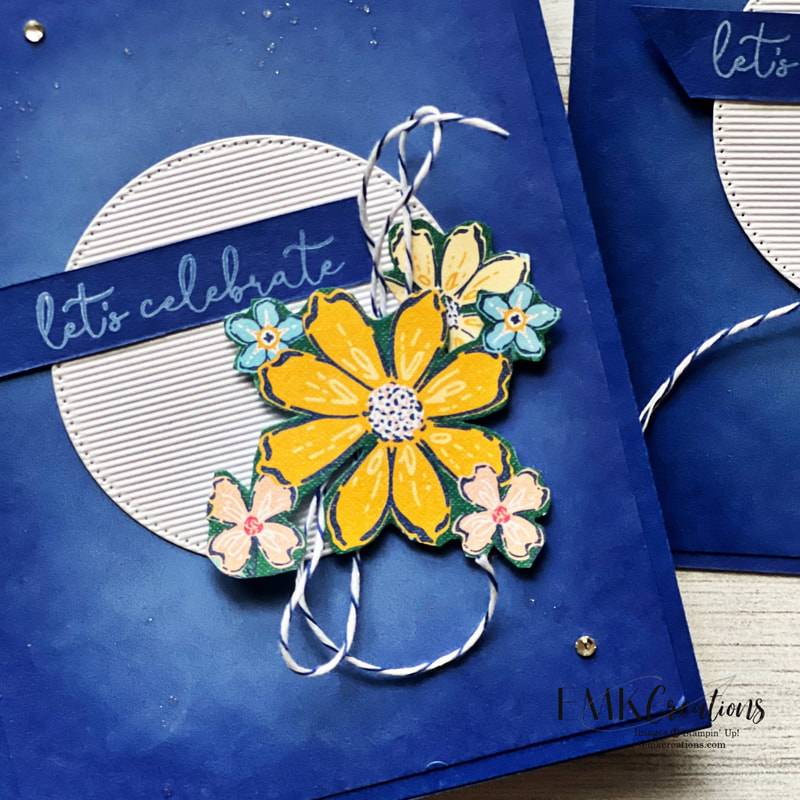
I wanted to add some more shine to the card so I actually "flicked" some Wink of Stella onto the card. I created a video that you can check out to see how I put the whole card together. Be sure to hit follow on my Instagram account.
The flowers were fussy cut from the Regency Park paper which I can't get enough of!
This close up shows the Wink of Stella. It's hard to show it in photos.
What do you think? Have you used white ink on dark card stock before?
Don't forget Sale a Bration is only here for another week so don't miss out on getting your free gift with every $50 order. New items were added as well. Be sure to use Host Code WYQUGPZZ. Be sure to hop along to see what Julie has for you this week and click back to check our Elizabeth's great work! So many fun projects to check out from these talented ladies.
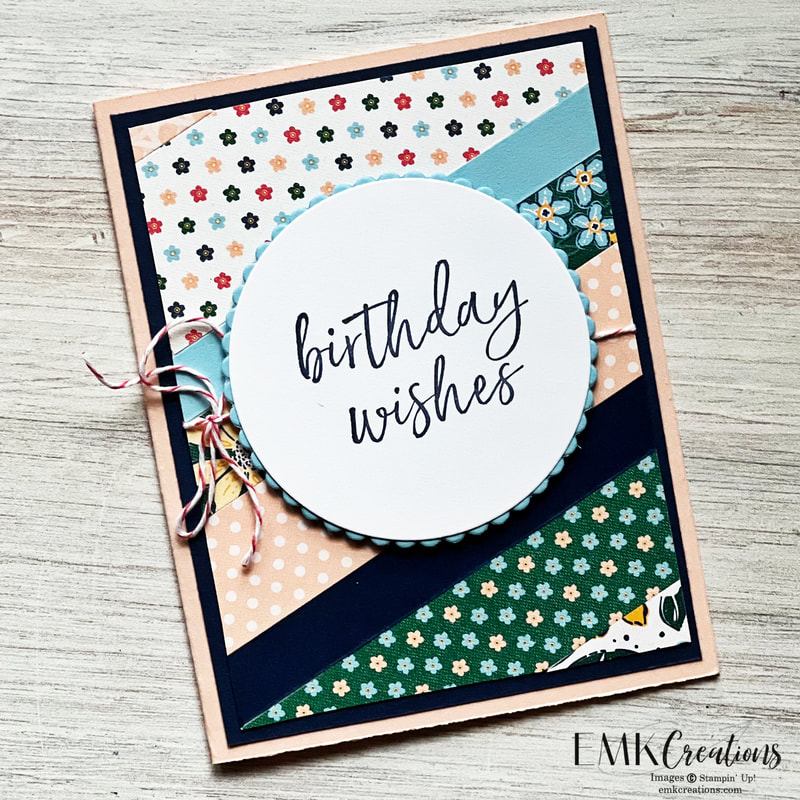
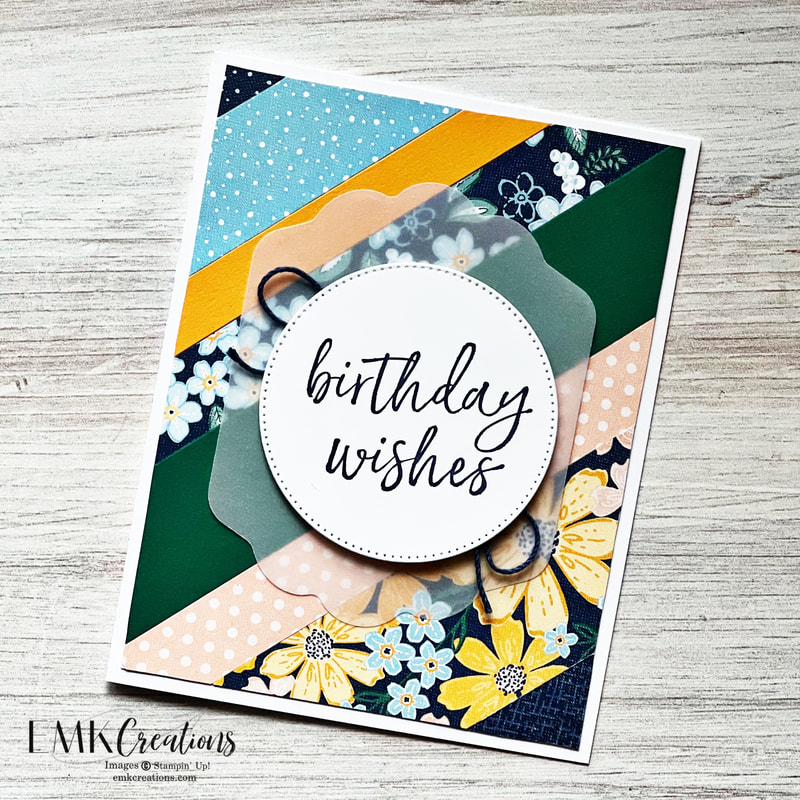
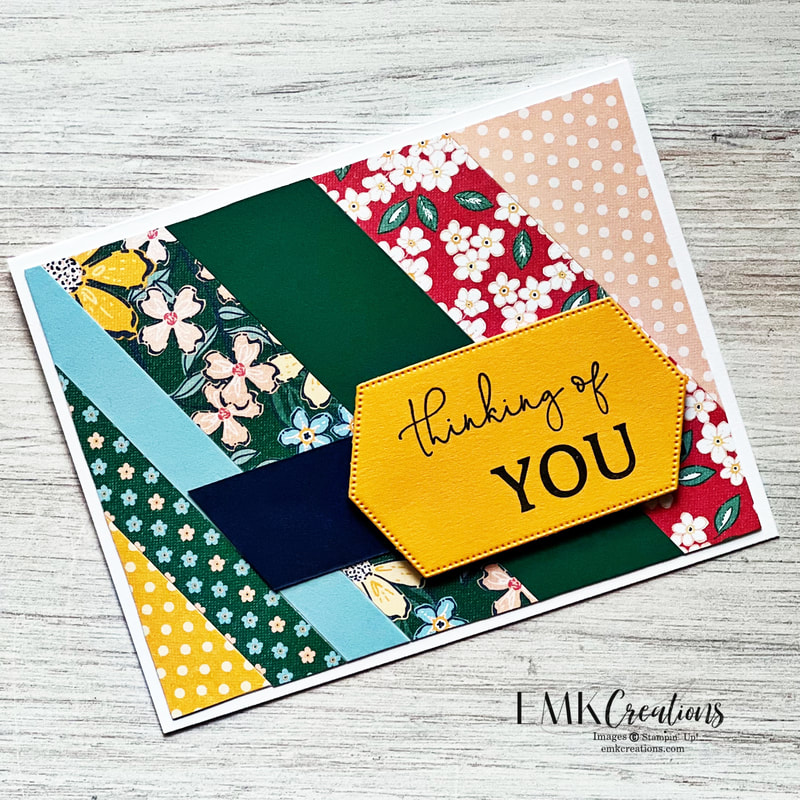
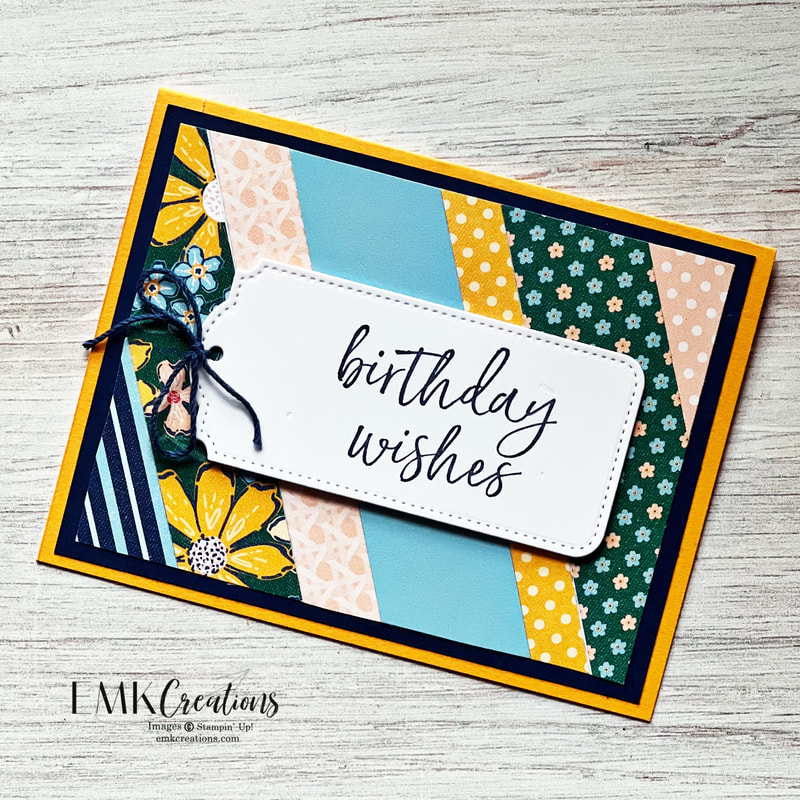
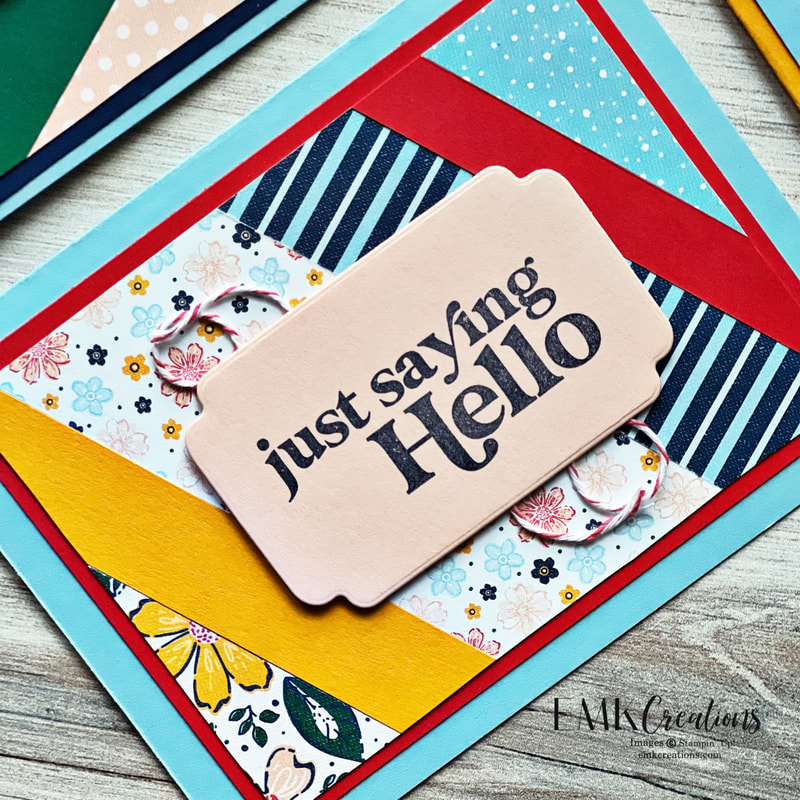
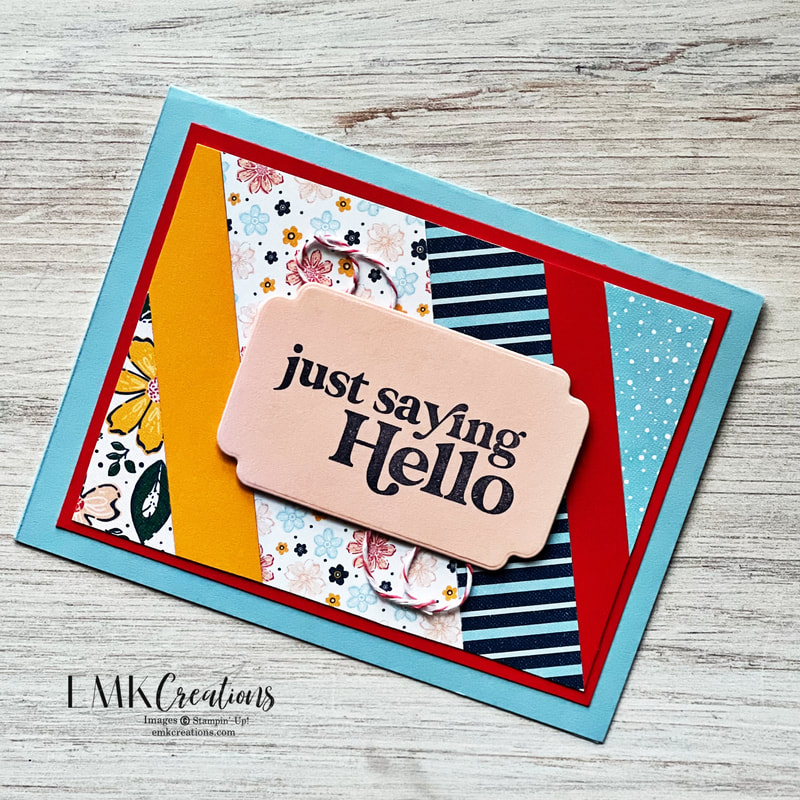
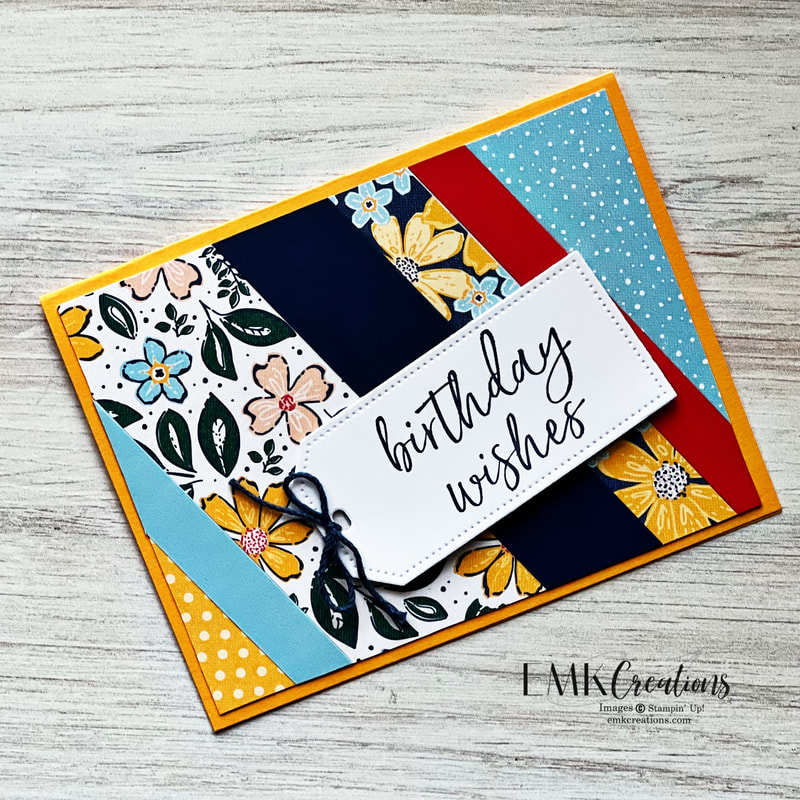
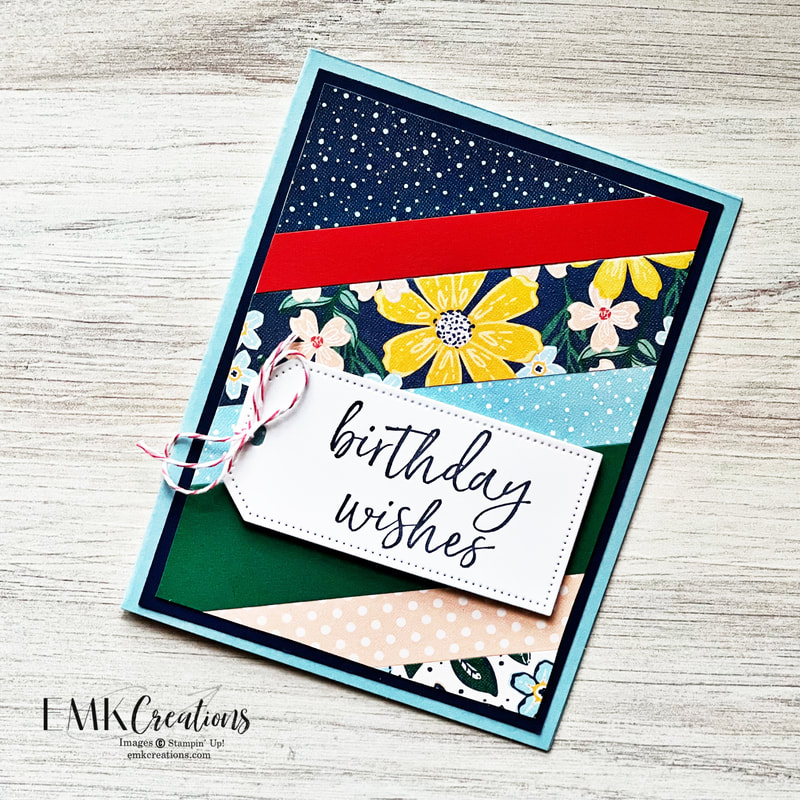
I can't seem to stop making cards with my scraps. I love how they look! Plus it's fast, easy AND I get to use up my supplies. I've shared a few videos lately showing how I create these. You can check them out on YouTube or Instagram.
I always layer the pieces on a scarp piece of paper to make it easier. This one was 4 x 5 1/4 and I did not layer it on a second color but directly onto my white base.
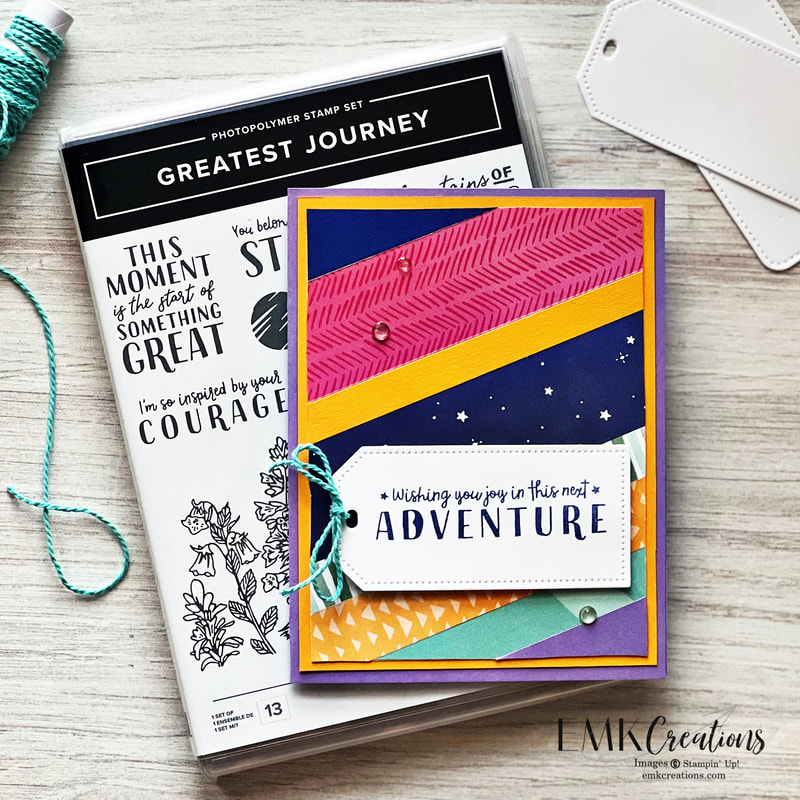
This card uses a 3 3/4 x 5 inch scrap sheet for the strips layered on a 4 x 5 1/4 inch piece of Night of Navy.
The Tailor Made Tags are an easy way to add something extra to your sentiment.
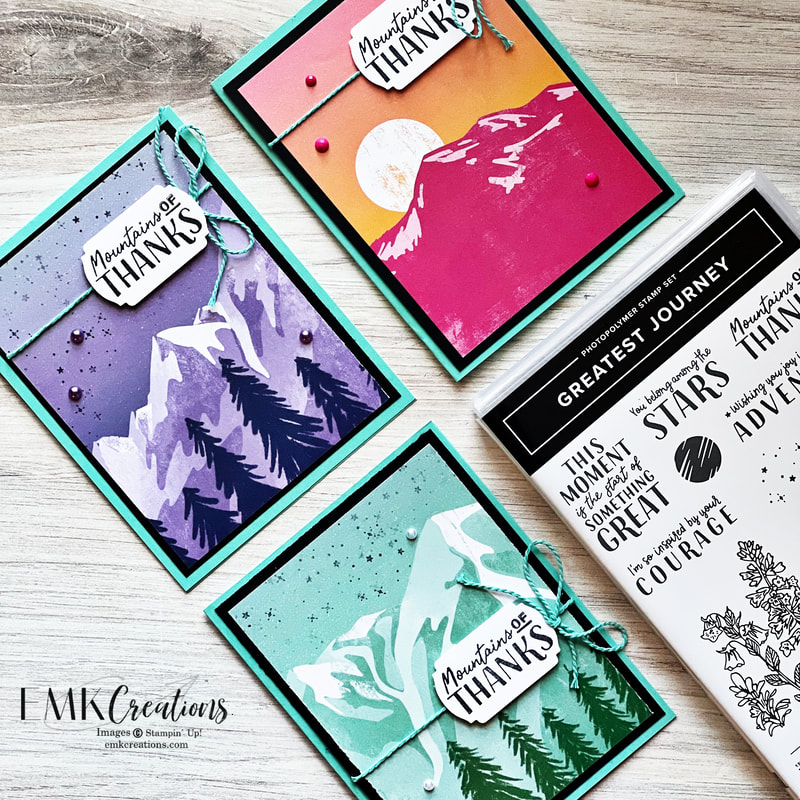
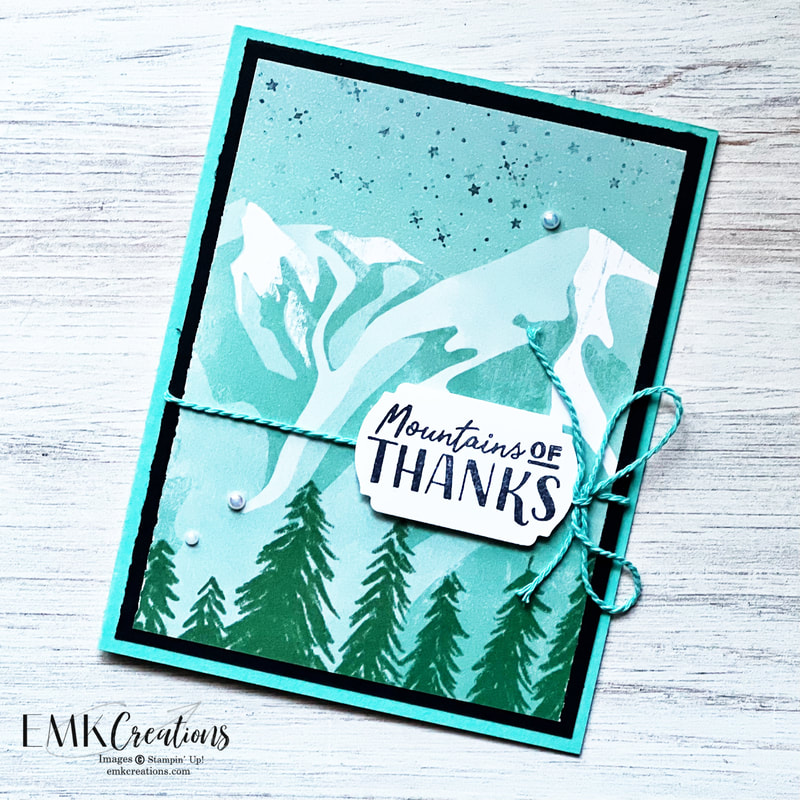
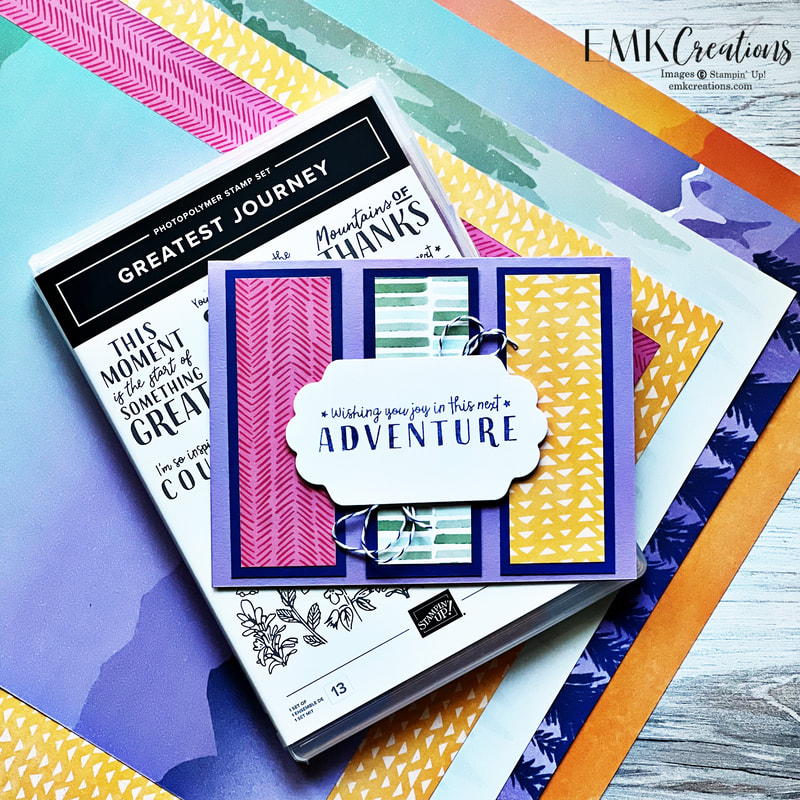
Did you see that Stampin' Up! released new Sale a Bration reward options? One that I was very excited about was the Enjoy the Journey Designer Series Paper (DSP). You can earn it for free with a $50 order (be sure to use item number 164425 instead of the number in the catalog) through the end of the month. I wanted to show off ways to use!
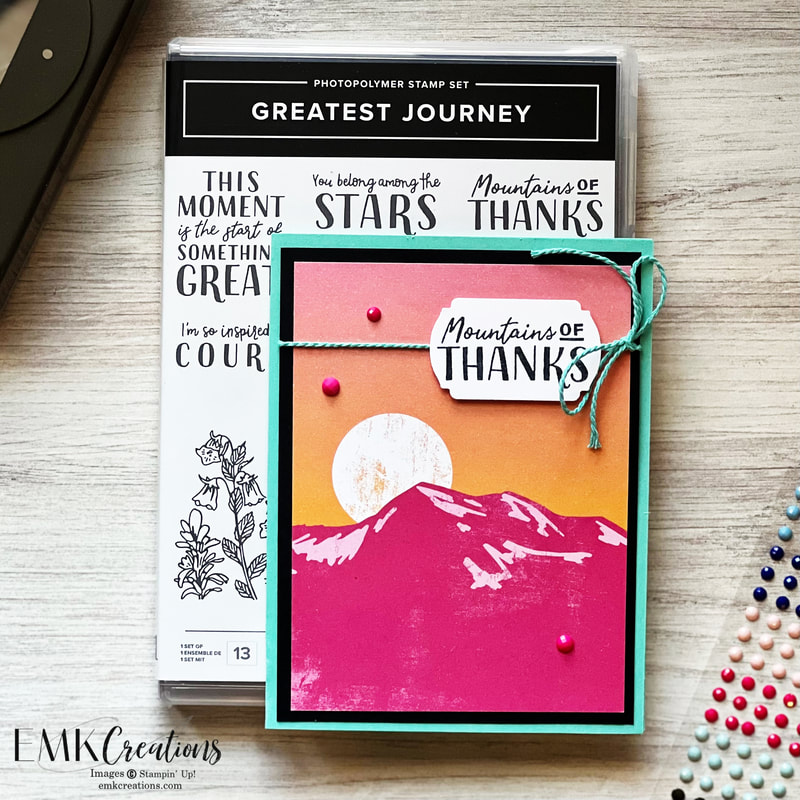
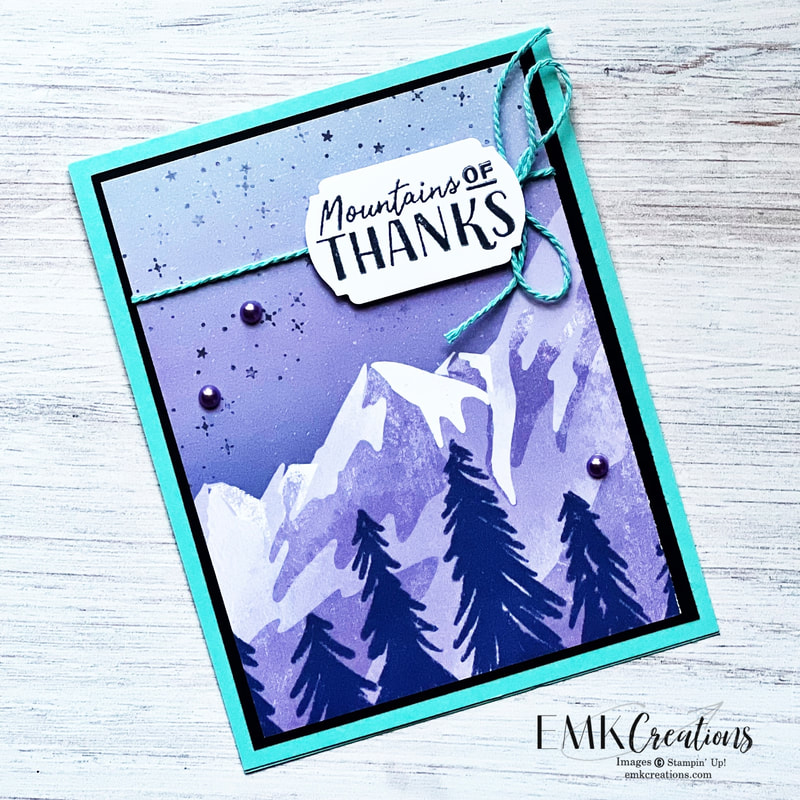
These cards are such an easy way to use the beautiful sheets with the mountains on them. I cut down the large 12 x 12 sheet into six pieces measuring 3 3/4 x 5 inches and layered those on black cardstock pieces measuring 4 x 5 1/4 inches. The Three Twine Combo pack is the perfect coordinating item to bring it all together.
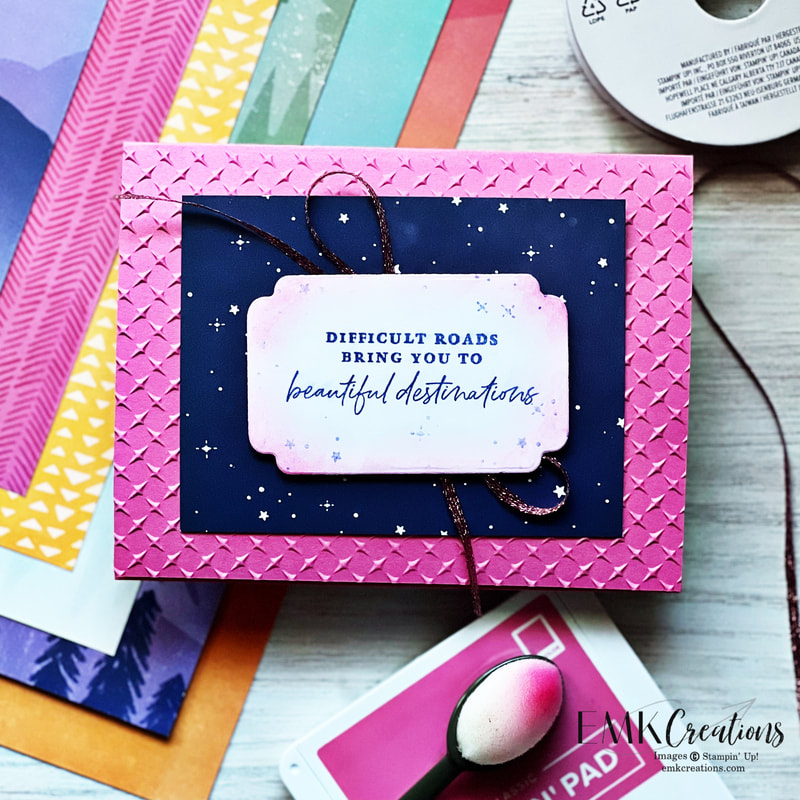
I loved the play on words with this sentiment from the Greatest Journey stamp set as well and it works perfectly with the Label Me Fancy punch.
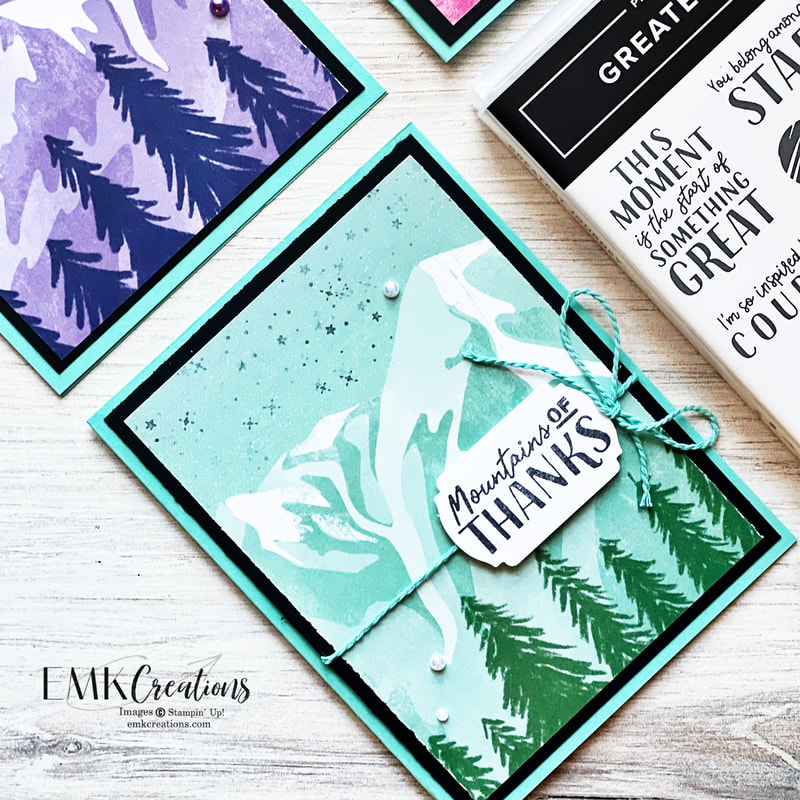
I added the stars to this one and used the Pearl Basic Jewels.
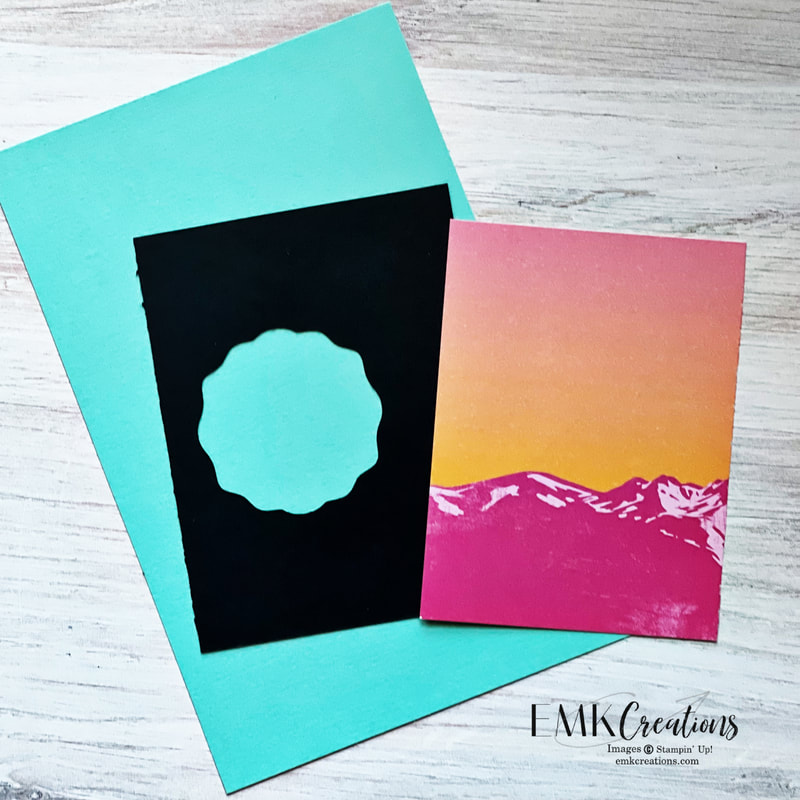
If you watched the Reel of me making the card above you might have noticed I had a section missing from my black card stock mat. I try to cut shapes out of my mats to get the most out of my supplies. You only see a quarter inch of the piece so why waste all that paper in the middle?! I cut a stack of mats all at once and then die cut or punch out shapes. This also gives me various mats and die cut shapes to have on hand when I'm crafting.
I used these two cards for my "this or that" this week and it was so close! Everyone seems to love blue and purple.
This card I created using the scraps left over from the other projects you see in this collection. This was done the same way as the card I showed how to make in this video.
Measurements for this card are 1 1/4 x 3 3/4 inch strips of DSP layered on 1 1/2 x 4 inch strips of Starry Sky.
I loved this saying from the Picturesque stamp set and thought it would be great for so many different occasions.
You can check out a video of me creating this card here. Be sure to follow my Instagram page!
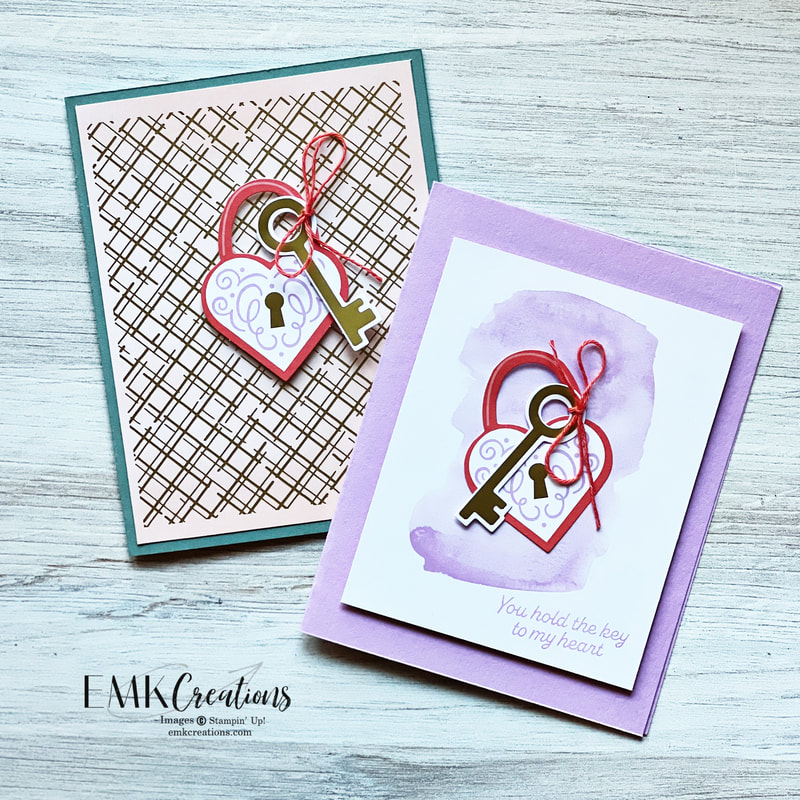
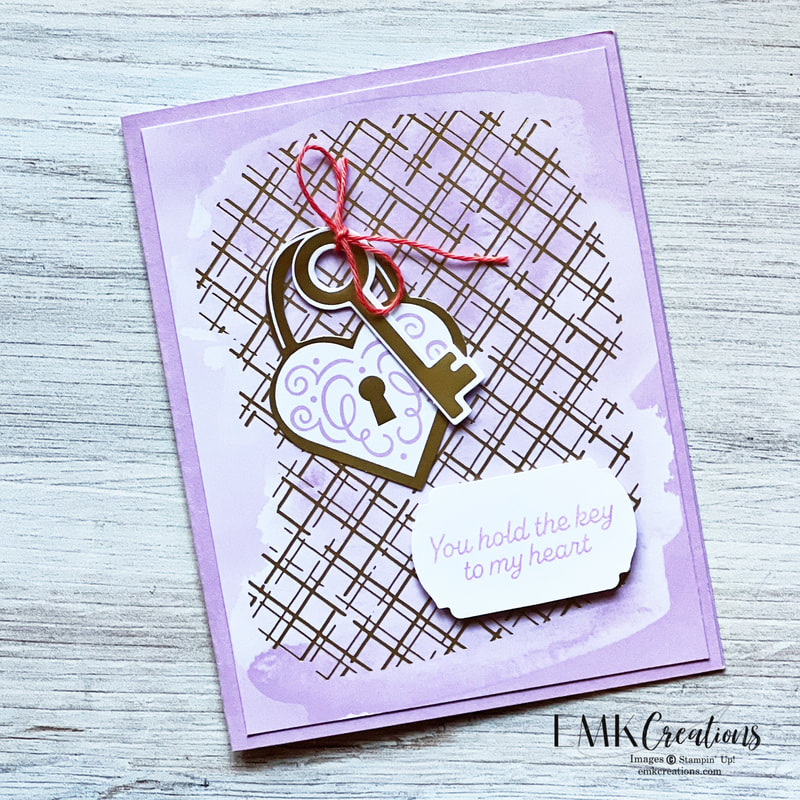
I'm so behind sharing my alternatives with the January Paper Pumpkin kit "Key to My Heart". I realized that it's almost time for the February kits to ship and I hadn't posted pictured.
This kit was designed around locks and keys which was a nod to the bridge found in Paris. I don't need a lot of Valentine's so I tried to find ways to use the locks and keys for occasions other than Valentine's Day. Top of my list was anniversaries!
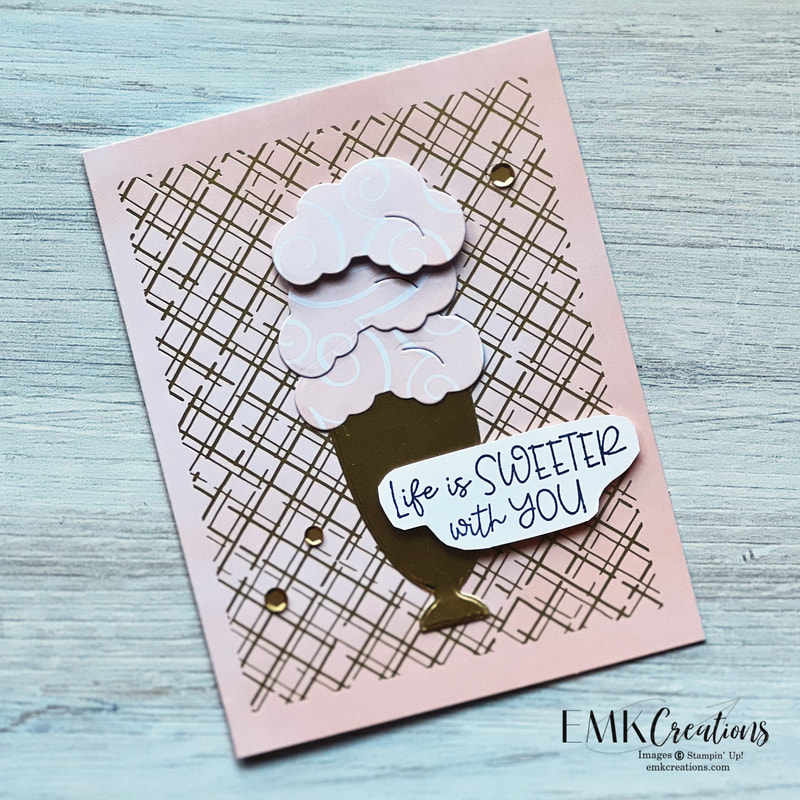
Wanting to use some of the elements for completely different types of cards, here I paired it with the Share a Milkshake bundle from the current mini catalog. I used Gold Foil sheets for the cup.
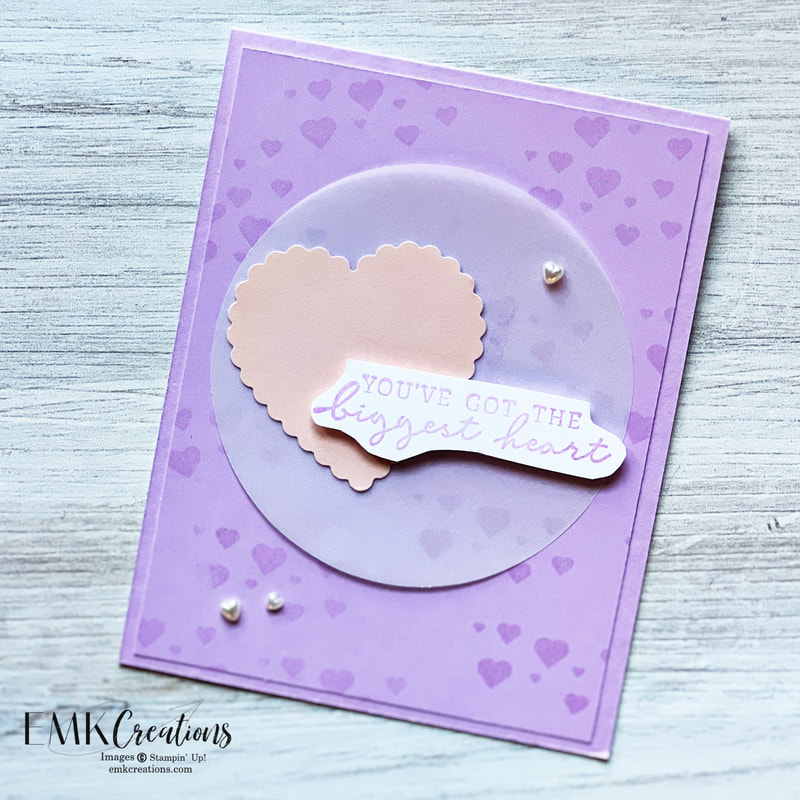
Another idea I had was to use elements to create a thank you card pulling in the sentiment from the Happy Labels set. Had you noticed the cute Heart Pearls in the annual catalog??
Besides cutting down the bases don't forget about the inside of the printed envelopes!
Did you create alternatives or lots of Valentine's? I love seeing what others have made!
Interested in Paper Pumpkin but not yet a subscriber? Check it out here.
It's February already and time for another Monday Montage. I love checking out everyone's projects right along with you. I'm always in awe of these ladies and their talent.
This past week I've been going a little overboard with making cards with my scraps! I've shared quite a few ways to create easy cards using what is (if you are like me) piling up on your desk. My biggest piece of advice is don't overthink it. Put down your adhesive on a base piece of card stock or even copy paper and start adhering strips. These cards all use the Regency Park Designer Series Paper from the mini catalog.
The Something Fancy dies are a great staple to add to your die collection. It offers so many shapes and many layer with each other.
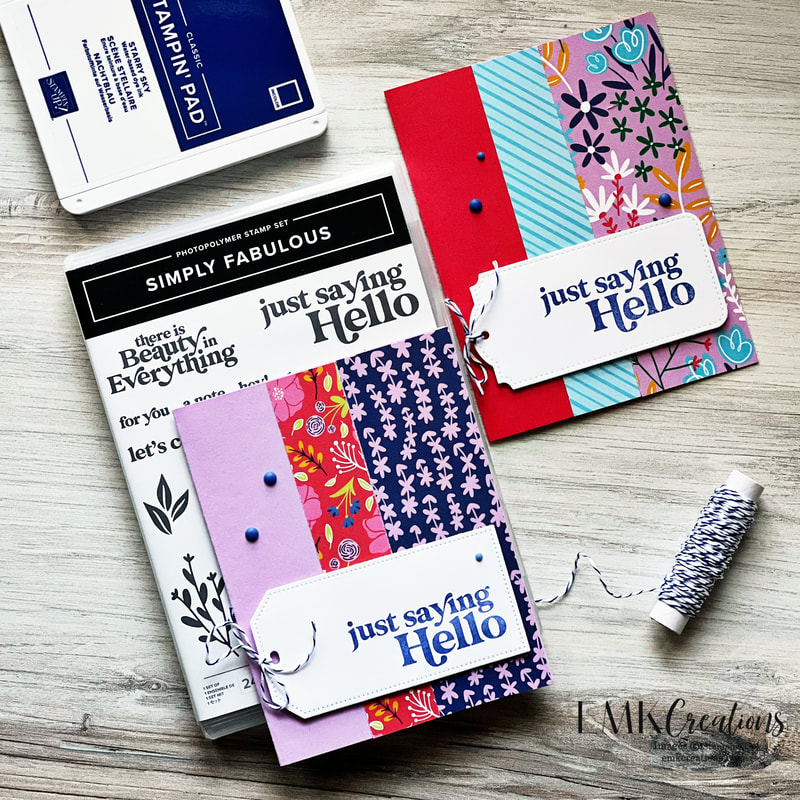
I love using the Simply Fabulous sentiments as well. Something about the font...
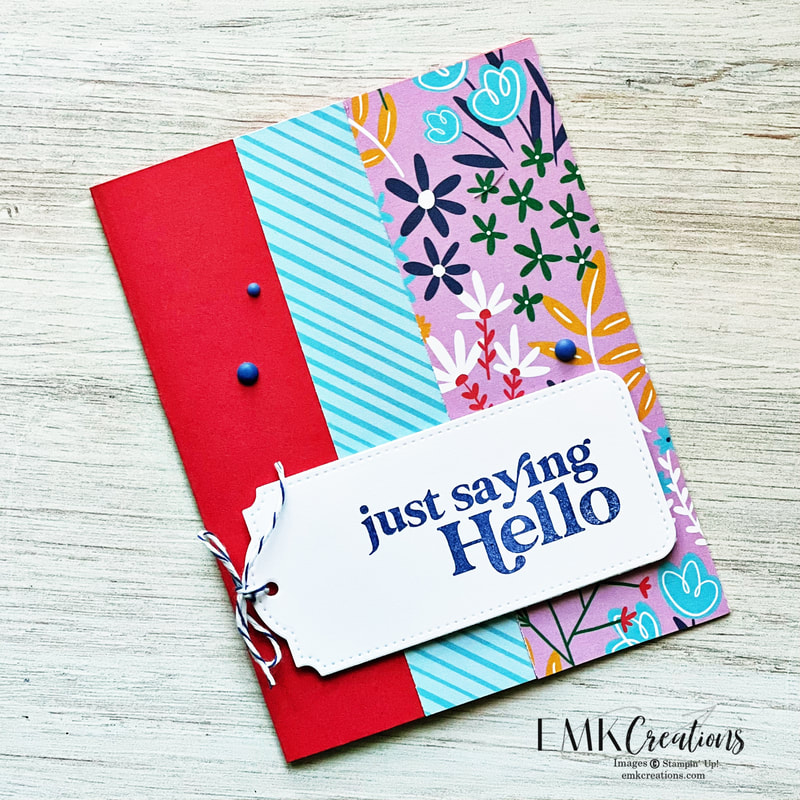
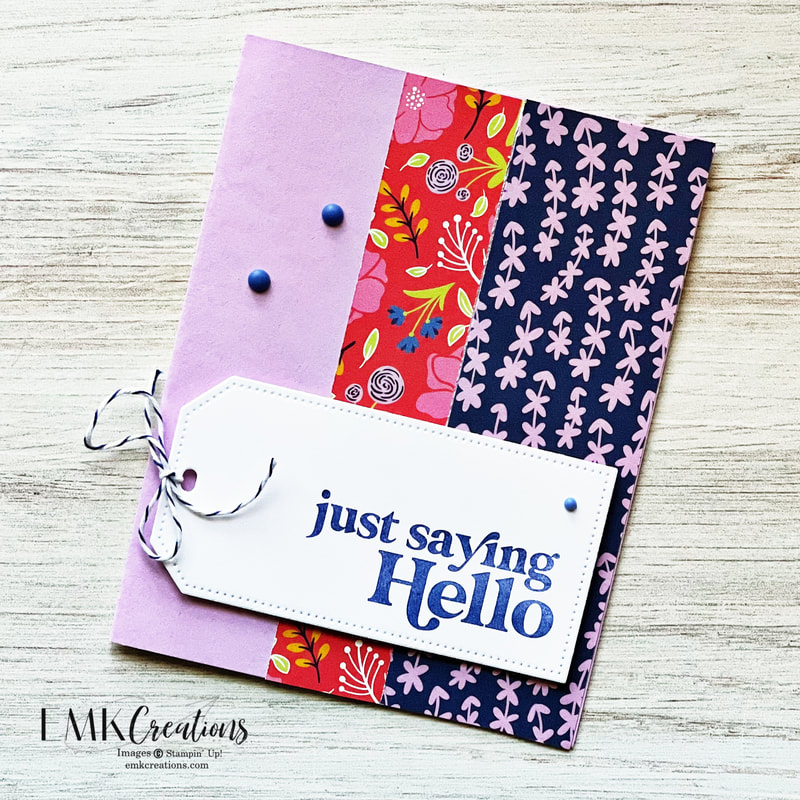
The Tailor Made Tag dies are a fun to use for your sentiment. I like being able to tie a little ribbon or twine to the end.
This one might be my favorite! I love the colors in this DSP pack. For this one, I started with a 3 3/4 x 5 base and then was able to layer it on a 4 x 5 1/4 piece before adhering to the base.
For this card I used four pieces each cut at 3/4 x 4 inches. I'll be sharing a how to reel on this one on Instagram and Pinterest today so stay tuned.
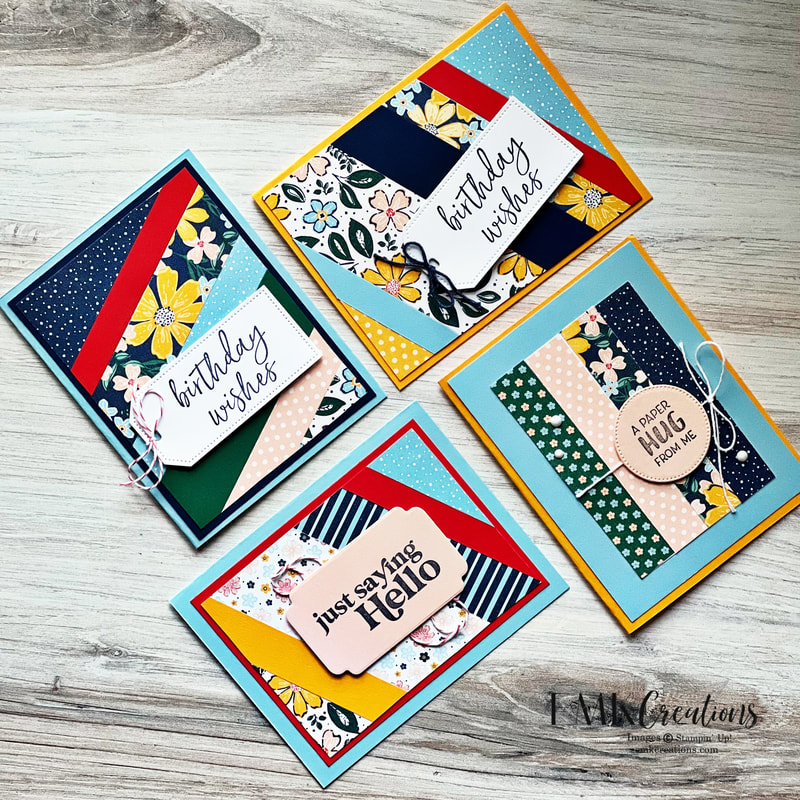
Here's a group shot. These are so fun and easy to make. Go try it! To order products click the pictures below and be sure to use the current Host Code WYQUGPZZ.
I also shared a video on Instagram of me creating one of the sideways strips. Be sure to hit follow.
Don't forget to click next for Julie and back for Elizabeth. They will delight you with their projects. Thanks for stopping by!
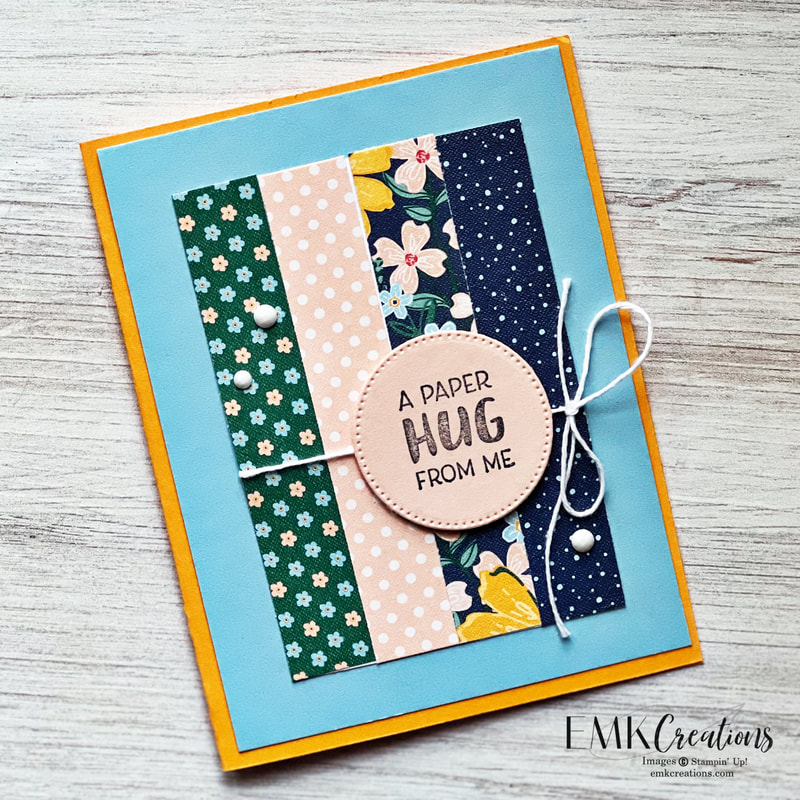
If you are like me you end up with piles of scraps from projects. I've been trying to use them lately and have a few fun designs to share.
This first one is SO easy! I used two coordinating strips of Designer Series Paper (DSP). One strip was an inch wide and the other 1 3/4 inches wide. I used a tag cut with the Tailor Made Tag Dies and stamped this cute sentiment from the Simply Fabulous stamp set. I created this reel to show you how easy it was to create these cards! Click here to view and be sure to follow my Instagram page.
I can't decide which one I like best! I do know I can't get enough of this Stampin' Up! Host Paper Pack called Flowers and More.
You can only get your hands on this with a order over $150. Want to earn it for FREE? Let me help you get your friends and family together for some creative times. So many possibilities! Contact me to discuss.
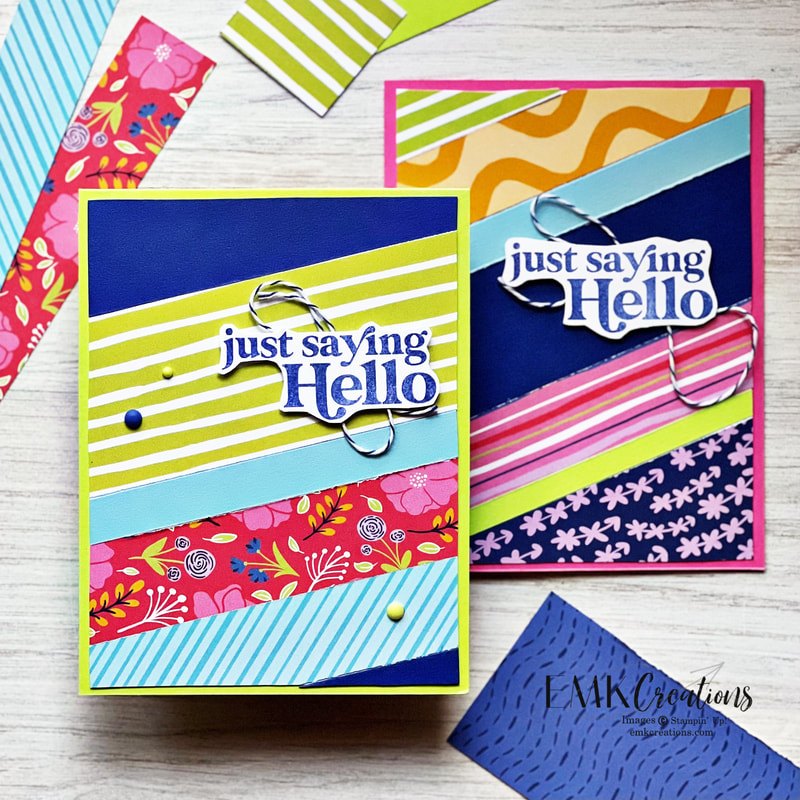
Here are some more fun ideas. This is one of my favorite ways to use up scraps. No measuring or overthinking allowed! Here's a video to show you just how I created these.
I start with a 4 x 5.25 inch base. I usually use Basic White card stock but you could use any color or even copy paper. Have fun and don't think too hard.
Which will you try first?
Product List
|
AuthorI'm a "work at home mom" and an independent Stampin' Up! demonstrator. Archives
July 2024
Categories
All
|













 RSS Feed