|
It's always so hard to say goodbye to Stampin' Up! products but these are really hard! Don't miss these great items and these great prices. While supplies last!
The Apple Builder punch is my go to for teacher cards and gifts. It's also great for fall items! You can't beat the sale price either--it's on sale 60% off making it only $7.20! This is a staple to have in your collection.
Bloom and Grow is another favorite. It's such a fun set to color with Blends. The dies are also on sale! They are only $8.25!
Band Together is one that I love to color as well. Plus the coordinating Detailed Bands Dies are fun to work. They are also on sale for $15.20!
0 Comments
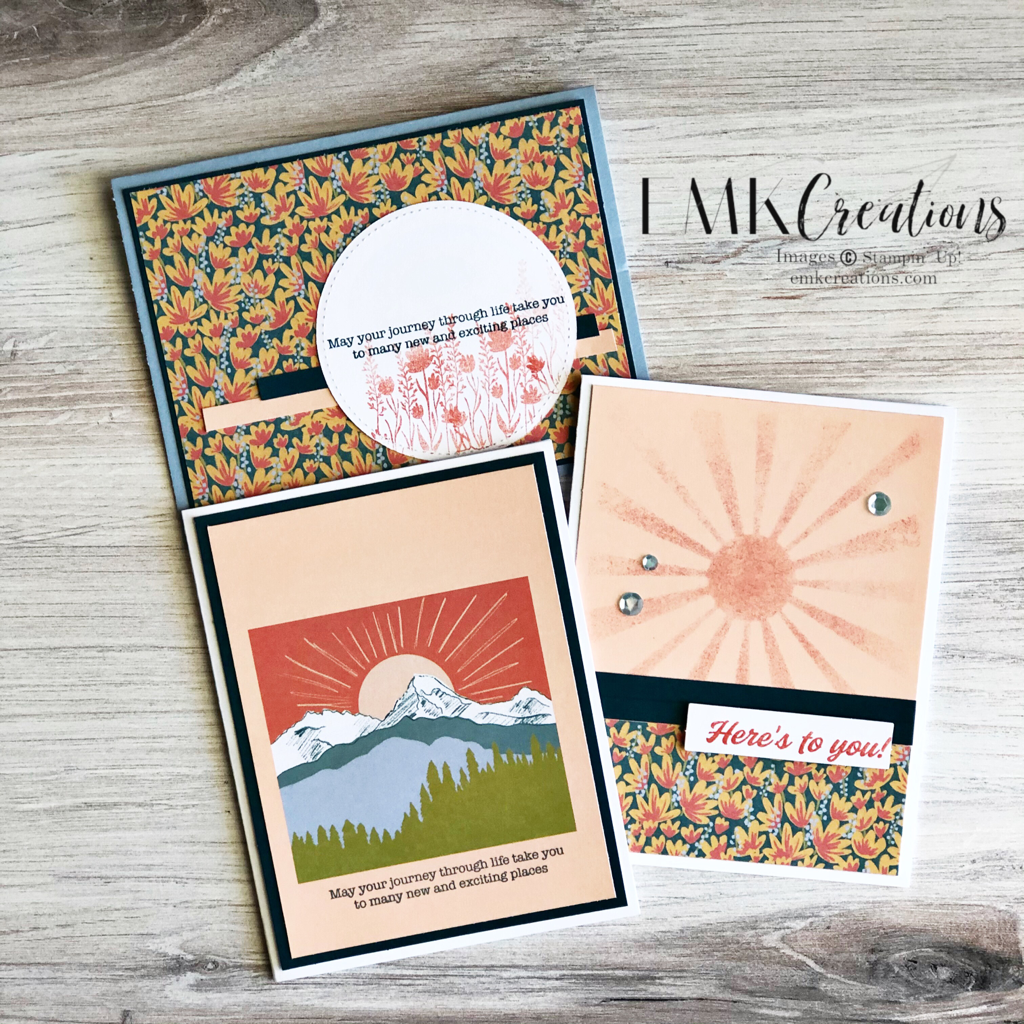
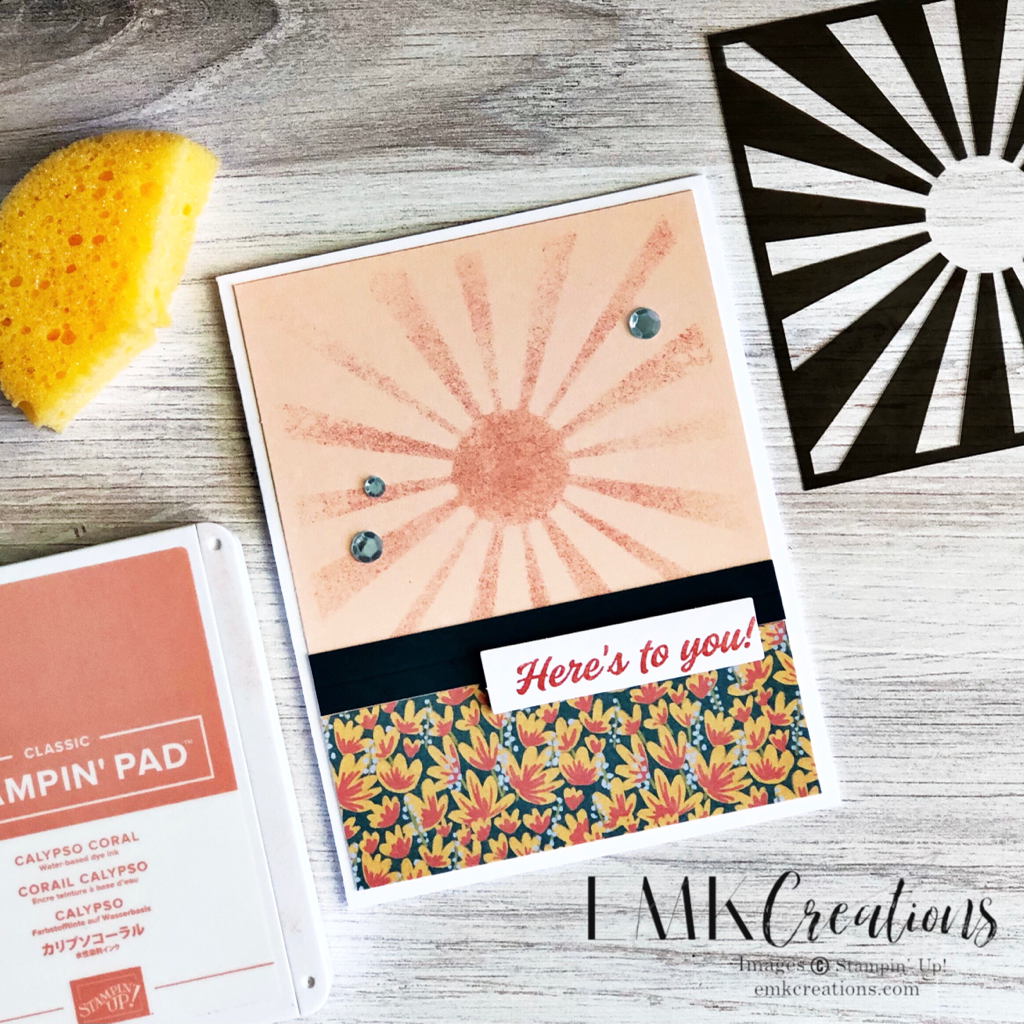
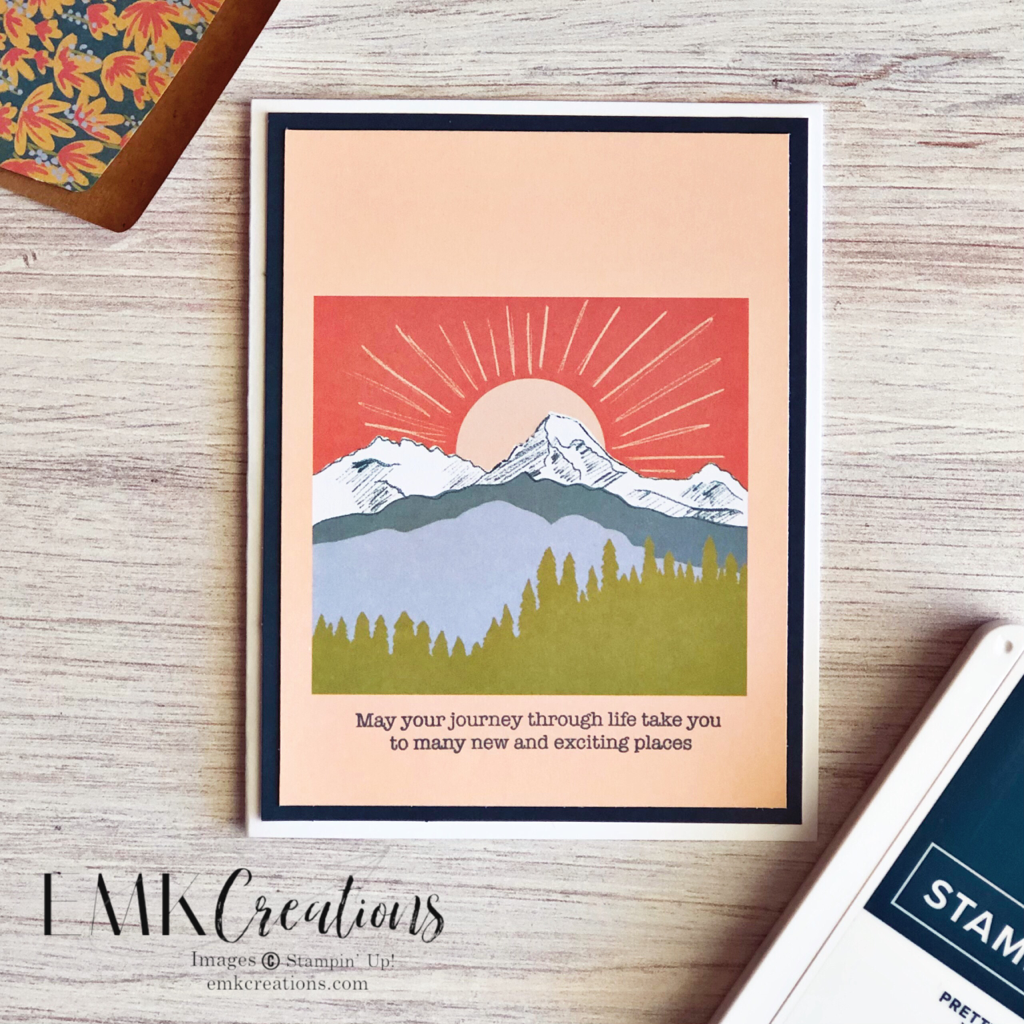
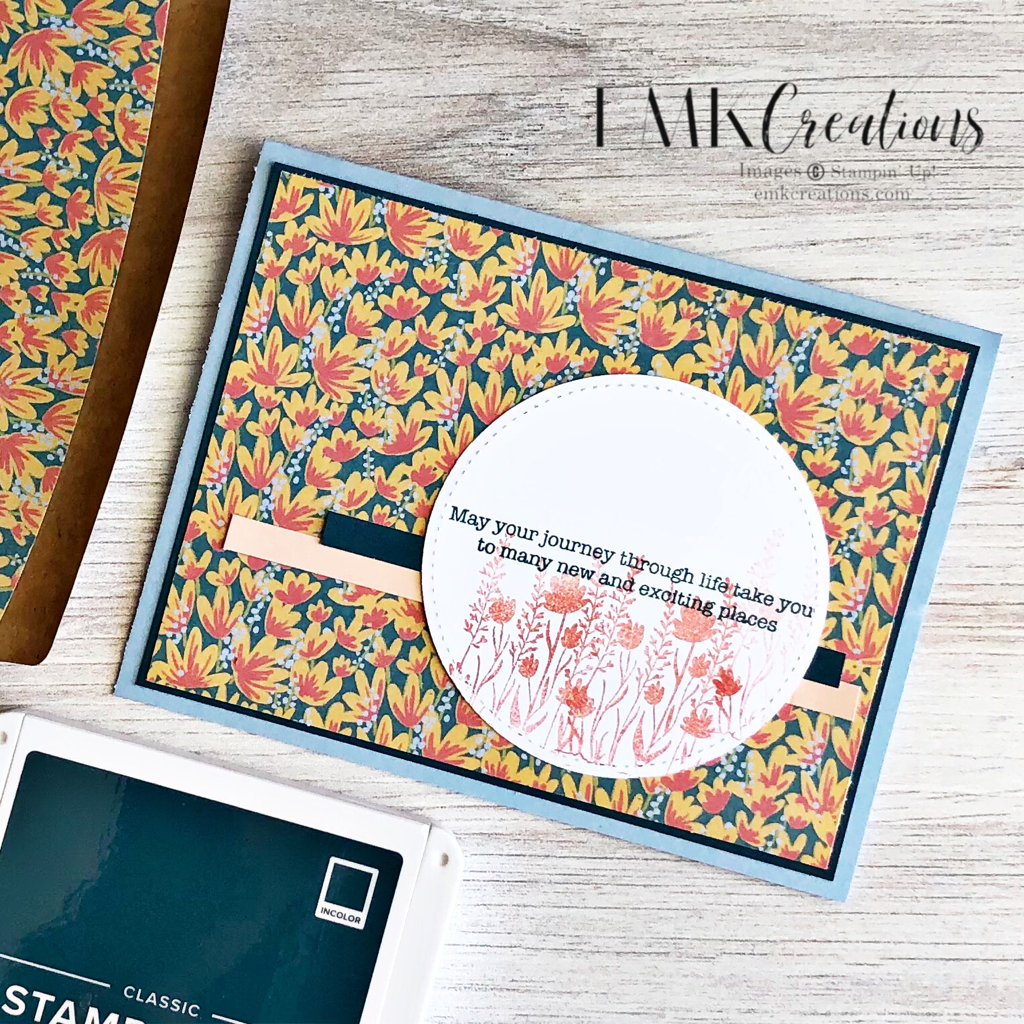
My March Paper Pumpkin arrived a few days ago and I was excited to open and start creating. This month featured a bonus free gift--four stencils and a sponge. As usual, the first thing I did was make one of each card and then cut apart one of each base. It's my tradition with kits! I love the masks we got this month. Keep reading for some tips on using them. Another idea--don't be afraid to cut the envelope liners! They are so pretty this month and they work great on a card. This one is so simple! I cut down the front of the card, matted with Pretty Peacock card stock and adhered to a Basic White base. The sentiment included in this month's kit was a perfect size to add to the bottom of the card. Here's another card made with the envelope liner! I also used some of the scrap pieces from cutting down the bases to add some color strips to the front. Stamp the flowers off in Calypso Coral and add a sentiment to finish the card. If you've never used stencils and sponges I have a few tips.
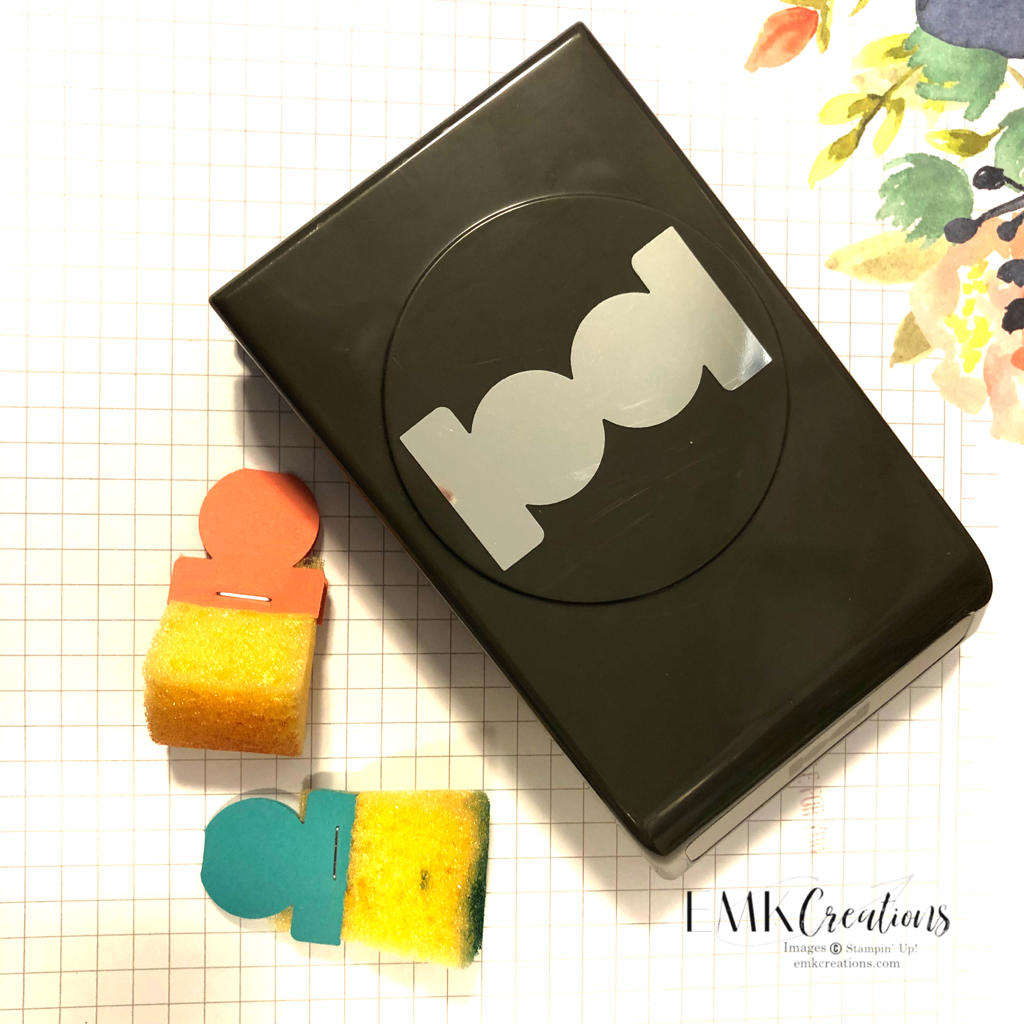
First: you can stretch the use of the sponge by cutting it into pieces. I cut it up like a pie! Second: you can use pieces of card stock stapled to the end to show you what color you used on each piece. Third: painters tape can be a great way to lightly hold a mask in place while you sponge.
I love coloring with Blends but I am usually coloring a stamped image. Here is another idea for how to use them to create a beautiful rainbow striped background!
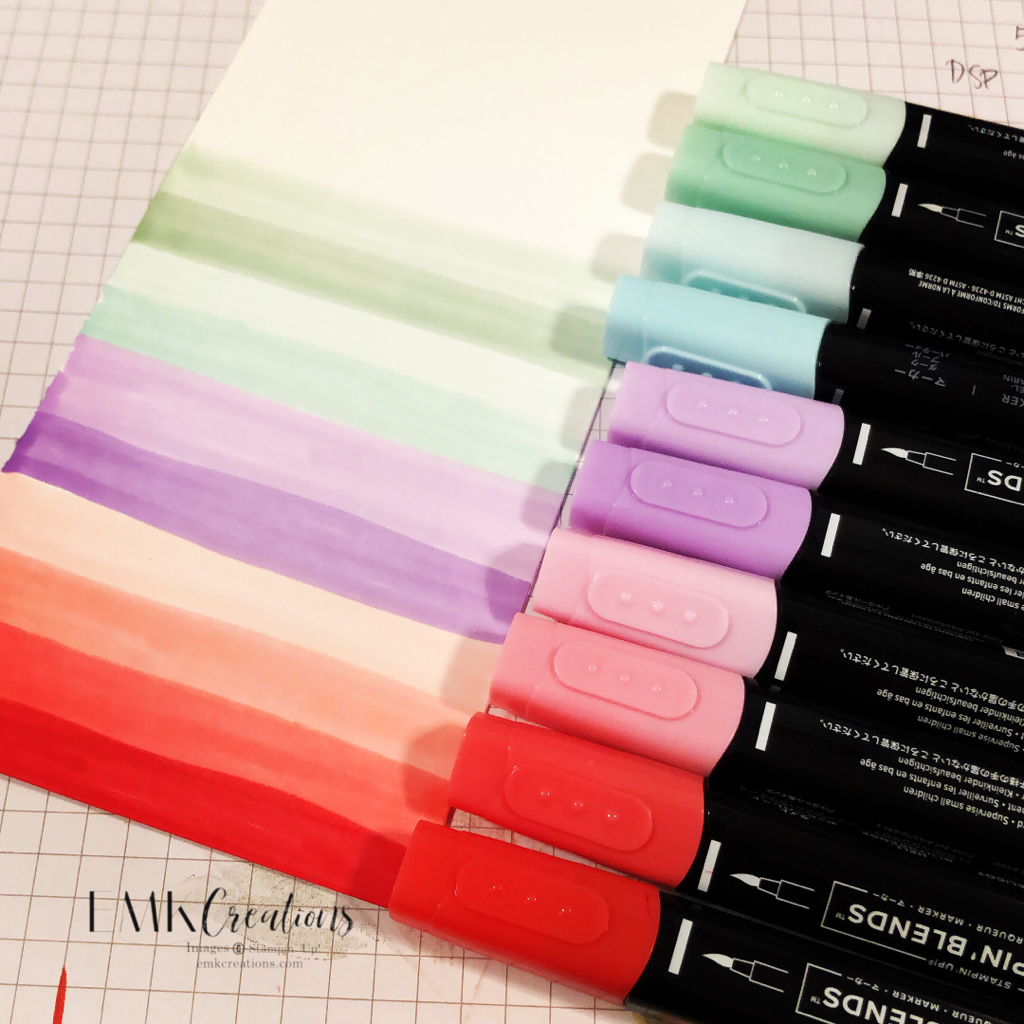
I grabbed a group of colors (both light and dark) that I thought would look good together. These colors said spring to me!
I then used each marker to draw a couple of lines across a piece of Basic White card stock to create a striped rainbow. I didn't worry about perfectly straight lines or about coloring over the color before. Both of those add to the look I was going for.
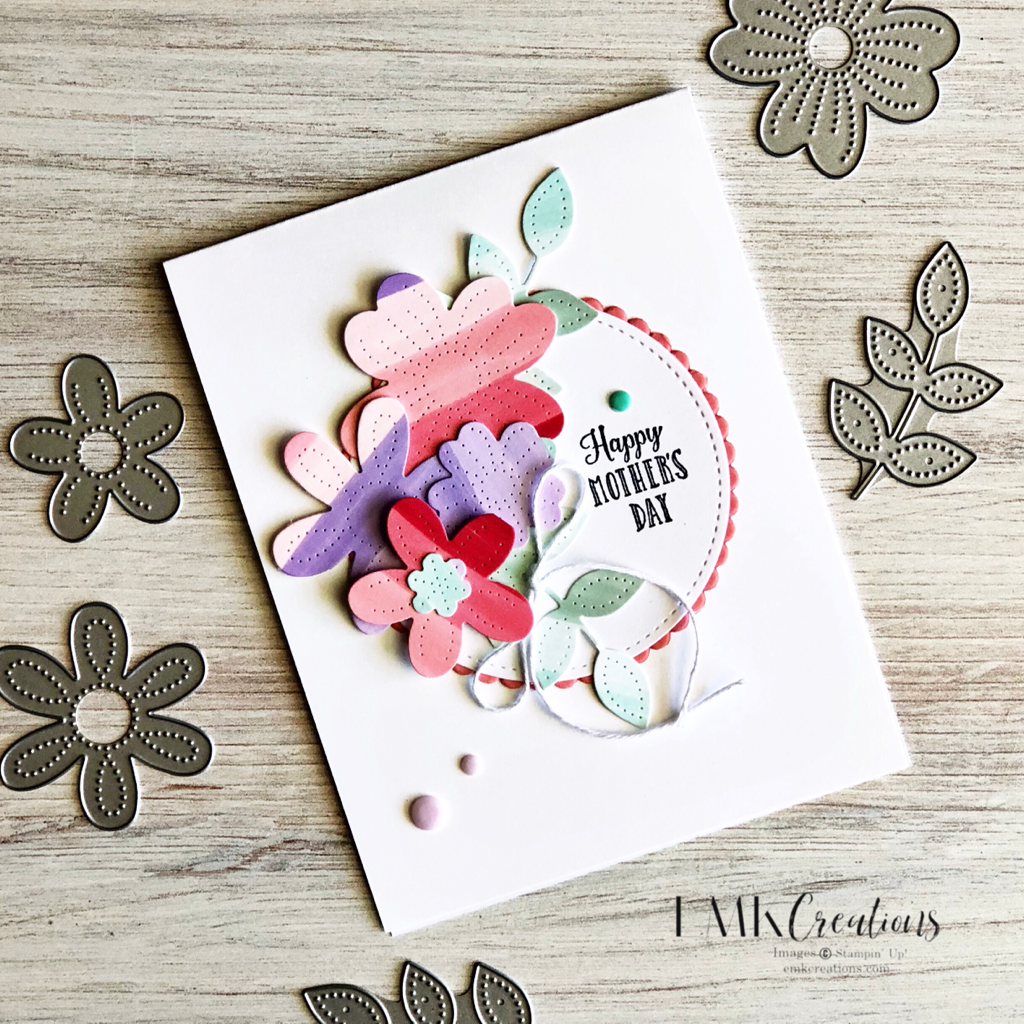
After I was done I used the Pierced Blooms Dies to cut out flowers and leaves to create this Mother's Day Card.
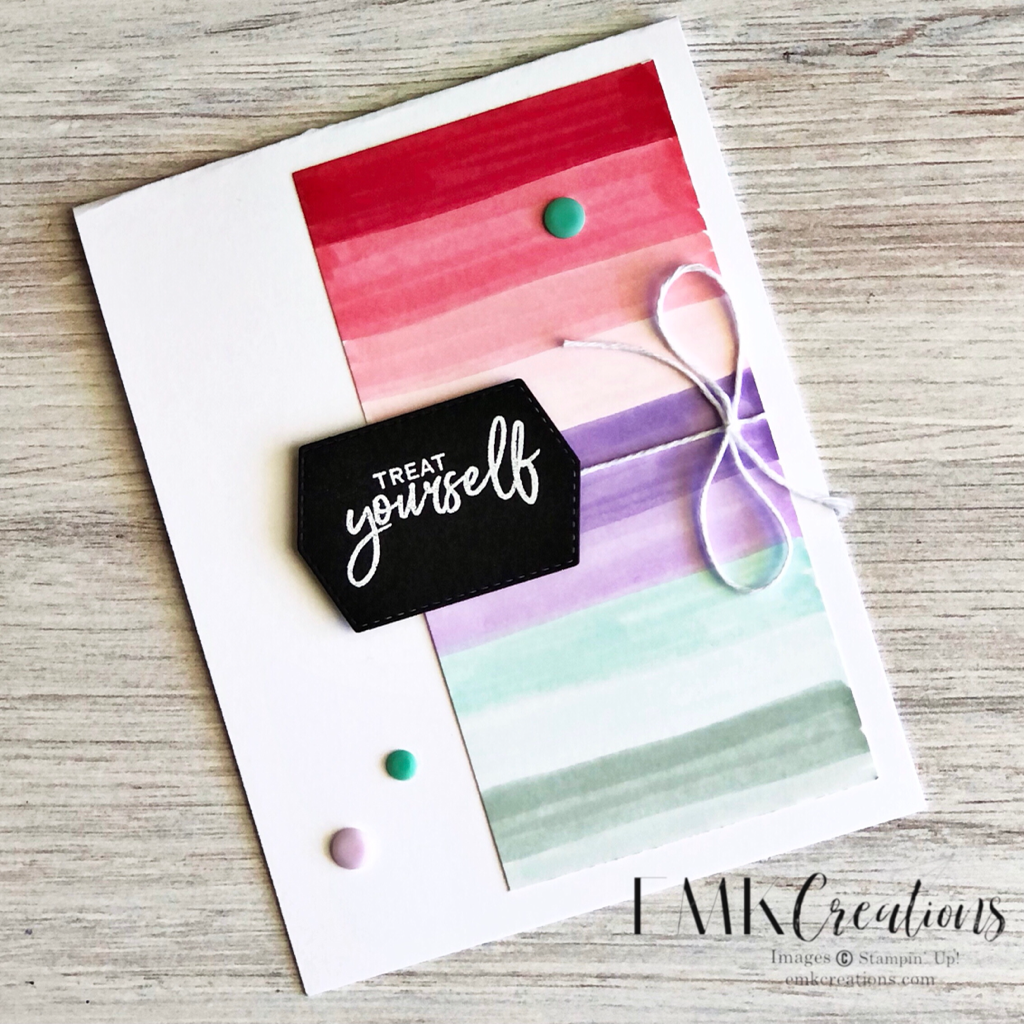
For this card I cut the striped piece down to fit the front of my card and created a basic, but eye catching, card! Adding a little bling with the Playing With Pattern Resin Dots was the perfect final touch.
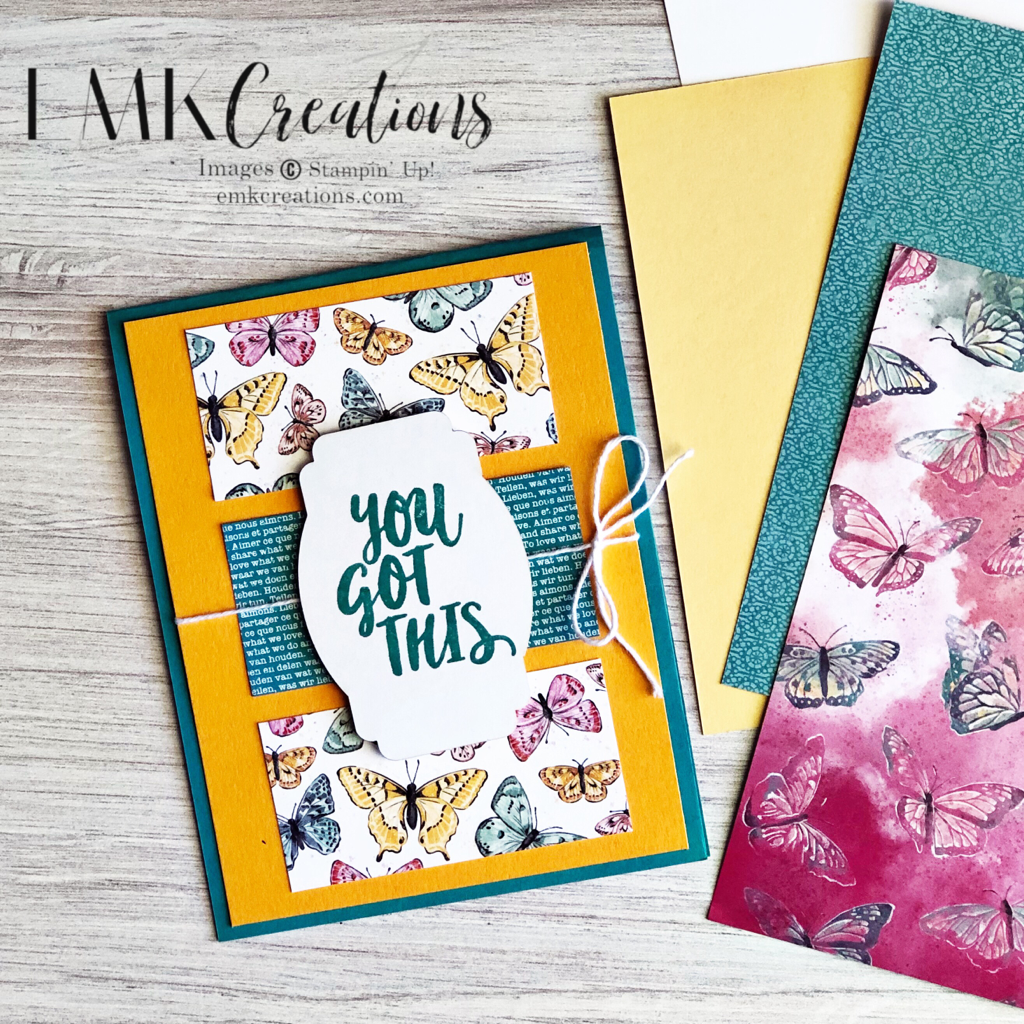
Each month I try to get together with my team to do some crafting and chatting. Most months I send the pieces for a card to each so that we have a project to work on together. This month I sent each pieces of our Butterfly Bijou Designer Series Paper and matching card stock so everyone could create a card to share. For my card I cut three 1 1/2 by 3 in strips to use on my card. A simple but fun layout.
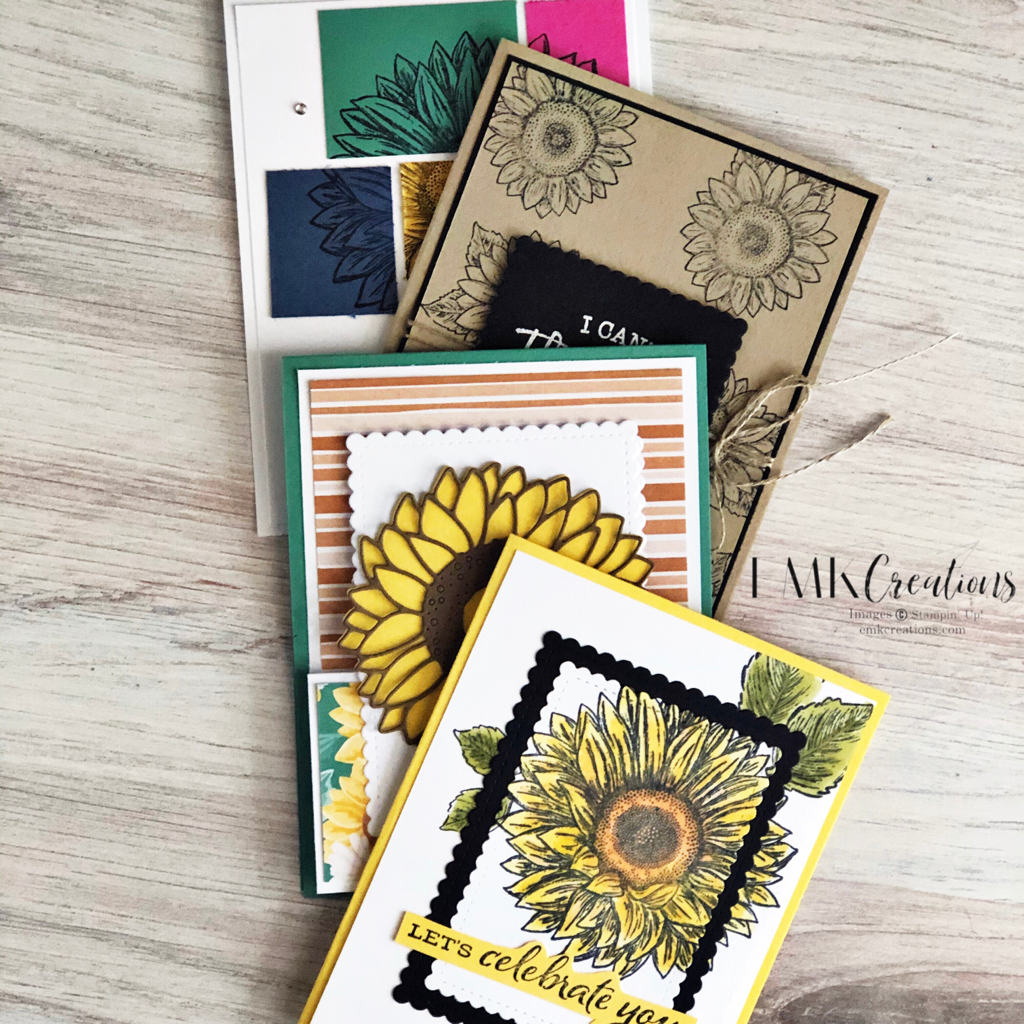
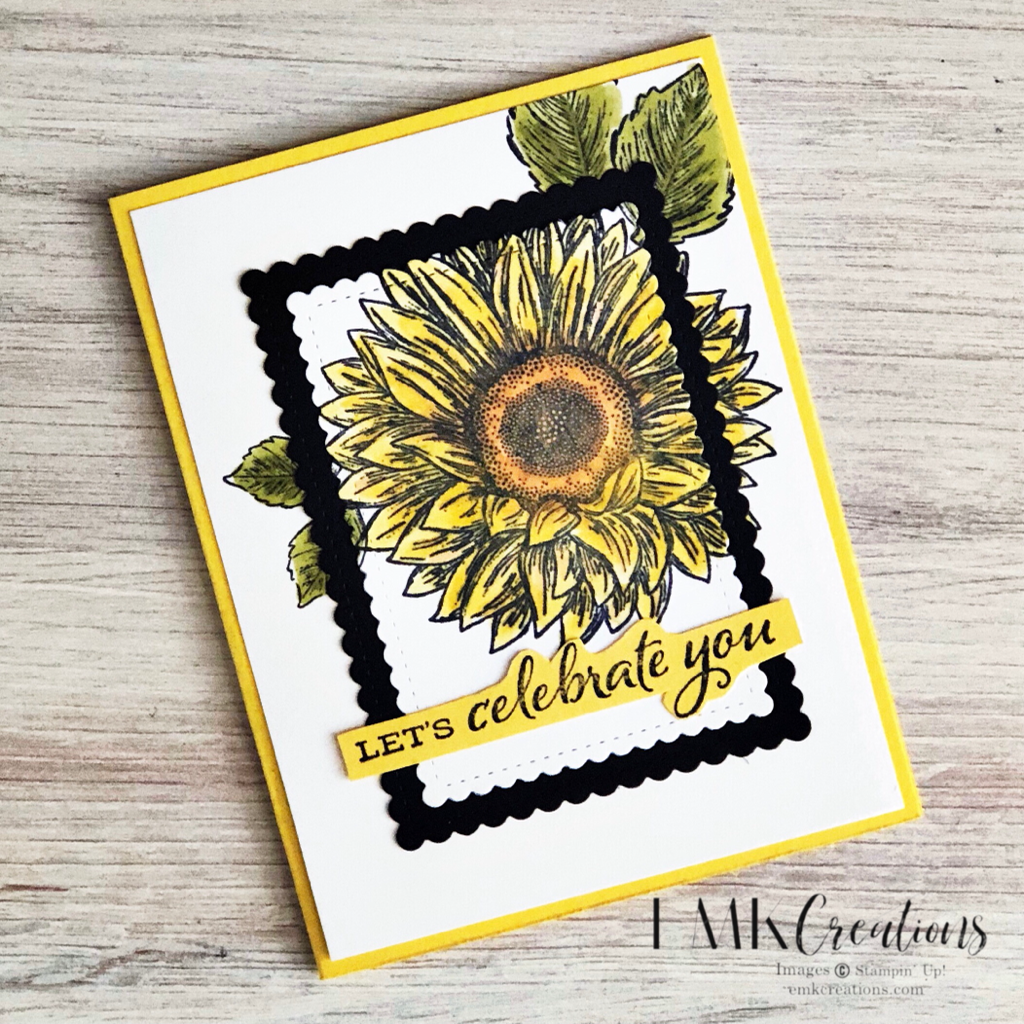
This was one of the first bundles I had to have from the 20-21 Annual Catalog. I'm a huge sunflower fan anyway but these stamps and dies are too pretty to pass up!
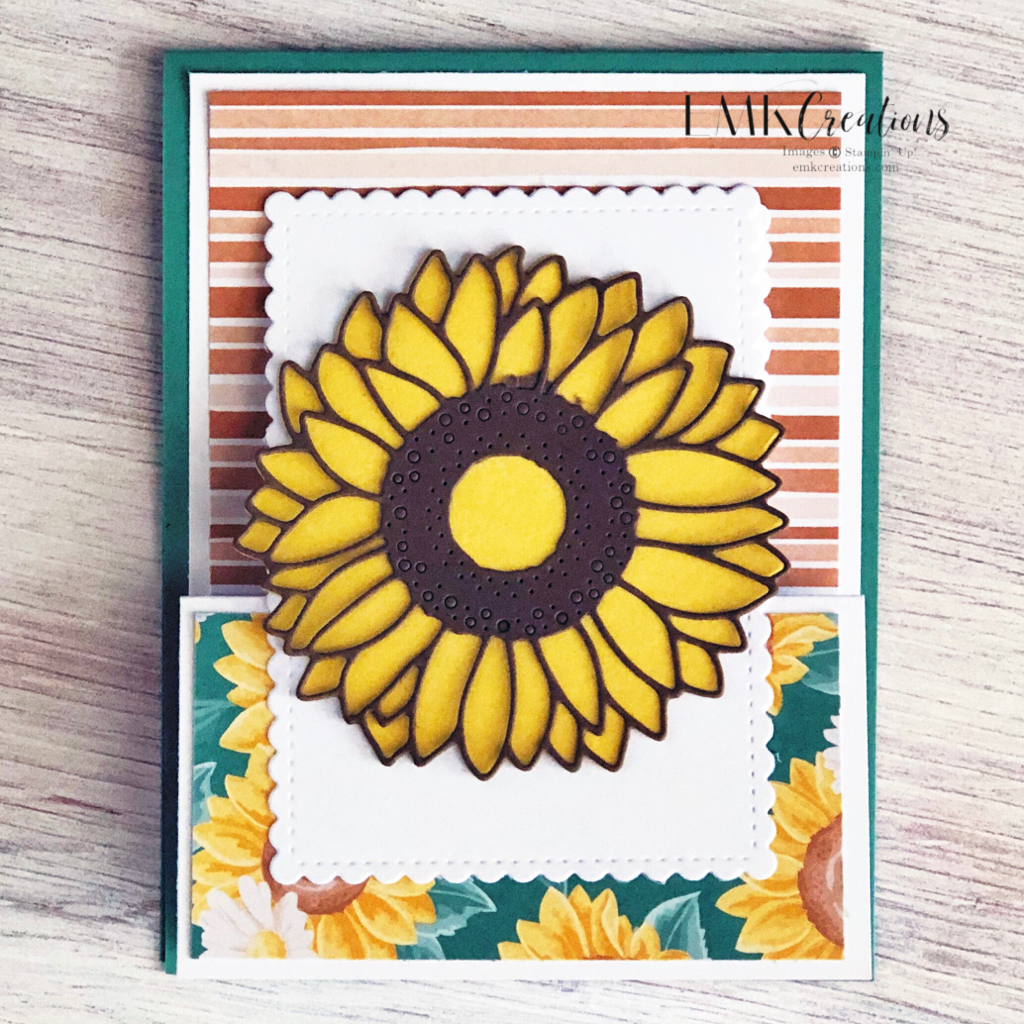
Fun folds are not my usual go to but I enjoyed making this card. Pairing the dies with the Flowers for Every Season Designer Series Paper is a perfect combination.
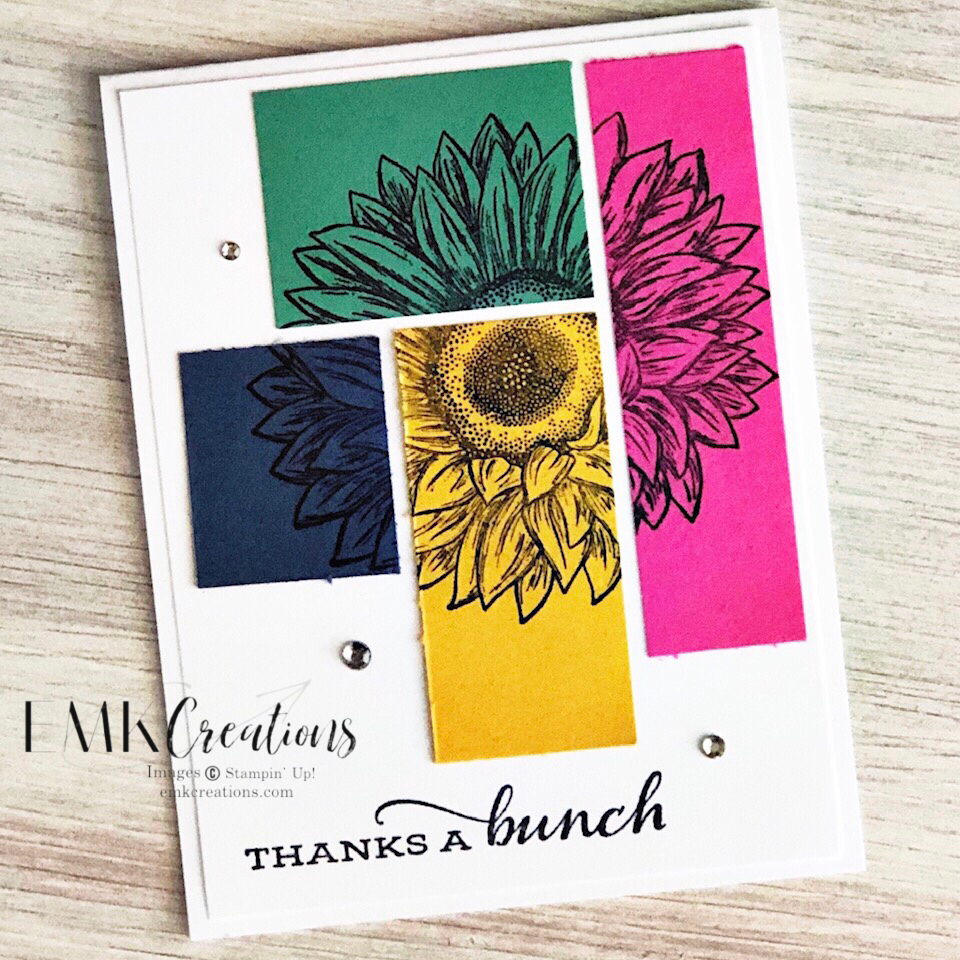
Somewhere along the way I saw a color block card like this and had to create one! I love using the bright vibrant colors with the black ink. This was a great way to show off the 20-22 In Colors.
This spotlight technique is another one I enjoy doing but often forget about. It shows off the coloring on the flower so nicely. I stamped the image on my white card stock first and used Blends to color it. Then I used the Stitched So Sweetly Dies to cut out the middle of the image. Finally I adhered it to a black card stock Stitched So Sweetly die cut one size larger.
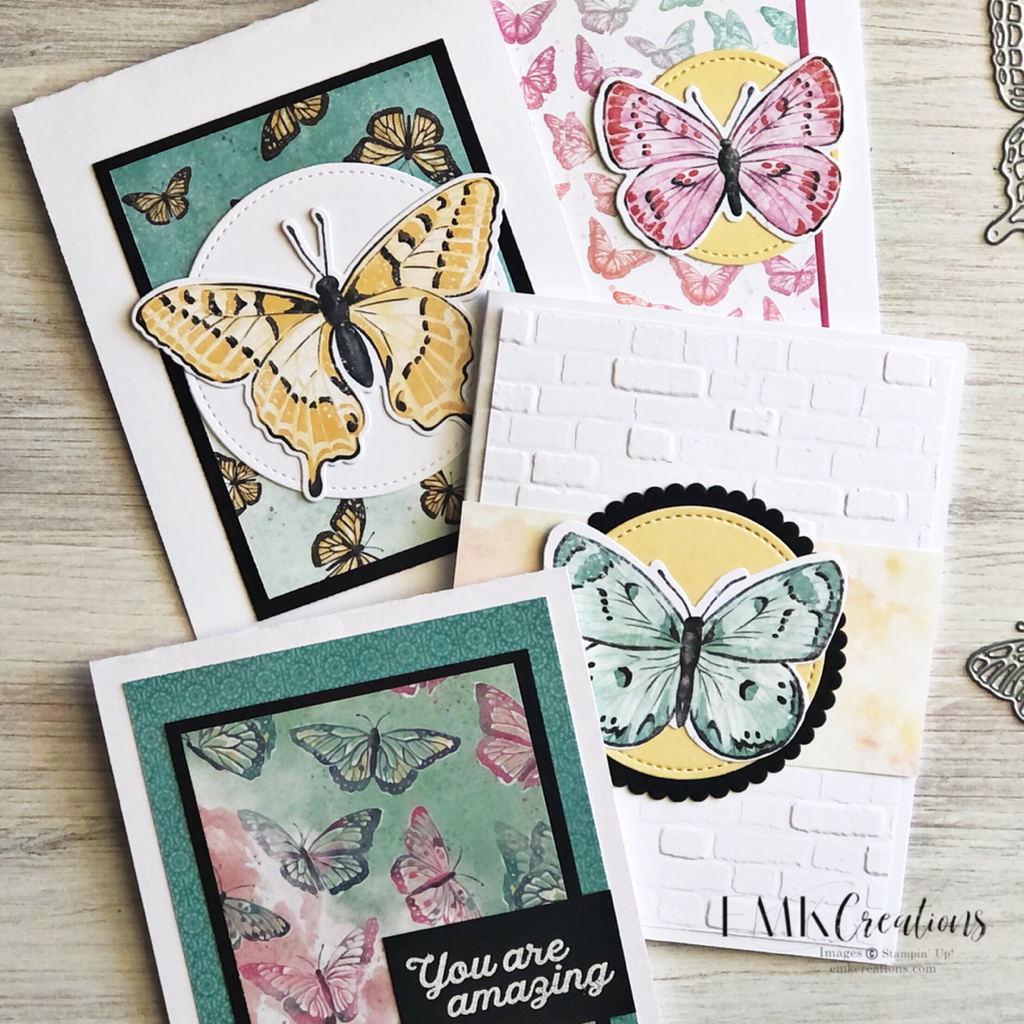
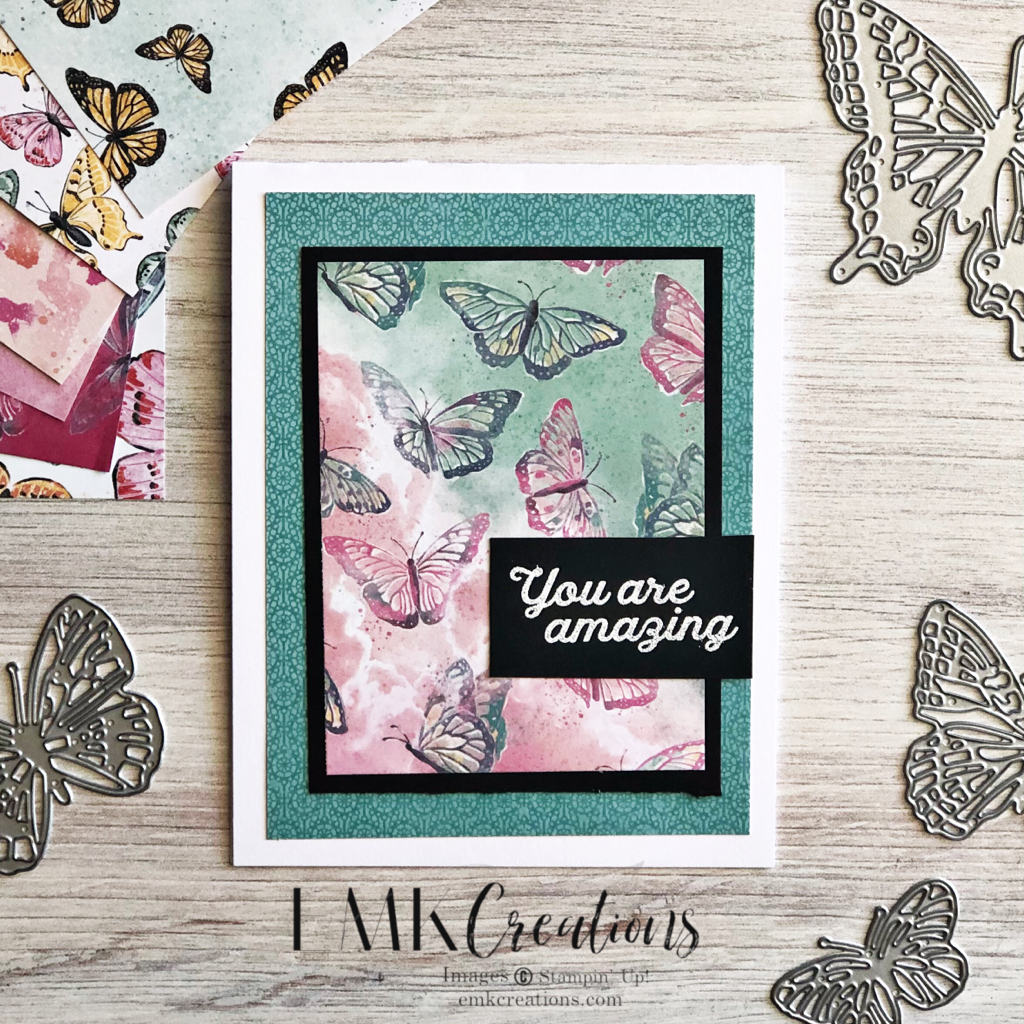
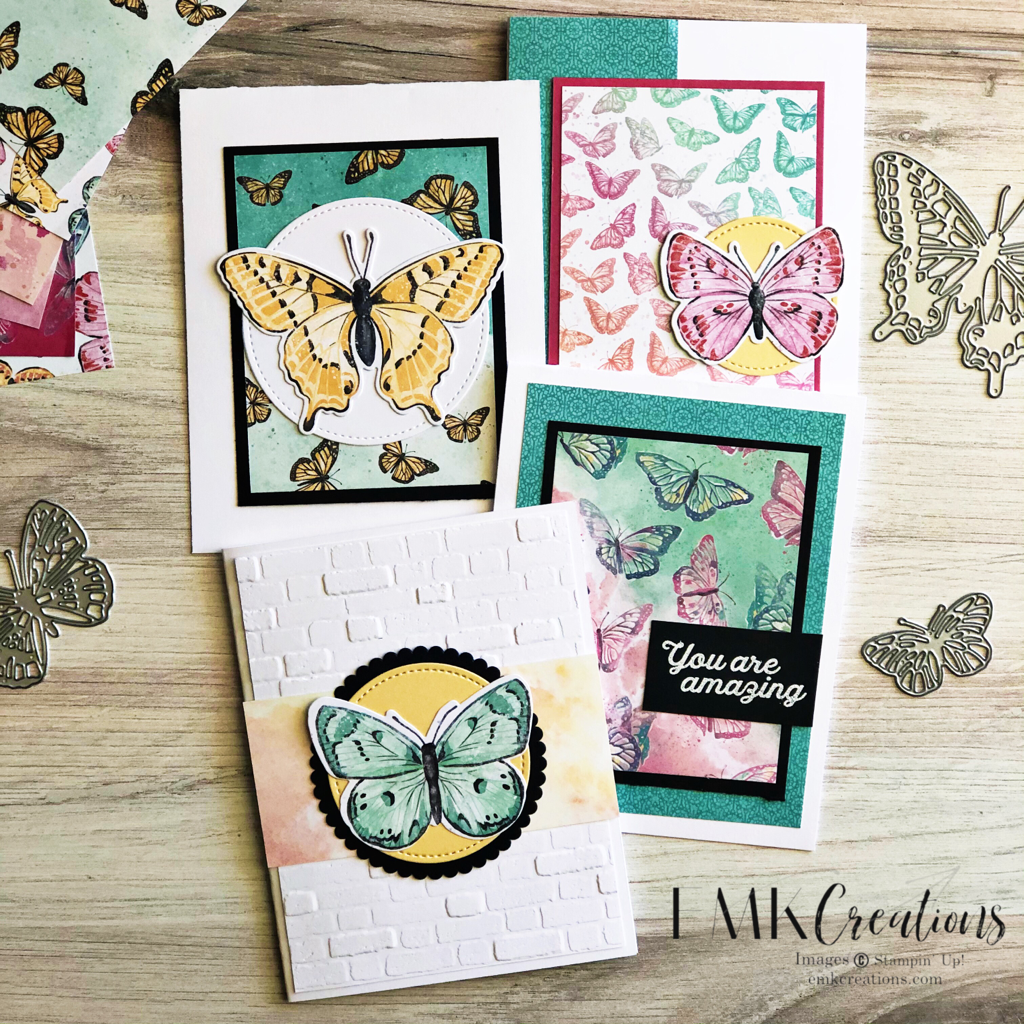
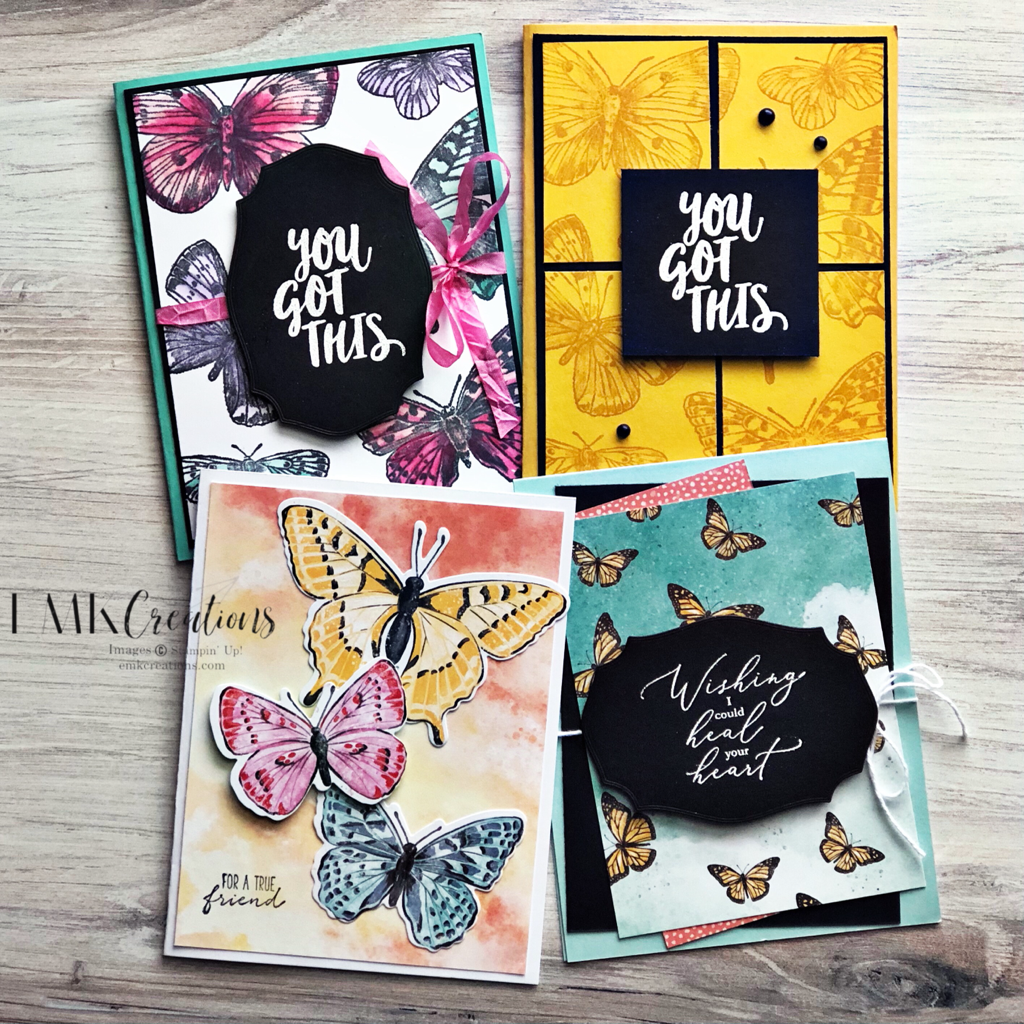
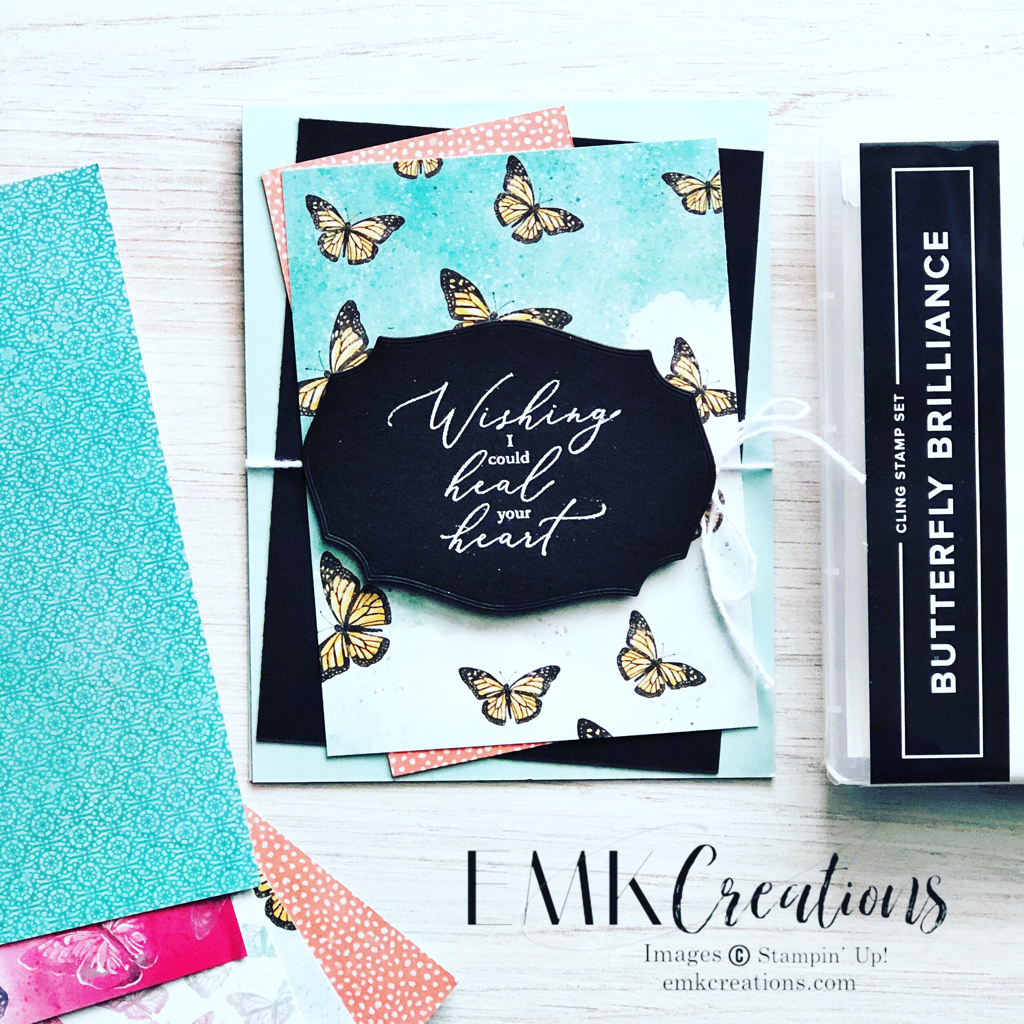
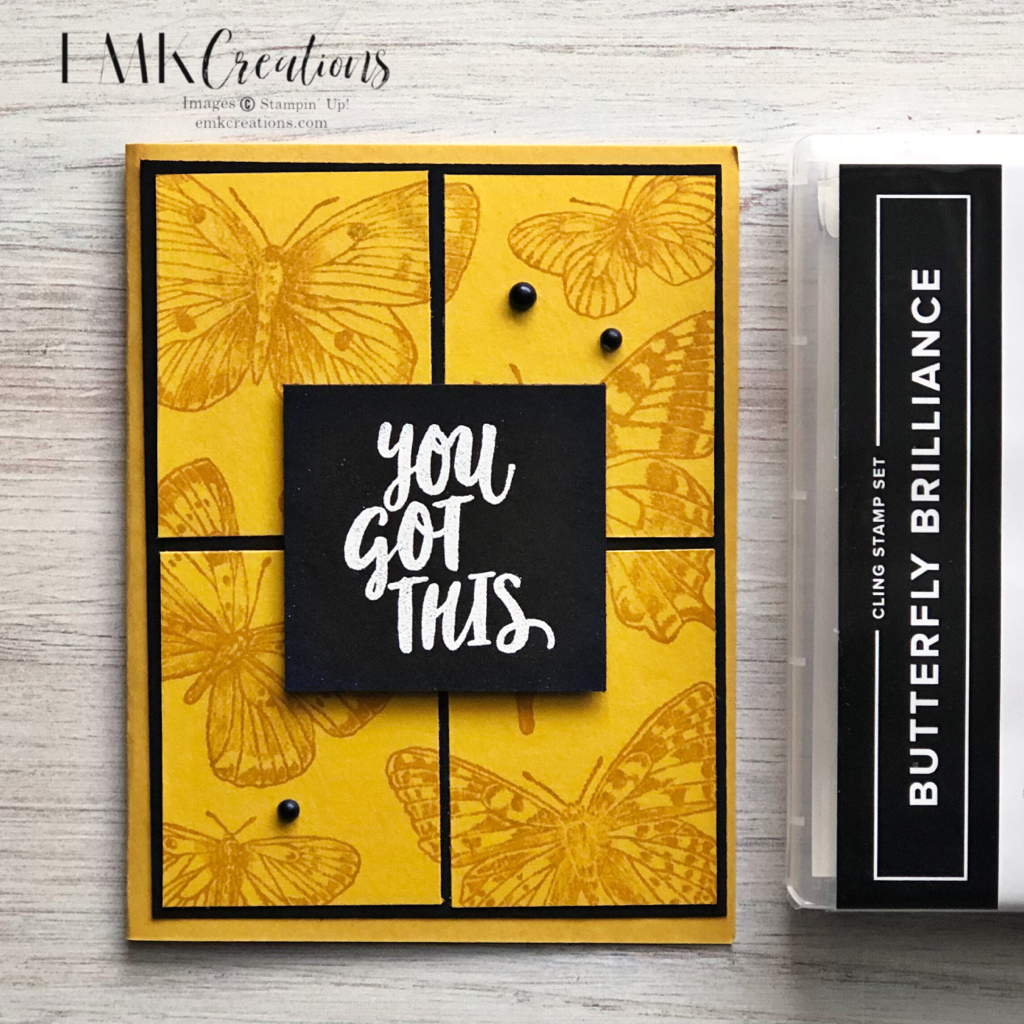
I can't get enough of these beautiful butterflies. The paper especially!
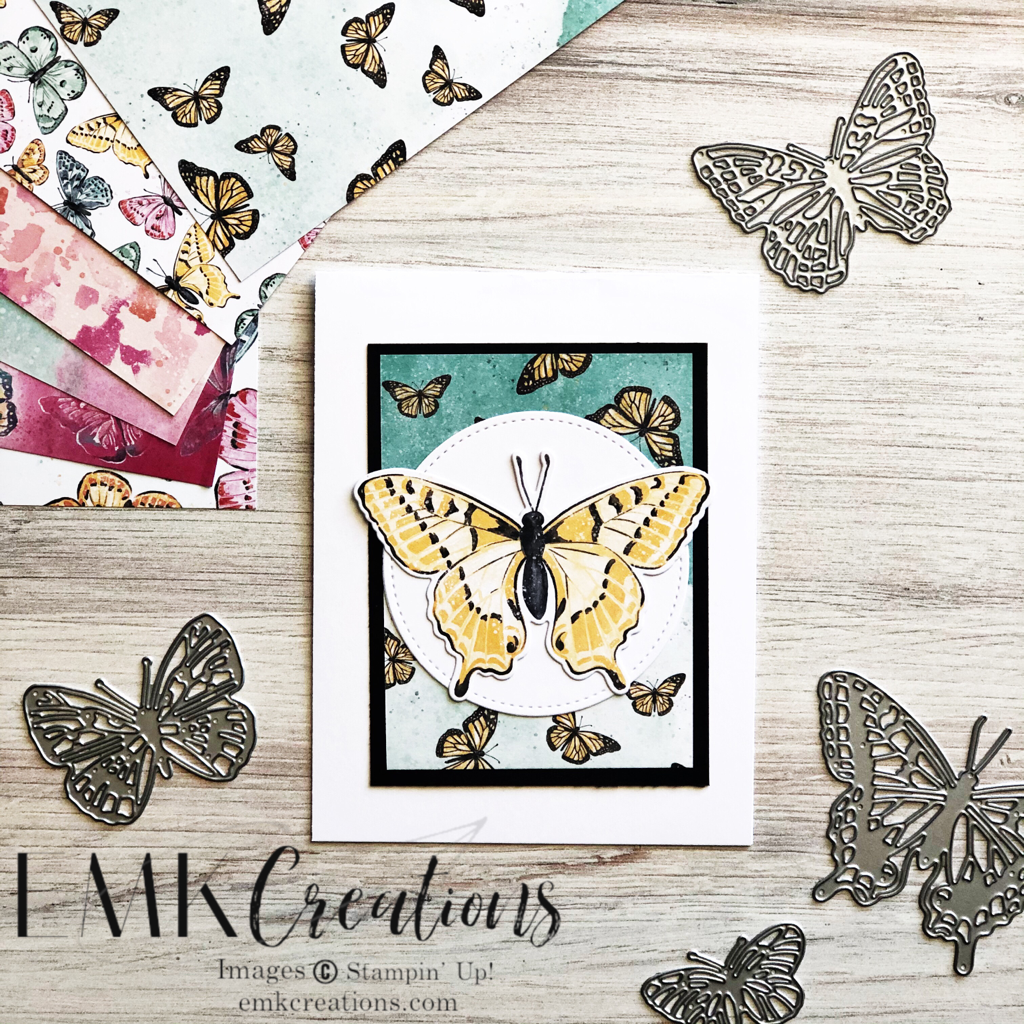
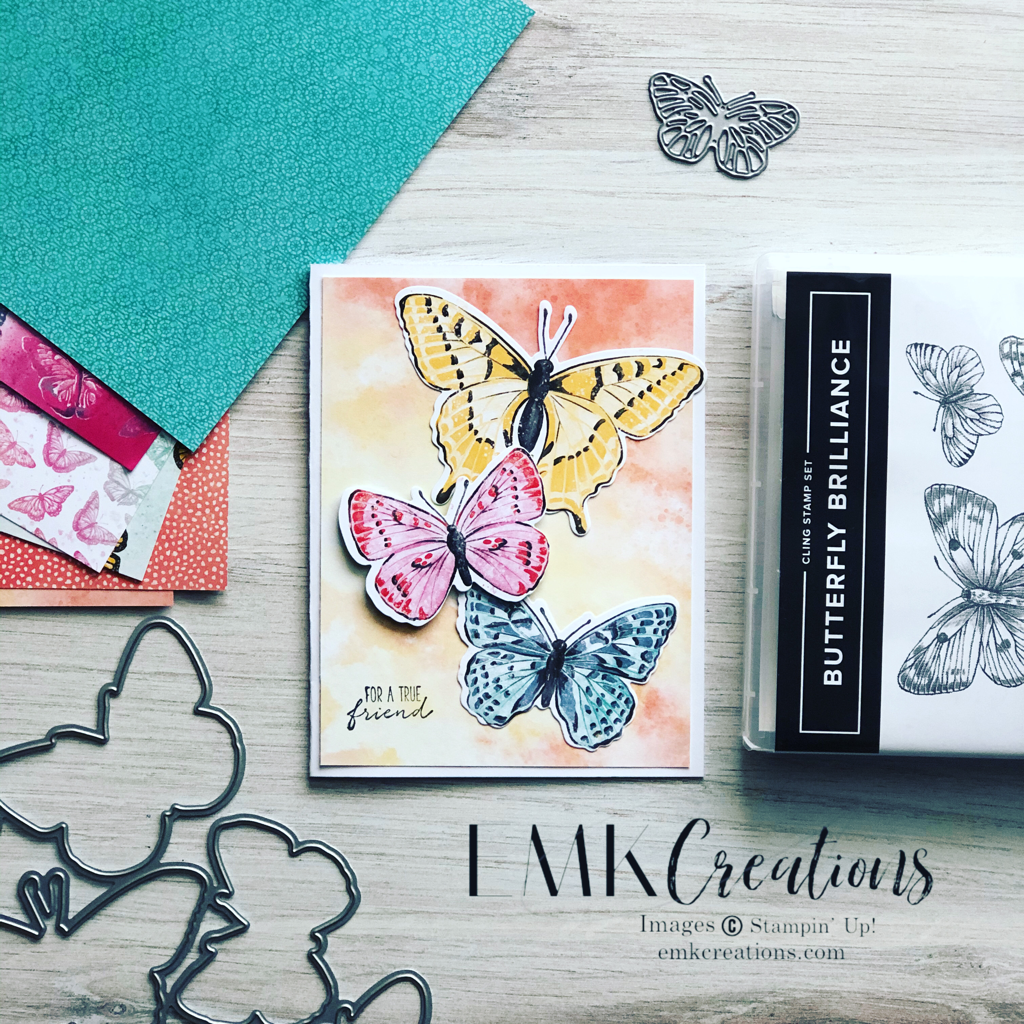
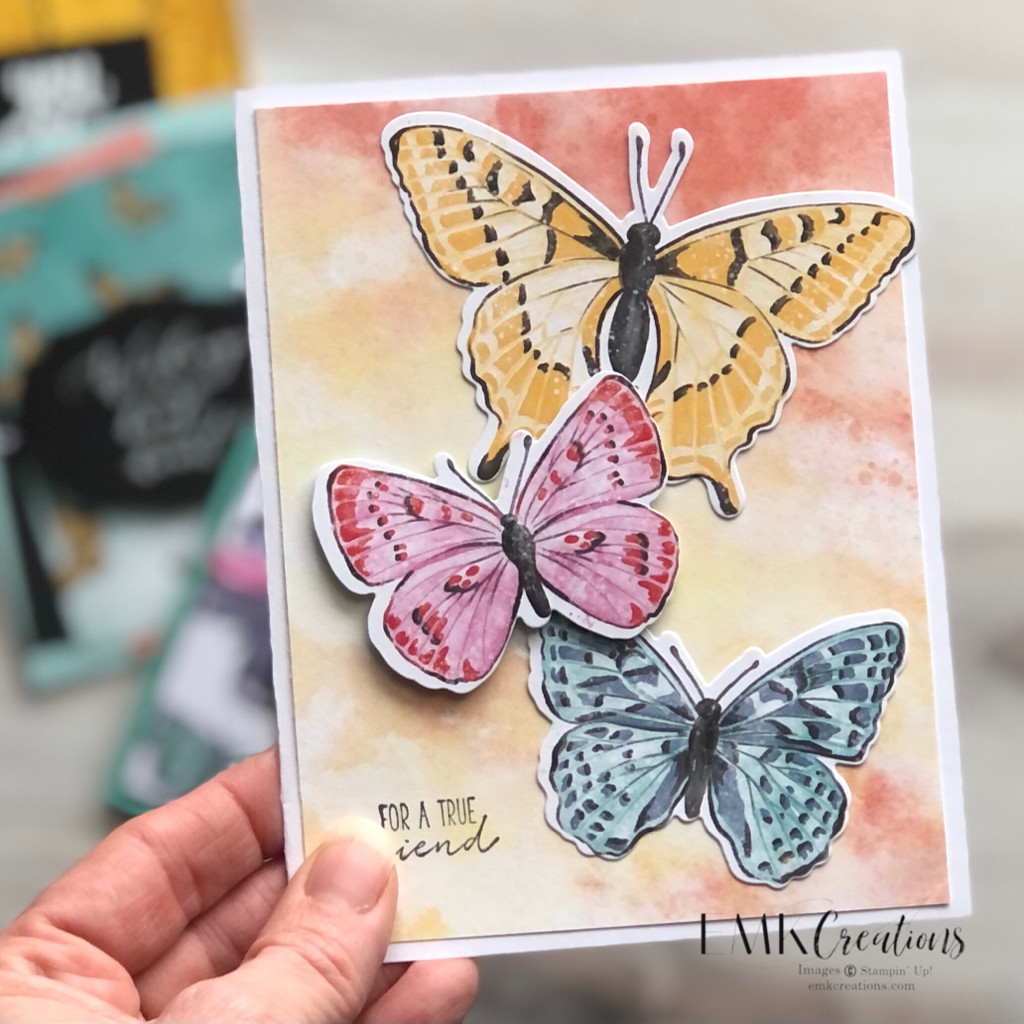
The butterflies used in my samples are cut from a piece of the Designer Series Paper using the large die. Quick and easy which is my way of stamping.
For a quick and easy card design considering cutting down pieces using the following:
Cut at 4 in. Then turn the 4 x 6 piece and cut in 1/2 to get two 4 x 3 pieces.
Those layered on a solid cardstock (I used black in my samples) cut at 4 1/4 x 3 1/4 let you create cards quickly and use the Designer Series Paper as the focal point.
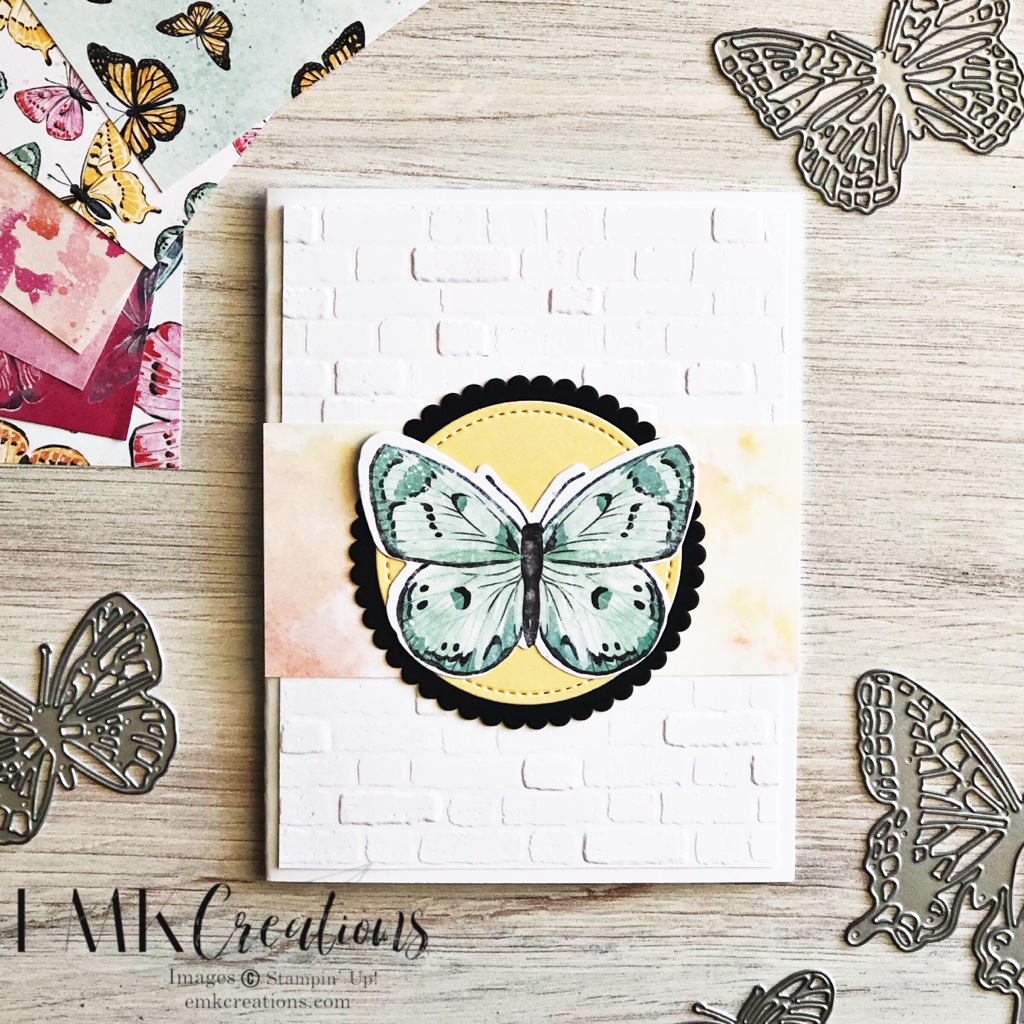
The 2 in strip left from the idea above works great on a card like this one!
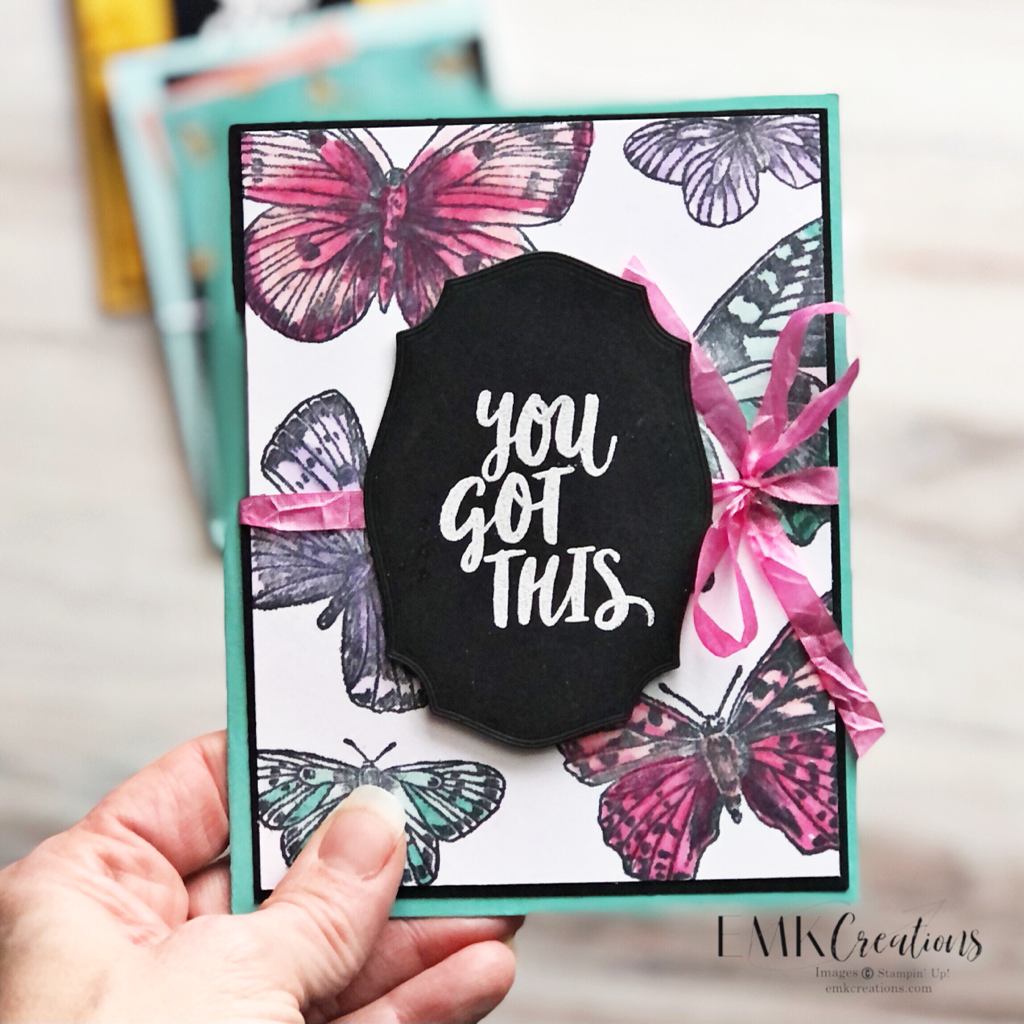
White embossing on a black card stock gives such a bold look to your sentiment.
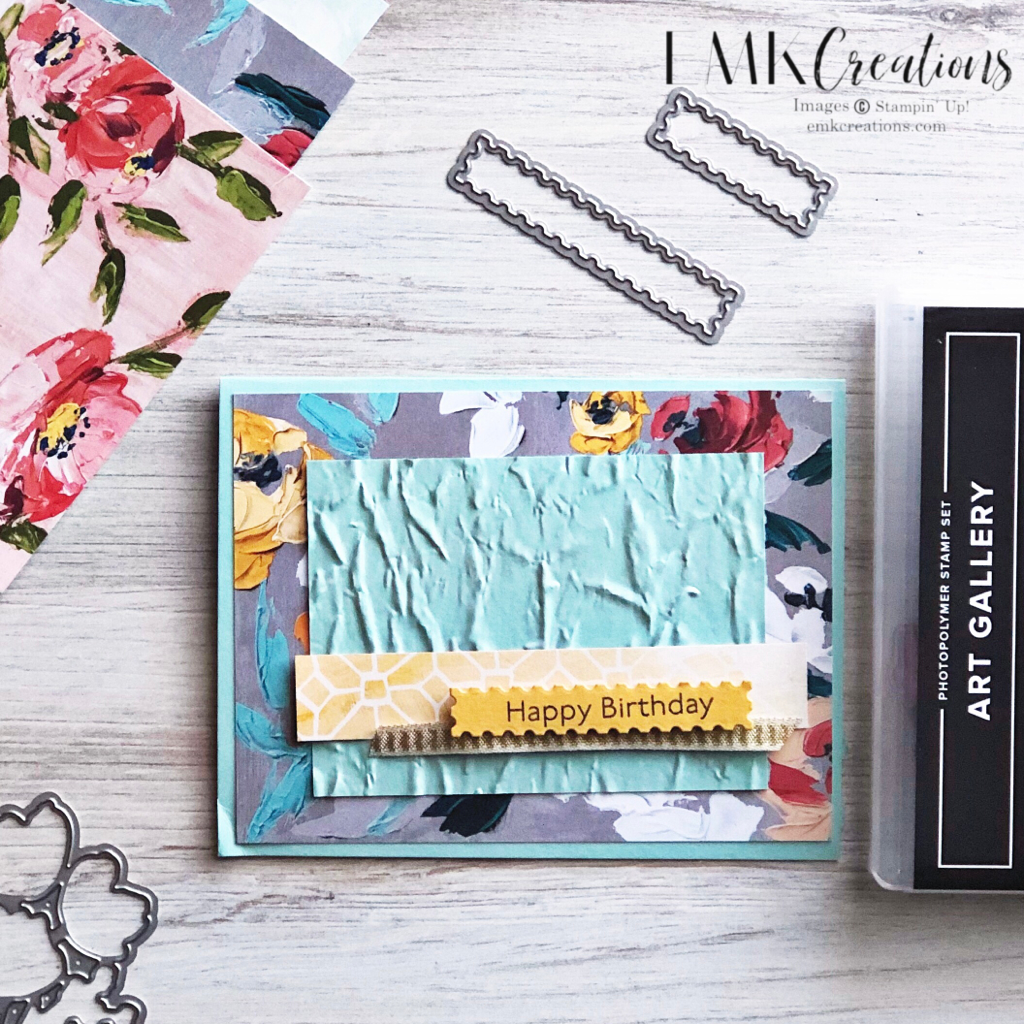
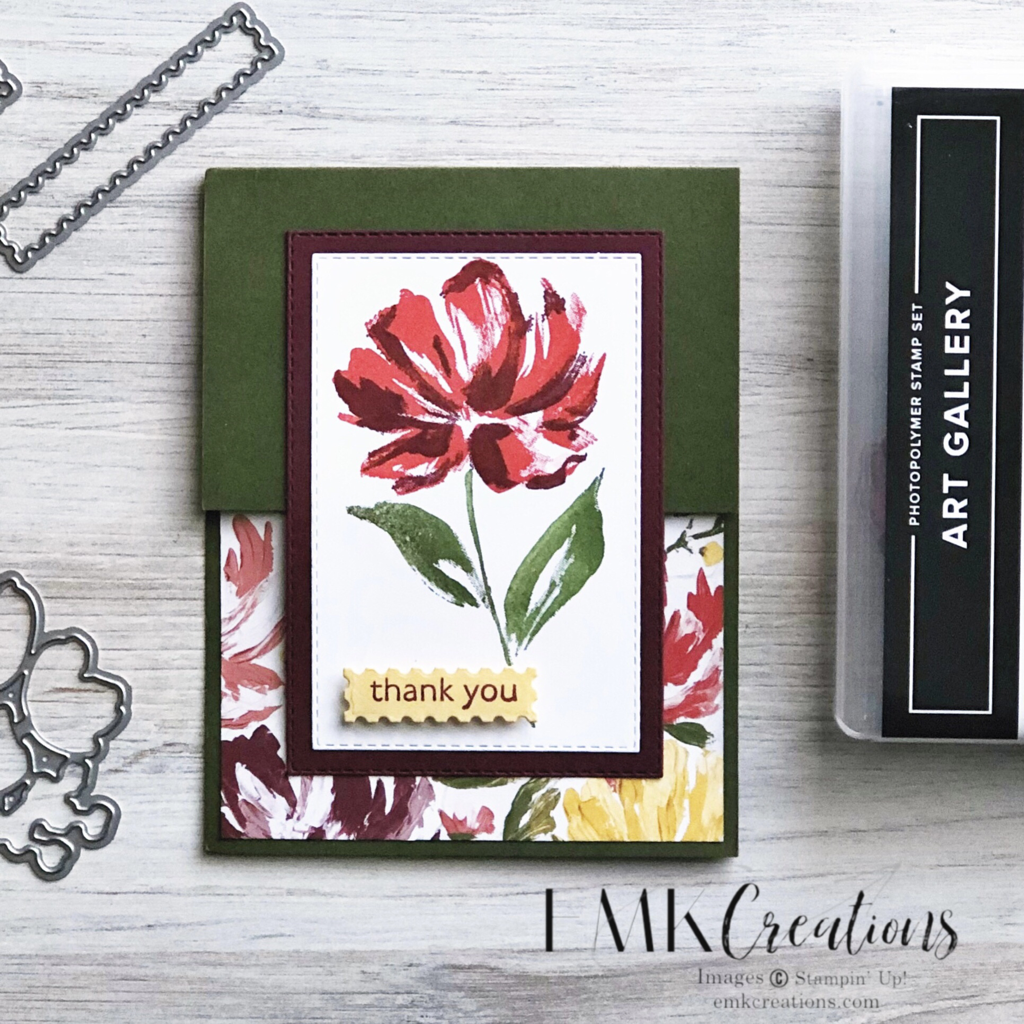
The Art Gallery Suite is one of my favorites from the January to June Mini Catalog. The Designer Series Paper is some of the most gorgeous paper I've ever seen! I shared a video on my Facebook page that showed one of the pieces being created. It was hand painted!
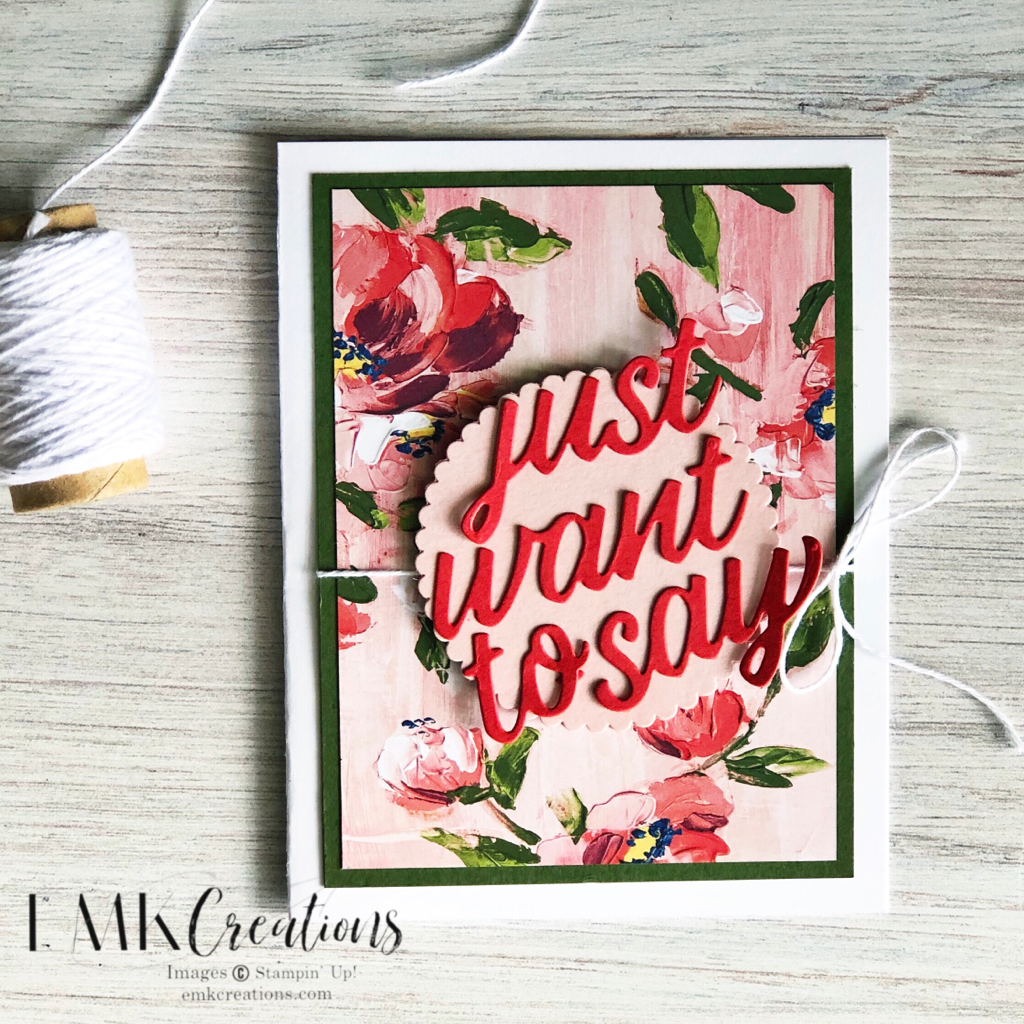
The Poppy Parade stands out so nicely on this card. TIP: Be sure to use the adhesive sheets when die cutting the words. It makes adhering them so much easier than messing with glue.
This card is a simple one but I love showing off the Painted Texture embossing folder.
This card was one I received from my friend, Kim. I love her fun fold idea and using the Designer Series Paper on the inside of the card.
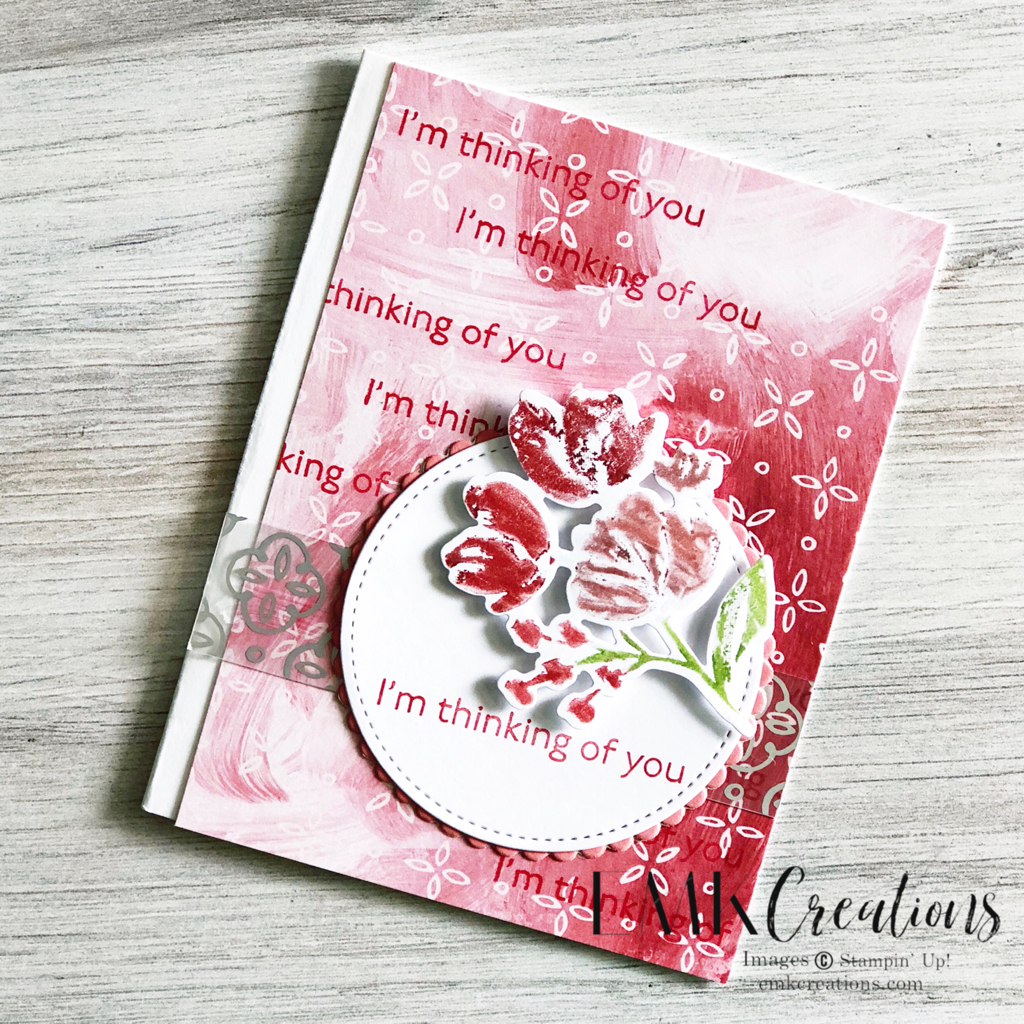
Stamping directly on my Designer Series Paper is something I often forget to do! I also chose to use the silver side of the Acetate Paper instead of the gold.
Product List
The Butterfly Brilliance Collection is so versatile and cool! It includes one large stamp with one large die to cut all the butterflies at once. Plus a lot of individual butterfly dies as well.
I'm offering an ordering special on this great suite! Order the stamp and dies bundle (at a 10% savings) from me and you'll get a PDF of four fun cards and instructions emailed to you. Order the full collection and I'll send you the cardstock and embellishments for the cards as well!
Use Hostess Code PWMDACRS to order and take advantage of this offer.
Coloring the stamped butterflies with Blends is another fun way to use this set. I love the pops of color! Plus, anytime I can use my Blends and get some color therapy in is a good time for me.
I also used my Blends to color the white seam binding ribbon to match the card colors.
Don't miss out of this special early release because you can only get the beautiful Designer Series Paper now! It will not be included in the annual catalog.
My favorite pieces of the paper are the sheets that include these butterflies that can be cut out with the large die! How awesome is that?
No fussy cutting required so after die cutting you can quickly create cards.
The Stamparatus is particularly perfect for this large single stamp. If you don't get it inked and stamped perfectly the first time you can reink and try again knowing it will be in the exact same place!
Kits are something I love. Even though I create cards on my own all the time I am always drawn to kits for the ease.
Usually the first thing I do is create one of each card the way the kit is designed. Then, I typically cut up one of each card base to use in creating alternatives. Each time I do this it doubles my card options by adding a few extra pieces of card stock. 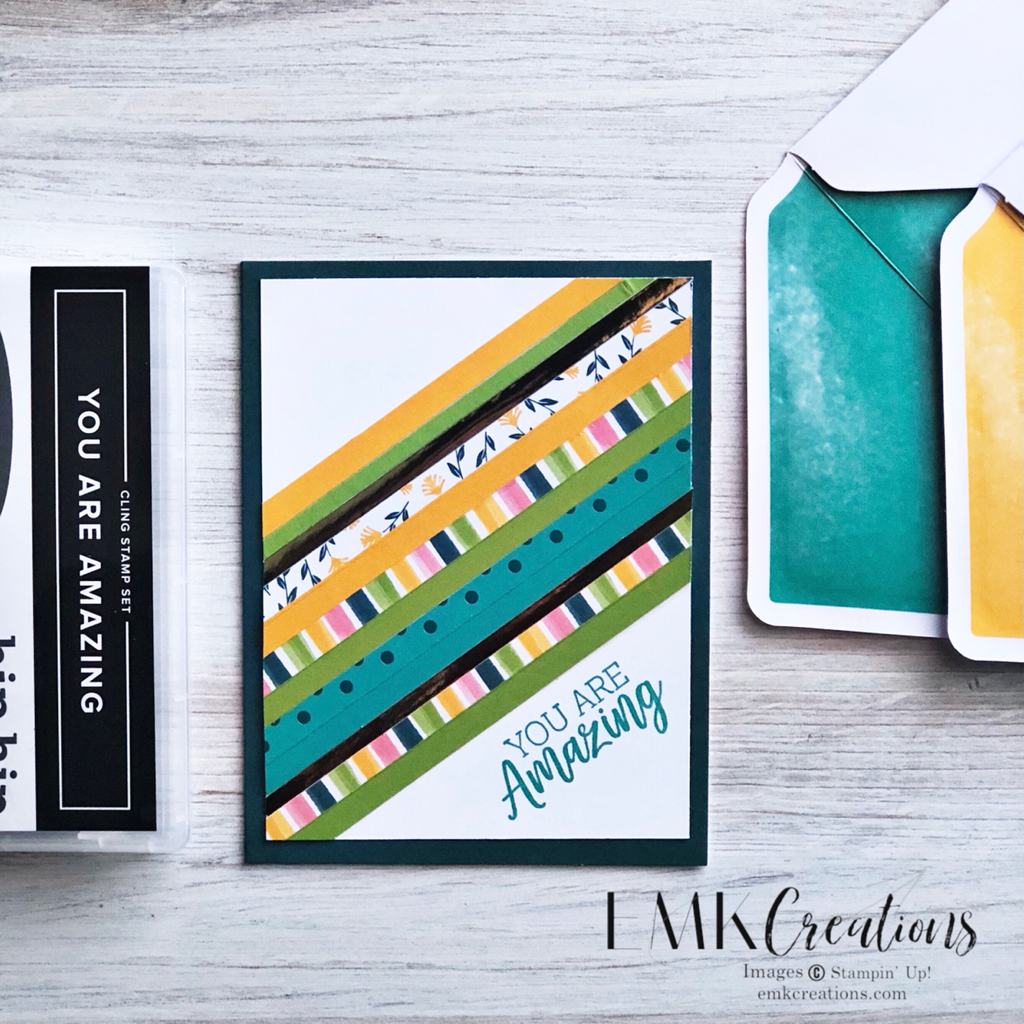
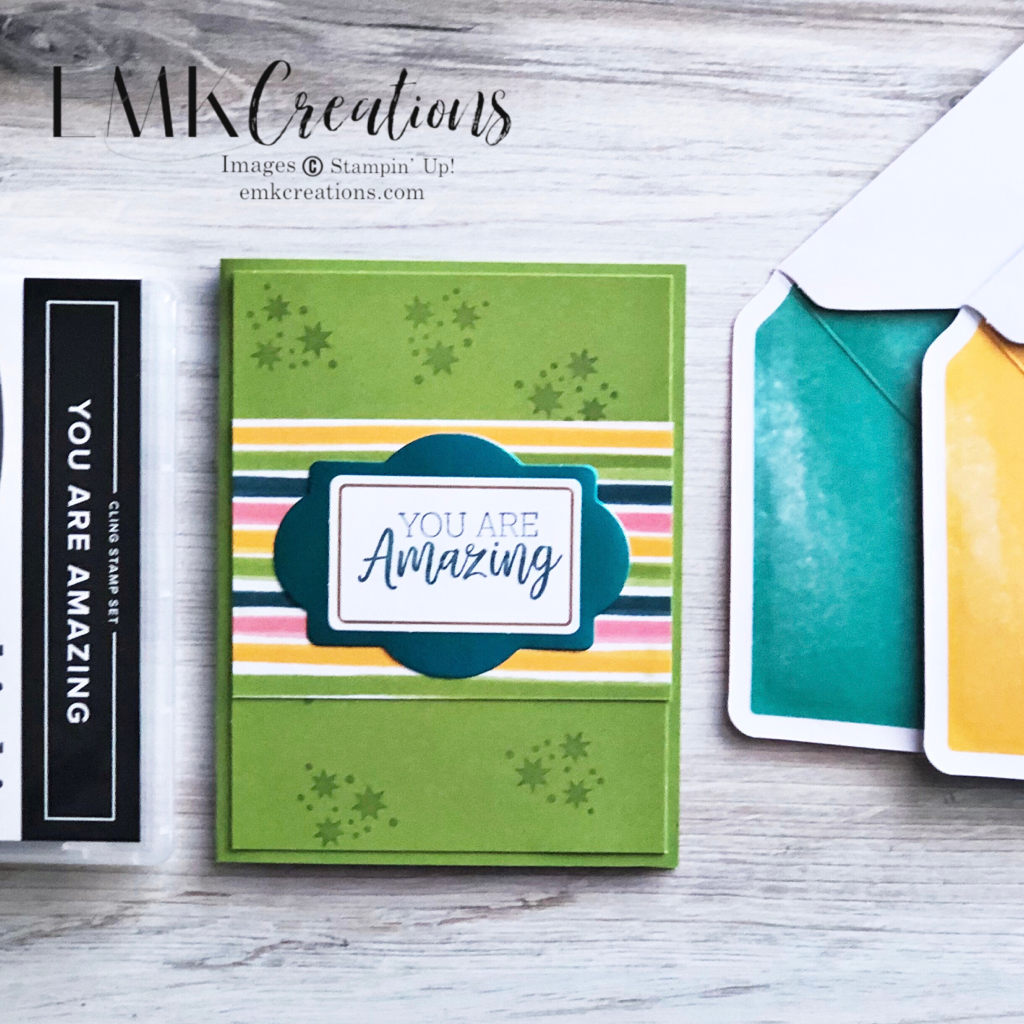
For this card I used all my leftover pieces from cutting down the card bases. This is one of my favorite techniques! And helps me use up my scraps without wasting them.
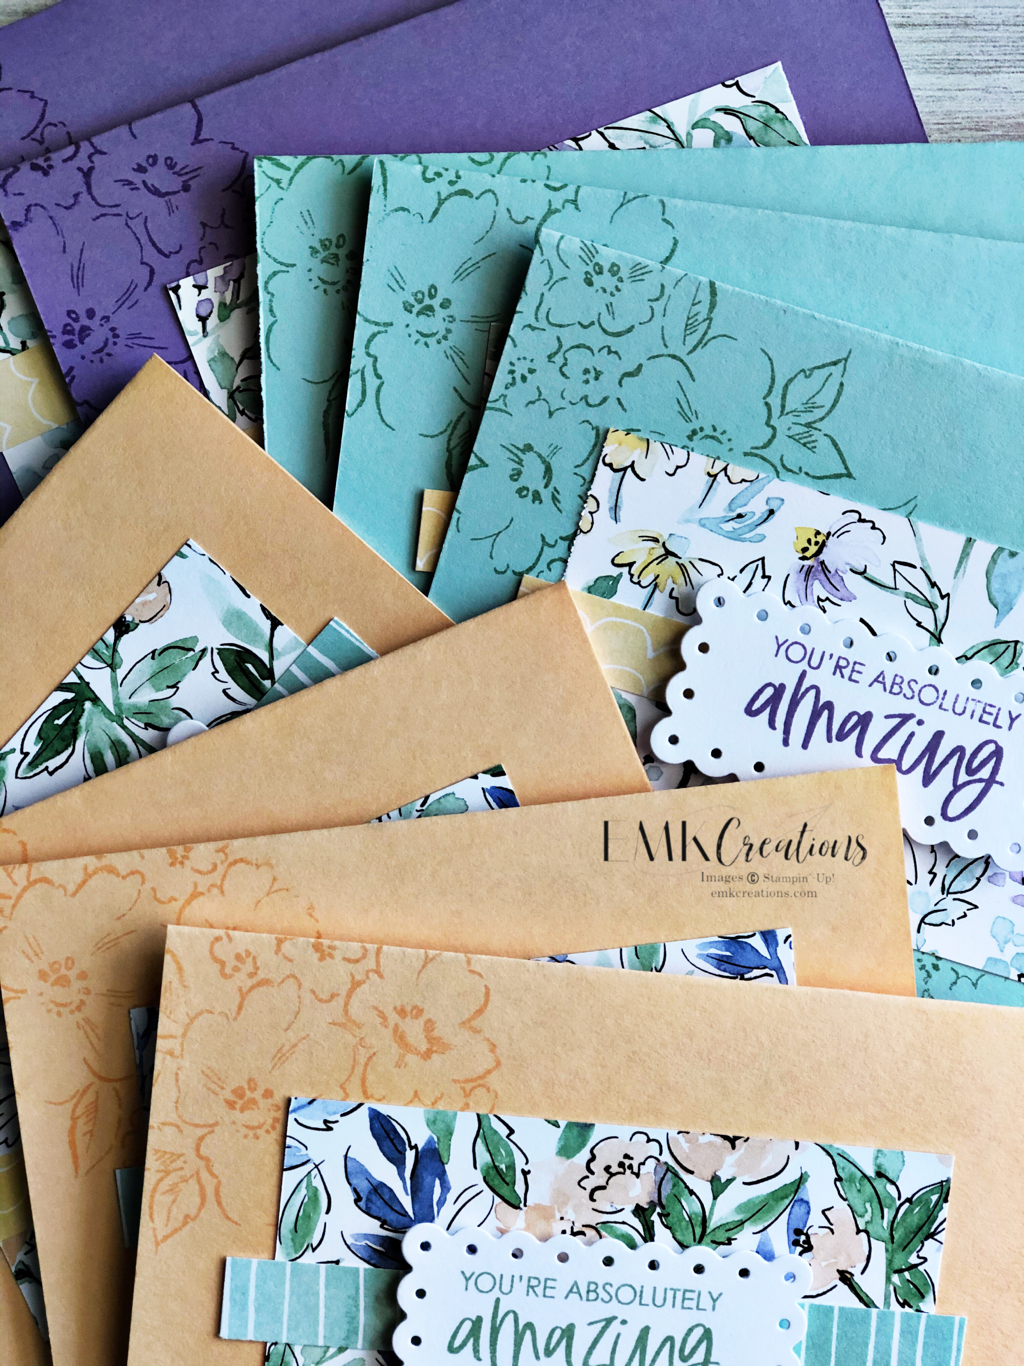
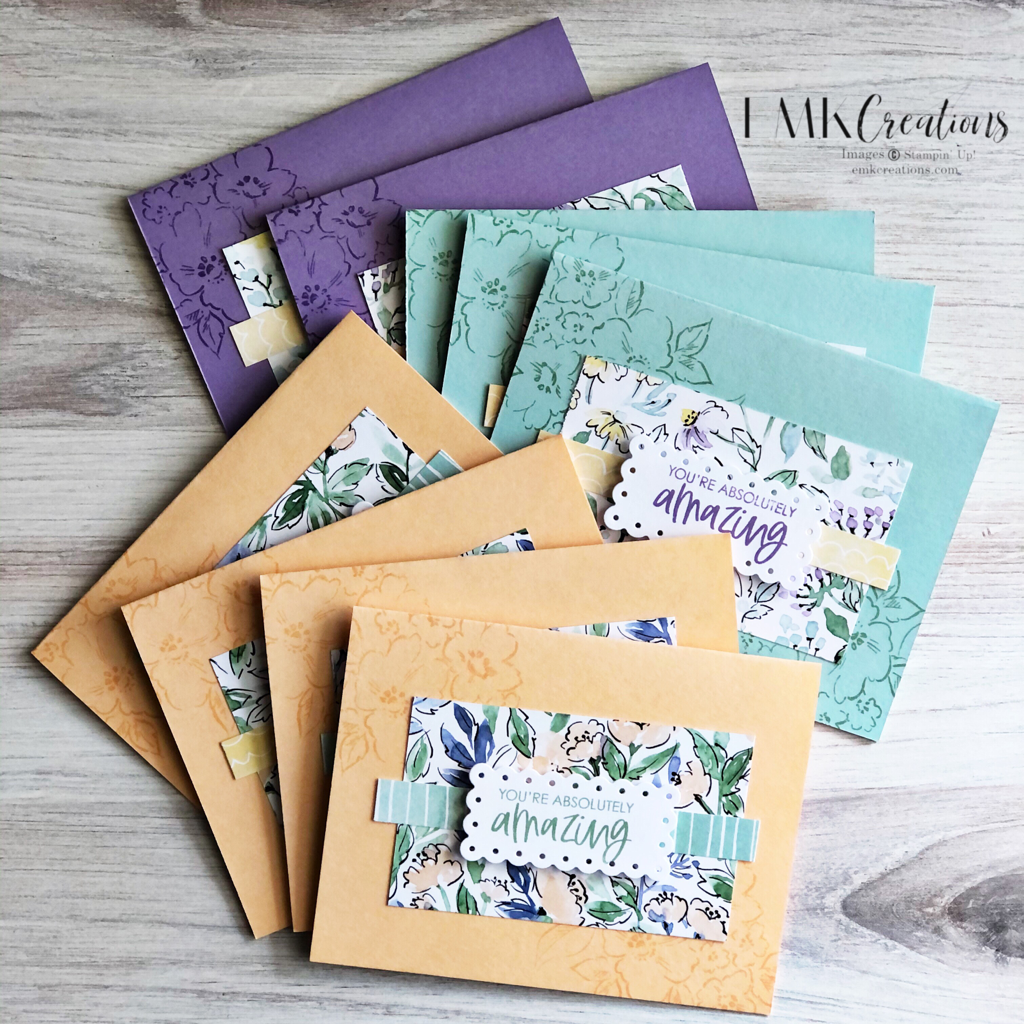
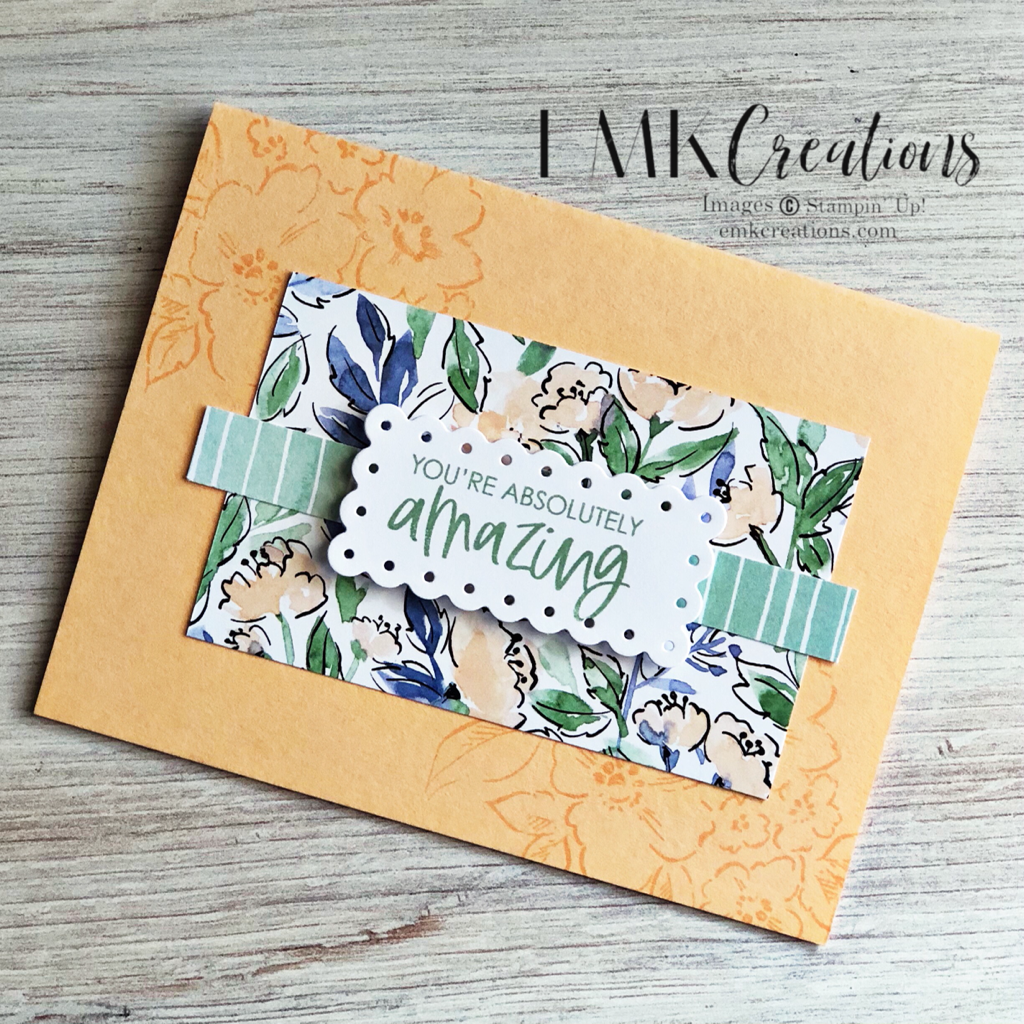
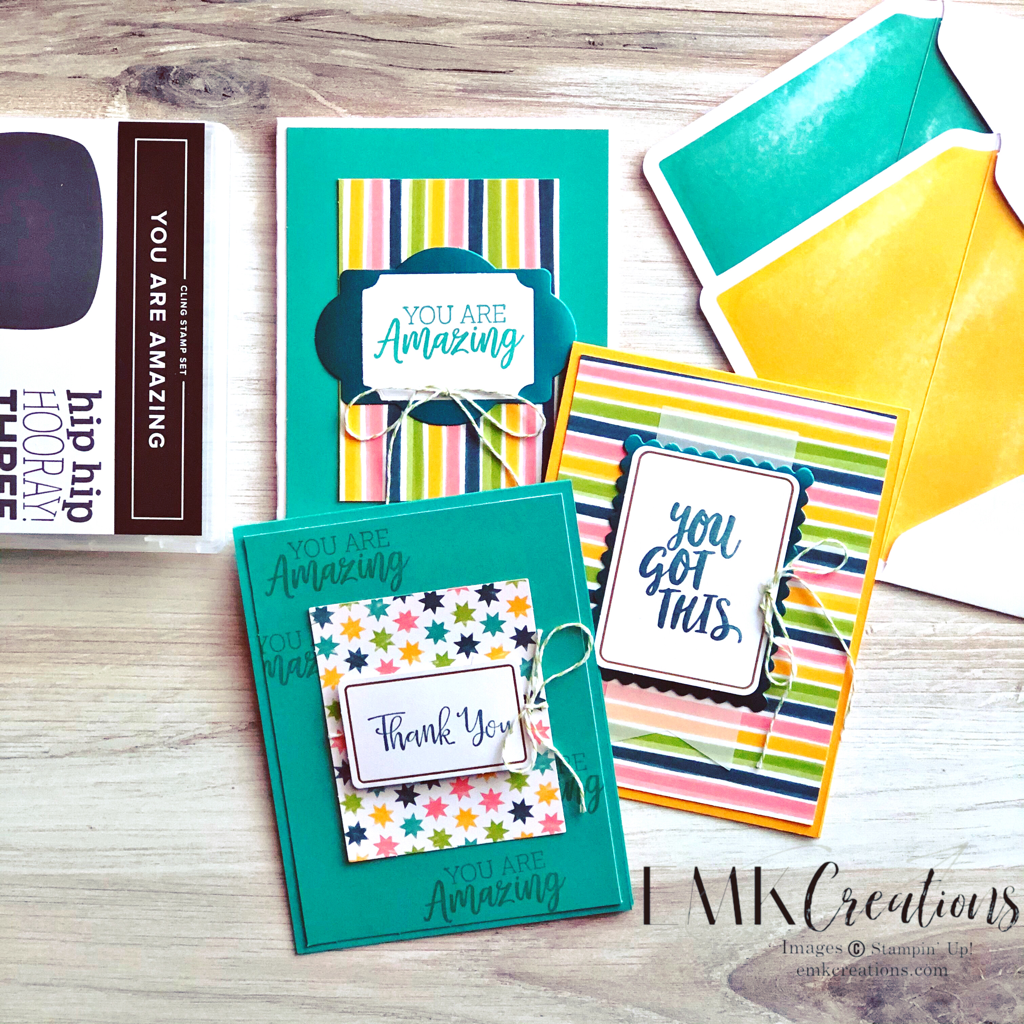
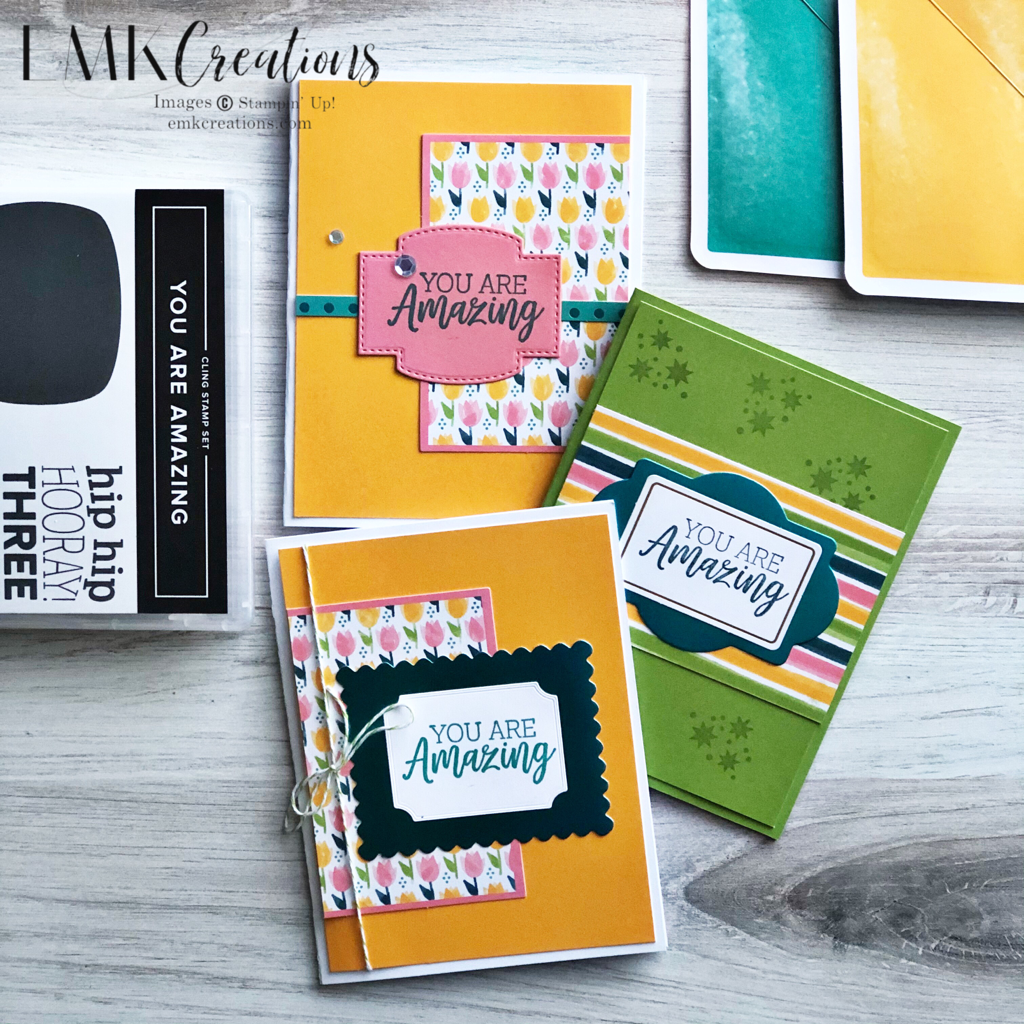
These cards are going to some of my amazing customers this month! Even the envelopes are pretty.
|
AuthorI'm a "work at home mom" and an independent Stampin' Up! demonstrator. Archives
July 2024
Categories
All
|














 RSS Feed