In my fall class participants can choose holiday designs or all occasions.
|
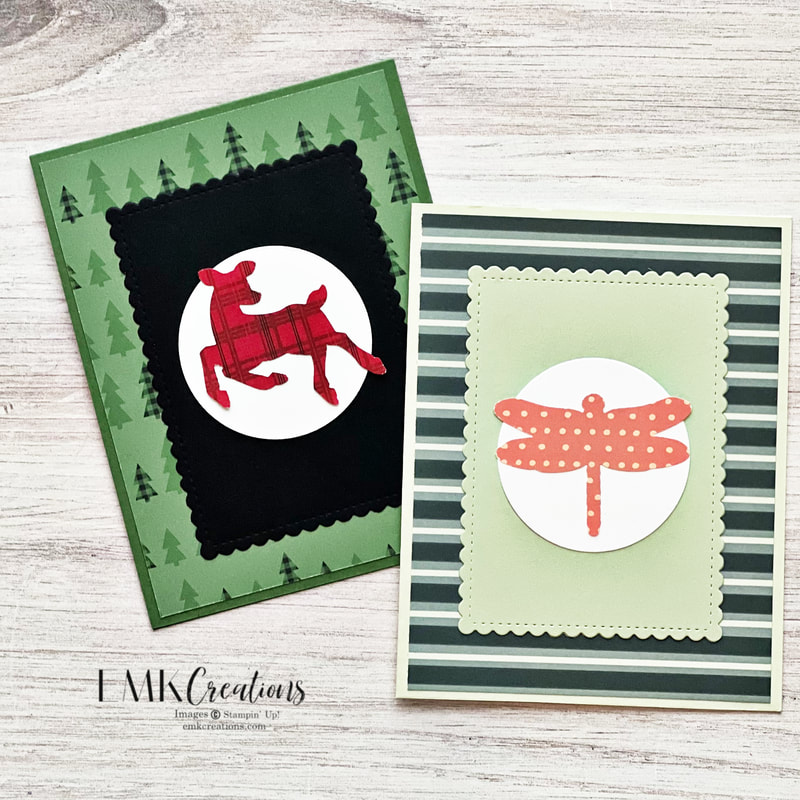
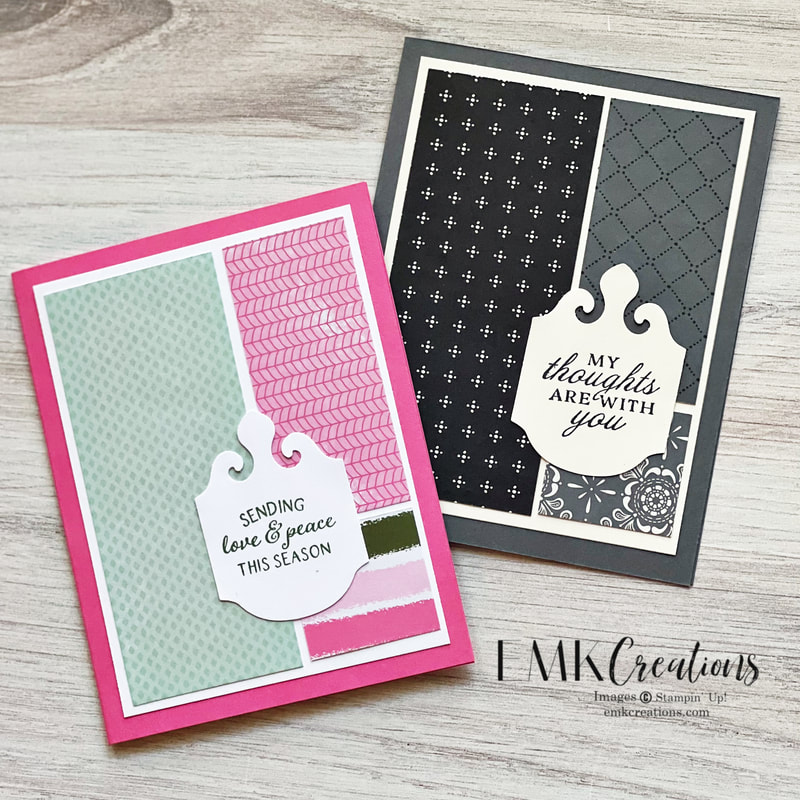
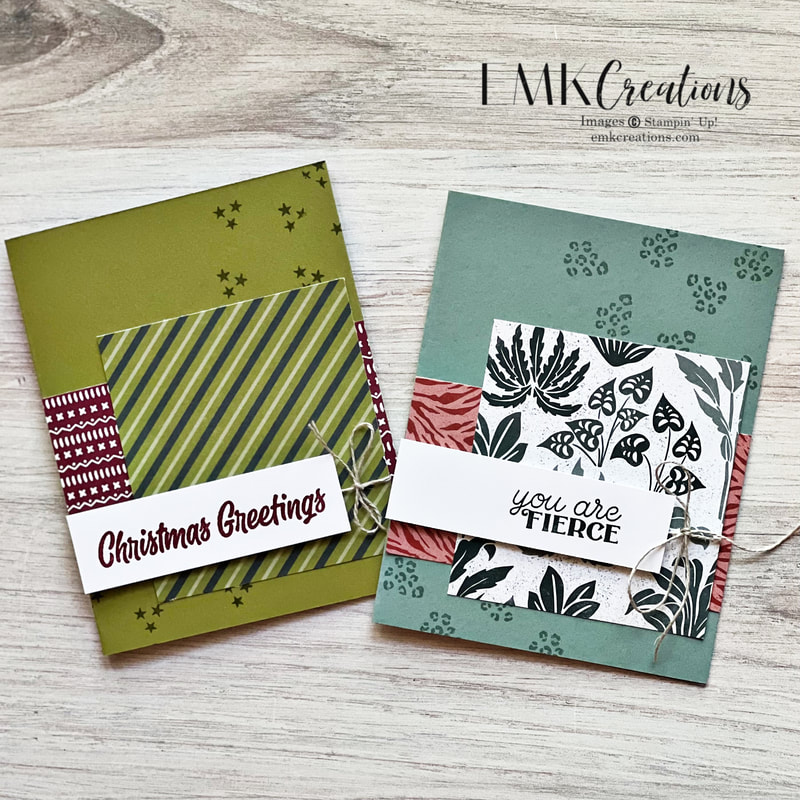
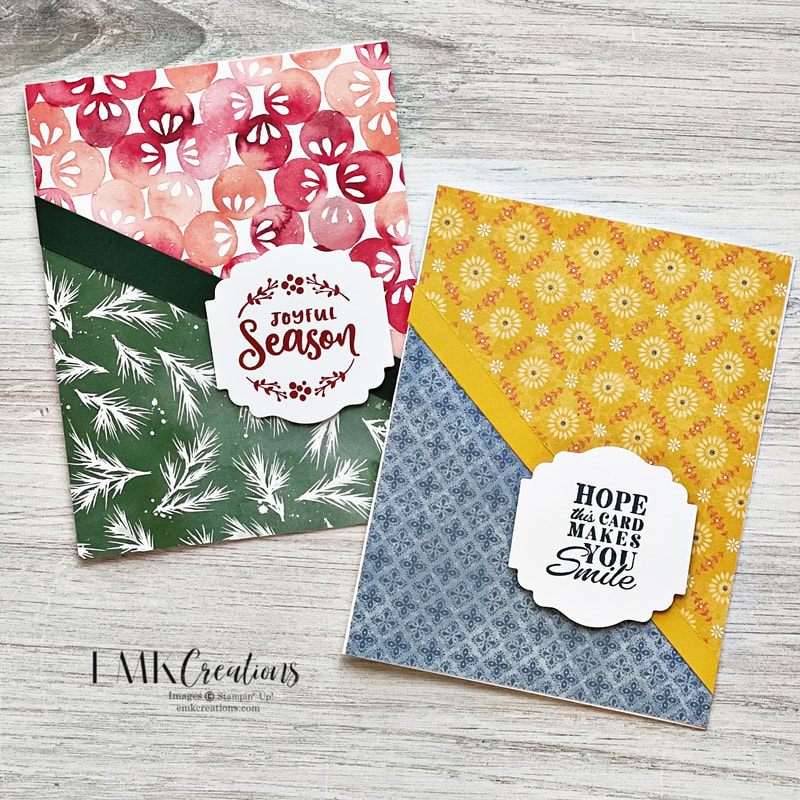
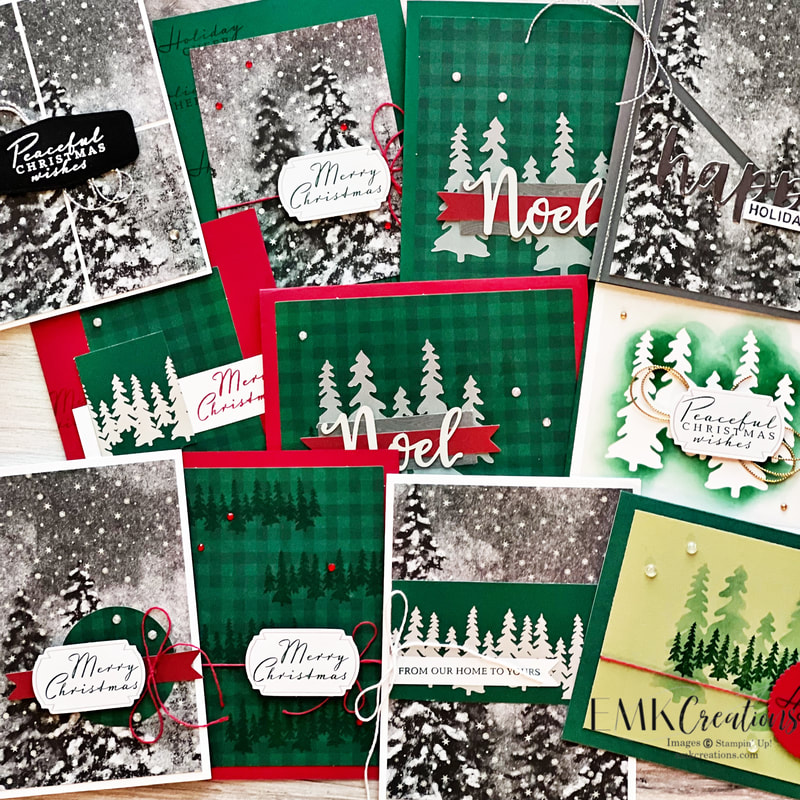
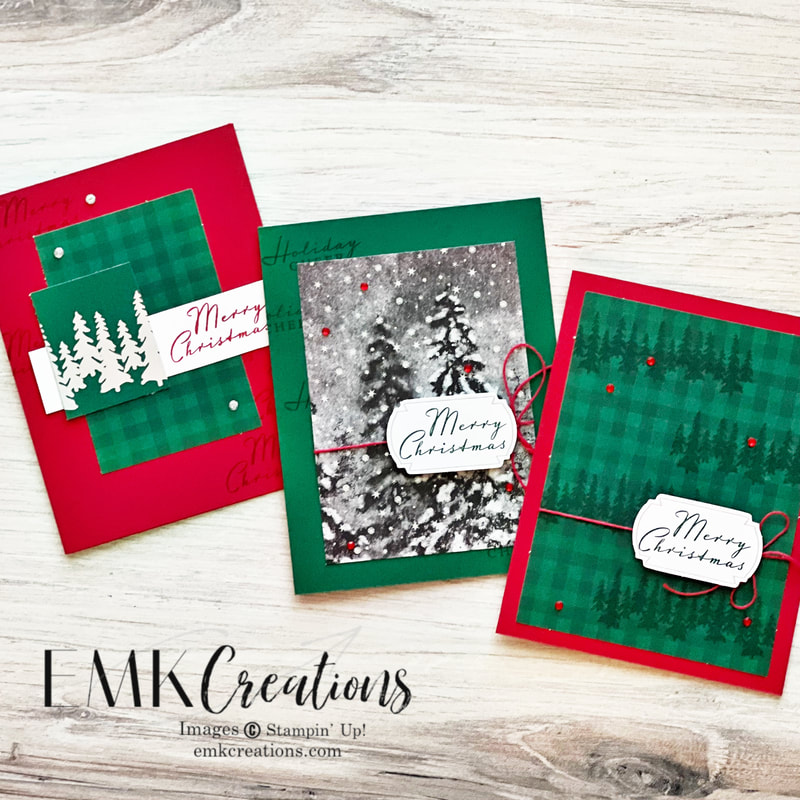
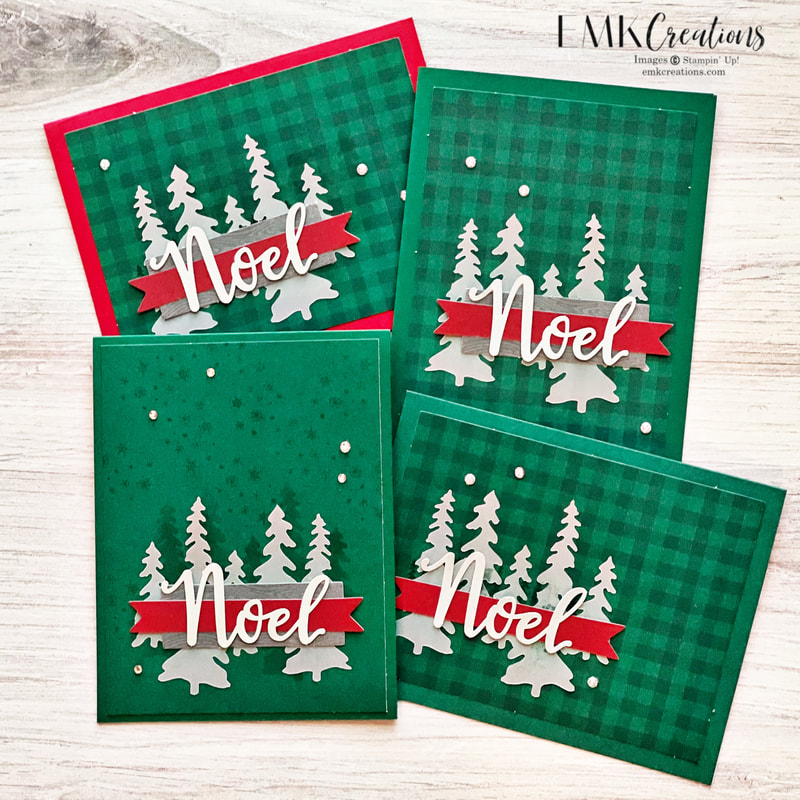
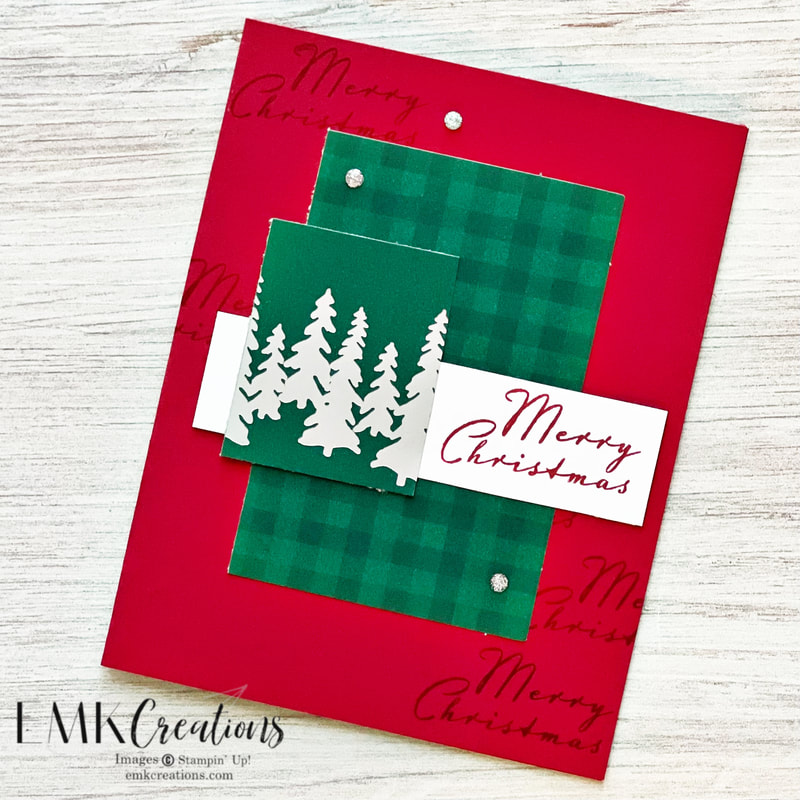
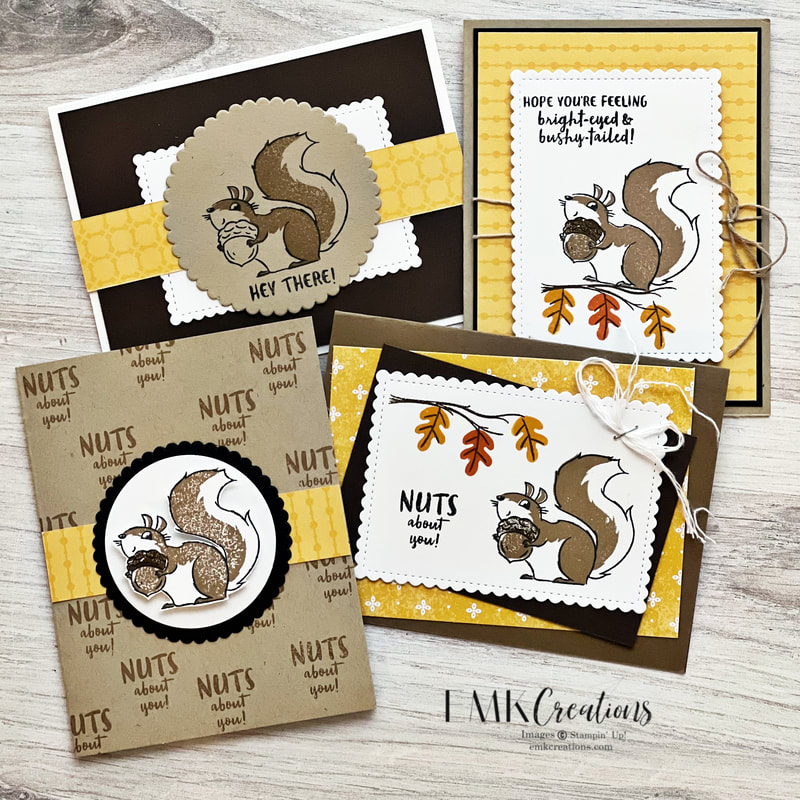
Twice a year I teach a 20 card class. In each class we create five each of four designs. The idea is to provide easy to replicate designs. These are my most recent card designs.
In my fall class participants can choose holiday designs or all occasions.
0 Comments
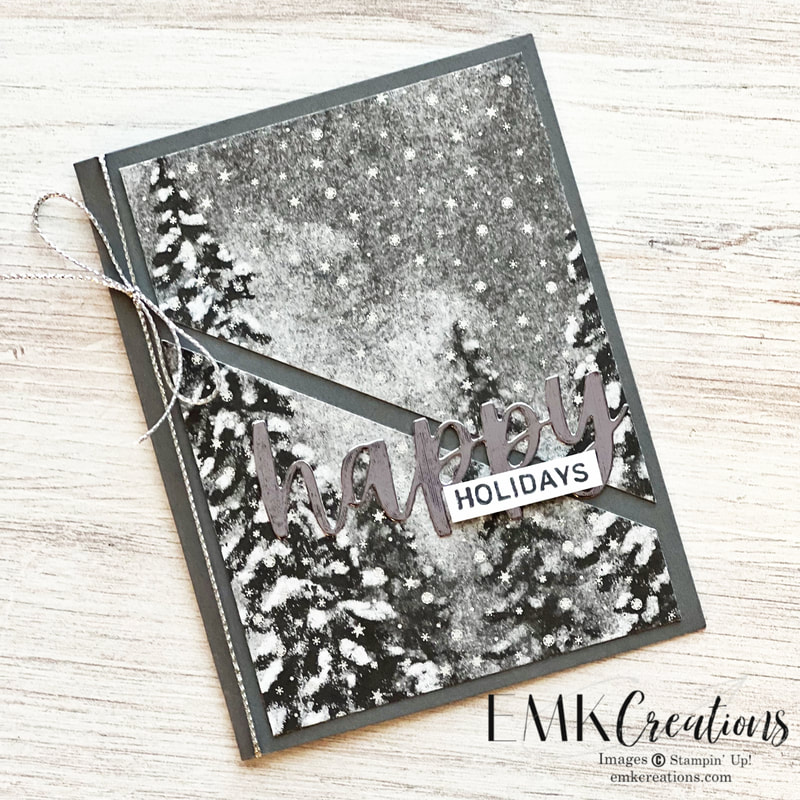
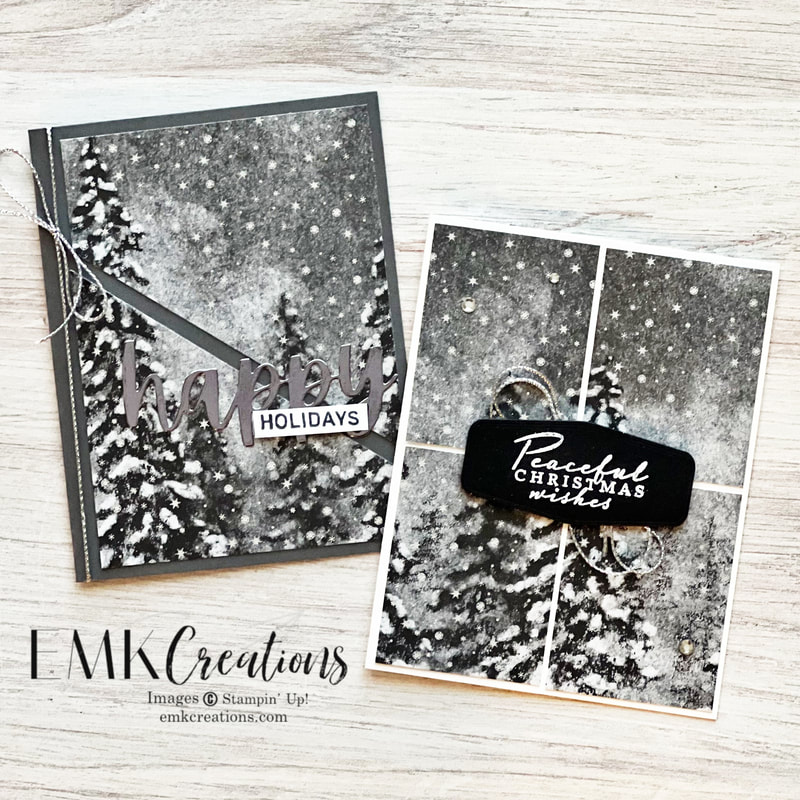
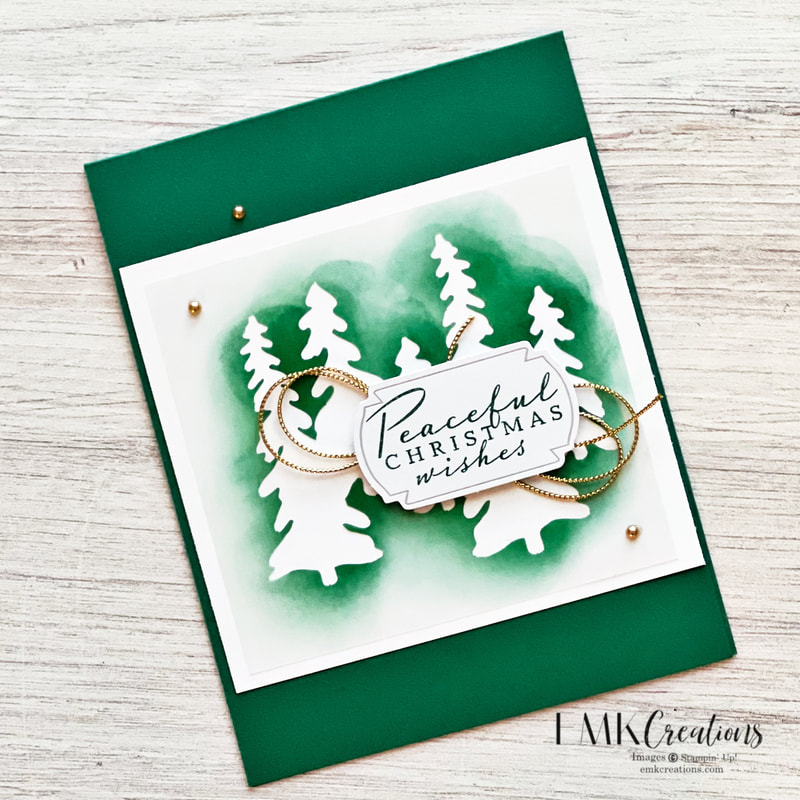
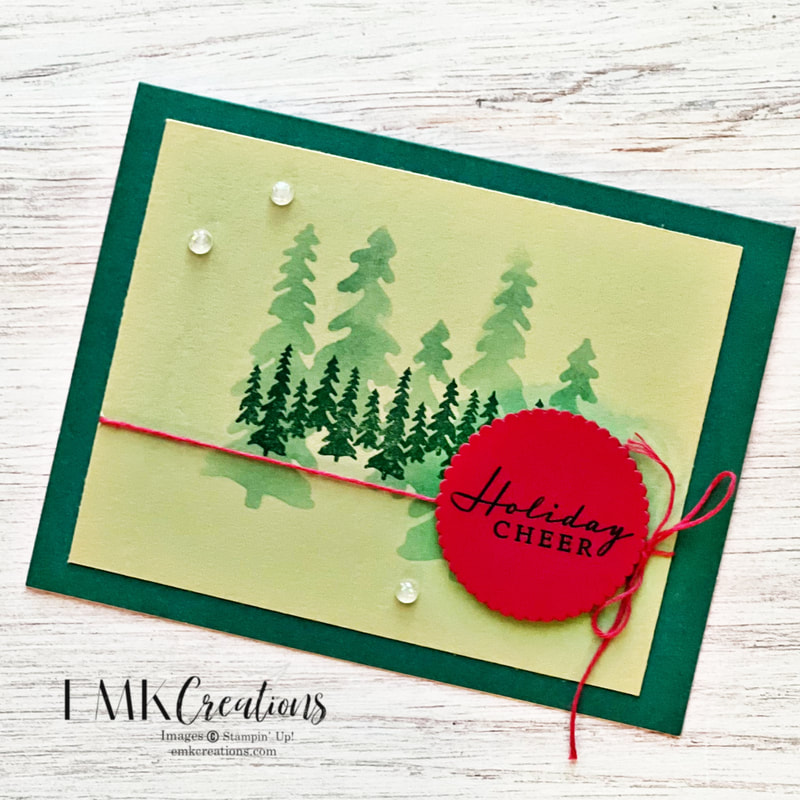
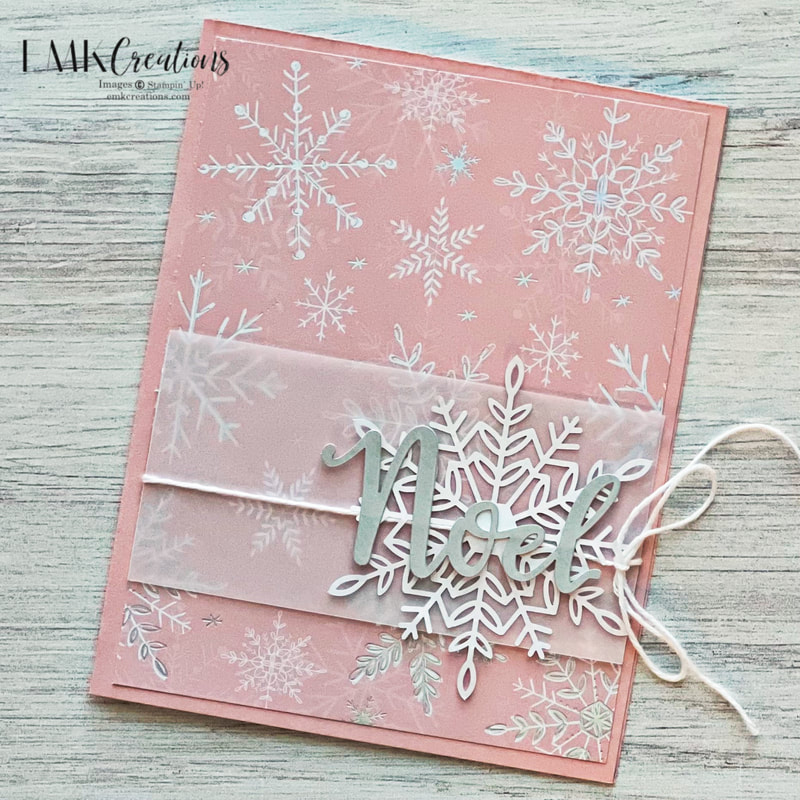
The October Paper Pumpkin kit provides a lot of product in one little box! Here's a look at the alternatives I created and I still have lots of pieces left. My first tip is to cut apart the bases--especially the black and white ones. They are printed on both so sides so they double the amount of cards you can create. Don't forget about the envelopes too! I used a piece of the envelope on this card. I tried some different cutting techniques to create different looks with these two black and white pieces. Don't forget that you can use the negative piece left from the trees as a stencil. I even used the stencil on a card! This last card pulled in the gorgeous Whimsy and Wonder Designer Series Paper. The silver Noel pairs so nicely with it. If you're interested in getting your own Paper Pumpkin box delivered to your door click here! It also makes a great gift and it's not to early to start your holiday shopping.
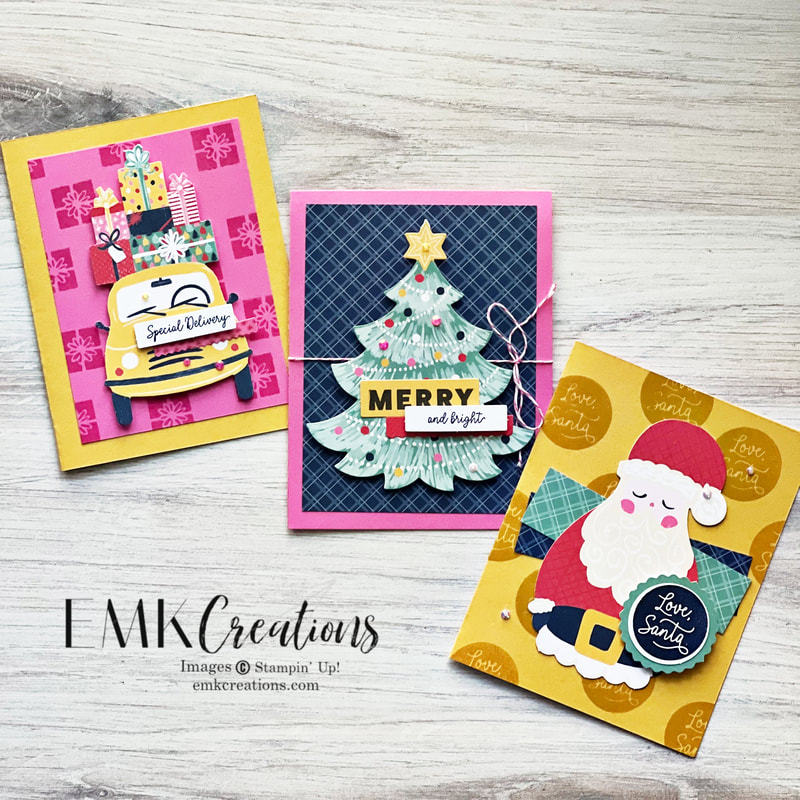
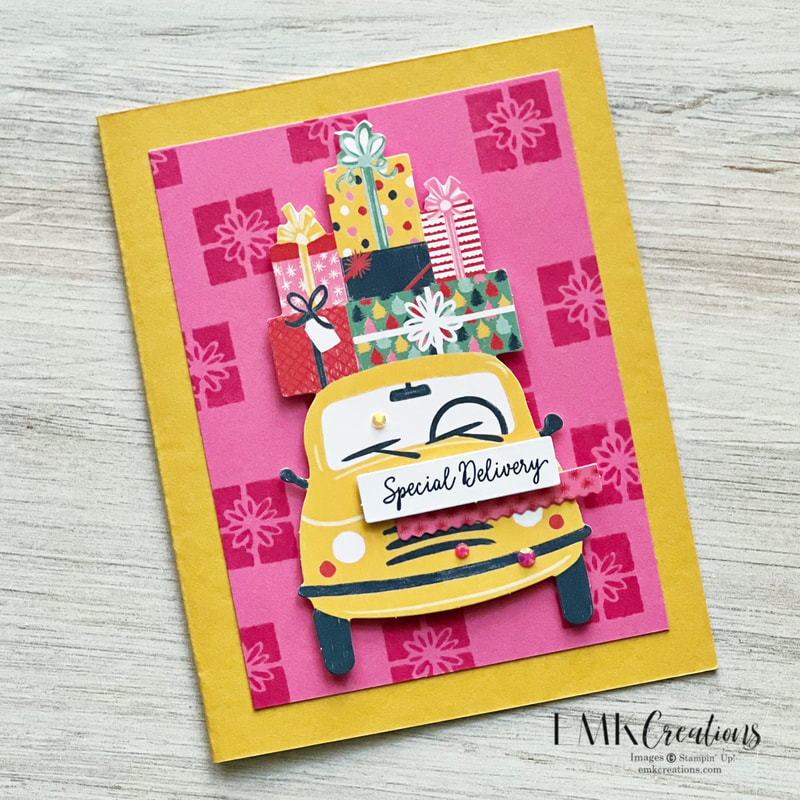
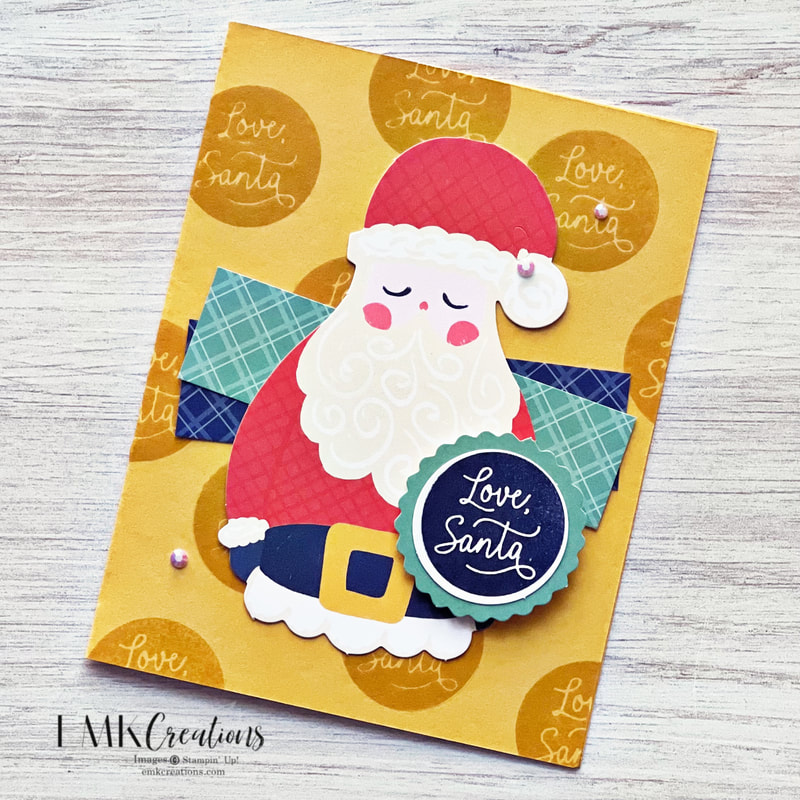
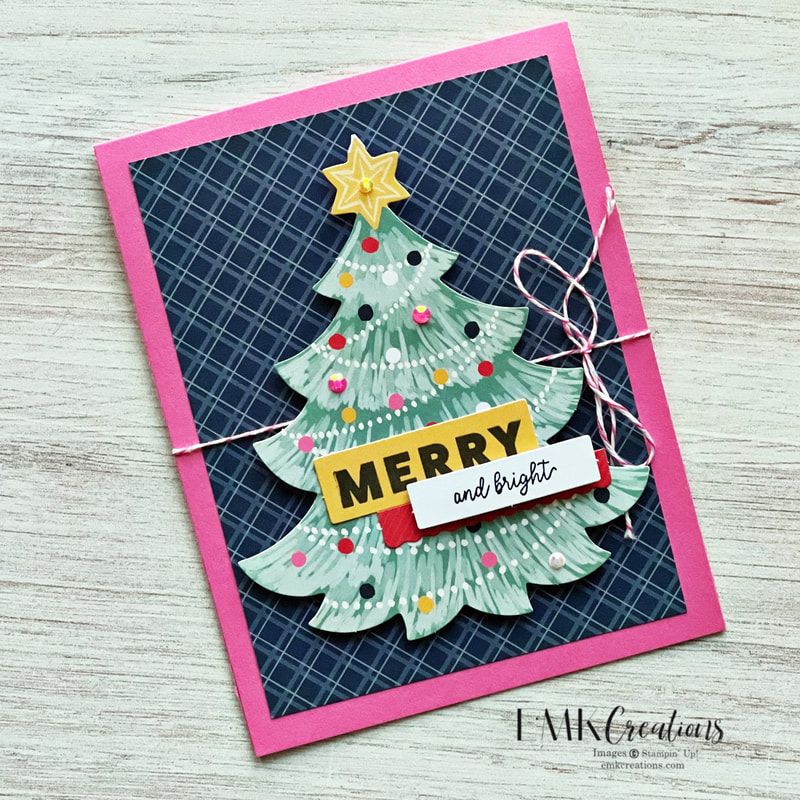
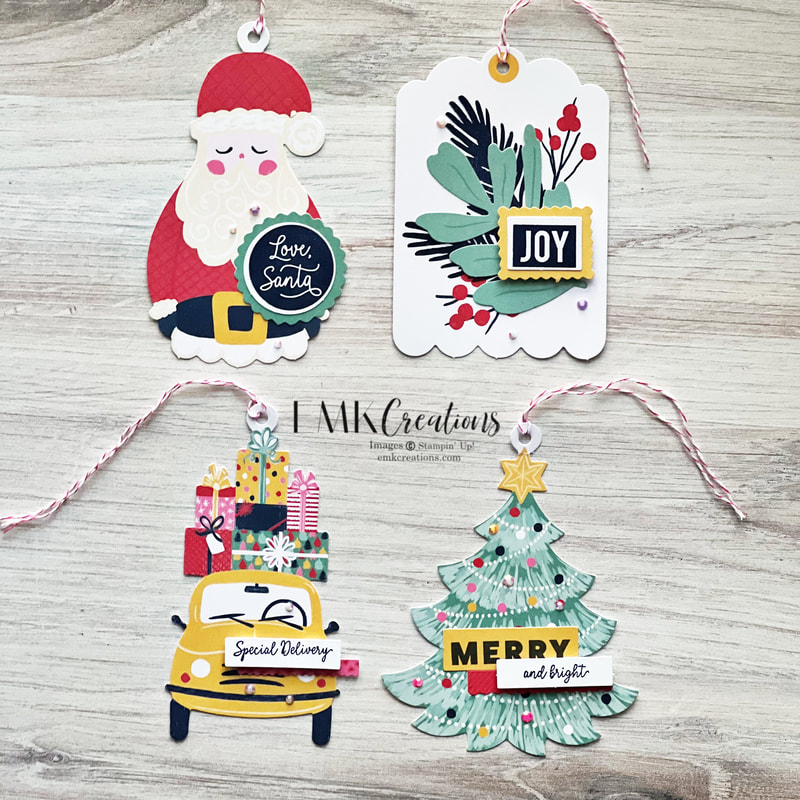
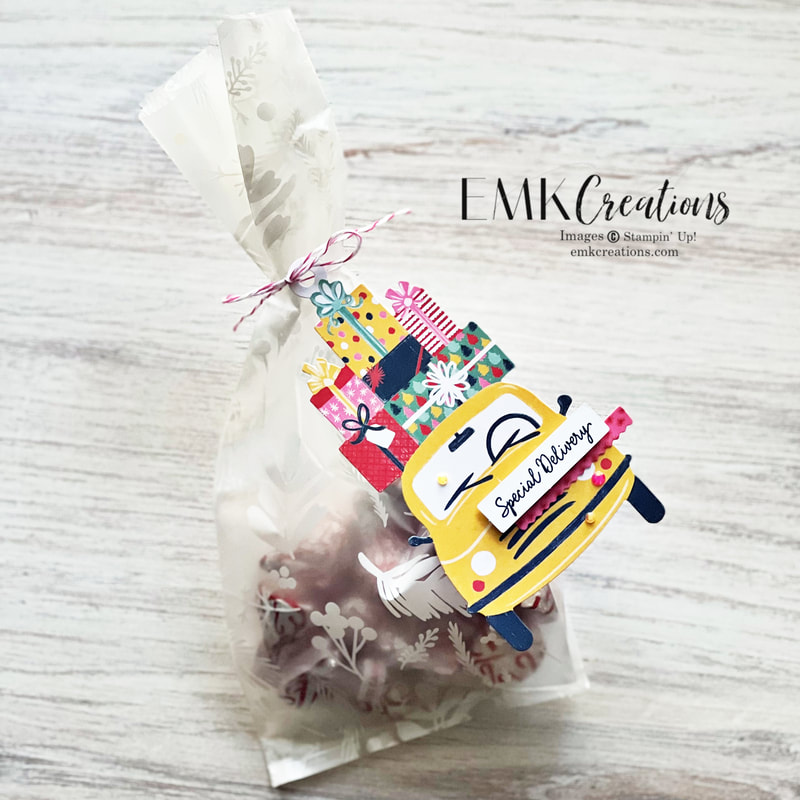
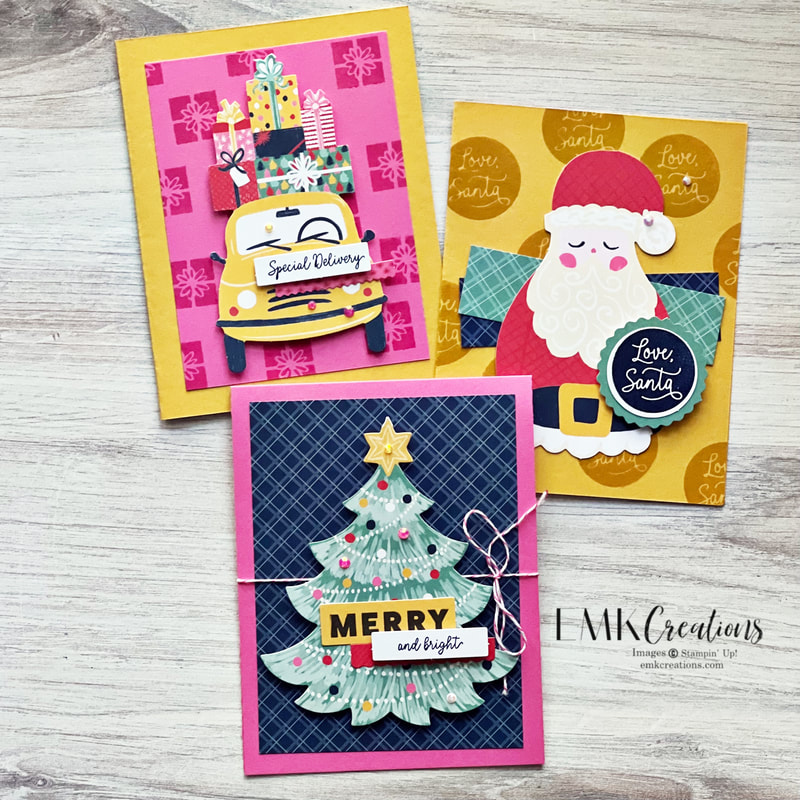
This kit is adorable as is and the tags are perfect for your gift giving. However, I couldn't resist playing around and creating some cards with the elements. I know not everyone likes pink, especially on a holiday card, but I love it! It's so bright and cheery. I cut a piece of Polished Pink to 3 1/2 x 4 3/4 and stamped the present stamp in the same color ink. After that it was simply a matter of layering the pieces. Simple stamping for the win! A little tone on tone stamping again but this time I added some Designer Series (DSP) pieces behind the cute Santa. Each piece was 1 x 3 3/4. For this last card I cut my base so that the card opens at the bottom. This allows me to tie the twine around the full base. A piece of DSP cut to 4 x 5 1/4 fits perfectly. Here's a look at the set of tags. The coordinating treat bags are a perfect partner for gift giving. Fill with treats and add the tag to be ready for all your gift giving needs. The bags come in a pack of 12 for $7. Be sure to order your kit here.
Or better yet, gather a group of friends or family and have a tag making party! It's the perfect idea for a low stress, but fun, evening being creative. The kit includes everything you need to make 12 tags--stamps, ink, and even a block!
I love this set! It's so cute and the sayings are adorable. All of these are easy to replicate designs so even if you do not have this set you could easily substitute another cute animal set!
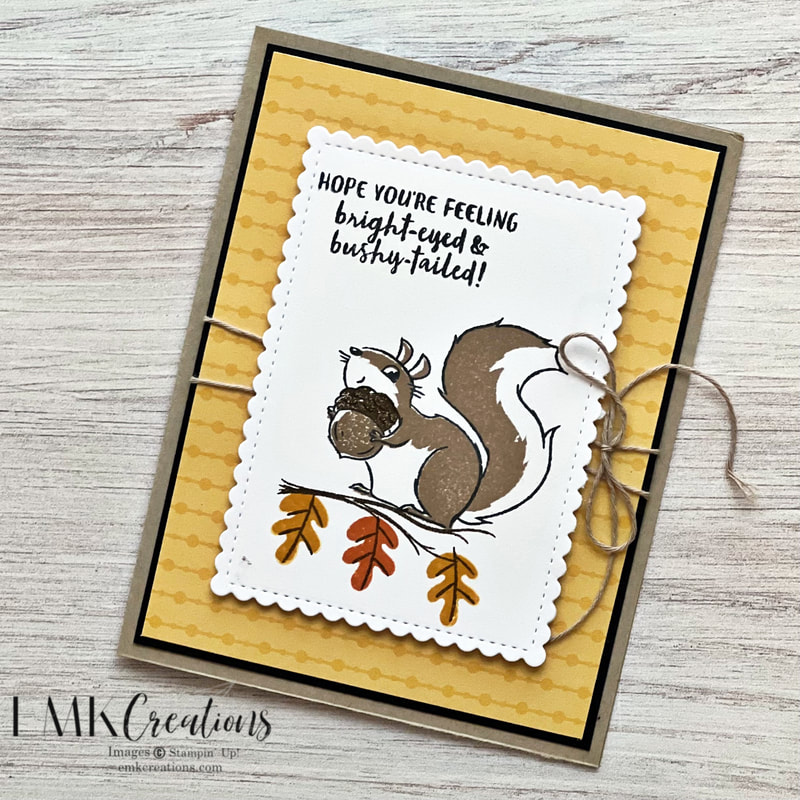
For this card I paired the Bumblebee Designers Series paper with Crumb Cake and Basic Black. A little linen thread wrapped around the panel gives it some dimension.
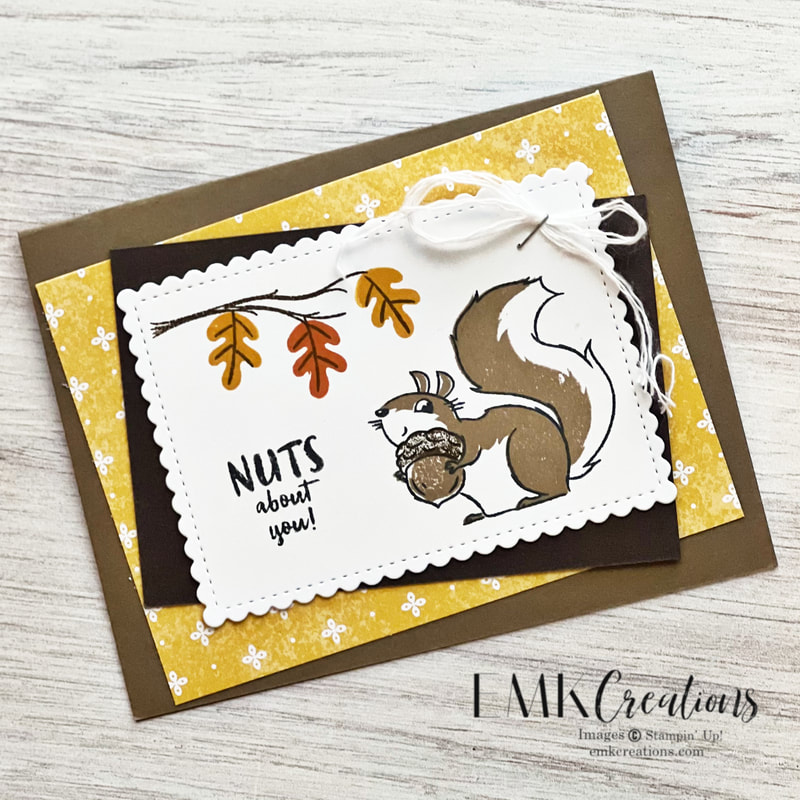
What do you think? Branch above or below the squirrel?
On this card I used one of the designs from the Harvest Meadow Designer Series Paper and paired it with Soft Suede and Early Espresso. I recently saw a tutorial on pulling apart your bakers twine and retying it in a bow. It creates such a cool look!
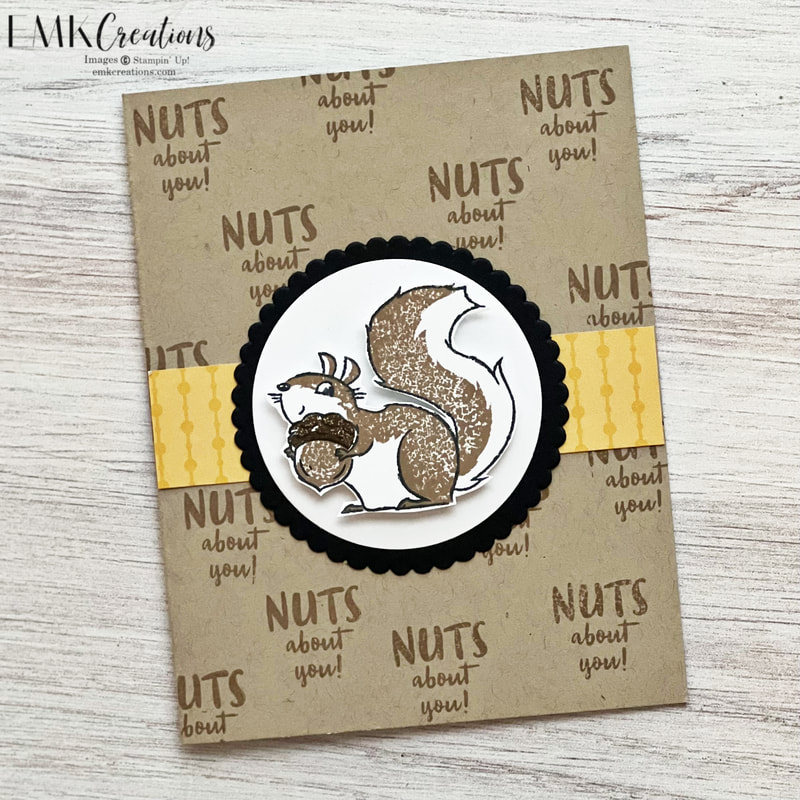
One of my favorite techniques is to stamp a phrase in the same color ink as my card stock for a patterned background. I fussy cut this little guy out and popped him up with dimensionals.
Be sure to sign up for my email newsletter to get a PDF with more details and measurements on these cards! Use the link to the right.
Do you ever have items you purchase, or find, that you hold on to for a LONG time because you just know that there will be a perfect project?? Or is it just me?
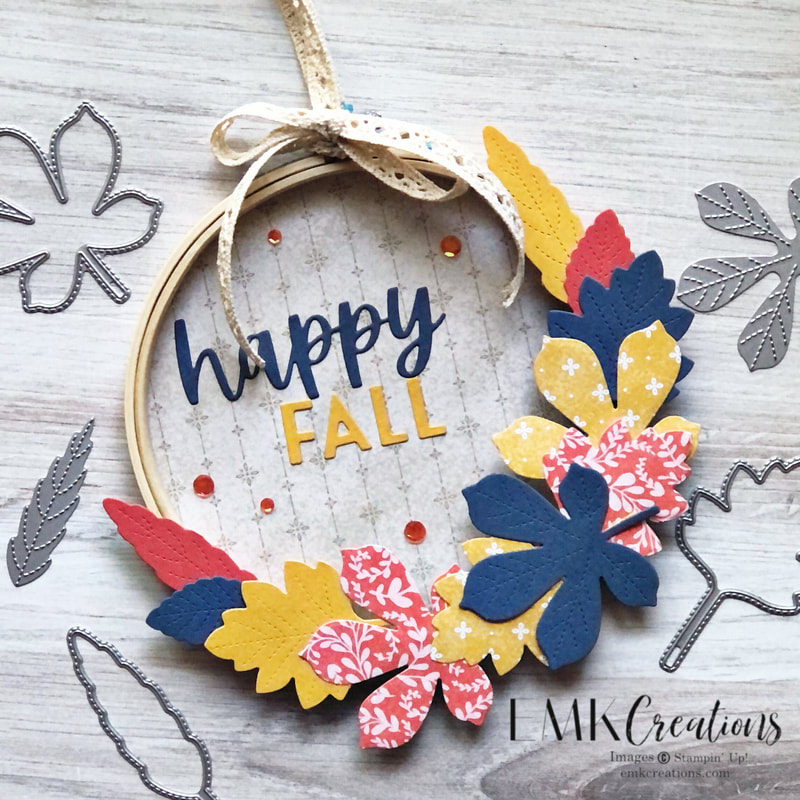
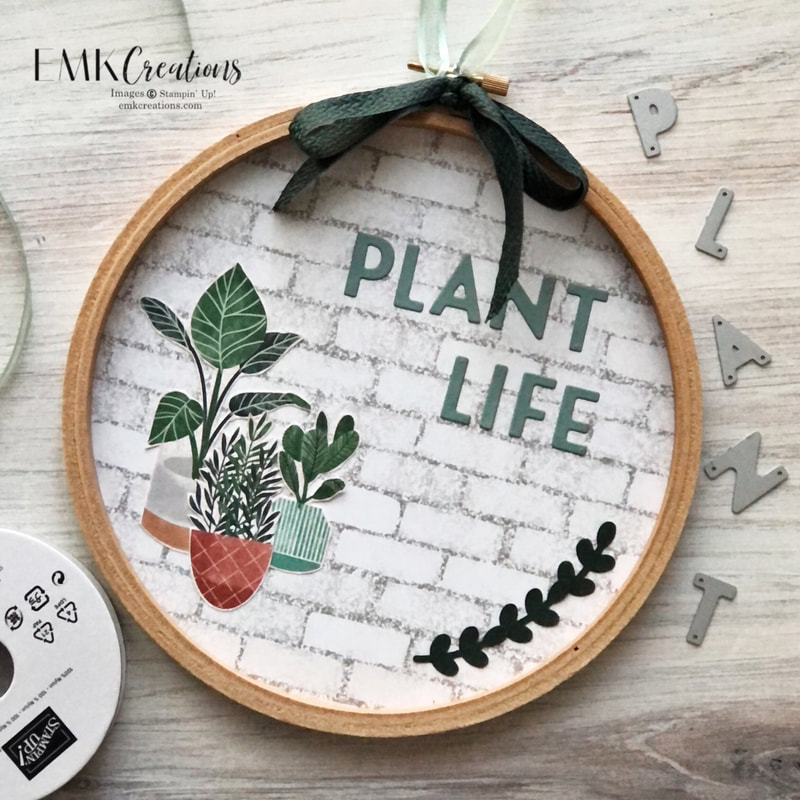
I've been holding on to these embroidery hoops for awhile knowing that I wanted to do wall decor with them. I finally sat down and made it happen.
First up was a fall themed piece. Both the Stitched Leaves dies and the Harvest Meadow paper have been calling to me! Together, I think they made the perfect piece.
For the background, I traced the hoop on my Designer Series Paper in pencil. I then cut it out and added multipurpose liquid glue to the edge of the hoop. I carefully placed the paper on the glue. Using the liquid glue meant I had a little bit of time to be able to move and reposition the paper if I didn't get it quite right on the first try.
The Bloom Where You're Planted paper did most of the work in creating this piece. The images are so fun and bold that all it took was a little fussy cutting. I added a few leaves from the Symmetrical Stems Border punch.
Product List
|
AuthorI'm a "work at home mom" and an independent Stampin' Up! demonstrator. Archives
July 2024
Categories
All
|



 RSS Feed