I created this fun card as one of the Make a Takes for my Open House this past weekend. This layout is a great one to copy and use over and over!
I used 1" x 4 3/4" strips and my Poppy Parade strip is 1" x 4".
|
I am in love the with the adorable Cute as a Bug suite that Stampin' Up! just released in the new mini catalog. From the paper to the coordinating stamps and dies it's all so cute!
I created this fun card as one of the Make a Takes for my Open House this past weekend. This layout is a great one to copy and use over and over! I used 1" x 4 3/4" strips and my Poppy Parade strip is 1" x 4".
0 Comments
I am in love with the Coneflower Celebration bundle! I know we all probably think we can't possibly need another flower set but this one is amazing! I'm pretty sure I always say that but wait until you see what I've created.
For this first card I stamped directly on my Designer Series Paper. I love the soft color of Peral Pink and the new scalloped ribbon is so nice.
I love a good monochromatic card. Especially one in blue! My favorite color. This card actually came about because I glued the pieces upside down on the first card I was trying to make. Shake my head! So I cut the front off and played around with it. I decided to cut it in half and only use one piece. The "thank you" is from a retired set. The piece was laying on my desk and I thought it worked perfectly! The original blue pieces were each 4 1/4 x 2 1/2 mounted on white card stock.
I had an amazing time getting to present the new Party Dies bundle at OnStage in March. These two die sets are awesome! The Party Banners and Party Alphabet sets are great on their own but paired together you can do so much. It's been hard waiting for them to go on sale but they are here now so be sure to get yours. Remember, if you buy them as a bundle you save 10% too!
Here is a look at my full set of projects. I tried to show card making, home decor, scrapbooking and more.
This card mimics the scrapbook page you see in my full display. I loved showing off all the new In Colors this way.
With only having dies to show off during my presentation I wanted to find some interactive techniques I could show. One idea I wanted to highlight was how you can use the negative images of the letter cutouts to create masks. Add some ink and a blending brush and this is a fun technique.
This card also highlighted the negative image of the letters. The bright color and pattern of this paper really made it stand out.
This card I created using the banner die that is the size of a standard card. You can do this by making sure the top edge of the die rests above the fold of your paper so that you do not cut it off.
Creating banners is a given with these dies and you can do single ones or create words and phrases!
Here's a picture of me on the main stage during my presentation. It was nerve wracking for sure but ended up being a lot of fun.
The hybrid embossing folders that Stampin' Up! introduced in the past couple of years are so cool. Being able to emboss and die cut in one pass through the machine is wonderful.
Pairing this hybrid folder with the beautiful Full of Life Designer Series Paper gives you ombre options with no hard work!
I created this simple thank you card by adding some color to my white background with a Blending Brush. Simple, clean but so pretty with the varied colors in the paper.
Have you tried the Hybrid Embossing folders? I was skeptical at first about being able to cut and emboss in one pass of the machine but it works and is so easy!
Be sure to sign up for my mailing list to keep up to date on what is going on with my classes and Stampin' Up! offerings.
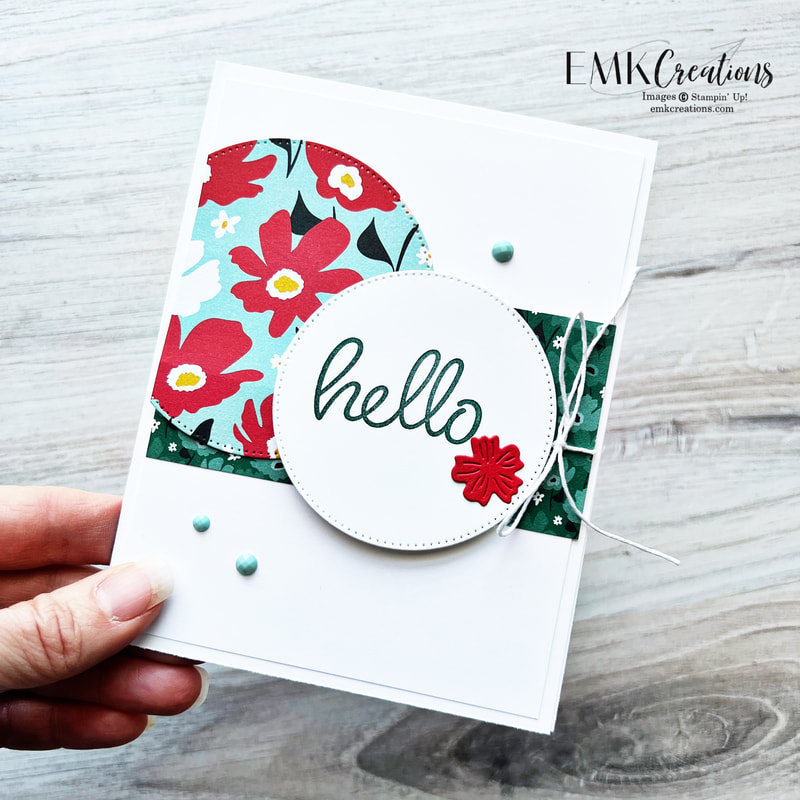
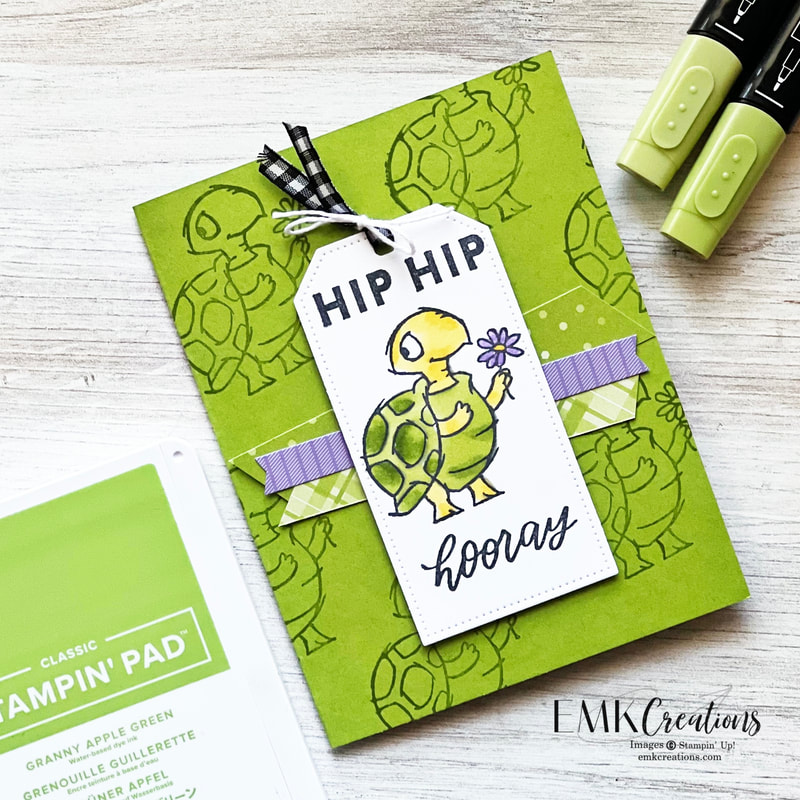
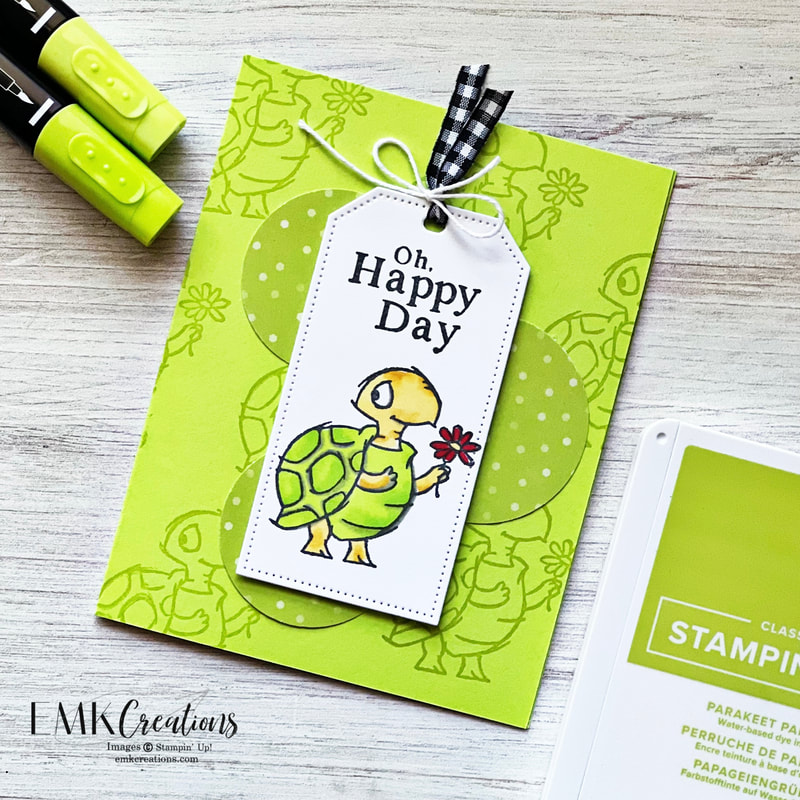
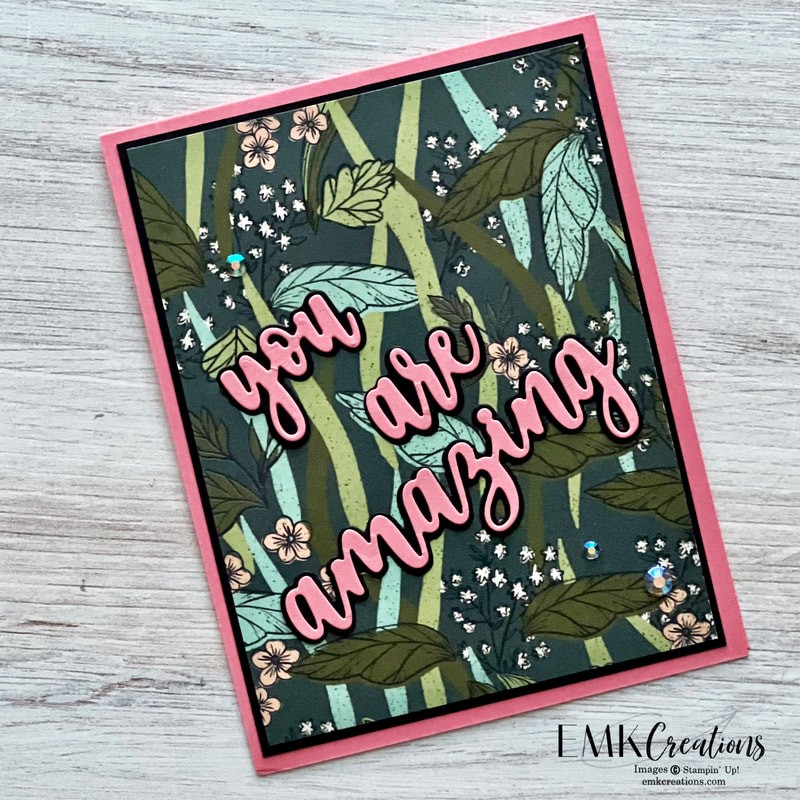
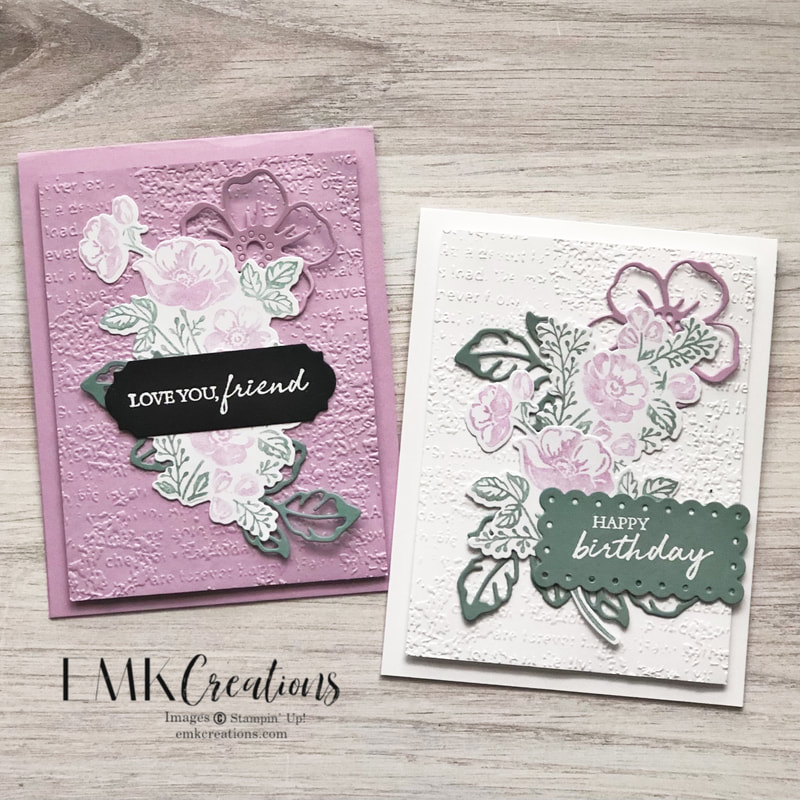
The Enduring Beauty "mix and mask" bundle is one of my new favorite products in the mini catalog. I had so much fun playing with them and creating these fun cards. There are so many ways to use the products.
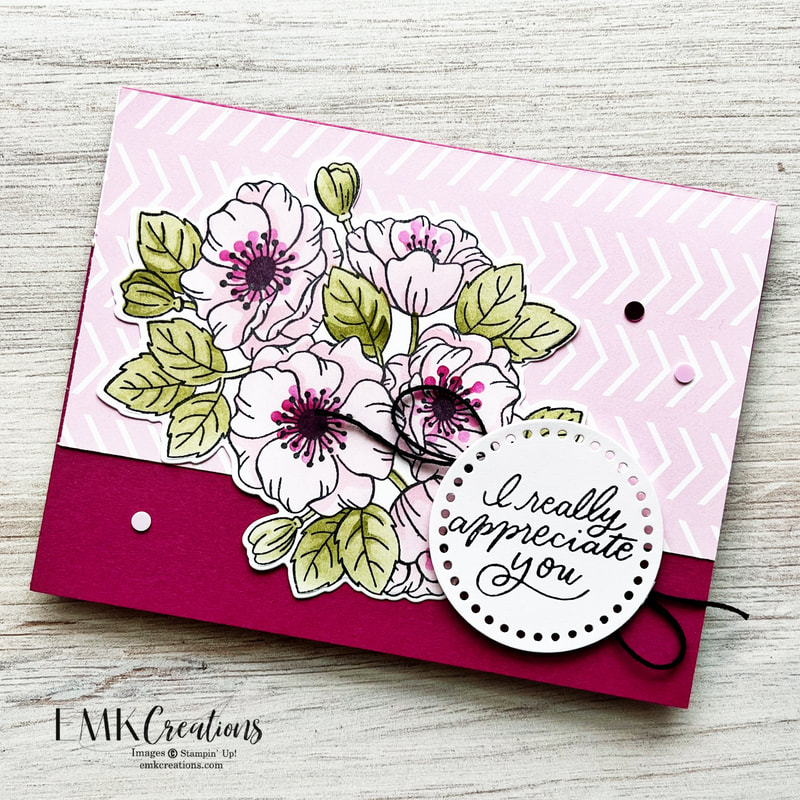
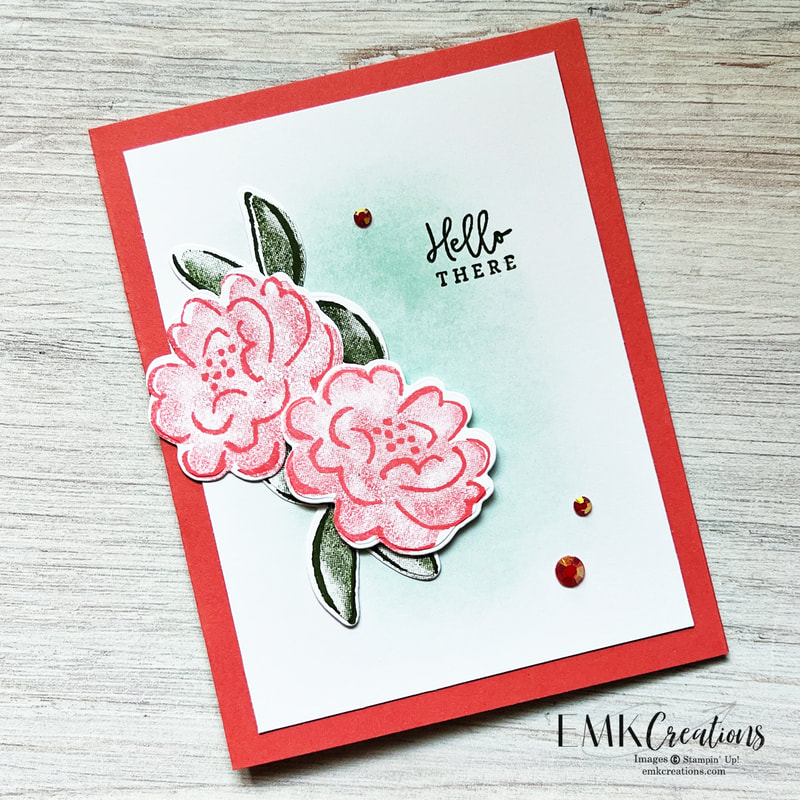
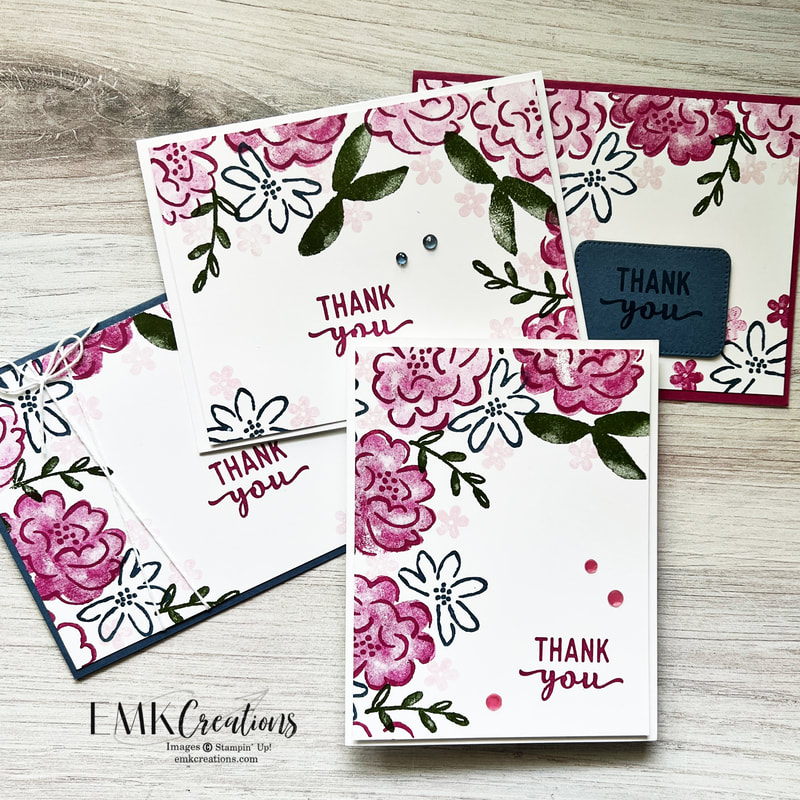
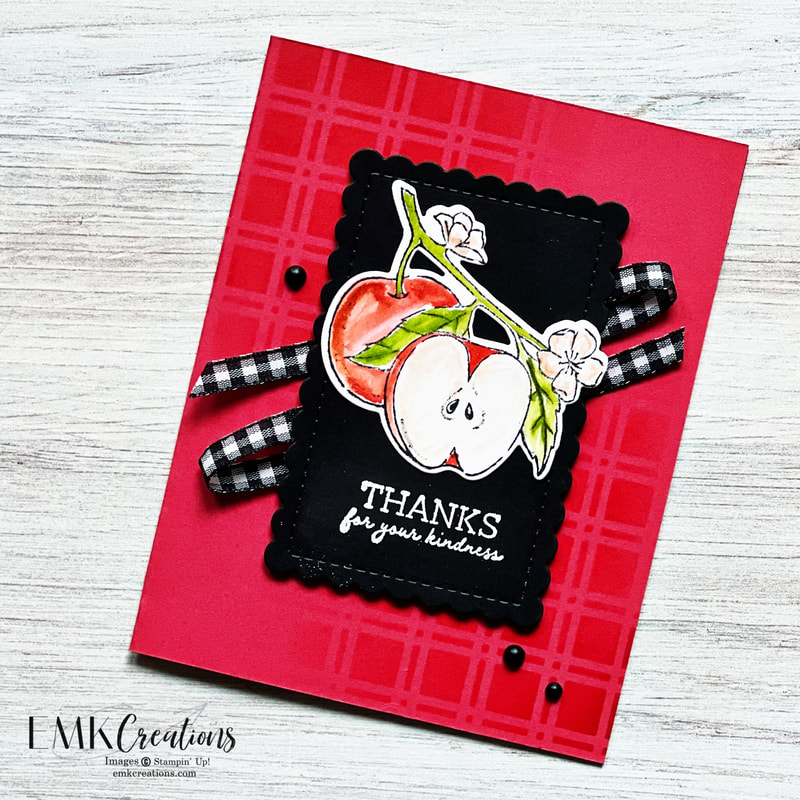
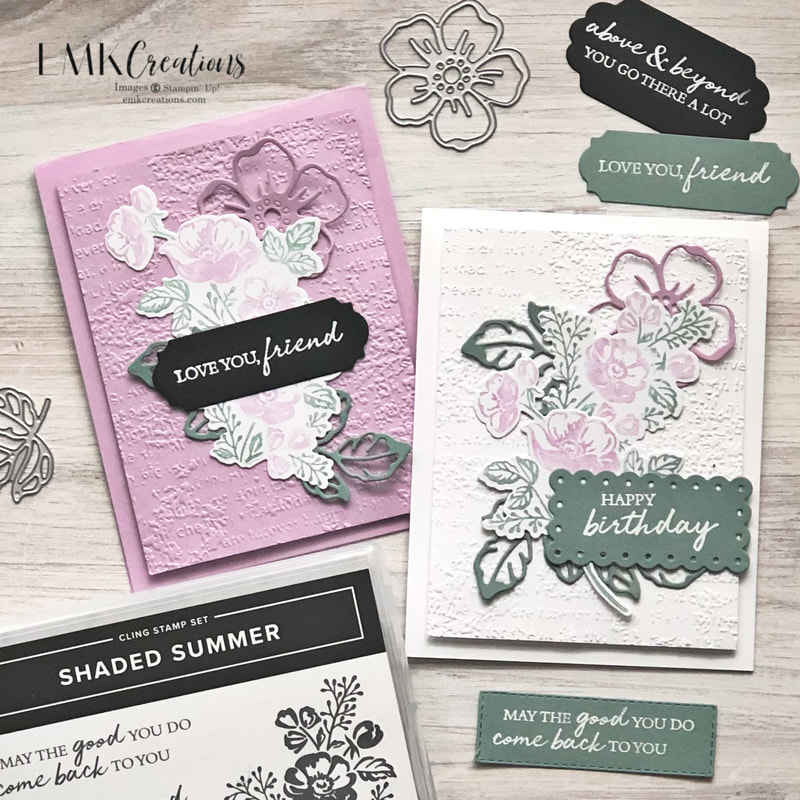
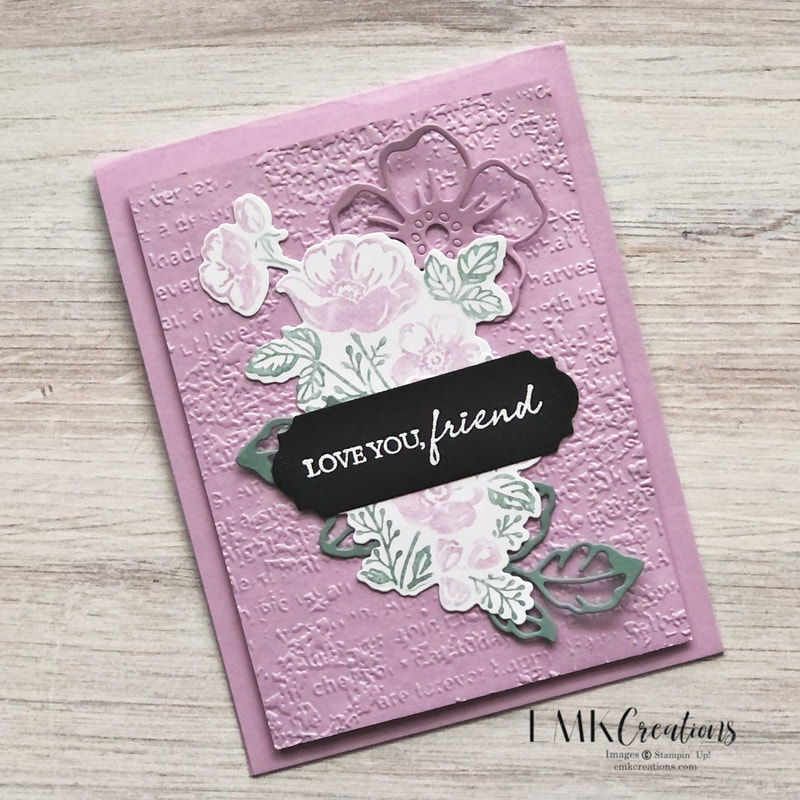
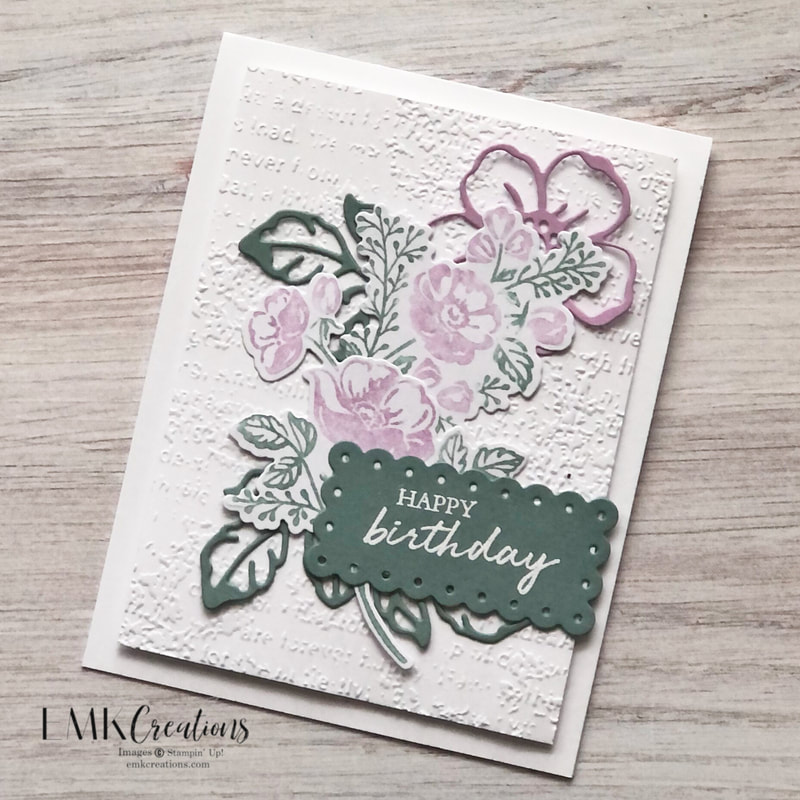
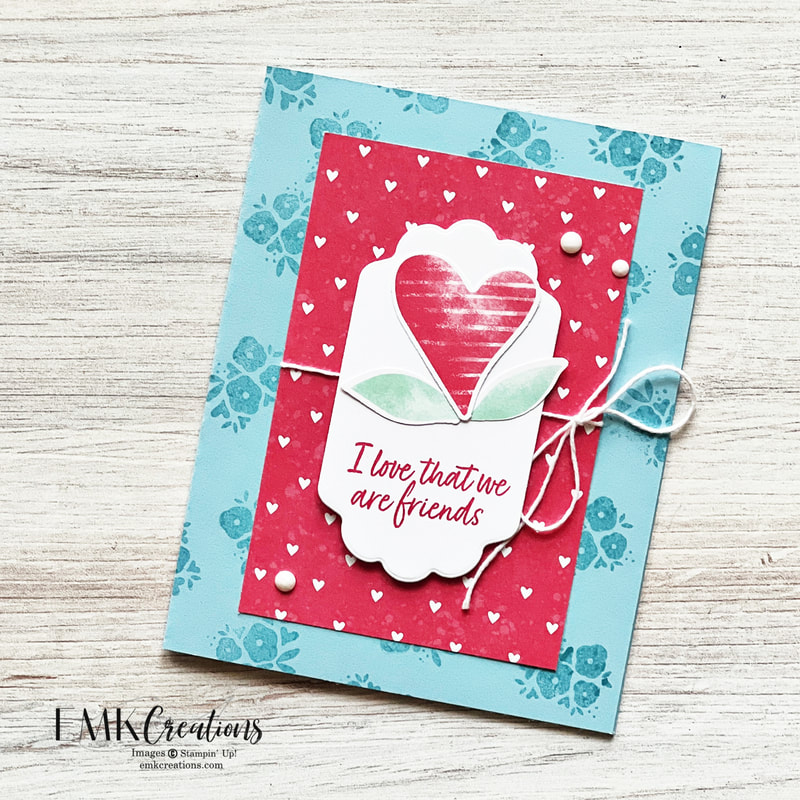
This first one I created using the stamp, masks and blending brushes with Bubble Bath, Flirty Flamingo and Berry Burst, Old Olive and Mossy Meadow. Be sure to check out the Everyday Details Dies as well. The shapes are fun and versatile. I love the bigger dot cutouts!
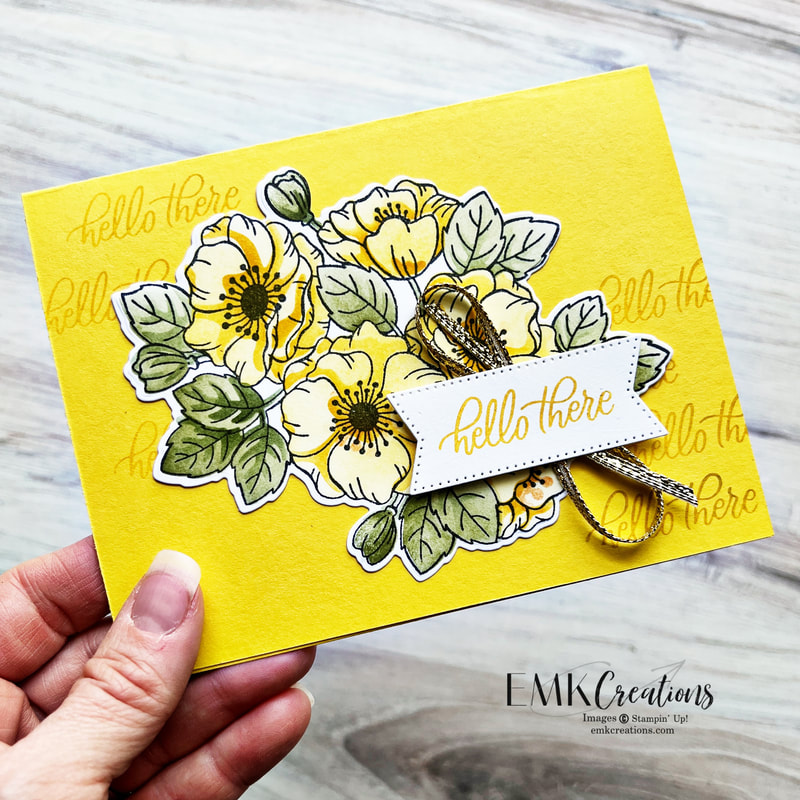
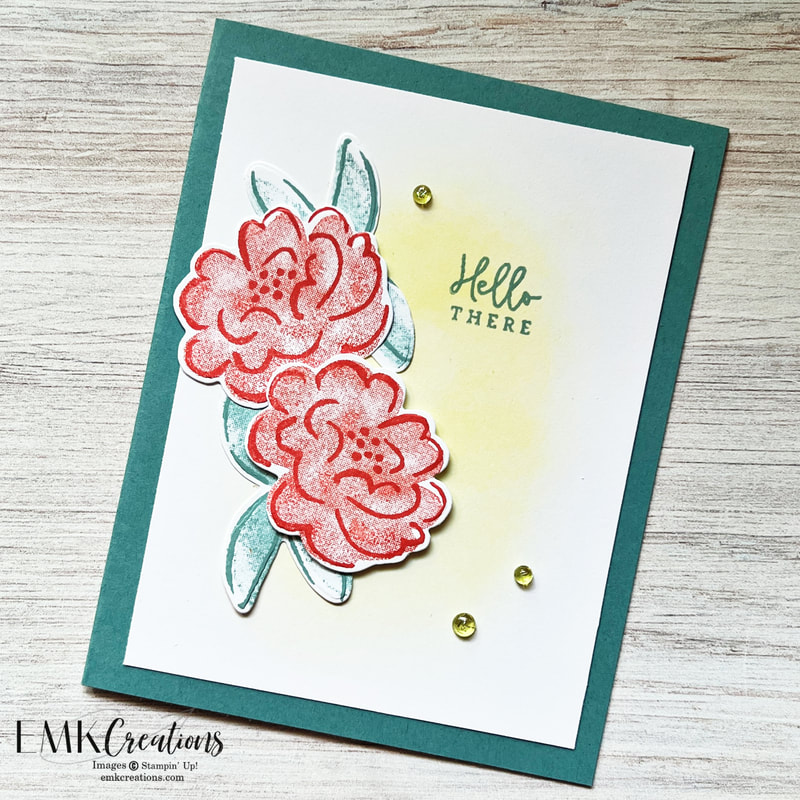
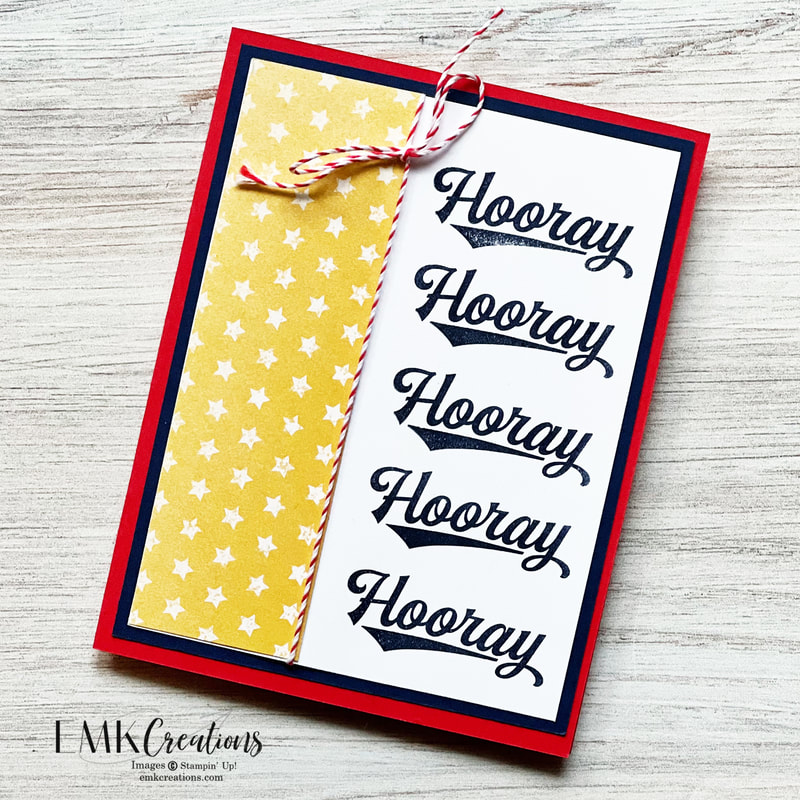
I stuck with a yellow theme on this one. It turned out so bright and cheerful. The photos really don't do justice to how pretty the coloring turns out when using the blending brushes and masks. I did add some gold ribbon to make it shine!
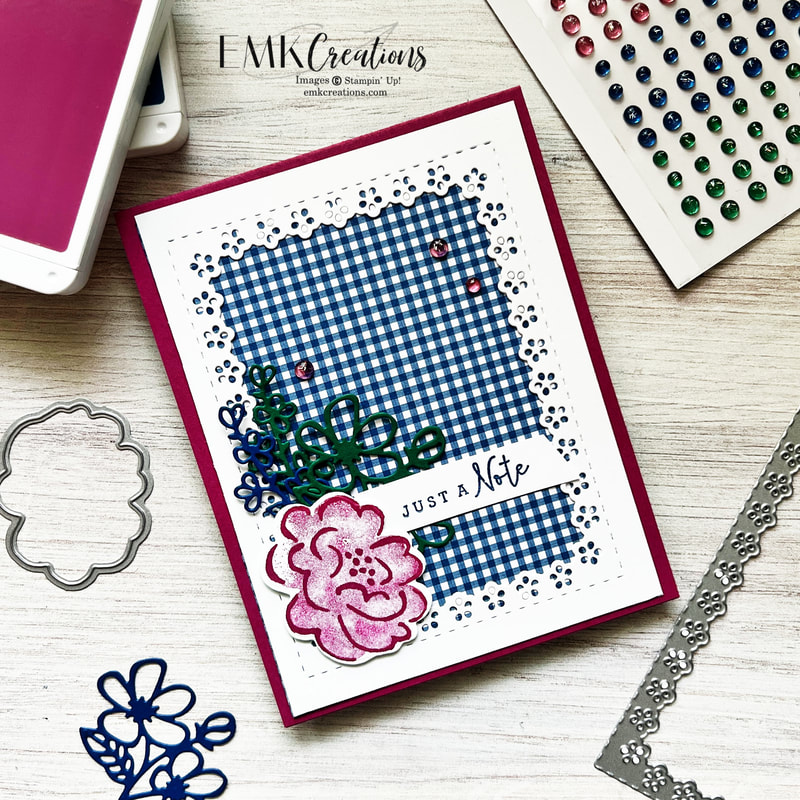
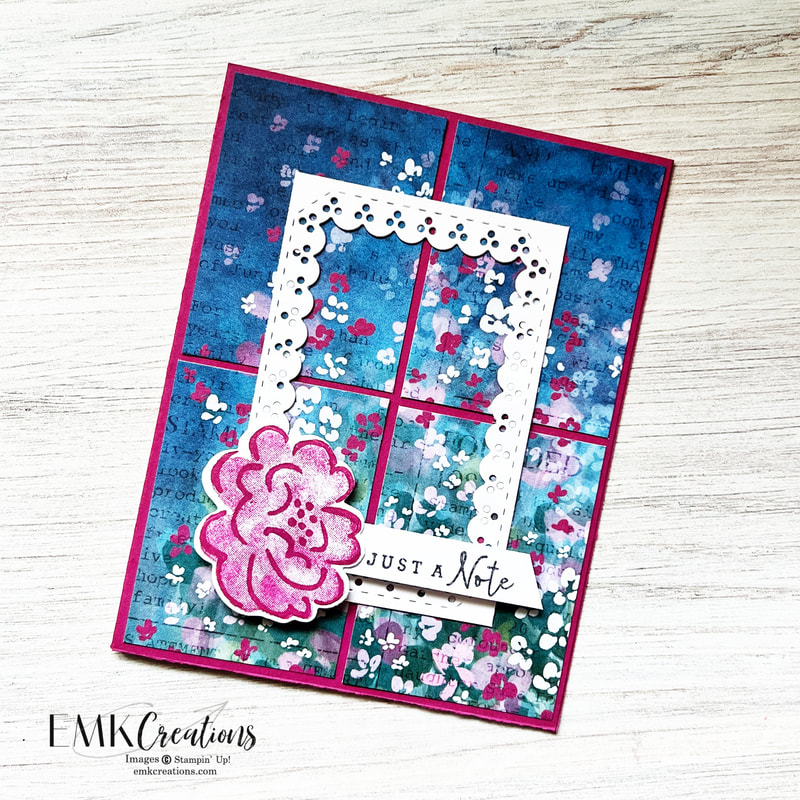
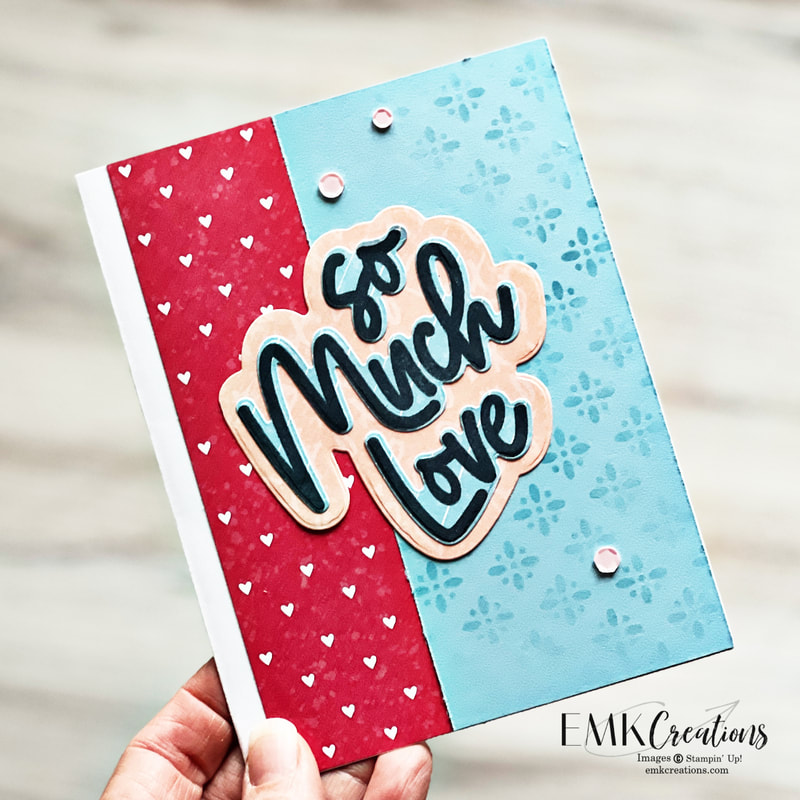
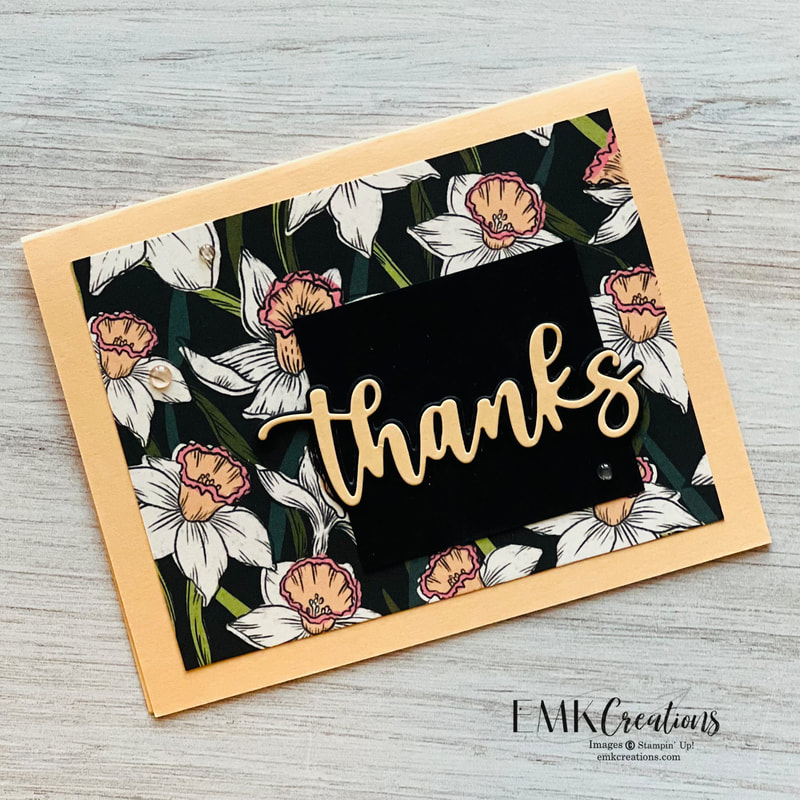
On this card I went with a monochromatic blue. I enjoyed mixing the the new Enduring Beauty stamp set with the Countryside Inn paper. A simple card layout that still stands out!
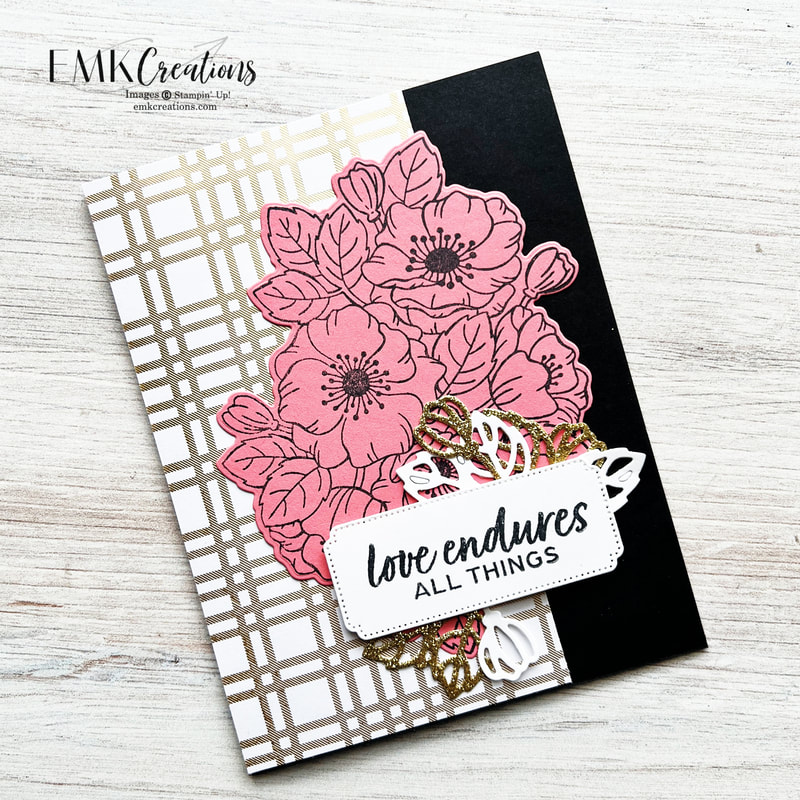
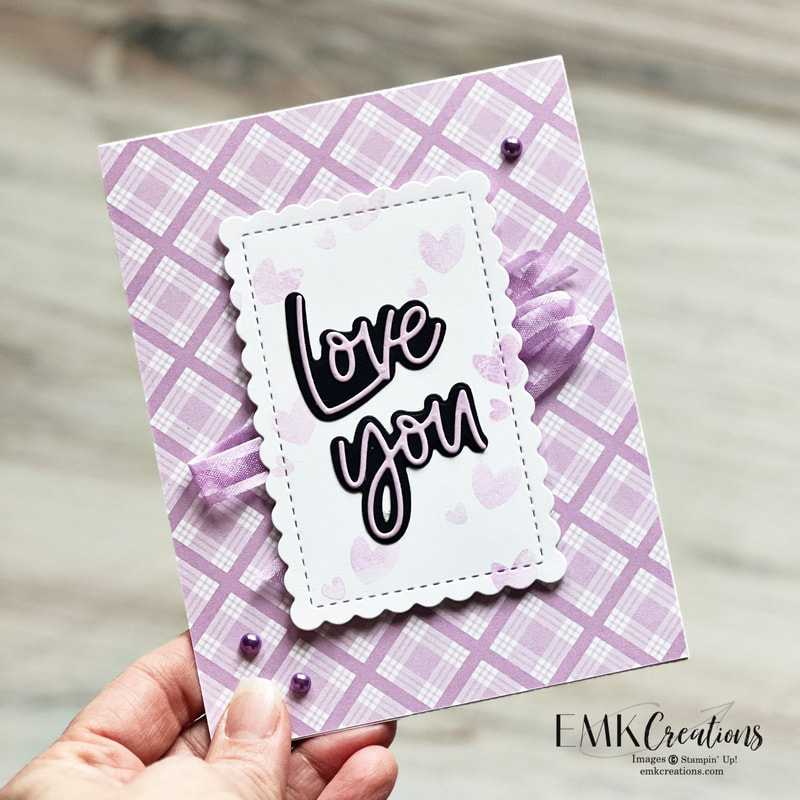
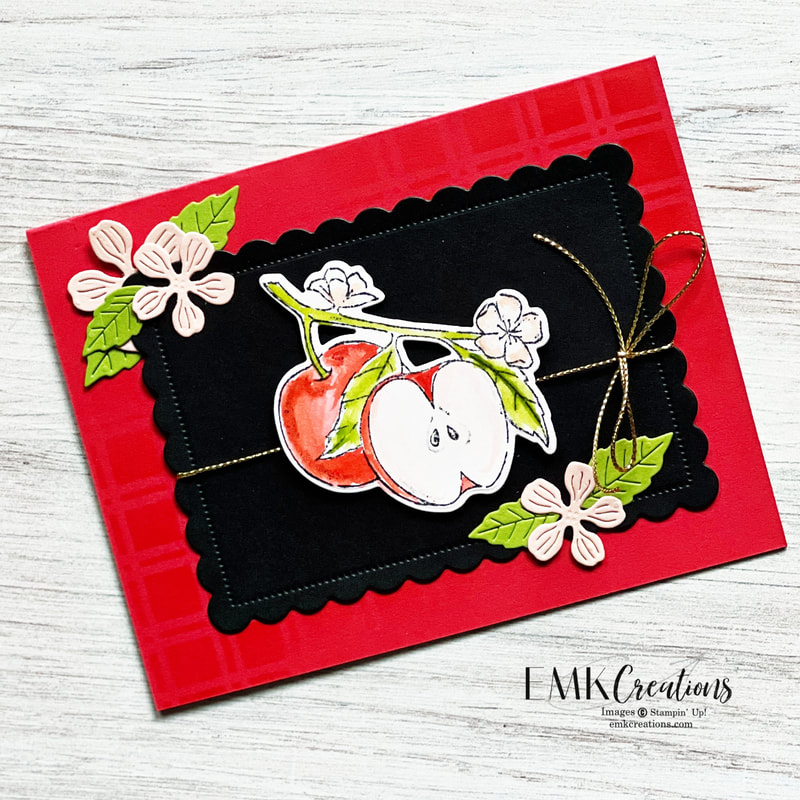
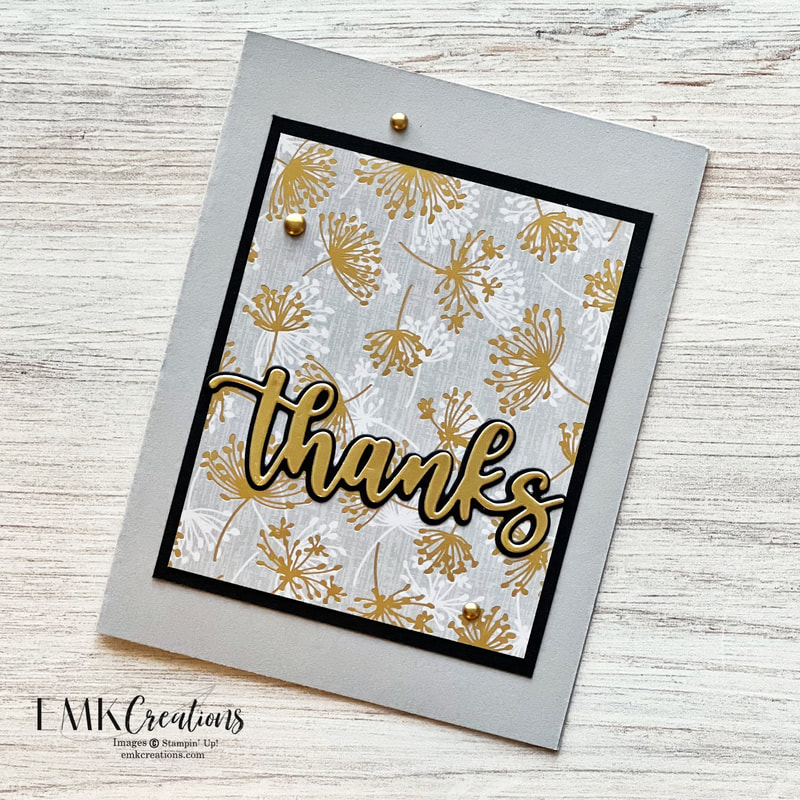
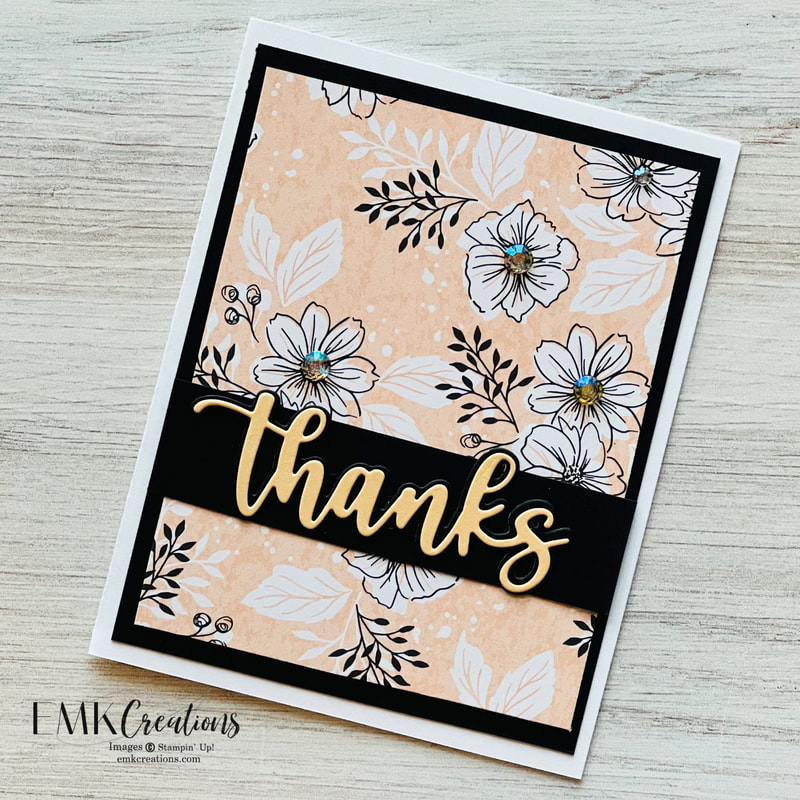
Pink, gold and black is such a winning combination! You can earn the Most Adorned Designer Series Paper for free during January and February with any $50 purchase.
Which card is your favorite? Be sure to shop during Sale a Bration in January and February to earn items for free. Current host code is HD3T66XW. You'll always get a hand made thank you card from me!
I'm so excited for the new mini catalog and Sale a Bration starting in January. One of the best parts about being a Stampin' Up! demonstrator is being able to view and order from catalogs early. My preorder has arrived and I've been having fun using the soon to be released Sunny Days Sale a Bration paper. Check out these fun card ideas.
I used the Heartfelt Hexagon punch on this first card. It's an easy layout that lets you show off lots of different patterns of paper. The Sunny Days paper coordinates with the Bright Skies bundle and that is where the sentiment came from.
This layout is a simple one to recreate but the bright bold paper makes it pop! I love the tiny dots on the edges of the circles. It adds a little something extra to the die cuts.
Did you catch the Online Exclusive Gold and Silver Adhesive Backed Glimmer Paper? It's awesome! It's always nice when you can die cut and stick it straight on your project without needing to deal with glue. Here is used it for the cloud but it's such a time saver when you are doing words and intricate dies.
You're going to want to add these products to your wish list!
Don't want to wait? Join my team now and you can get them as part of your starter kit or on a pre order once you've joined. I'm happy to answer questions.
This past week I shared projects on my social media accounts that I created with the brand new Stampin' Up! Darling Details bundle. There are so many things to love about this bundle!
I have a million flower sets, and keep thinking I don't need more, but this one is different. I love that it's more cartoonish than realistic. It's a different look than most of the sets I have.
These two projects were my "this or that" that I feature every Thursday on my Facebook and Instagram accounts. It's always fun to see what people pick. Some weeks its a total blow out and others it stays tied!
There are so many cool dies with this bundle. There are two cut out pieces that look like lace. They make awesome frames. I paired this one with the Glorious Gingham paper and some of the smaller detailed dies. One large flower finishes things off.
To me this smaller frame looks like a window frame. The Masterfully Made paper has some beautiful patterns on i and was a perfect partner for this card.
These cards were created with the fun "cross pattern" or "t shape" one sheet wonder technique that I love to do. Here is a fun BTS video I made of how to do this technique. Have you tried this technique before? It's quite addictive and so fun to do! Use any set that has some large focal point stamps as well as smaller detail stamps for filling in space.
Which is your favorite project?
It's finally the first day of spring and I am so ready! Bring back the lovely temperatures to go with the later sunsets and I'll be set.
The adorable Playing in the Rain suite is a perfect spring set. I used the cute turtle to create these two cards which I shared as my "this or that" on social media in honor of St. Patrick's Day last week. The first card was done in Granny Apple Green. The backgrounds were created by stamping the image in the same ink color as the card stock. I added strips of Designer Series Paper for a little extra something behind the tag.
This card was done in Parakeet Party and I chose to put circles behind the tag. I am so glad we are getting circle punches back! If you haven't checked out the new Online Exclusives offerings you need to do so. There are some great offerings.
I love using the Tailor Made Tags on a card. They don't have to be used only on packaging but look great on a card as well.
Which card do you pick?
I've had some fun creating with some of the new Stampin' Up! love themed products. There are so many ways to use these products.
This first card highlights the fun dies in the Love For You Bundle. I paired them with one of the pretty papers from the Sale a Bration reward Dandy Designs. Remember you can earn this paper for FREE but only through February. I cut the paper to the full 5.5 x 4.25 inches to cover the front of the card base. I added some ribbon and embellishments from the Annual Catalog to finish it off.
This card utilizes the products in the Country Bouquet Bundle. It's easy to create a fun card for a friend with this perfect sentiment.
There's something about green and pink together!
I recommend the Stamparatus for creating with these two stamps for the focal point heart. It makes it so much easier to match up.
I wanted to use my new mini blending brush with the Artistic Mix Decorative Masks. I thought it paired nicely with these items from the Country Floral Lane suite. The Pastel Adhesive Backed Sequins are definitely a new favorite. They lay pretty flat but are such a great way to step up your card.
I also highly recommend using the Adhesive Sheets when cutting out words or intricate dies. It makes it so much easier to adhere them.
Which would be your favorite to give to a love?
I overlooked Apple Harvest at first but when Stampin' Up! issued dies to go with it I was intrigued. After playing with it I'm in love! It's a great set for coloring.
I used the thin brush Water Painter to color this one in. I chose Poppy Parade for the skin and Petal Pink for the blossoms and inside. I used Granny Apple Green for the stems and leaves. The Artistic Mix Decorative Masks paired with a Blending Brush created a fun background on the card base. I finished the card with Matte Black Dots and Gingham ribbon.
This was my second take with the same coloring but I wanted to add in the blossom dies as well.
For this card I used sponge daubers to add the color to the image. It gives it a much more subtle look.
When you don't have coordinating ribbon remember you can create your own with the Whisper White Seam Binding Ribbon and Blends. The Gingham Cottage paper pack includes 40 sheets of amazing paper.
Remember these dies are only here for the month of September or while supplies last. Happy crafting!
|
AuthorI'm an independent Stampin' Up! demonstrator and paper artist. Archives
January 2026
Categories
All
|