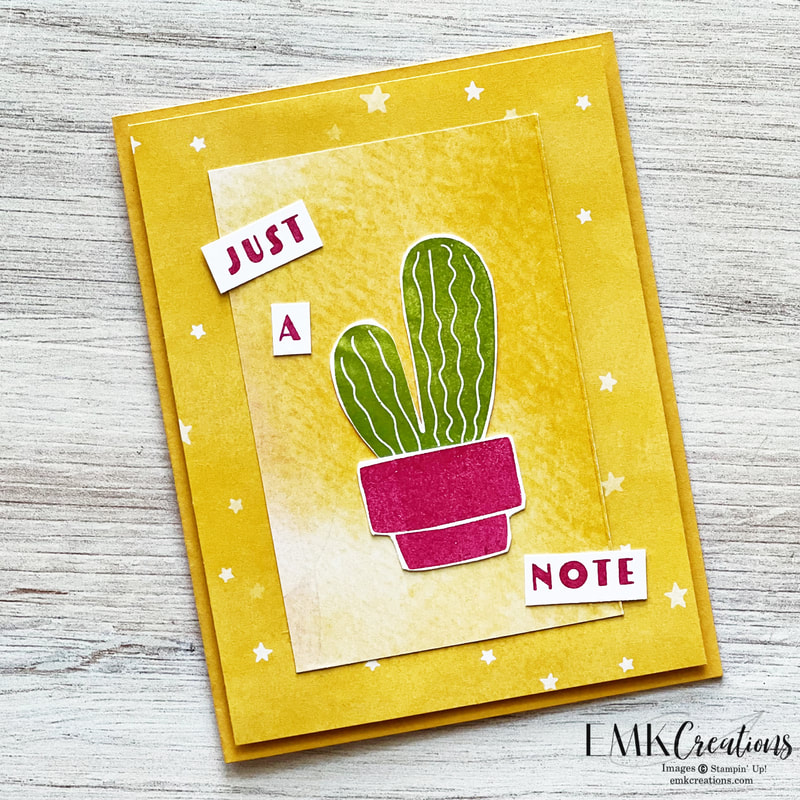
The cactus set seemed to be made for pairing with these pieces!
|
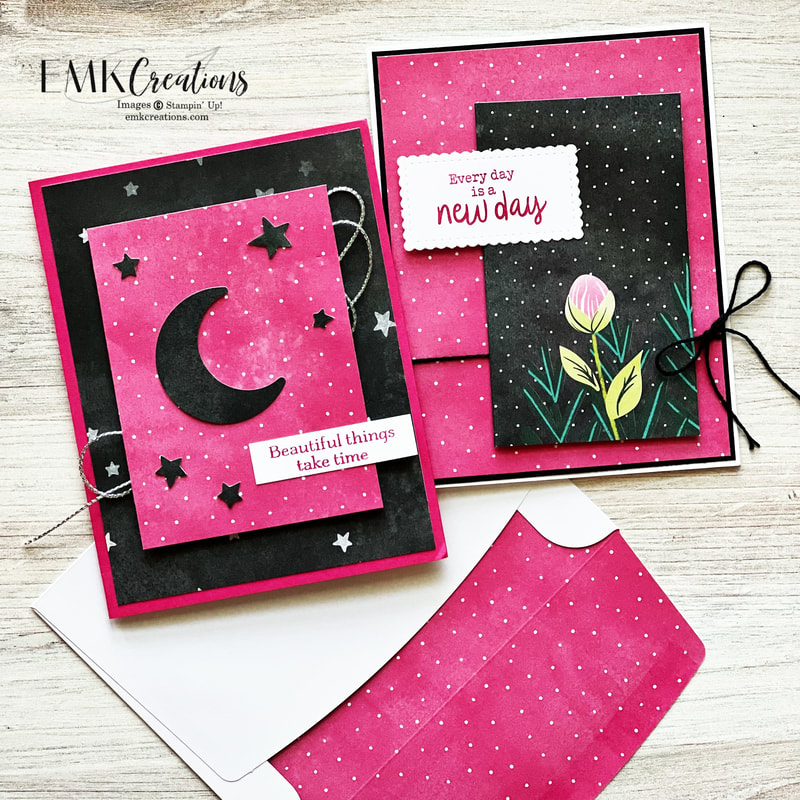
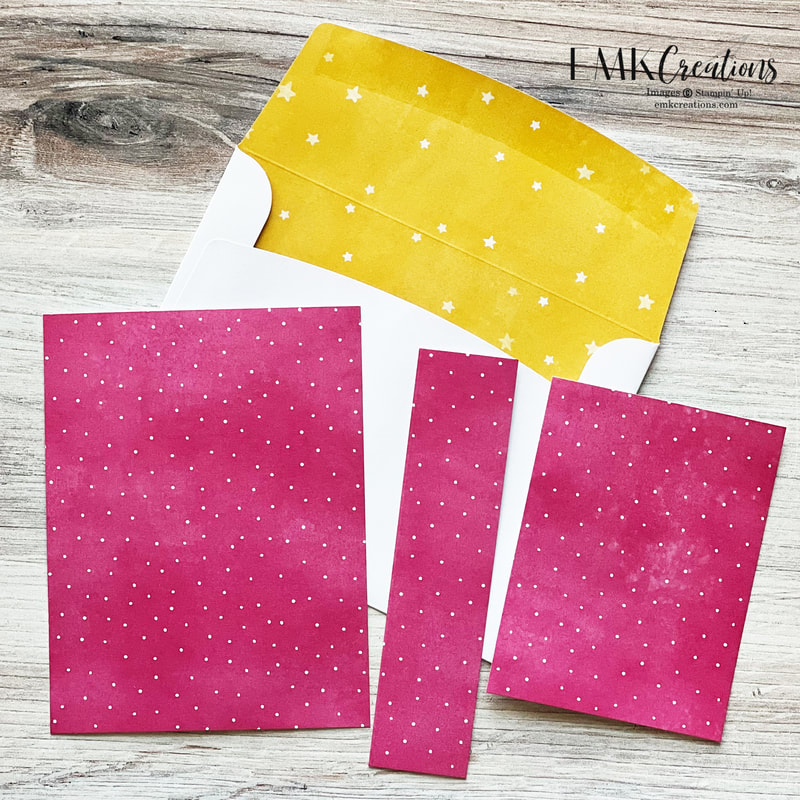
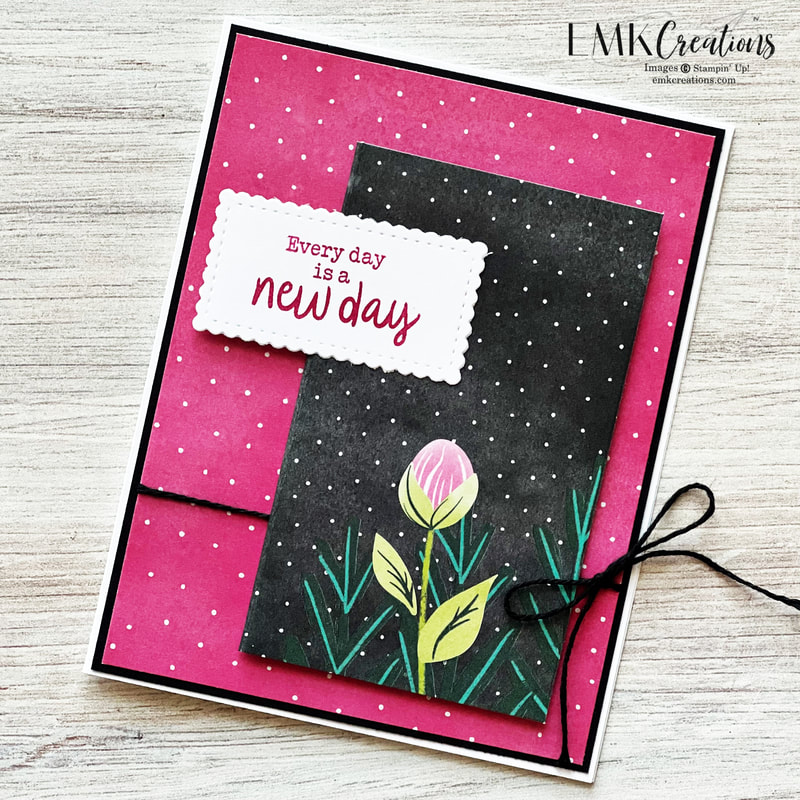
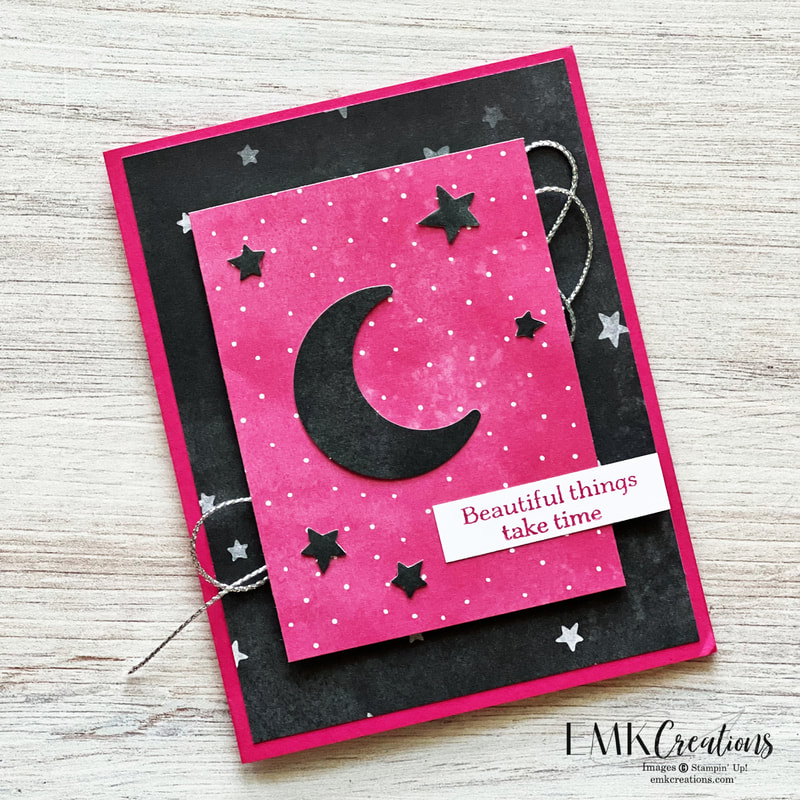
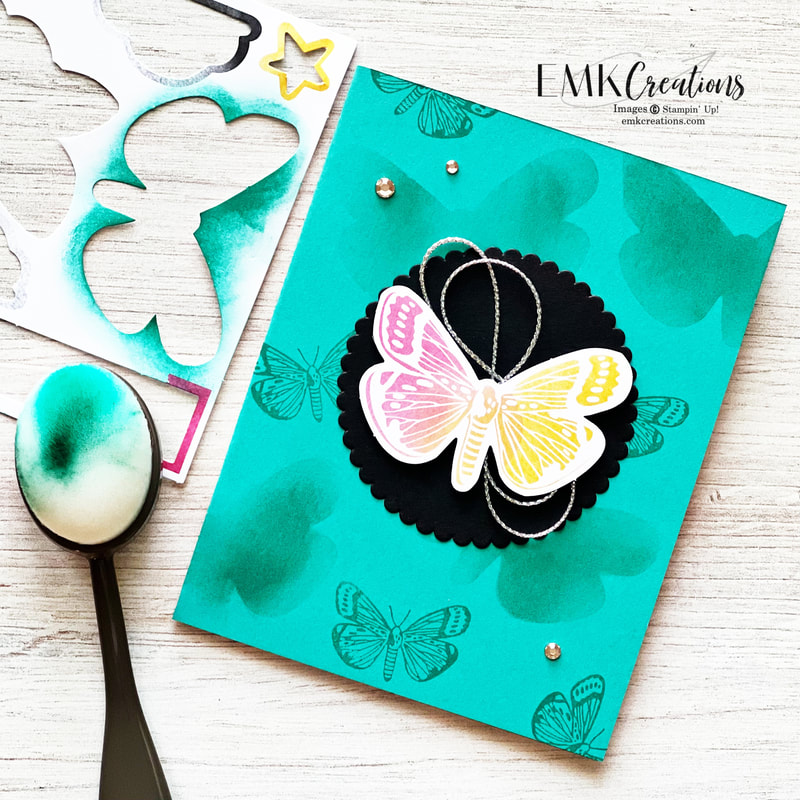
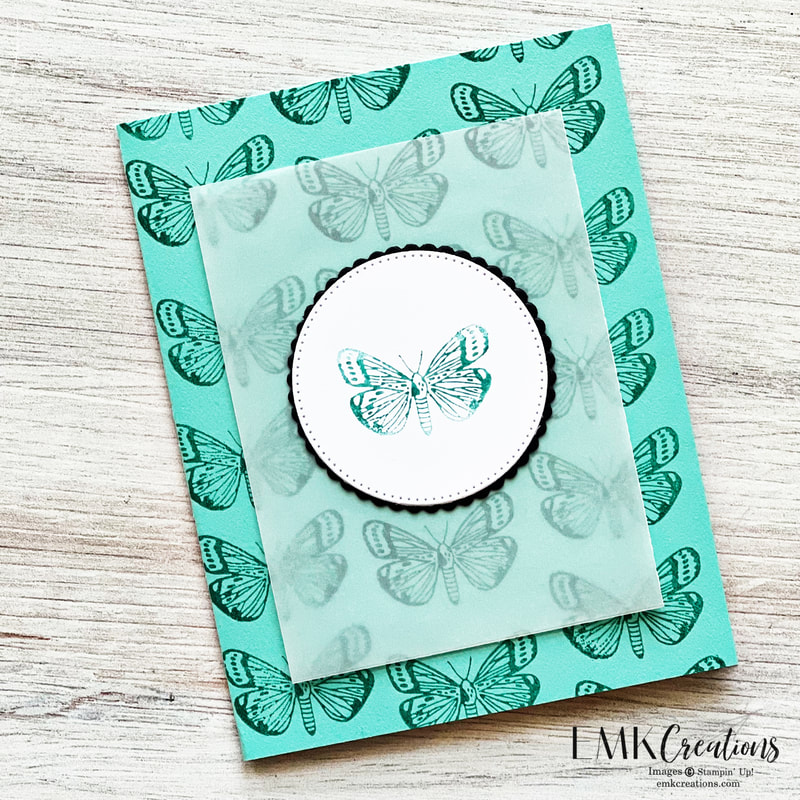
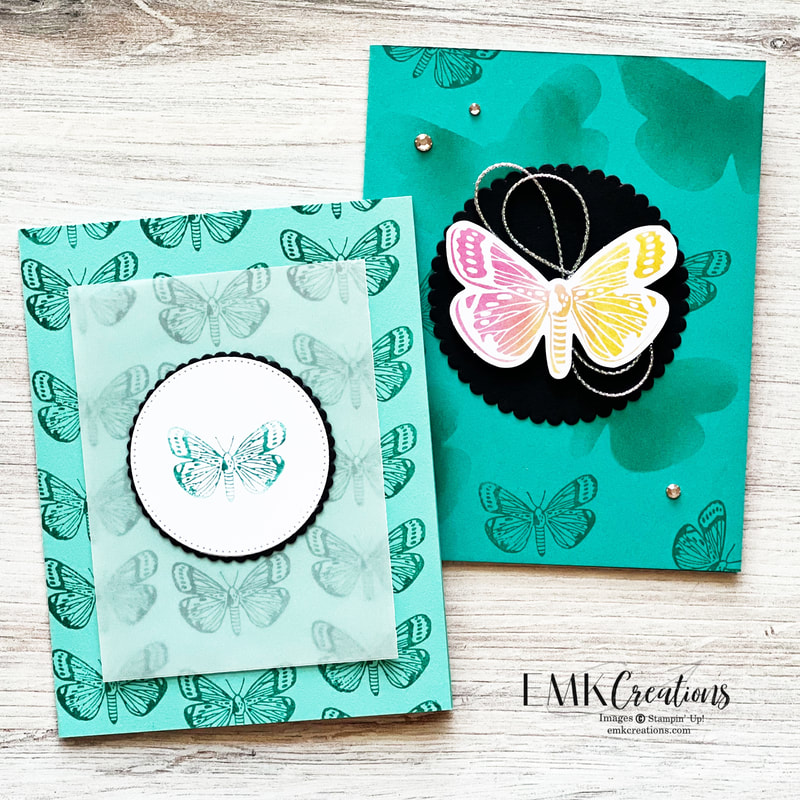
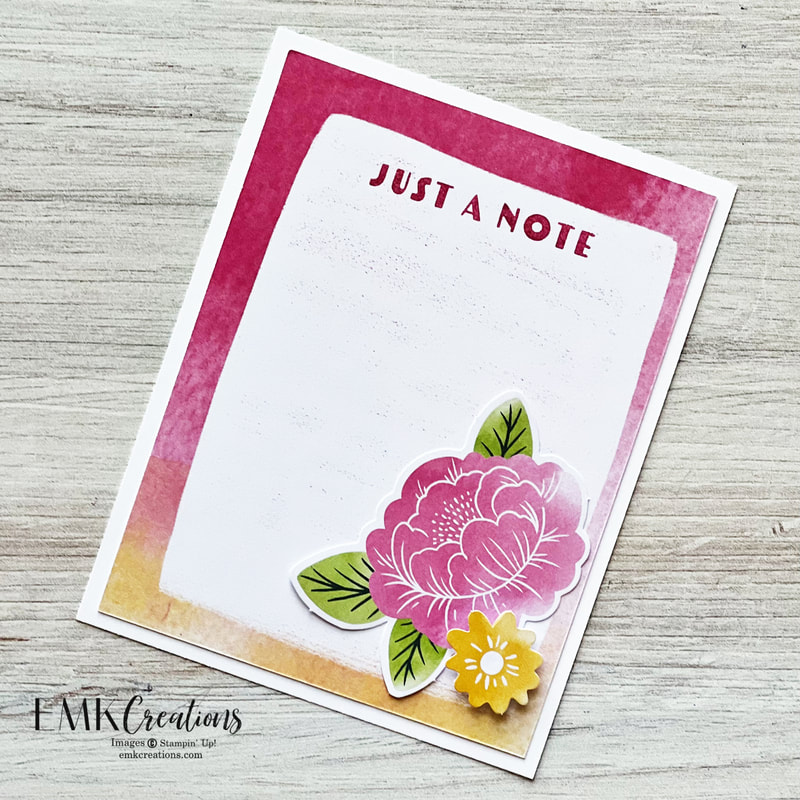
The April Paper Pumpkin kit, Change is Beautiful, did not disapoint. I loved the bold, bright color choices and the fun folds they created. Of course, once I made one of each the way they were designed I started cutting it all apart! Printed envelopes are my favorite becuase it means you can really stretch the contents to make a lot of cards! Here I show you my typical cuts from an envelope. I usually have three pieces including a 4 x 5 1/4, a 3 x4 and a 1 1/4 x 5 1/4 strip. With the fun fold designs on the original card bases I cut them into three parts. Paired with part of an envelope you have a great card! The pieces you remove from the moon and sun card give you even more to play with! Yet again, the negative piece makes a great mask for creating a background. I also added in the butterfly stamped image as well. It's hard to see in the photo but the small piece in the middle of the card had a score line in it already based on where I had cut it from the original base. I got out my trimmer and used the score blade to add score marks every quarter of an inch. The cactus set seemed to be made for pairing with these pieces! Since this already looked like a notecard I simply added it to a base. This one does not open. It's a flat notecard! Don't miss out on another Paper Pumpkin. The May box looks amazing (it features all FIVE new In Colors) plus there are Golden Tickets hidden in select boxes! You could win a $25 gift certificate. Go here to sign up or learn more.
0 Comments
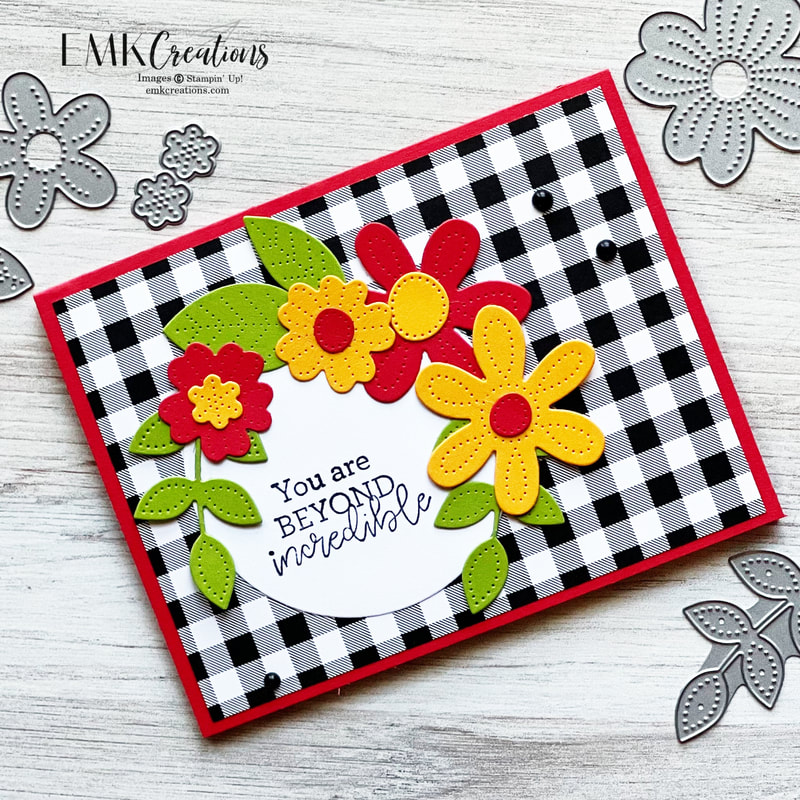
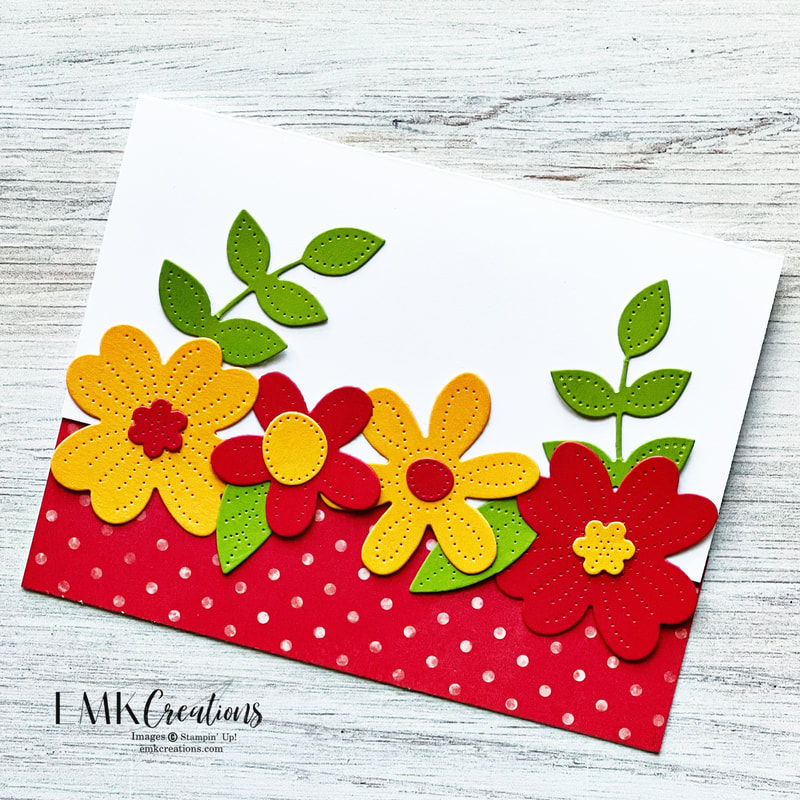
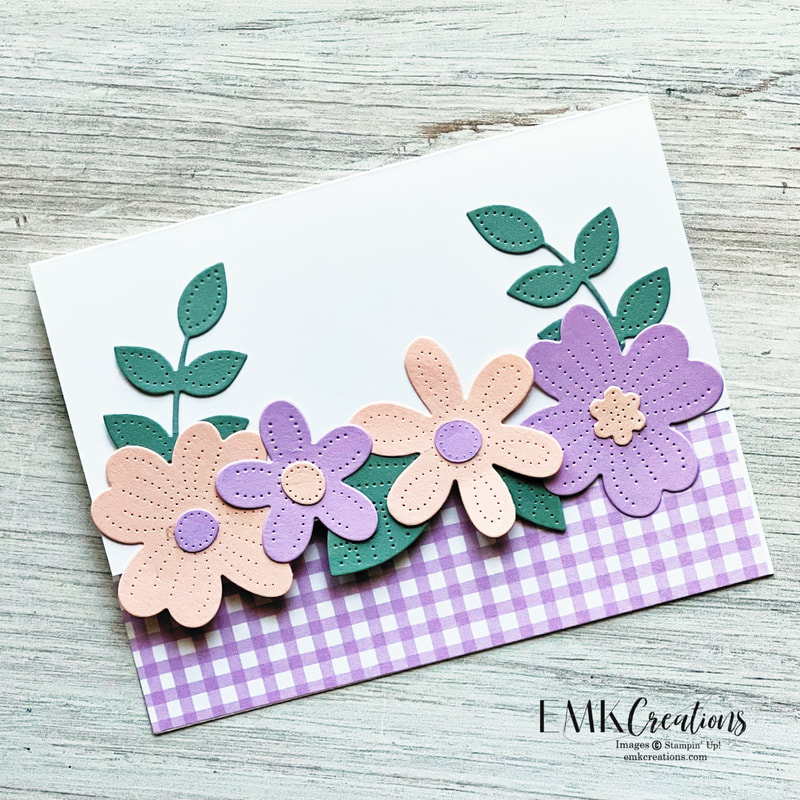
I've been having some fun with the Pierced Blooms dies that are retiring at the end of the month. They are so fun to work with!
There's just something about bold colors paired with black and white.
These next two I tried one with bright bold colors and another with pastels. I love both!
On both cards I cut 1 1/2 in off the white base and added a piece of Designer Series Paper to the inside.
Be sure to add these to your collection before they are gone for good!
Product List
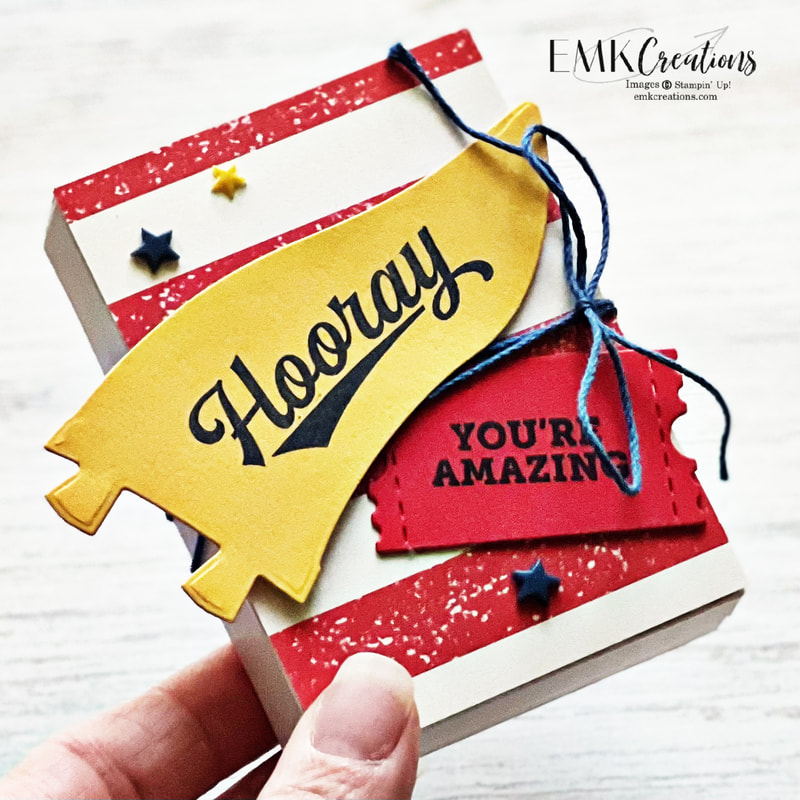
I had a "Best of Bundles" class on Friday night and one of the bundles we used was the Your Biggest Fan bundle. It's been requested that I add in some "anything but a card" projects to classes so I pulled out the Sweet Little Boxes that are in the January to June mini and we decorated it with the Your Biggest Fan suite.
The boxes are very easy to put together as they come with the adhesive already on them. Simply fold on the score lines, line up and seal together. You can fill with candy but they'd also be perfect for giving a gift card! I think the cute little Resin Stars might be my favorite part.
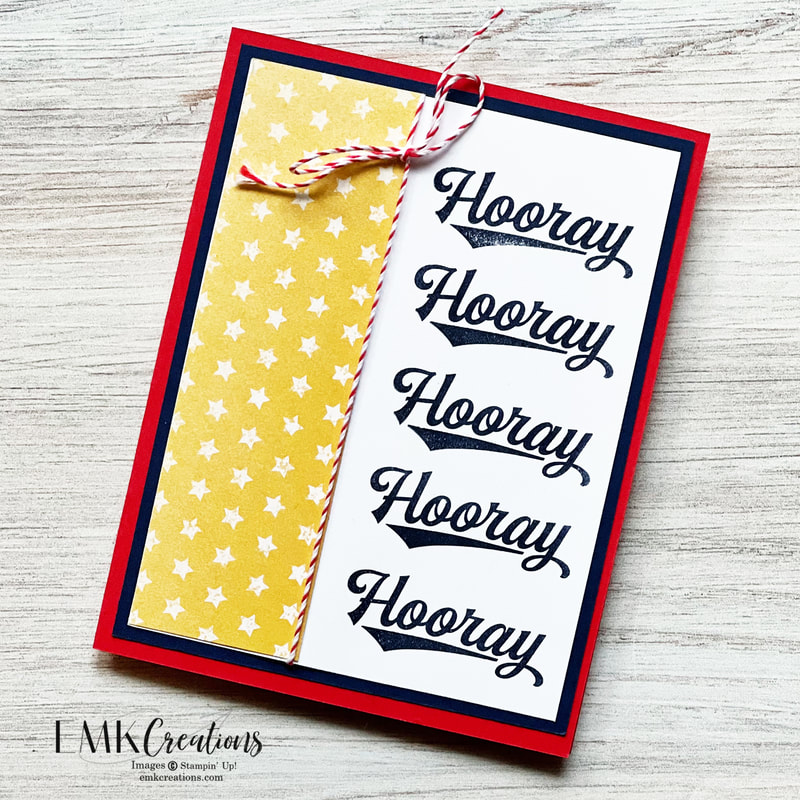
While I had all the supplies out for creating the box I also made up this quick and easy card. This would be perfect to celebrate a birthday or any other milestone someone had! The striped baker's twine really tied the card together for me.
I also enjoy Monday Montage blog posts. Be sure to click next to see what Julie has created this week or back to see what Elizabeth has for you!
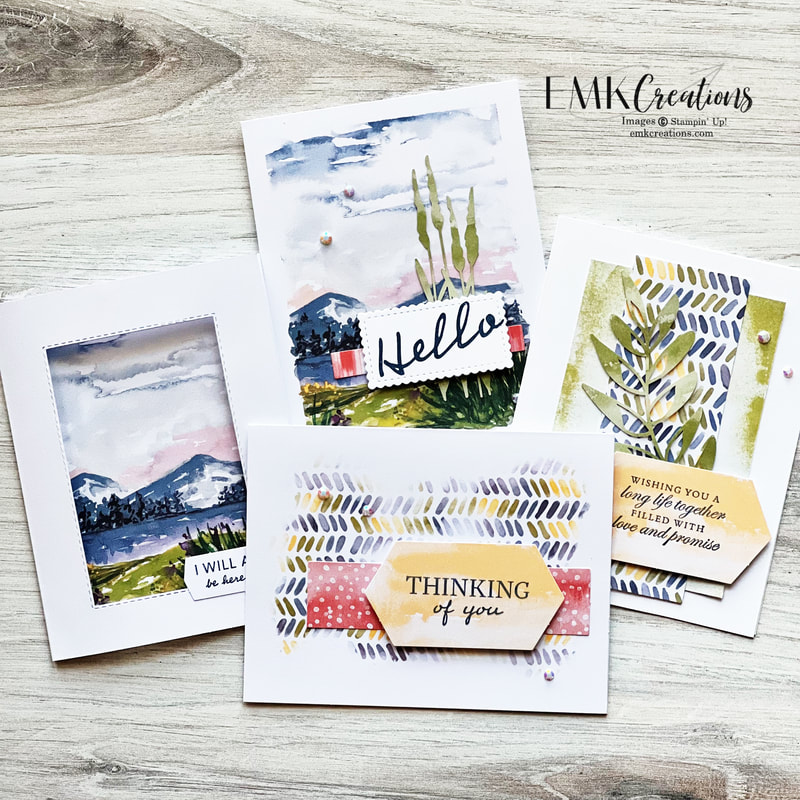
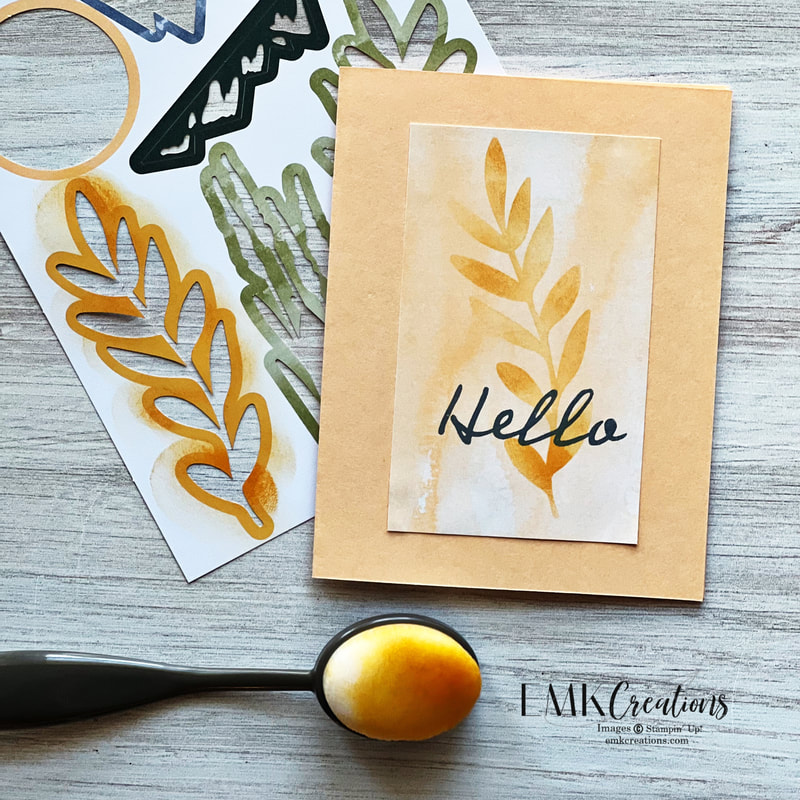
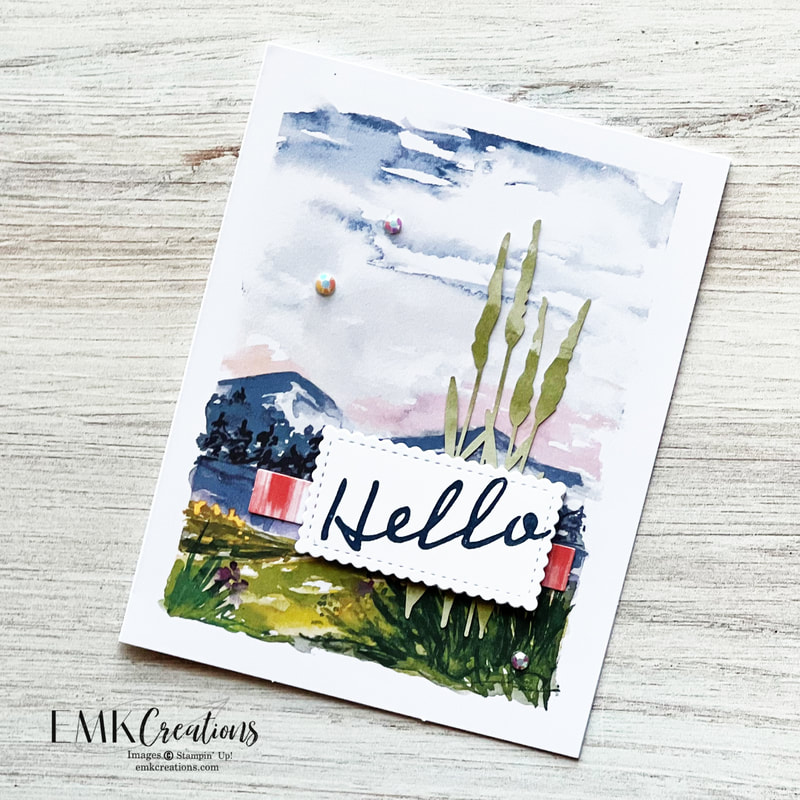
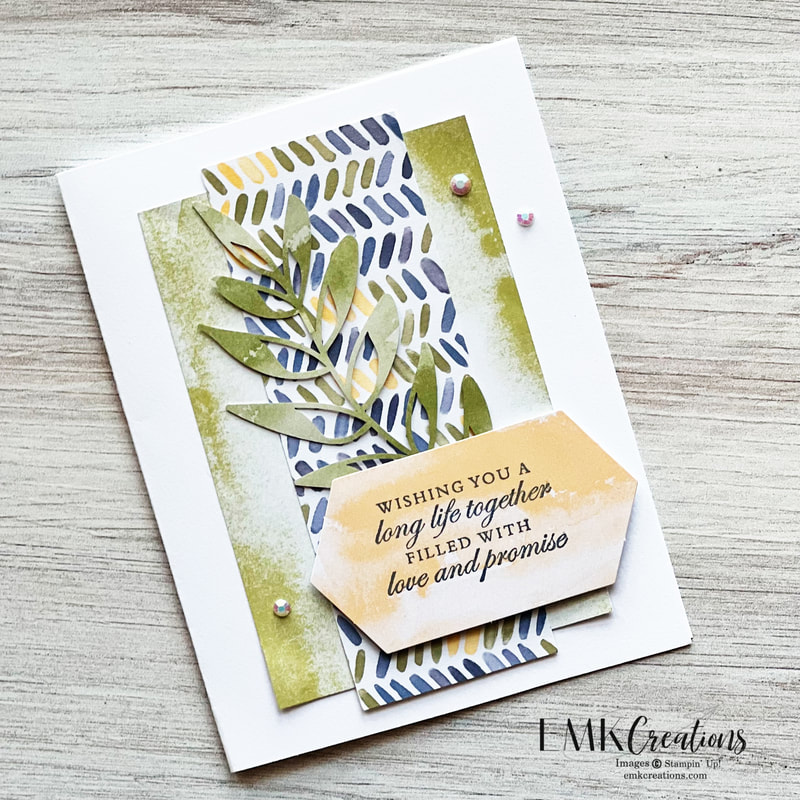
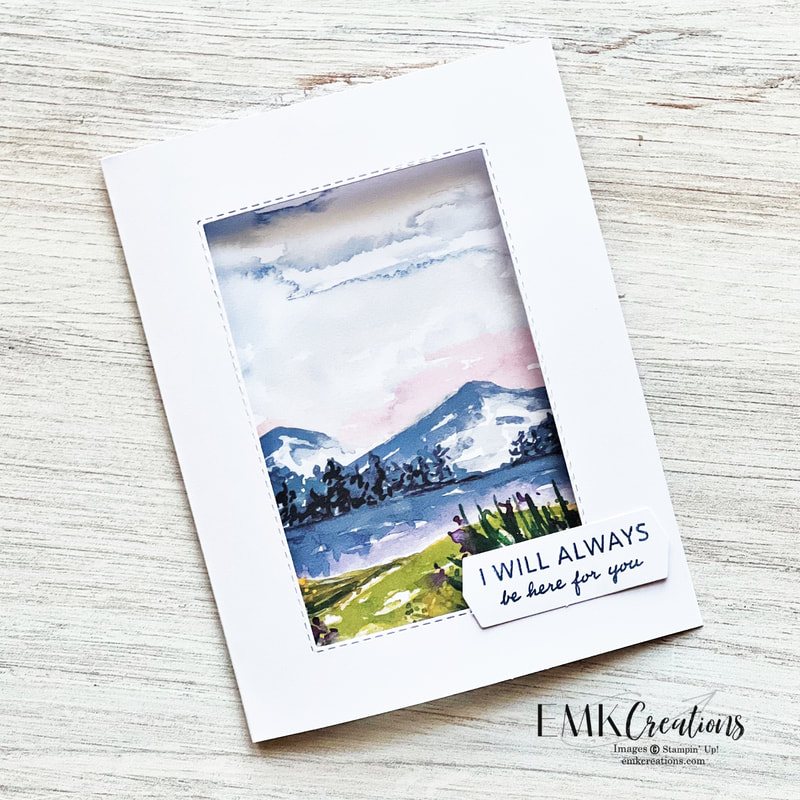
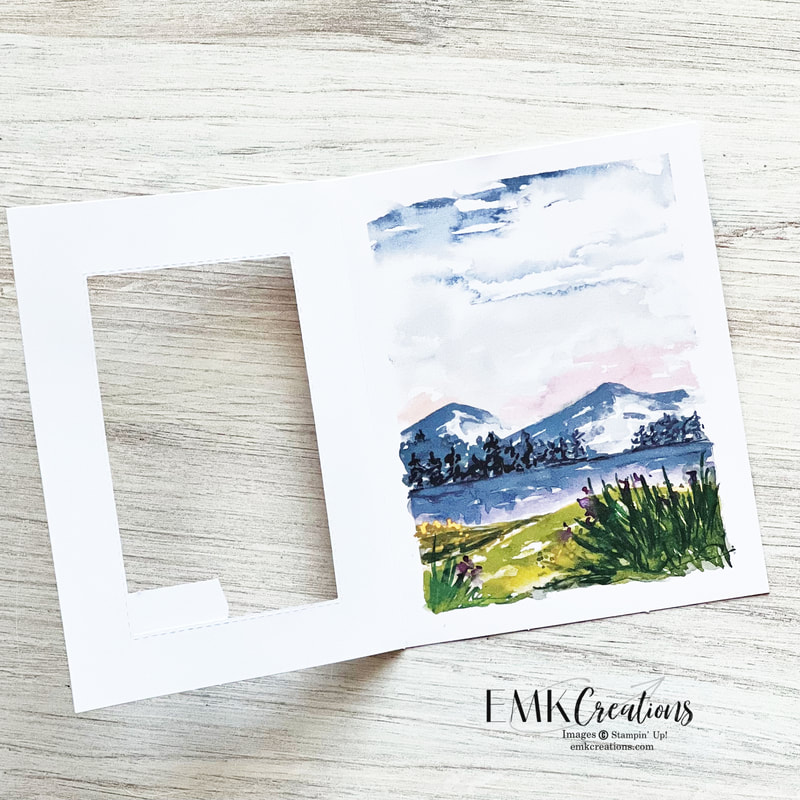
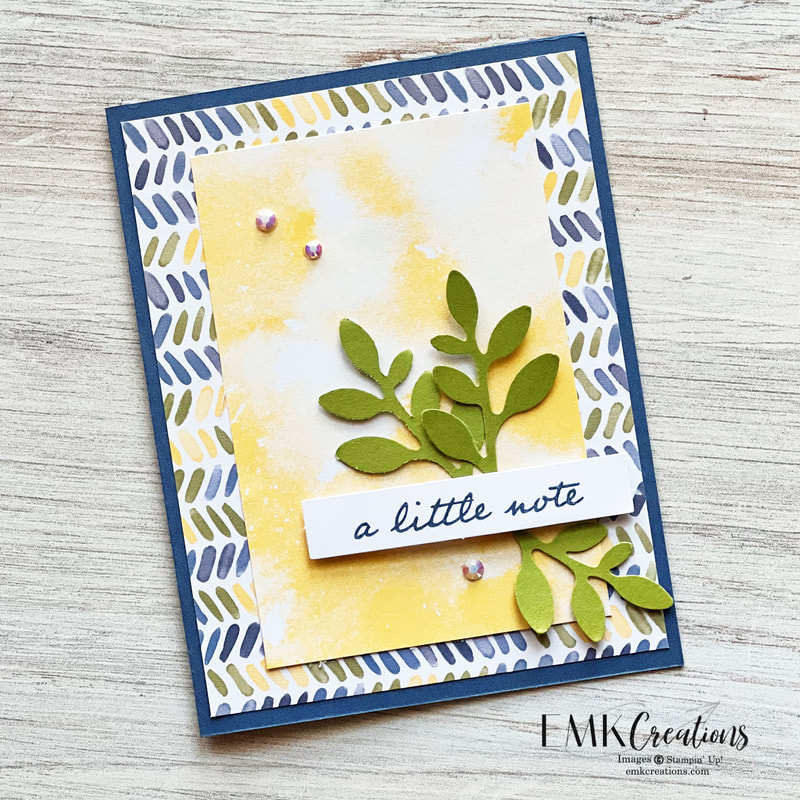
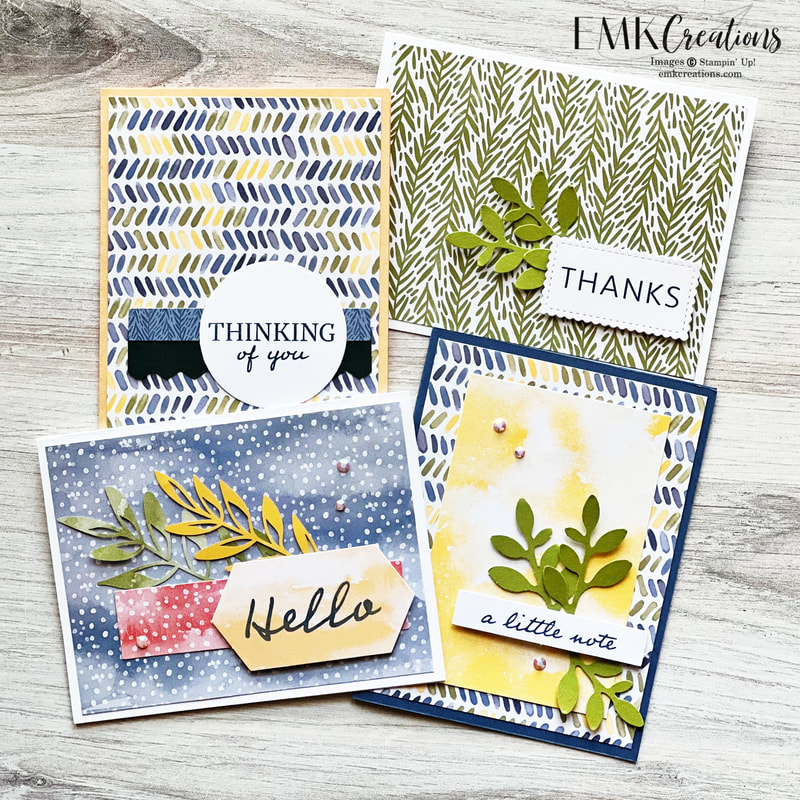
,Once again, Stampin' Up! provided us with a wonderful creative kit. As I like to do, I made up one of each as shown in the directions and then proceeded to create my alternatives. The negative space from the die cuts are great to use as stencils. Here I used part of an envelope, ink and the blending brush to create the leaf image and then stamped my sentiment over it. A truly simple card! The pre printed cards were beautiful but I didn't find ways to cut them up. Instead I simplified this one. The envelopes, though, were perfect this month! They were printed on both the inside and the outside giving me even more ways to use them. Although I didn't find ways to cut up the front of the pre printed cards this was a fun way to create an alternative. I flipped the card inside out, die cut an opening and then closed it back up. It provides a cool opening and look to the card! This one uses both the inside and the outside of an envelope. Add a few punched pieces and you've got a card! All of these use parts of envelopes! If you're interested in getting your own Paper Pumpkin kit go here to learn more or sign up. Be sure to be signed up by the 10th of the month to get that month's kit.
|
AuthorI'm a "work at home mom" and an independent Stampin' Up! demonstrator. Archives
July 2024
Categories
All
|




 RSS Feed