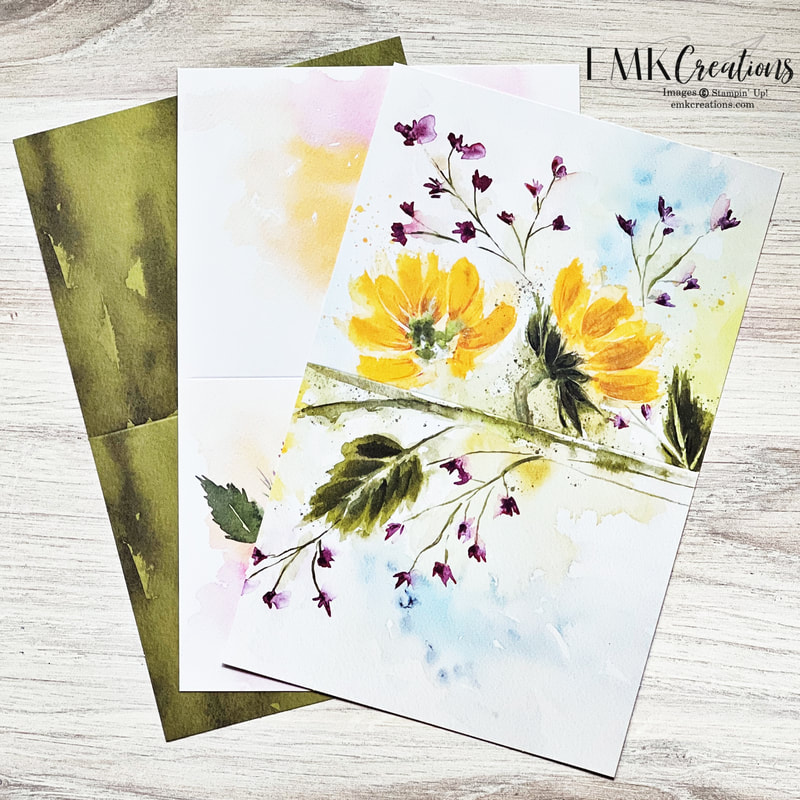
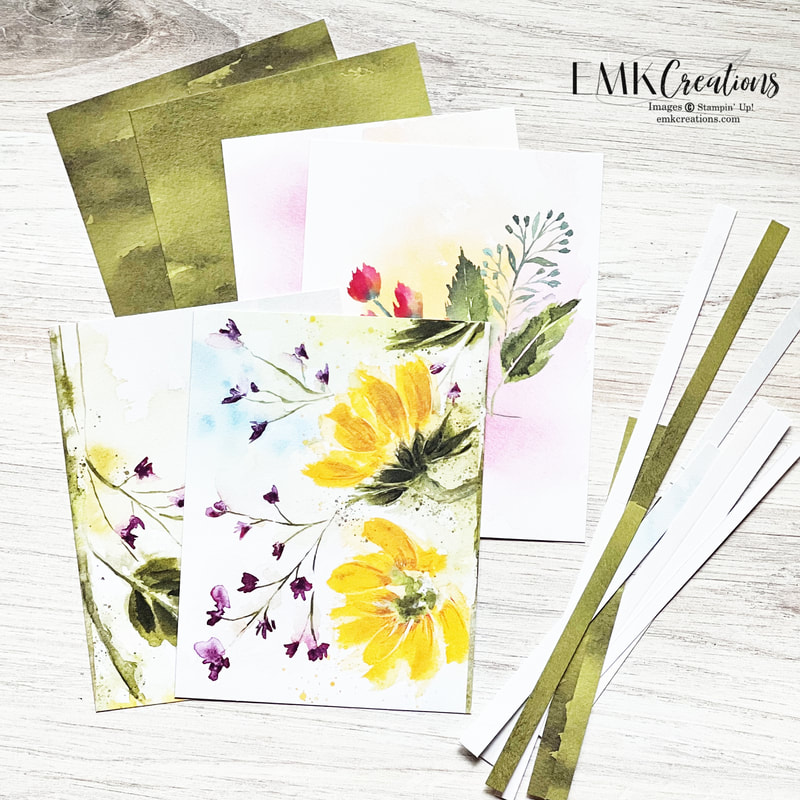
I thought I'd share a visual of how I cut down my card bases to create extras. I take each one and trim on the long edge to make it 5 1/4 in and then rotate and trim to create two 4 in pieces. If the strips are of varying colors I'll keep them to create a card using only strips.
|
This is one of my top five kits of all time! It is so beautiful.
I thought I'd share a visual of how I cut down my card bases to create extras. I take each one and trim on the long edge to make it 5 1/4 in and then rotate and trim to create two 4 in pieces. If the strips are of varying colors I'll keep them to create a card using only strips.
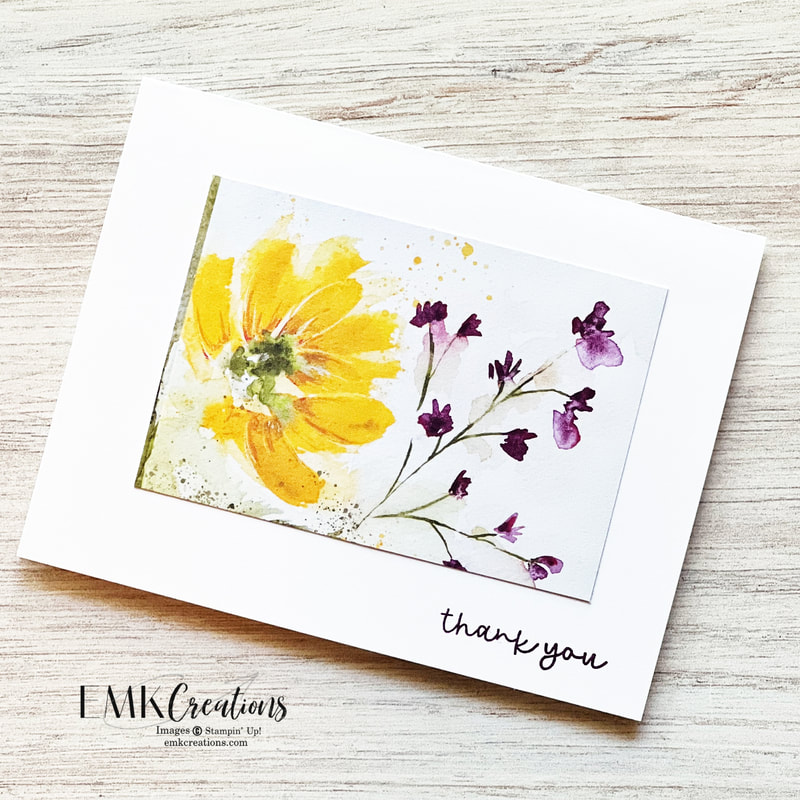
With the sunflower water color piece I cut it in 1/2 again to create two focal pieces I could use.
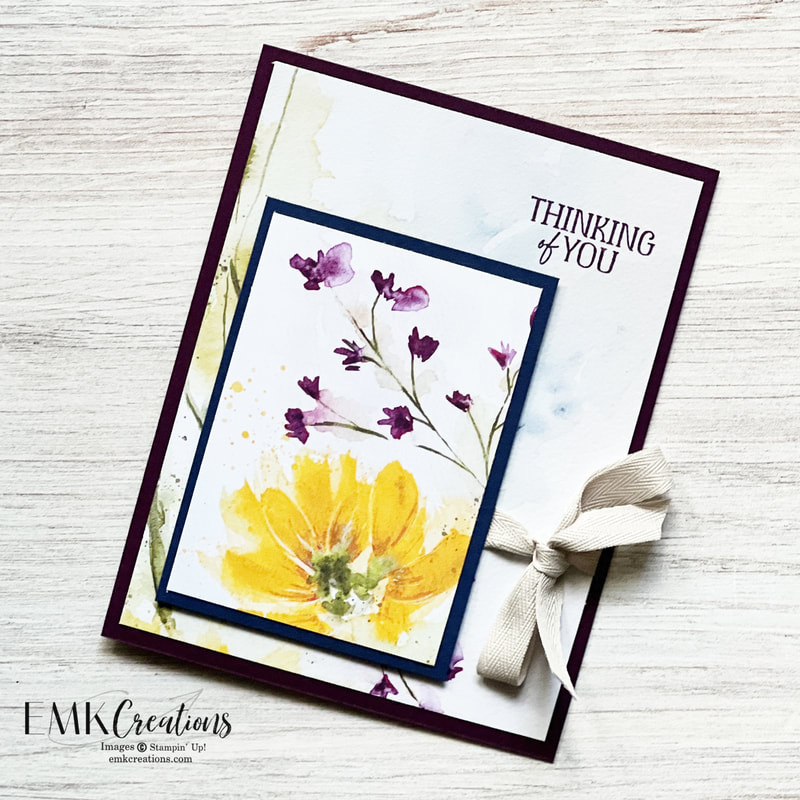
The larger piece on this card is actually from an envelope. I cut out main design with a circle die (which you can see on the last card). I layered the other pieces so they would cover the area that I had cut out. I also tied the ribbon through the edge of the circle so it did not go all the way around the layered base piece.
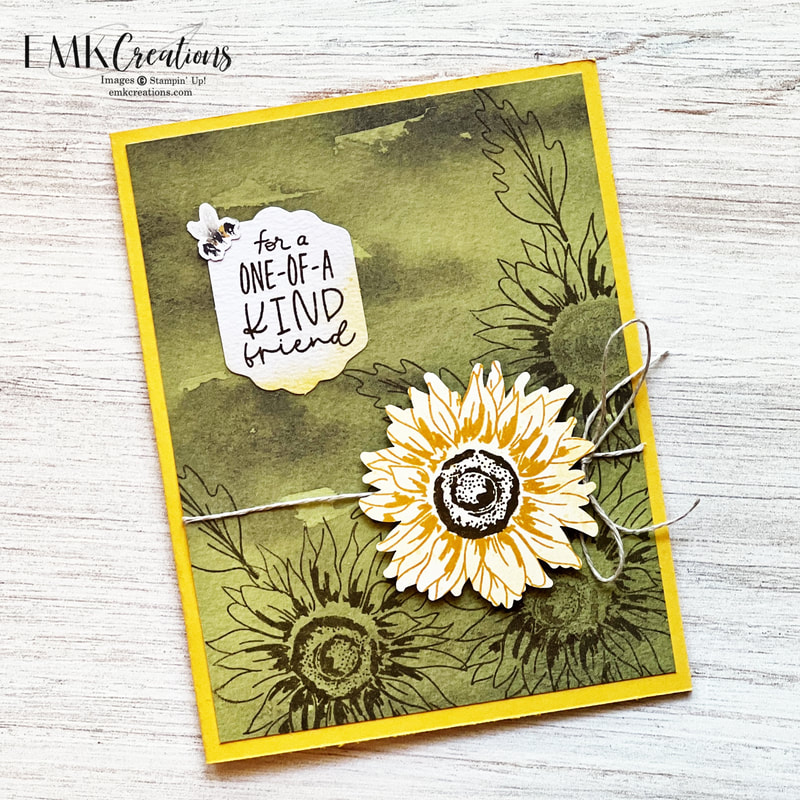
Stamping on a printed piece of paper can create a fun look.
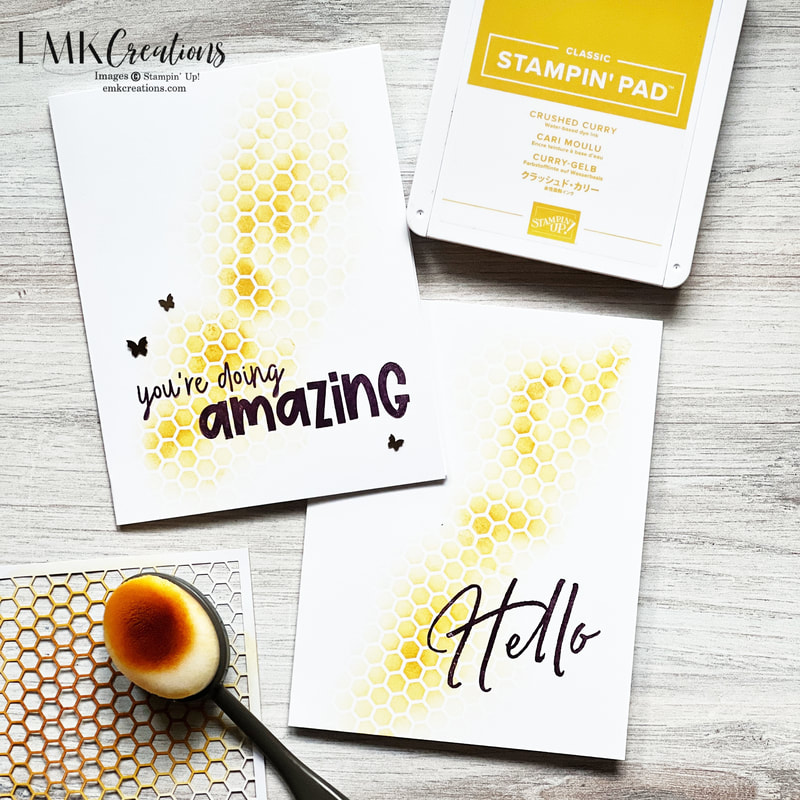
Another technique I used on some of the cards was to make the included gold honeycomb pieces a mask. Using a blending brush I was able to add a subtle pattern to my card stock. These are very simple single layer cards!
This is another very simple card that lets the beautiful watercolor do the work. Cards don't have to be complicated to be amazing!
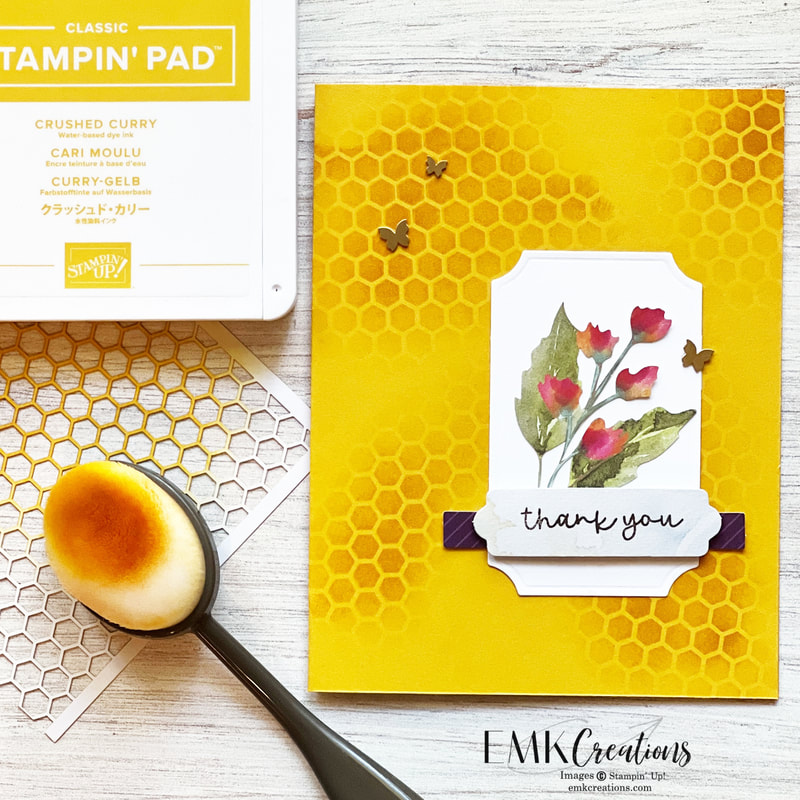
Another card where I used the honeycomb as a mask.
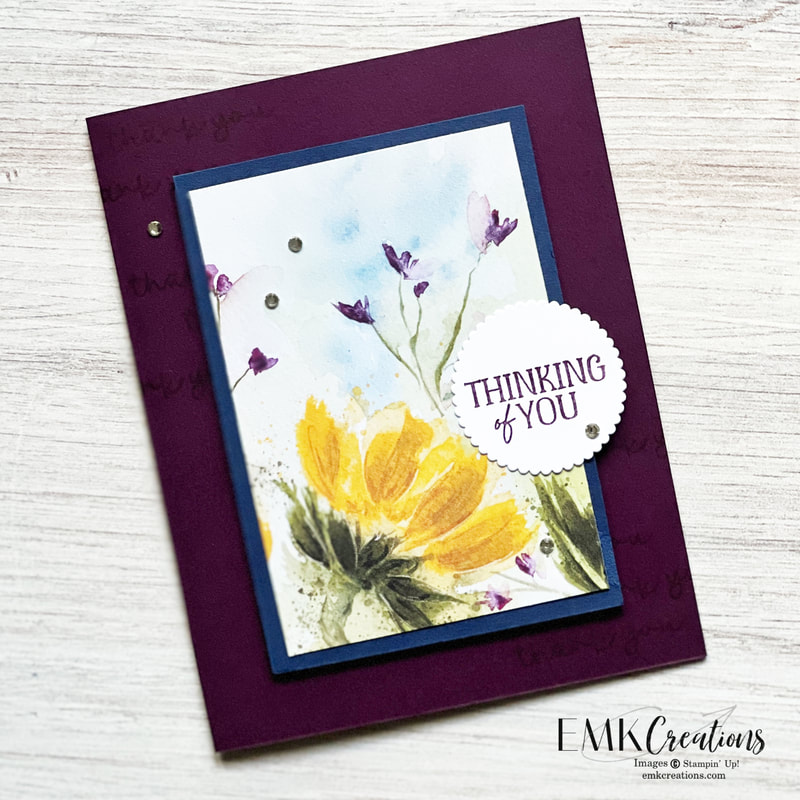
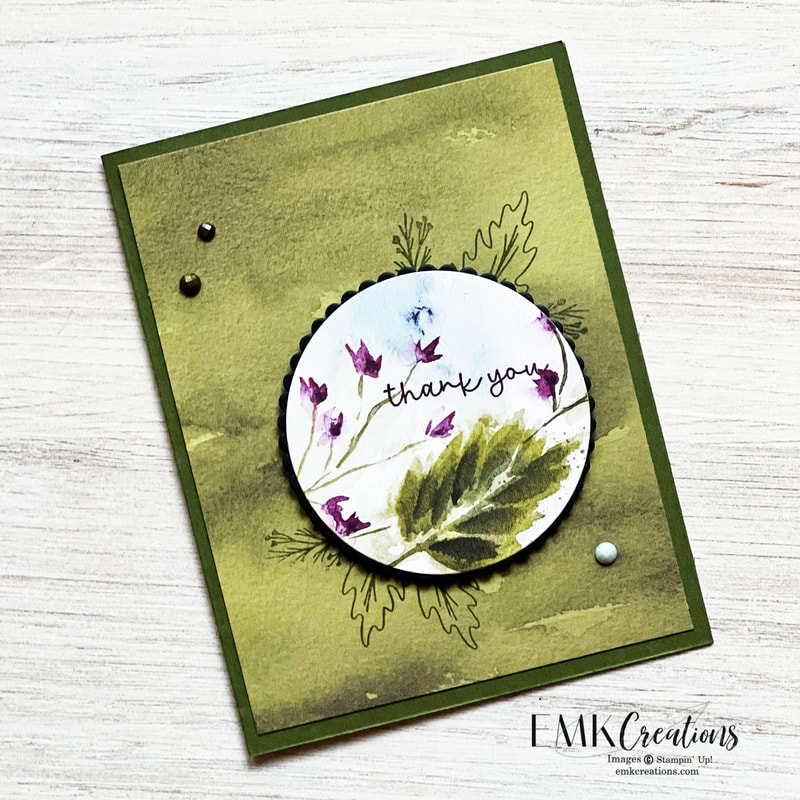
This is the card I created with the cut out piece from the envelope. I stamped the leaves behind it and layered it on a scallop circle. The Solid Faceted Gems are one of my favorite embellishments.
Which is your favorite? You can sign up for Paper Pumpkin here or email me with questions.
0 Comments
Leave a Reply. |
AuthorI'm a "work at home mom" and an independent Stampin' Up! demonstrator. Archives
July 2024
Categories
All
|


 RSS Feed