Be sure to click through to see all the great projects. Up next is Wendy!
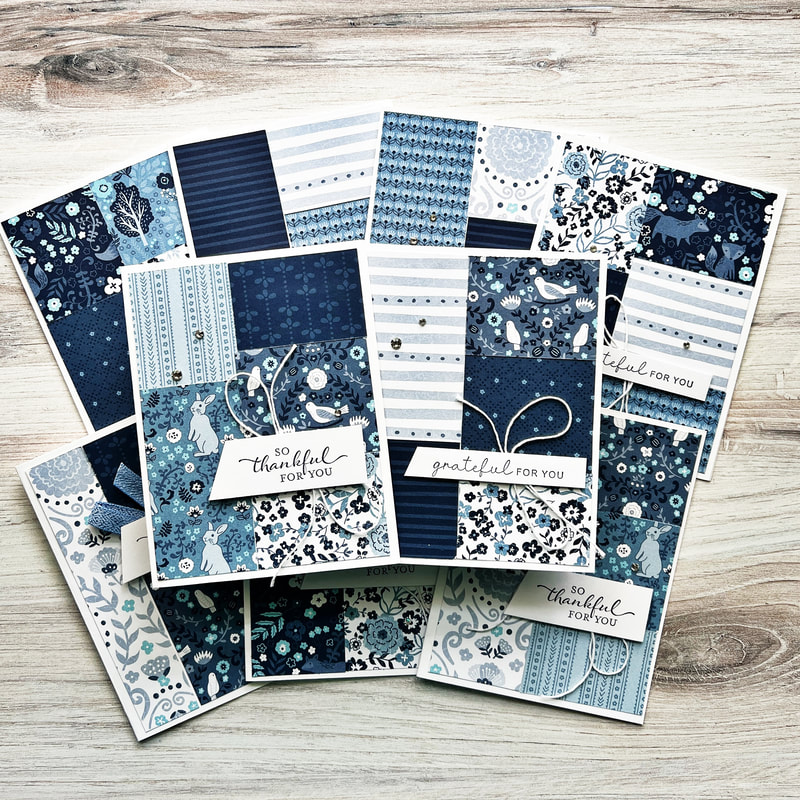
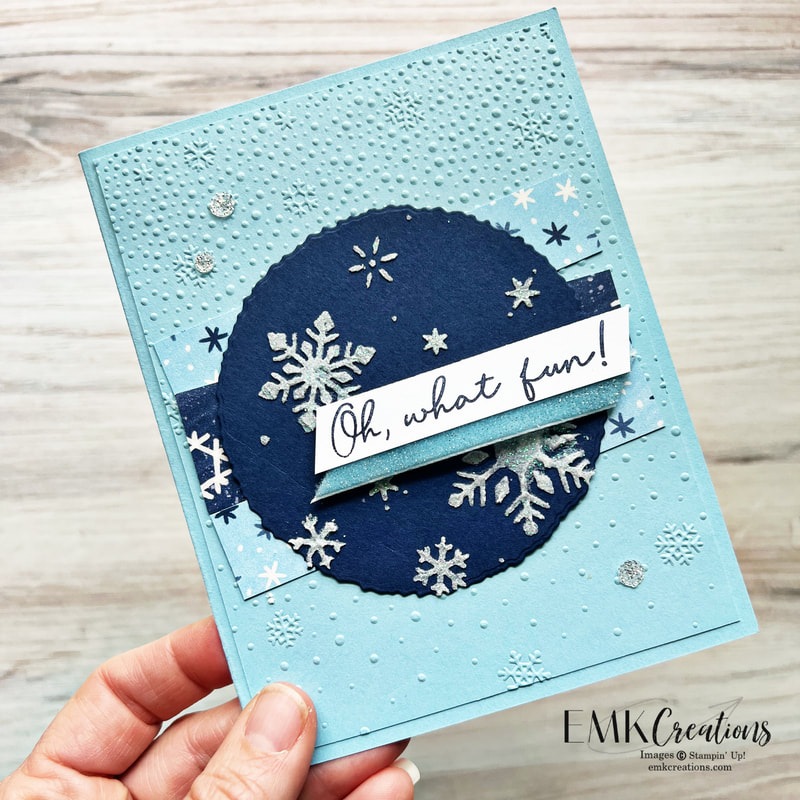
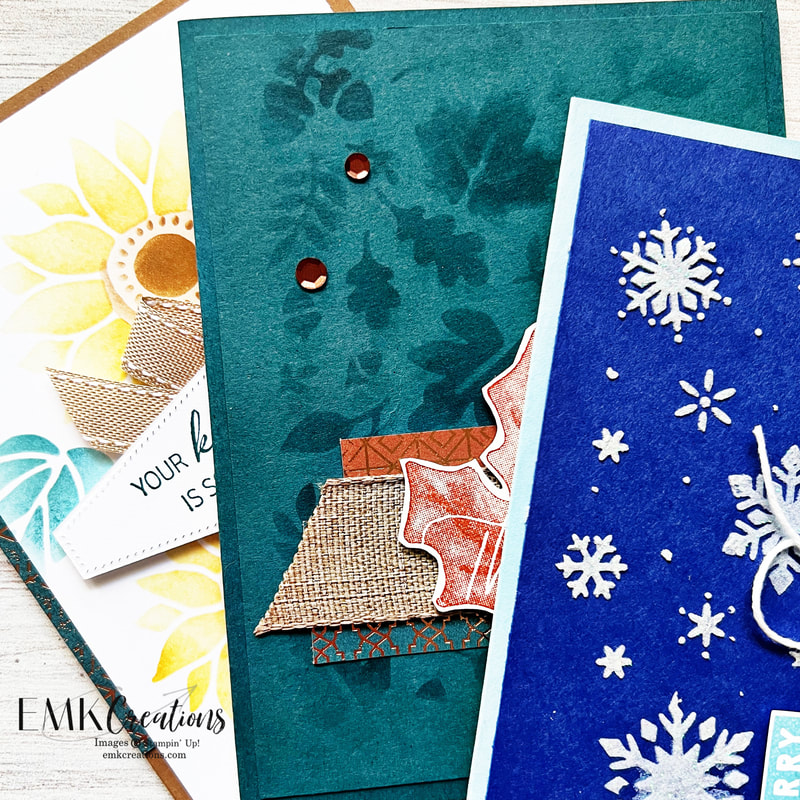
Monday Montage Blog Hop is here again! This week I'm highlighting the adorable new By Your Side kit. Have you seen it? It makes eight cards but the best part is you get double the number of cats and dogs so you can create lots more cards!
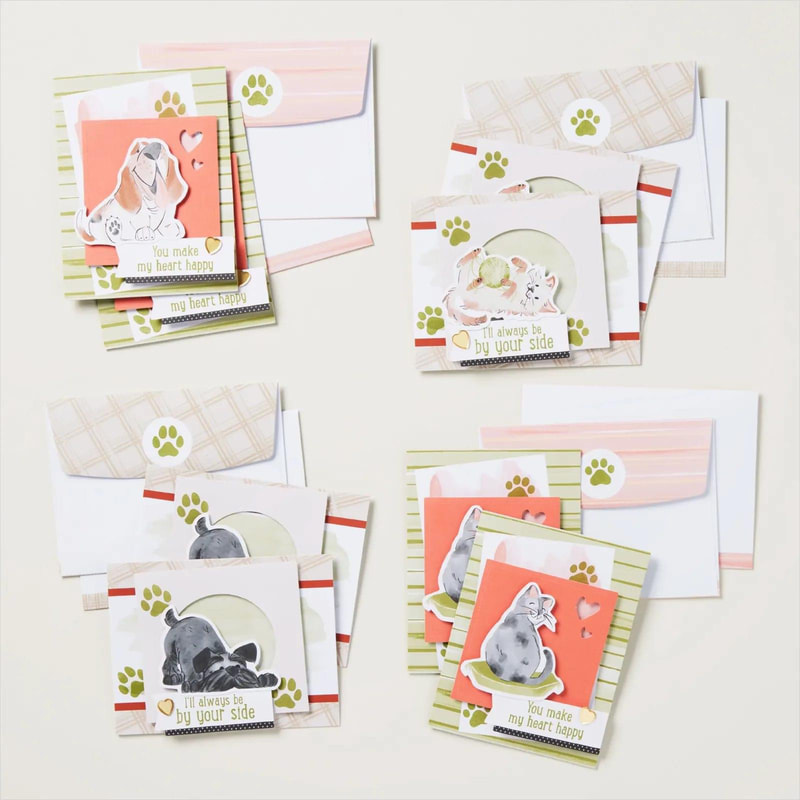
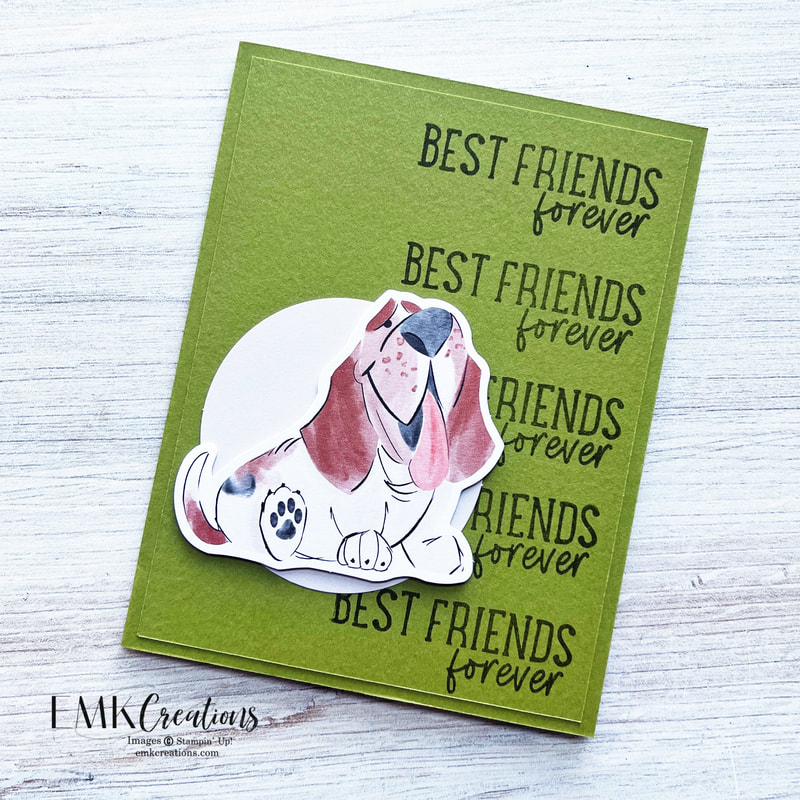
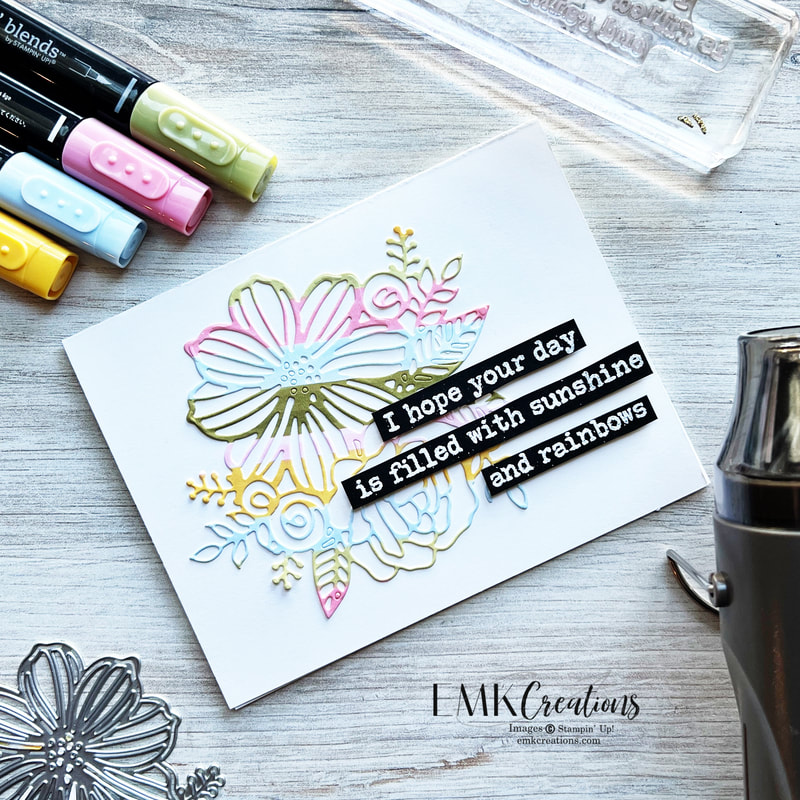
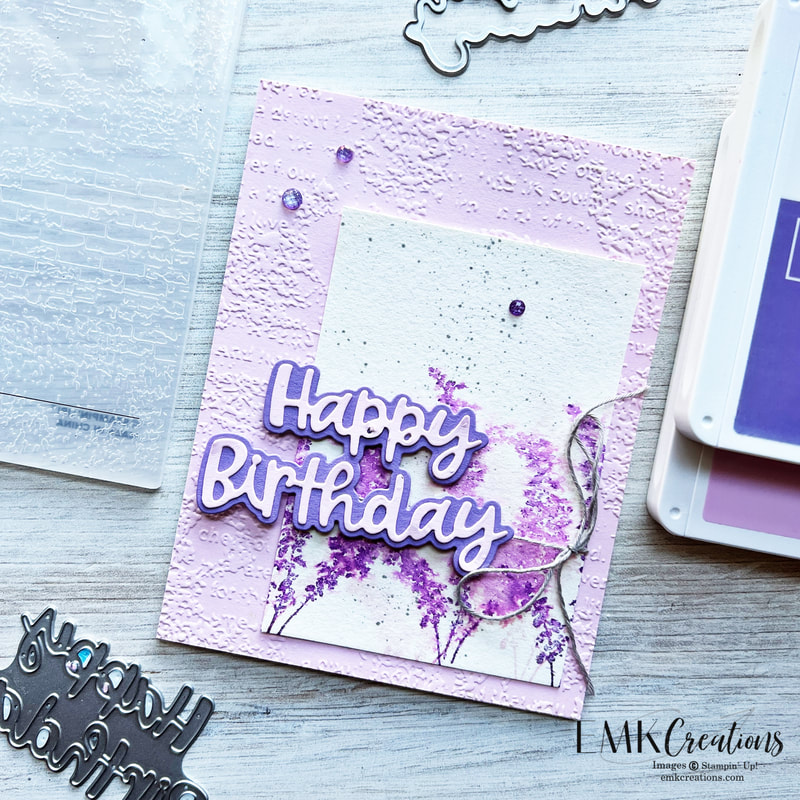
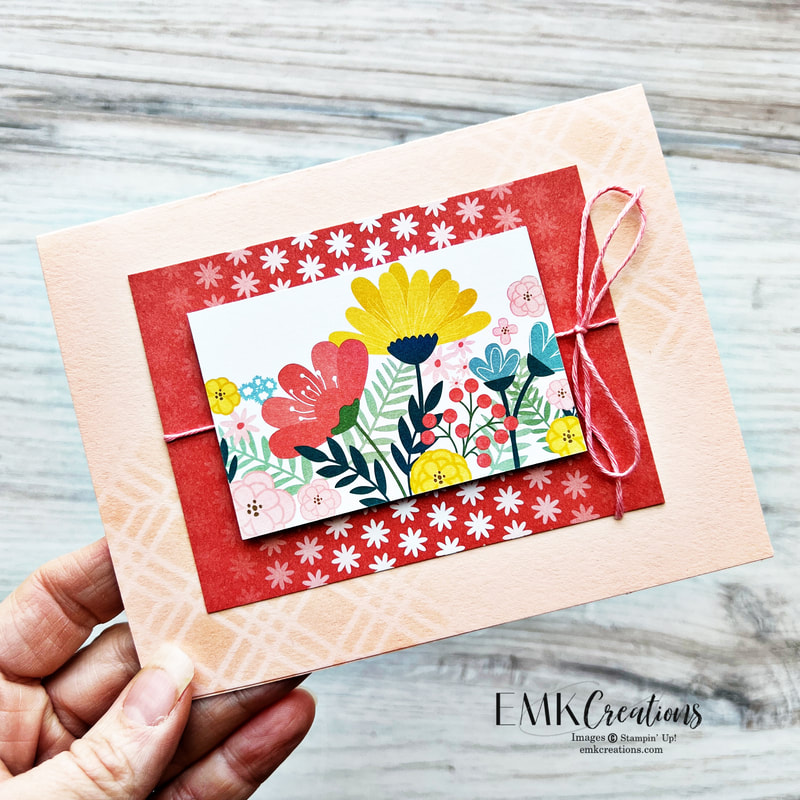
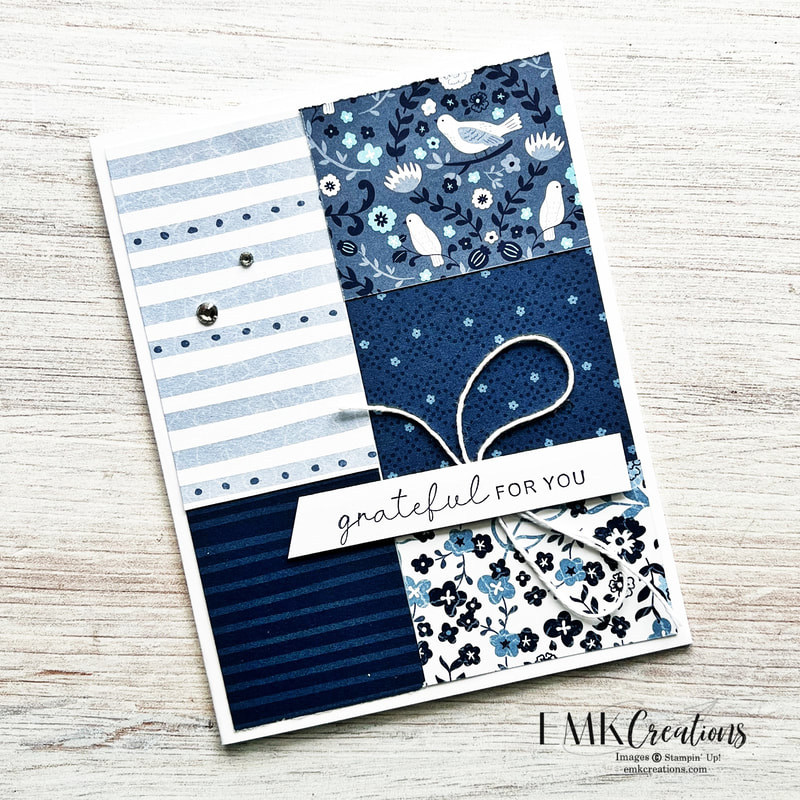
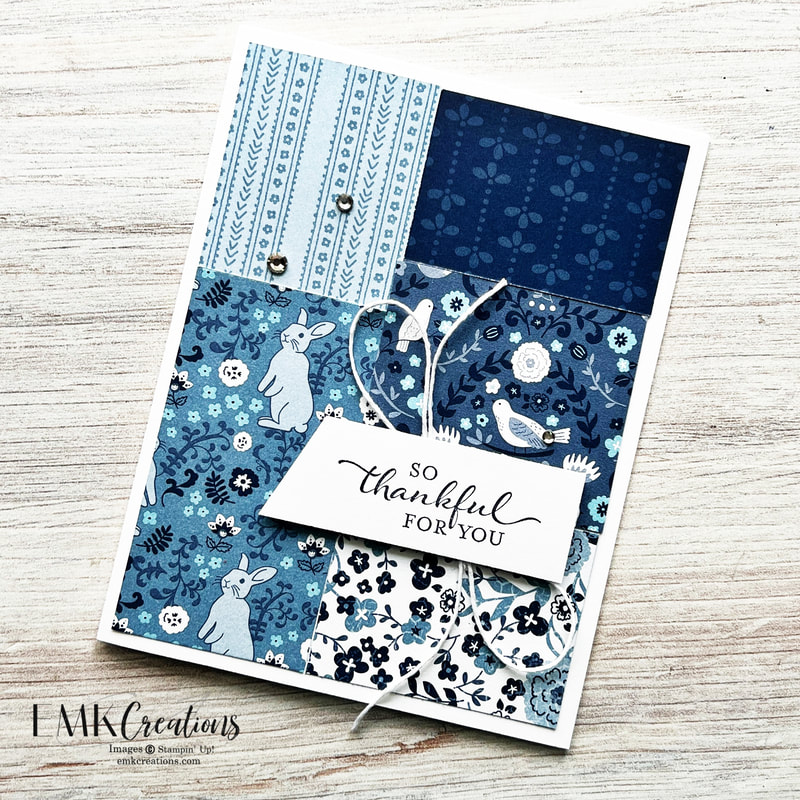
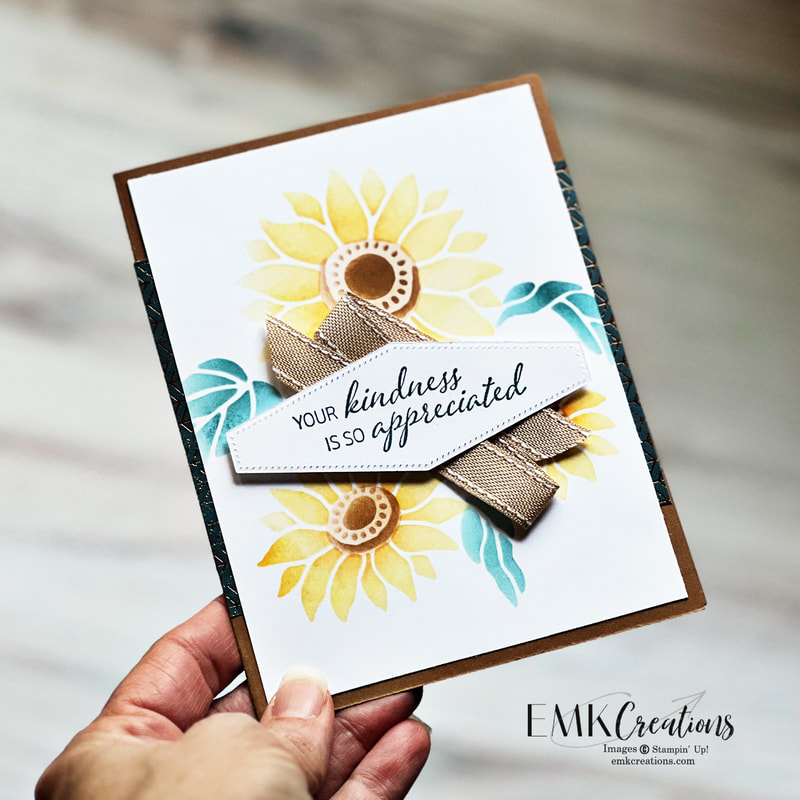
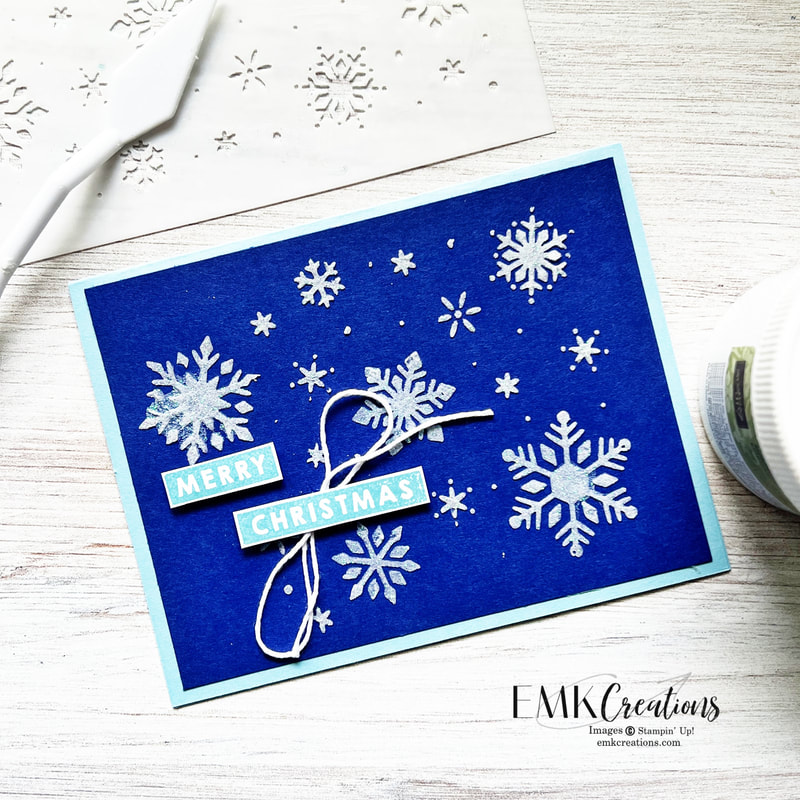
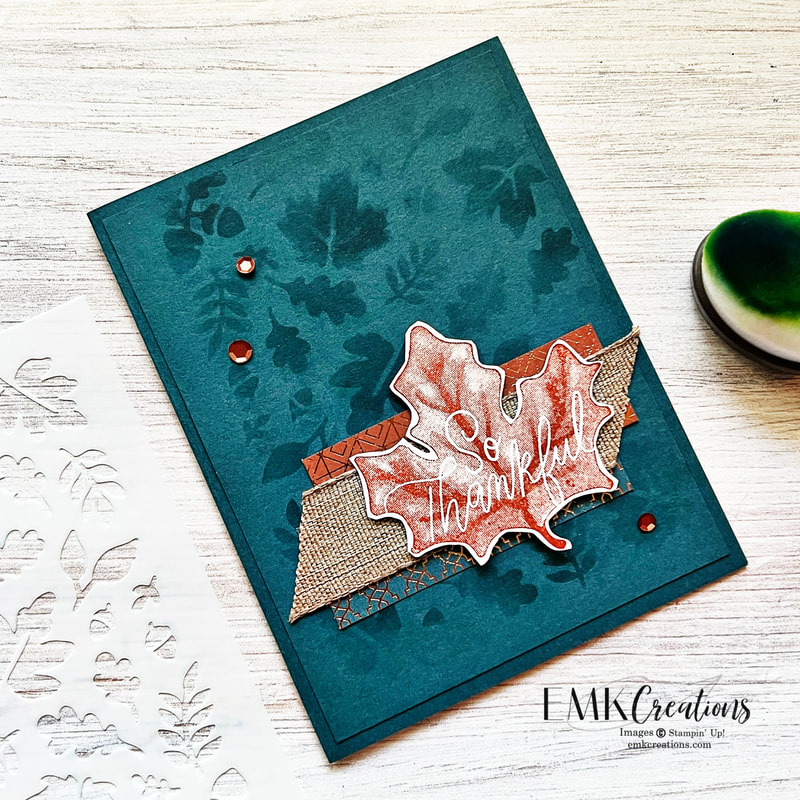
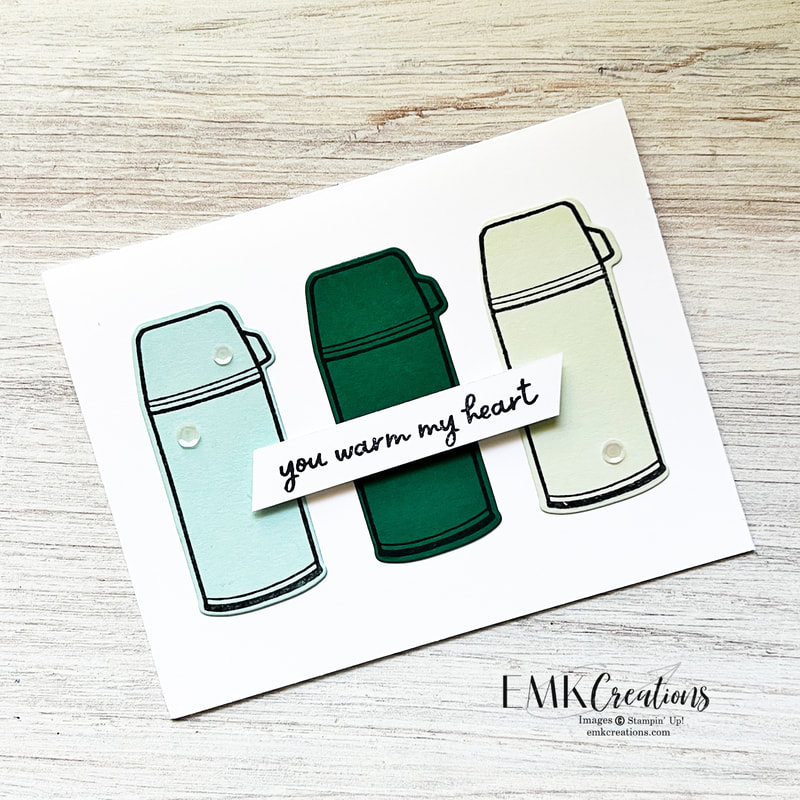
All of these cards were created with just adding some extra card stock and ink.
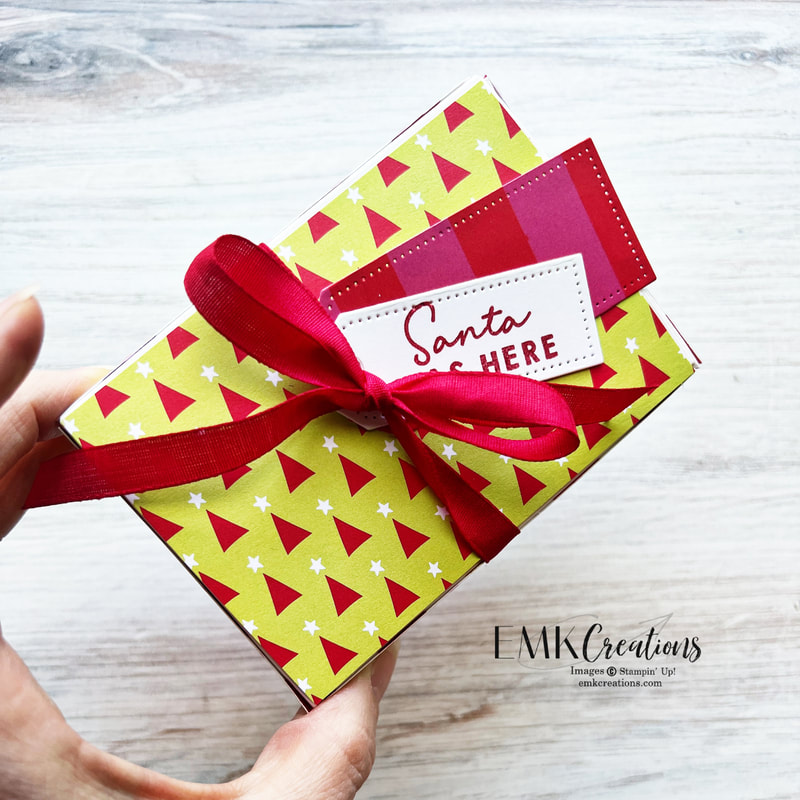
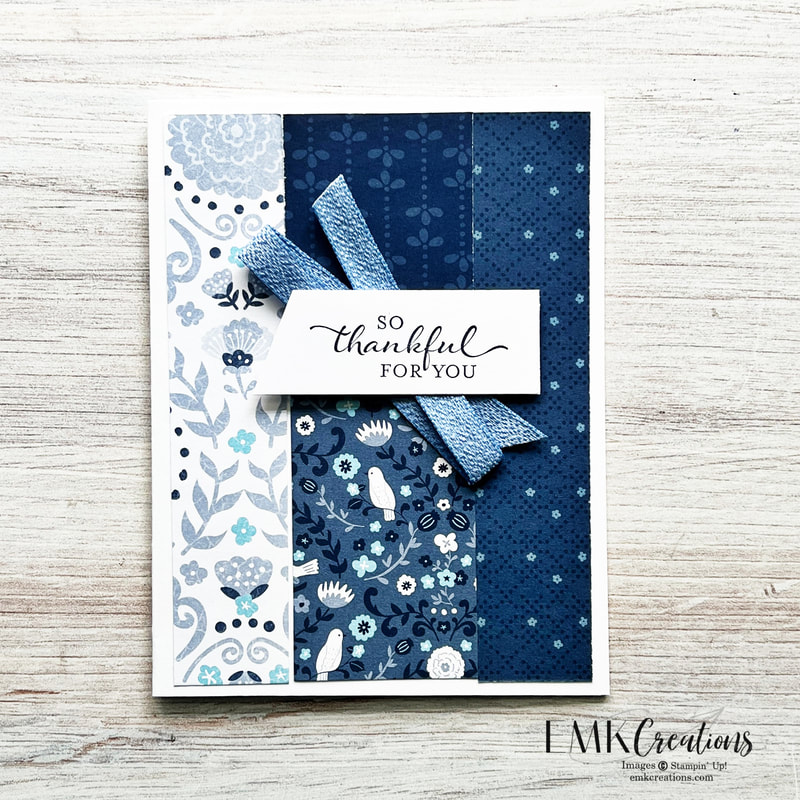
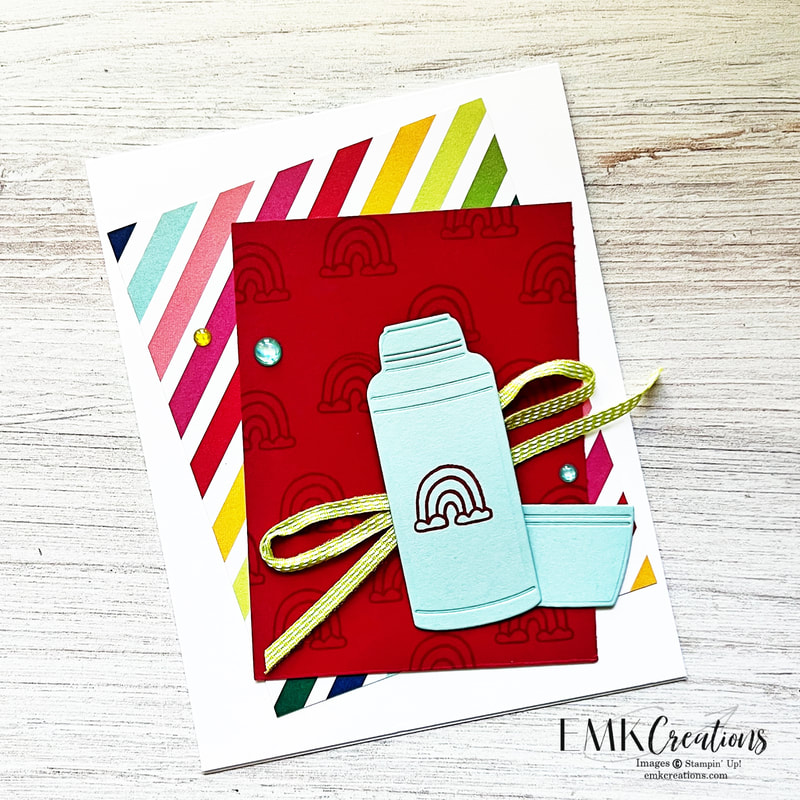
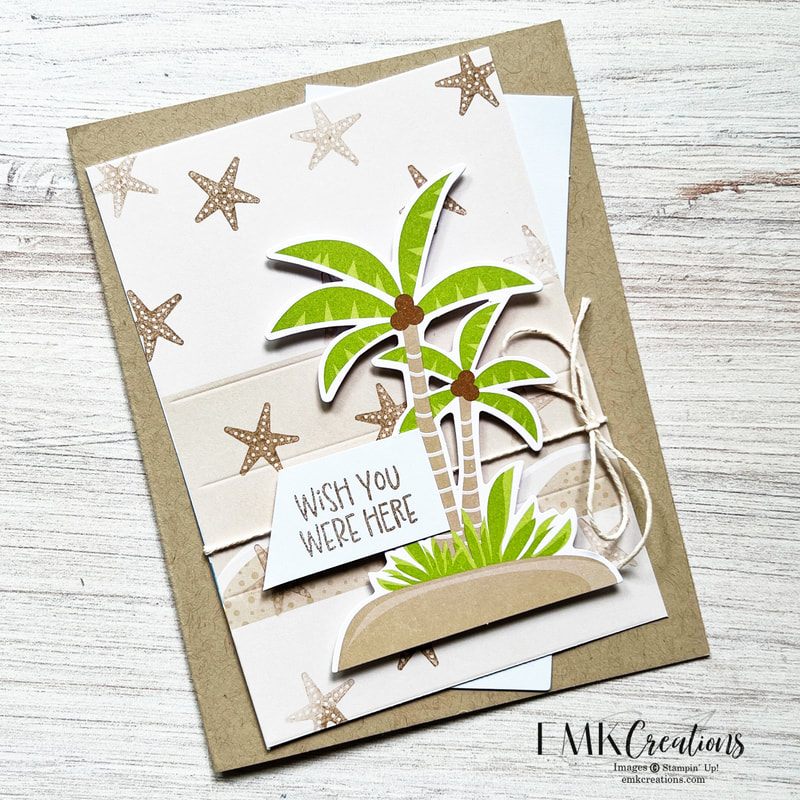
Adding a little distressed ribbon seemed cute to go with the yarn!
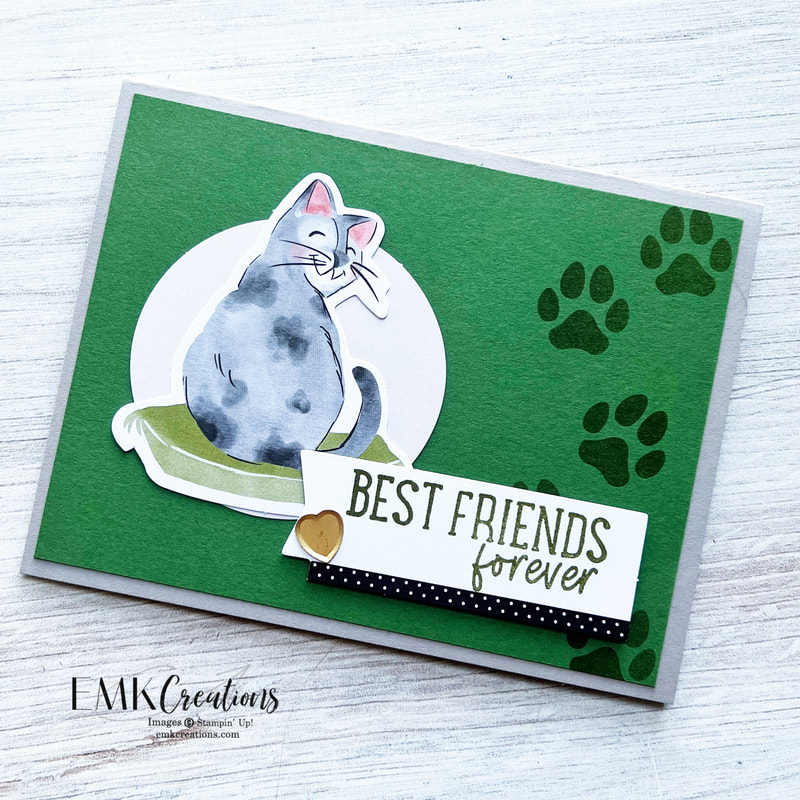
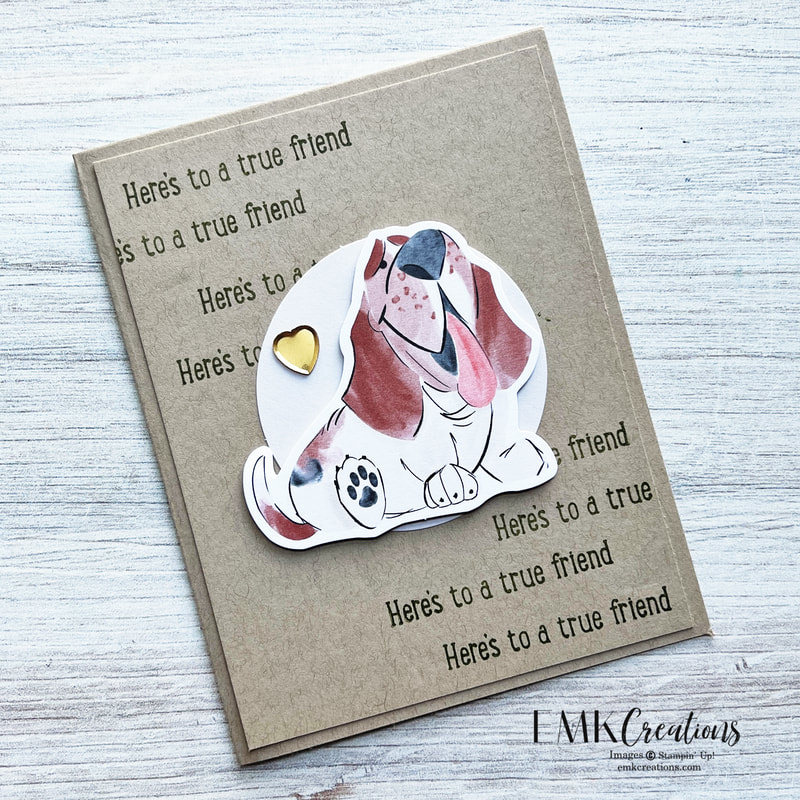
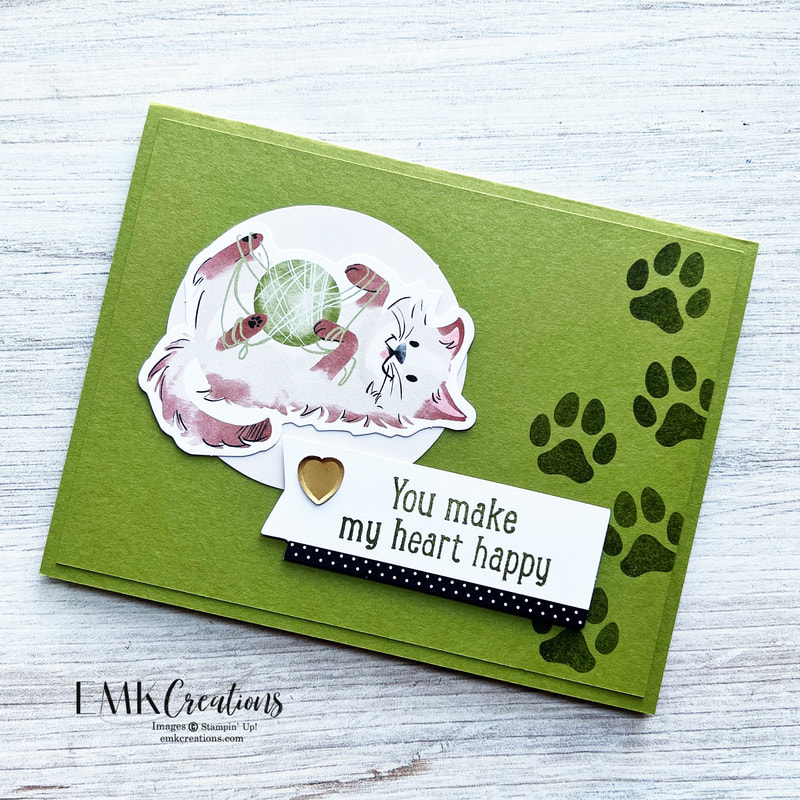
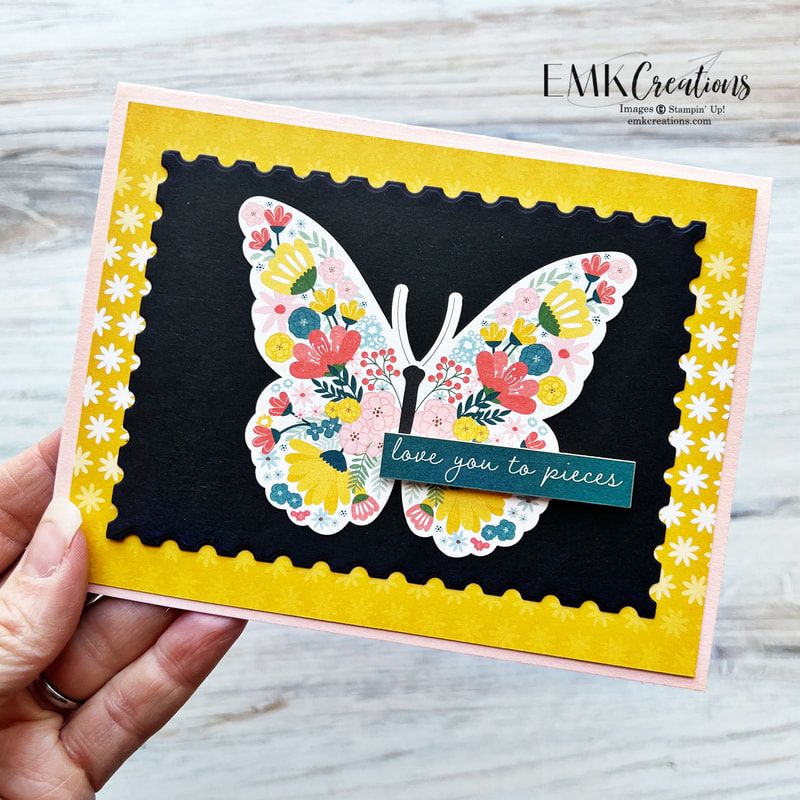
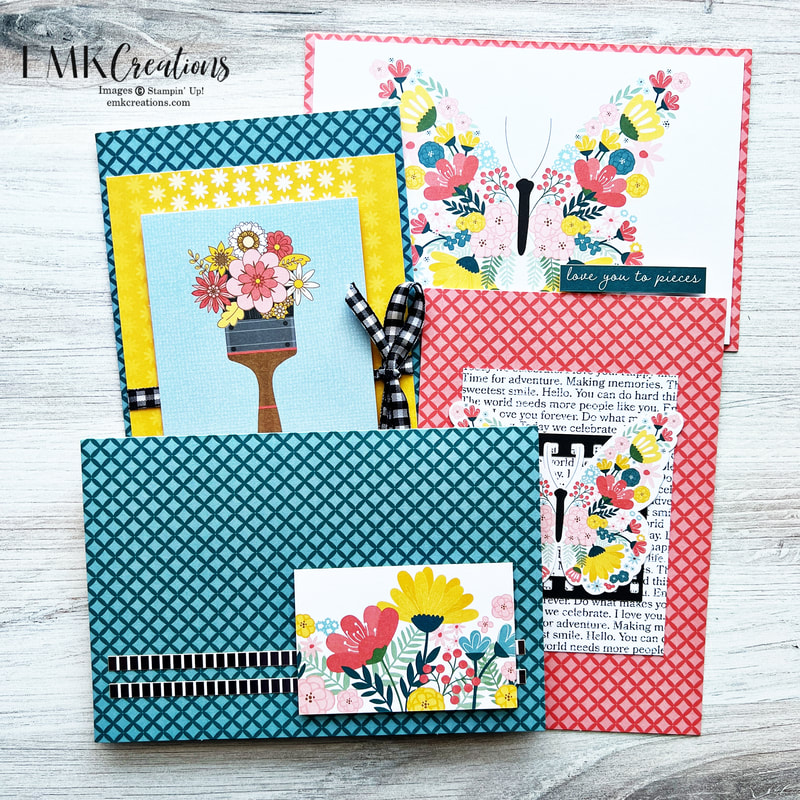
Are you team cat or team dog? All of these animals are adorable and make it so easy to create cards.
Be sure to click through to see all the great projects. Up next is Wendy!
0 Comments
Time for an April Monday Montage Blog Hop. Thanks for stopping by.
We are moving quickly toward the end of the school and my oldest graduating from high school. I'm definitely not ready! Both boys are busy with lacrosse and all the last semester things and it's keeping us very busy. This past weekend I held a technique class where we focused on spritzers and water color paper as well as a card that featured Blends. I featured a lot of products that are on the last chance list and I think some of the items are gone already. I tell everyone to make sure you grab those items you will really be sad to miss out on as soon as possible. This first card is created using the Blends to create a striped background on a piece of Basic White. You don't have to be careful or worry about having straight lines which is the best part. The key though is to use adhesive sheets on the back so when you die cut it with this incredible die it's already sticky. Trying to add glue to these intricate cut outs is so hard. The adhesive sheets make it so much easier. I love these Artistic Dies, especially this flower! They will be 50% off on Tuesday so do not miss out on ordering these. You can check out a reel here of me creating this. Be sure to follow my Instagram for more fun reels.
For this card we focused on the spritzer and adding water to the Fluid watercolor paper for different looks. We started with spritzing the paper first and then stamping in Bubble Bath. Because it was very wet the image blurred quite a bit. We let it dry a little and then stamped the same image again in Gorgeous Grape. Every experimented with leaving it as is or spritzing their paper again depending on how much they wanted to see the second set of images bleed.
We used a piece of Bubble Bath card stock cut to the full size for the front of the card. After running it through the Exposed Brick embossing folder we adhered it to a piece of Thick Basic White. I love these dies! These are another set that you want to use the adhesive sheets with. Using the adhesive sheet on the word makes it so much easier to adhere to the background shadow. We also used an old Blends marker to add some splatter to the piece. I try to only use Blends that already have tips that are fraying or have been damaged since flicking it against the lid often results in it breaking down.
Be sure to hop all the way through to see the great projects everyone is sharing this week. Up next is Julie!
It is so cold here I don't want to do anything but stay in and craft! It's a good excuse right??
For this week's Monday Montage I created some cards with the Sweet Thoughts Memories & More cards. I am in love with these preprinted cards. If you aren't familiar with our Memories and More line they are intended to be used in pocket scrapbooking but they offer so many card making possibilities too! I wanted to try creating some cards of my own as well. For this first one I added some pattern to my Petal Pink card stock base using the Foursquare masks with Petal Pink ink and a blending brush. The Flirty Flamingo twine coordinates nicely with the card.
The bold butterfly on this card is one of the included stickers in the card pack. It stands out so nicely on the black postage stamp die. This card comes together so quickly!
These cards have coordinating card bases and envelopes you can purchase as well. They make it super fast and easy to create cards. In fact, I've designed a whole 20 card class around them. Here are a few of my designs.
Have you created cards with Memories and More cards before? Now's a great time to try! Remember that Sale a Bration is going on so you can choose a FREE item with every $50.
Be sure to hop on through to see everyone's projects this week. Click next to see what Julie has to share this week!
This time of year I need a lot of gift card holders. I don't like to simply hand someone a gift card. I like to make it special! I've got four fun ways for you to gift someone a gift card this holiday season.
The first uses the fun Classic Gift Card Envelopes. These are retiring with the mini catalog and are on sale. Be sure to stock up! You can add a little color to them with blending brushes, simply tie ribbon around them or add them to the inside of a card. So many uses.
The Mini Pocket Envelope die is the perfect size for creating gift card holders. With this die you can use any of your favorite papers and create an adorable project in minutes.
Tip: I always use Tear Tape for gift card holders and envelopes I make. It's a much stronger adhesive than Seal and helps hold up when you are slipping something in and out of the envelope.
This design is one of my favorites! The best way to make them is with Memories and More cards. It's a rather simple design in the end:
-Base is 4 1/4 x 5 1/2 inches (a quarter of a piece of card stock) -Layer on top of it a 4 x 5 1/4 inches piece of Designer Series Paper or trim 3/4 of an inch off of a Memories and More card -The middle is a piece of card stock cut to 9 3/4 x 4 1/4 inches and scored at 3 1/4 and 6 1/2 -Use your Memories and More 3 x4 cards to decorate This design fits in a traditional card envelope making it the perfect Gift Card Card!
I hope you haven't overlooked the Scalloped Gift Card Boxes in the annual catalog. These are perfect for gifting your gift cards! Easily decorate with your favorite Designer Series Papers, some tags and ribbon. The inside has a great little pop up holder to slip the gift card in.
Which is your favorite?
Be sure to hop to the end to see all the great projects being shared this week. I love seeing everyone's creativity. Hit next to see Wendy's creation and back to see Elizabeth's.
It's time for another Monday Montage Blog Hop!
I held my annual 20 card class over the weekend. This is a class where everyone makes five each of four designs. The cards are all designs that are easy to replicate at home so that everyone has ideas to use again. This was one of the designs. It's a great one if you have beautiful Designer Series Paper you want to show off!
Gather five sheets of coordinating DSP cut to 4 x 5 1/4 inches.
Cut on the short side (4 inch side) at 1 3/4 inches. Then cut that piece at 3 1/4 inches. This gives you your first two pieces. Cut the other long piece at 2 and 1 3/4. This will leave you with the final three pieces. Mix and match the pieces and adhere to a white card stock base.
Has anyone else ever messed up their cutting measurements?? I went to cut pieces and cut at 1 1/4 instead of 1 3/4 so I had to improvise my design! Oh well, it's only paper!
Which Designer Series Paper would you pick to use?
Be sure to click next to hop to or back to see Elizabeth's awesome work.
Every month I offer a four card class. I offer it in the morning and in the evening. We create four different cards using current products. I try to bring in some techniques and lots of different products. There is never a theme but simply fun all occasion type cards. Here is a look at the four projects we did last week for the October class.
This first one was inspired by Mary Fish. I love the Garden Walk paper so much and this layout that Mary shared is such a great one to copy. The Modern Oval punch is a go to for me right now. It's the perfect shape and size to use on so many cards!
The Distressed Tile 3D embossing folder is my current favorite. I can't get enough of it! It looks so elegant to me. I paired it with the deckled circles and the fun leaf from the Cheers to the Season stamp set. Adding copper accents really finished it off nicely.
I did fussy cut the leaf out but I think it's worth the effort! Don't have the copper ribbon? Use Gold Trim instead!
For this card we tried a few techniques including watercolor pencils and coloring the pearls. Did you know that you can use your Blends to color the pearls any color you like?
I loved the look the Radiating Stitches dies gave to the Crumb Cake piece.
I had used the Shimmer Embossing Paste with the snowflake mask from the Abundant Beauty mask pack on another card and loved it so much I had to try again.
This card is very monochromatic but blue is my favorite color so I was in love with it from the start!
Which is your favorite from this month's class?
Thanks for joining us on another Monday Montage Hop. I love seeing everyone's projects on our hops! Be sure to click next to see what Julie has shared and back for Elizabeth.
It's time for another Monday Montage! October is here and our weather is finally feeling fall like. I love it and hope it lasts a long time before winter starts in.
Speaking of winter, I decided to play with the new Above it All set. This one feels very winter like because it reminds me of skiing. The first card I made I only used the cool looking tree stamp. My colors for this card were Old Olive, Calypso Corral and Poppy Parade.
This little car is so cute. I've only started playing around with the options and I think there are so many ways to use it!
Is this set on your list? Add it now and get FREE shipping through Wednesday on orders over $75!
Be sure to click next to check out Wendy's great project or back for Elizabeth's. I always love seeing what everyone has created.
It's time for another Monday Montage Blog Hop full of fun ideas.
This week I'm showing off fun projects using the new Stampin' Up! Abundant Beauty Decorative Masks. This past week I held a technique class where we used the new masks with both blending brushes and embossing paste. These masks offer so many possibilities. Each class attendee went home with their own set of masks and three mini blending brushes.
The sunflower masks are very easy to use. There are four total and each is numbered with a notch to show you which direction to face them. I shared a quick reel on how to use them here.
I used Shaded Spruce, Pecan Pie and Crushed Curry on this card. I loved pairing a couple of small pieces of the All About Autumn Designer Series Paper on the sides.
I hadn't used the Shimmer White Embossing Paste in a long time. I forgot how easy it is to use and how great it looks! It's the perfect thing to use with the snowflake mask in the set. I think this was the top pick by everyone in class.
The last card we made focused on the leaf mask in the set. I paired it with the Cheers to the Season stamp set. It did require a little fussy cutting but I think it's worth it! I used the All About Autumn paper on this one as well.
Which card is your favorite?
Be sure to click all the way through so you don't miss any of the fun projects. Up next is Julie and back is Elizabeth.
September is here and off to a fast start! The weather is beautiful so it's helping us get outside and enjoy what is being offered around us. Yesterday we took in the Farmer's Market followed but a Book Festival and and Open House at my favorite local boutique! You should check out Seams for the Soul and pick up a card or two.
For this week's Monday Montage I focused on the new Warmest Hearts bundle from the September to December catalog. I fell in love with this set right away! This card is super simple but I love the colors and they way the card looks so clean and simple.
This next card is much more bright! The new Merry Bold & Bright Designer Series Paper really does pop. I love the bright rainbow of colors and how it can work for holiday and non holiday cards alike.
Another bright card featuring the same Merry Bold & Bright paper. There a lot of accent dies in this bundle and I love that you can customize your thermos so easily.
Which is your favorite card?
Be sure to hop all the way through today. Everyone has great projects to show you. Click next for next for Wendy and back for Elizabeth. The month is flying by and school is going to start before I'm ready! I can't believe it's already time for another Monday Montage Blog Hop. This time I'm sharing with you my July Paper Pumpkin alternatives from the Fun in The Sun kit. It came really quickly this month. The cards in the kit are meant to be cool fun fold designs. I did a lot of cutting apart to create pieces I could use on my alternatives. I liked the score marks on the pieces because I felt like it added dimension to the look of the card. I think this is my favorite one! I used Crumb Cake for my ink and paper choice. Trimming the panel to the full length of the front of the card on this one allowed it to be a great background for the beach chair. Layering the umbrella piece over the panel made this a super easy card to create. Birthday, Thinking of You, Just Because...so many reasons to send it. I think this would make a great retirement card. This one is a fun fold of my own making. I used a piece of the original card and folded it into the card base. The front folds down and then you open the card up! Which is your favorite? If you aren't getting your own Paper Pumpkin delivered to your door you can sign up here. The August kit looks wonderful and includes a bonus FREE stamp set so you get two next month!
Be sure to hop all the way through so you don't miss any of the fun projects. Click next to see Wendy's great project or back to see Elizabeth's. They always amaze me with their creativity. |
AuthorI'm a "work at home mom" and an independent Stampin' Up! demonstrator. Archives
April 2024
Categories
All
|