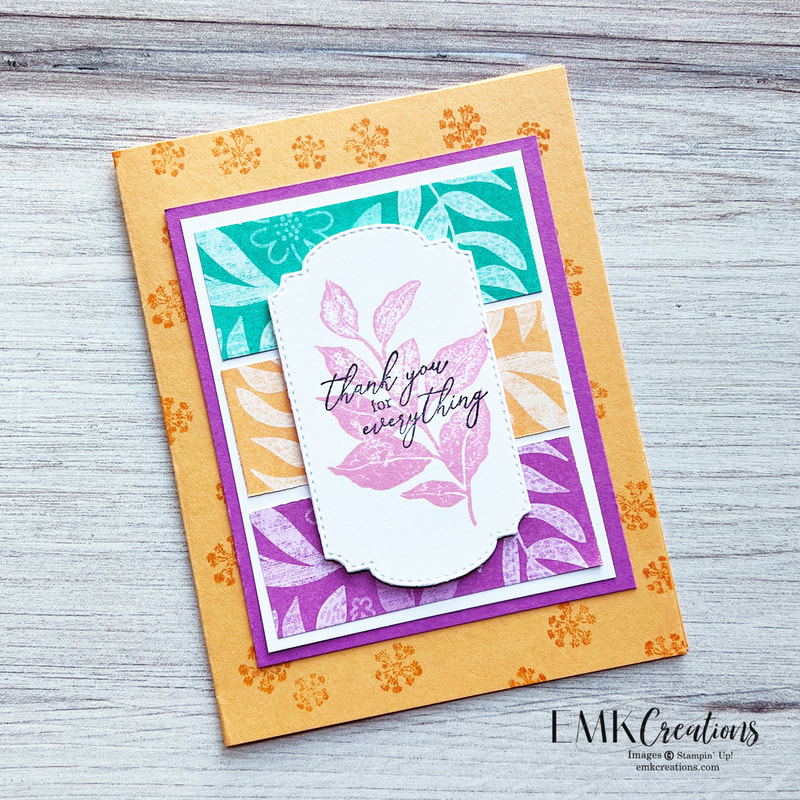
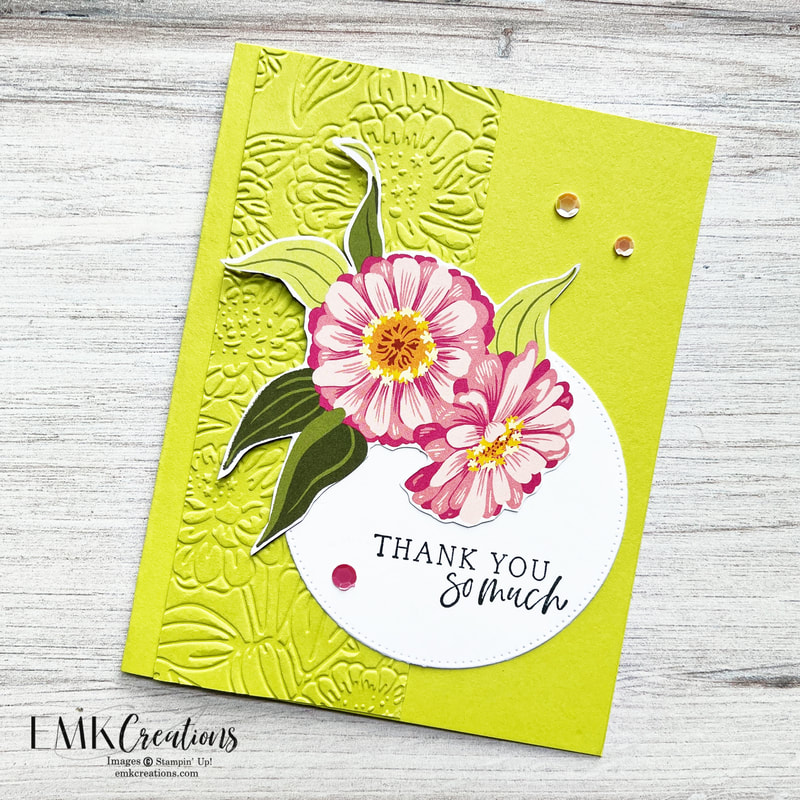
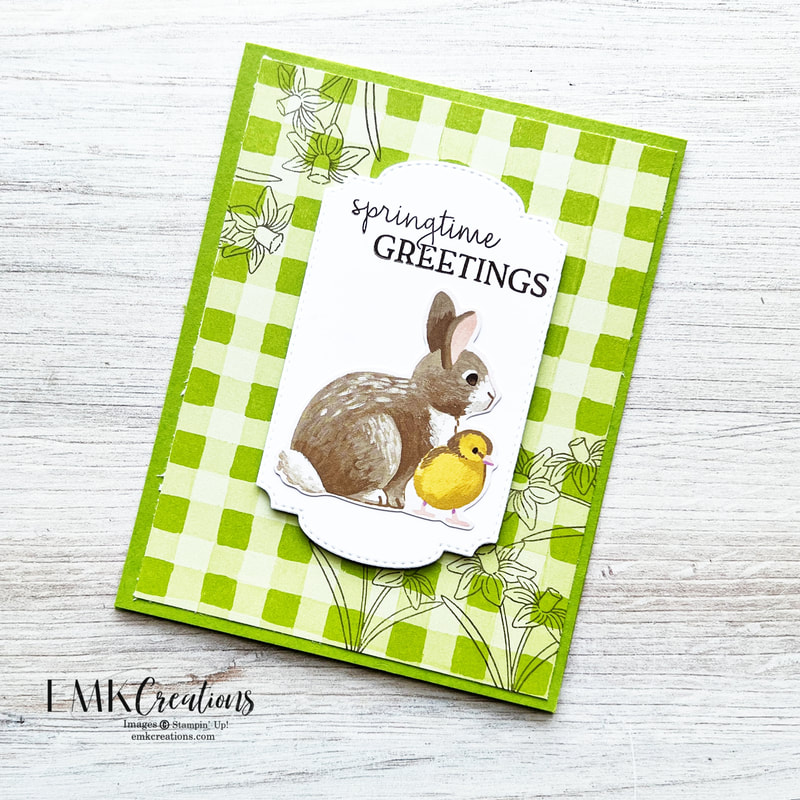
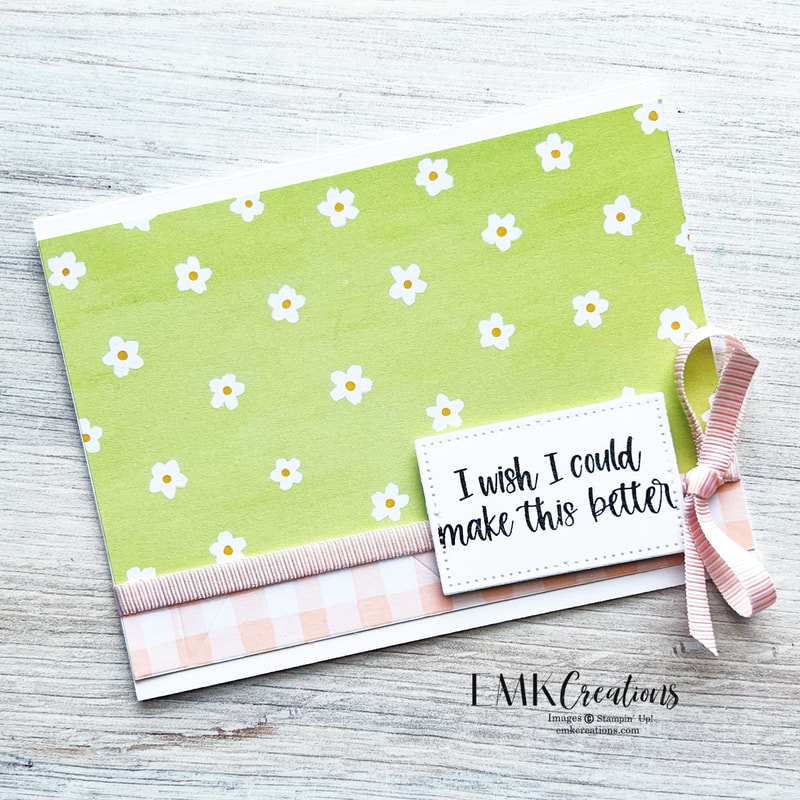
This card looks complicated but I promise it is not!
Measurements:
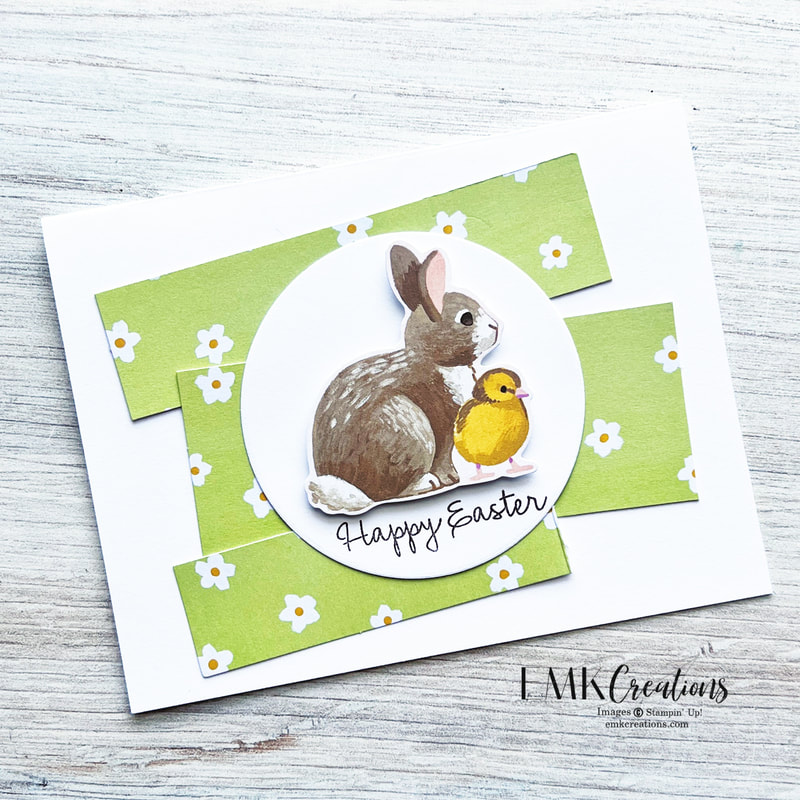
Two solid card stock squares cut 2 5/8 x 2 5/8
Eight Designer Series Paper squares cut 1 1/4 x 1 1/4
-I used two each of four designs
To see a video click here. Be sure to follow me on Instagram so you catch more videos!
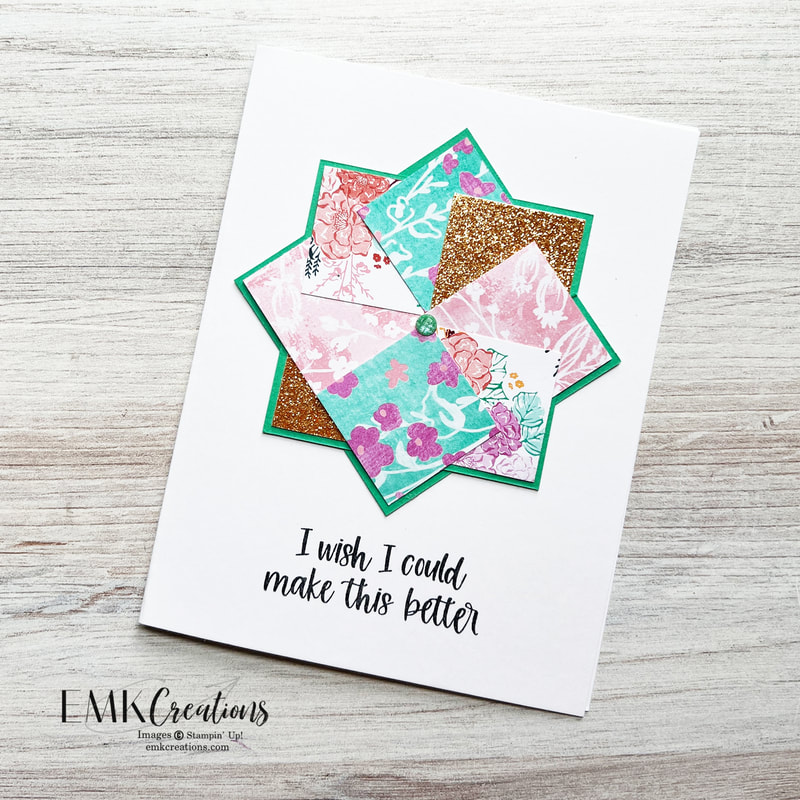
Measurements:
Two solid card stock squares cut 2 5/8 x 2 5/8
Eight Designer Series Paper squares cut 1 1/4 x 1 1/4
-I used two each of four designs
To see a video click here. Be sure to follow me on Instagram so you catch more videos!
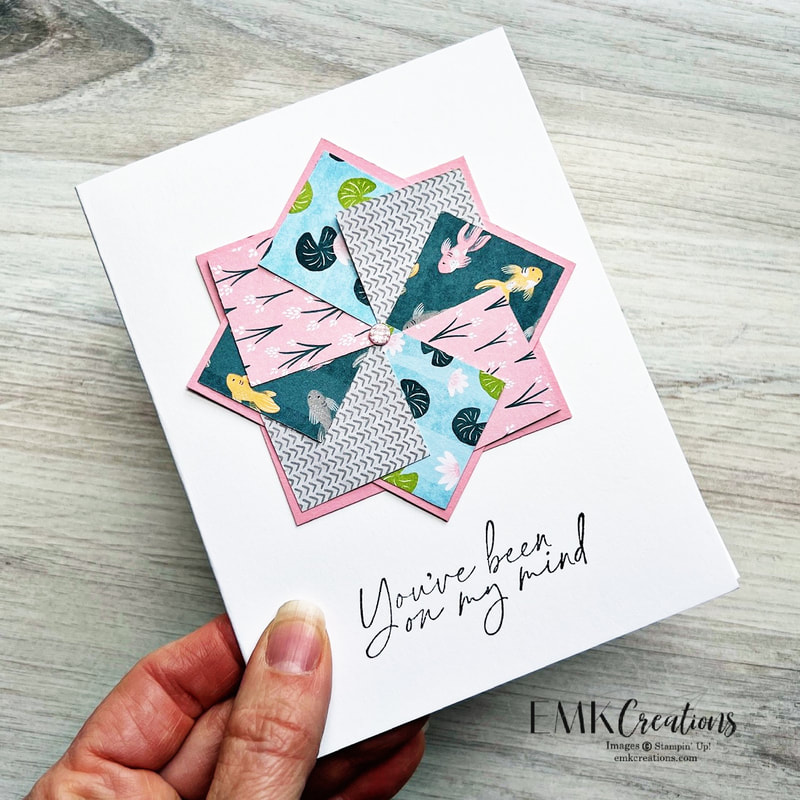
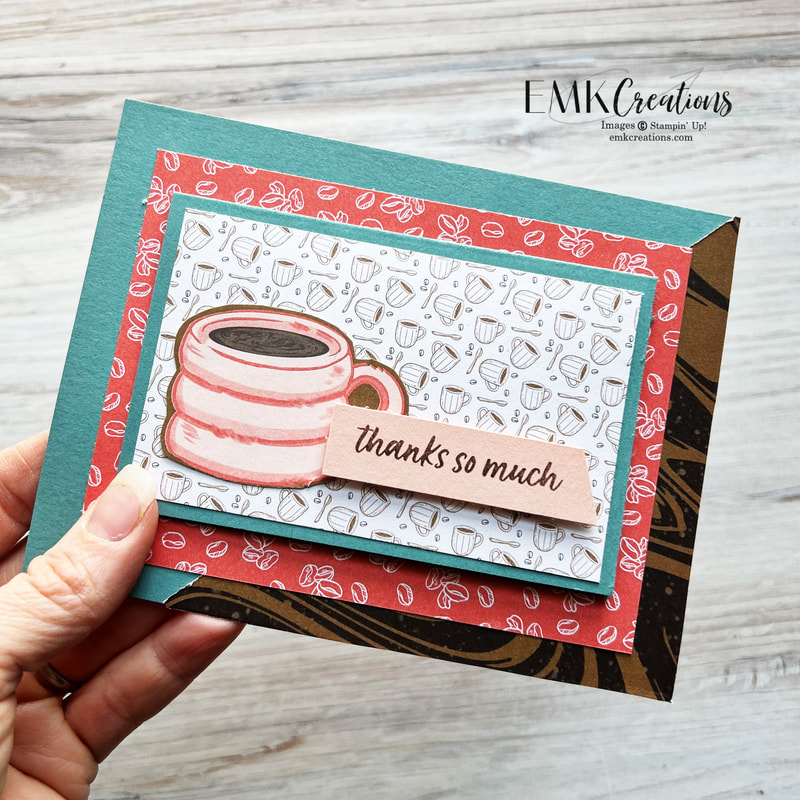
The biggest thing to pay attention to is that when you glue down the first square you only add adhesive to the top point. That way when you get to the end you can tuck the last piece under. The one below shows the WRONG way.
Let me know when you try it!
 Designer Series Paper")
 Designer Series Paper")
")


")

 Bordered Ribbon")

 Diagonal Trim Combo Pack")
")


")


 Trim Combo Pack")


")


")


")
 Designer Series Paper")
")


")

")

 RSS Feed