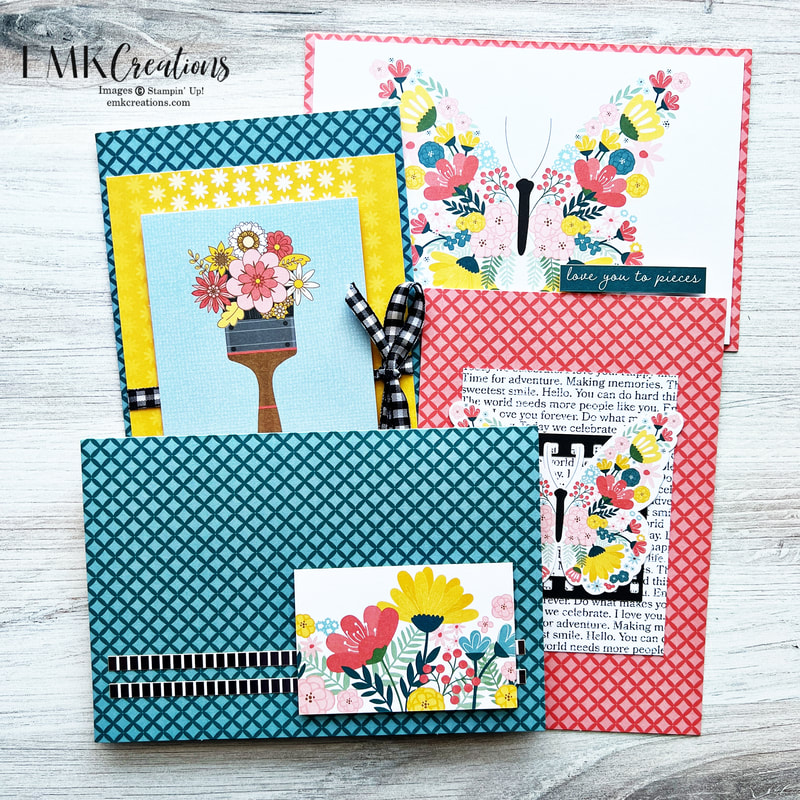
I fell in love with the Bee Mine suite the moment I saw it! So cute and it has puns! I have been creating all kinds of projects with it over the past few weeks. Check out some of my favorite below.
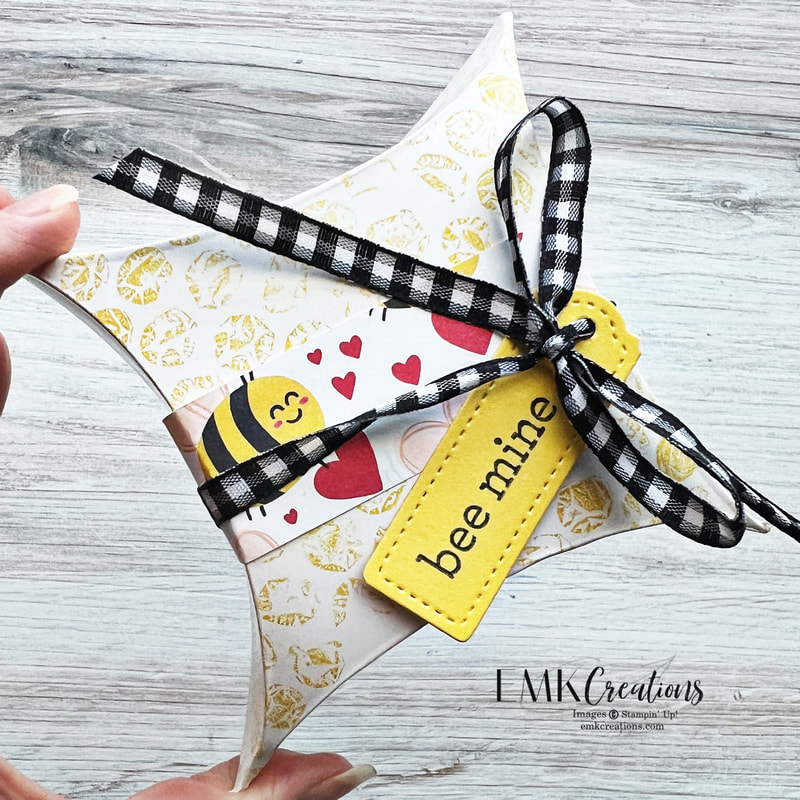
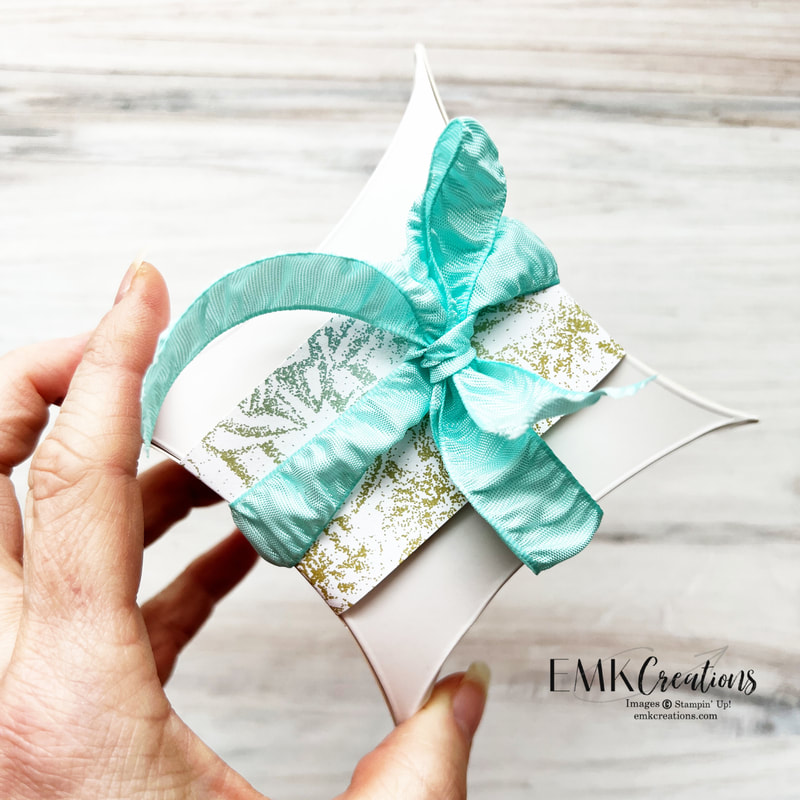
The pillow boxes in the mini catalog are so easy to use to create adorable treat holders. For this one I used the brayer and bubble wrap to create the fun background. Check out the video tutorial I share below to learn how to do this yourself. Check out my reel of me creating this fun project.
The pillow boxes in the mini catalog are so easy to use to create adorable treat holders. For this one I used the brayer and bubble wrap to create the fun background. Check out the video tutorial I share below to learn how to do this yourself. Check out my reel of me creating this fun project.
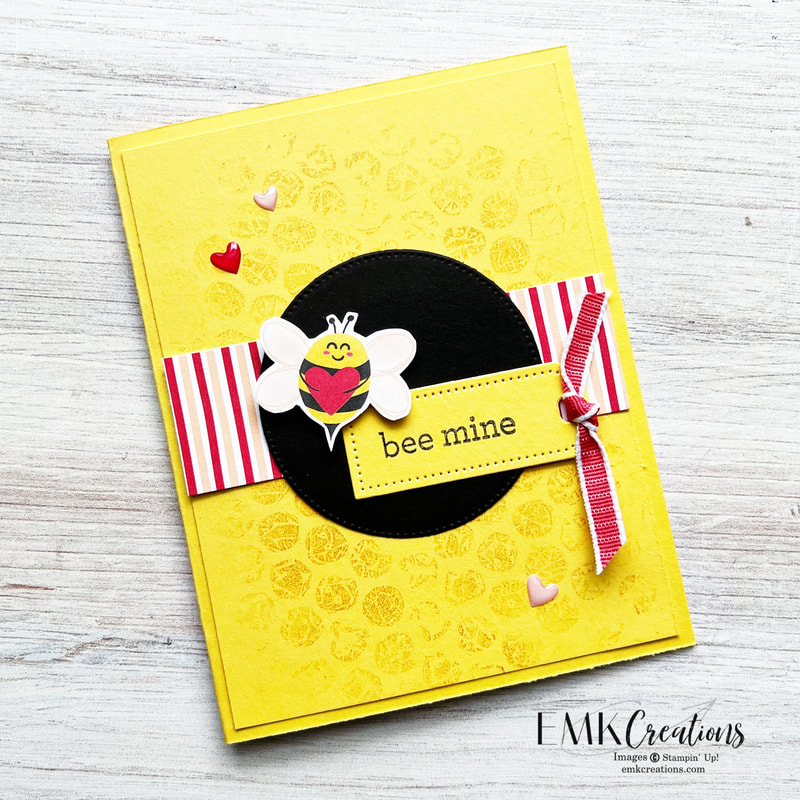
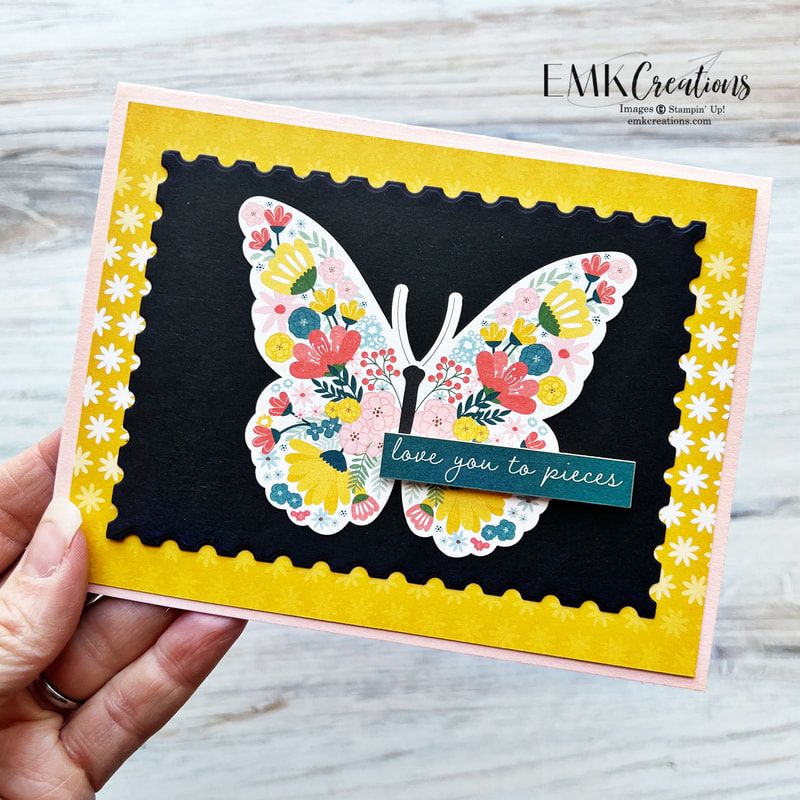
This card is CASEd straight from the mini catalog. I loved how they used the Bee Builder punch in a different way than intended. Such a sweet and fun card.
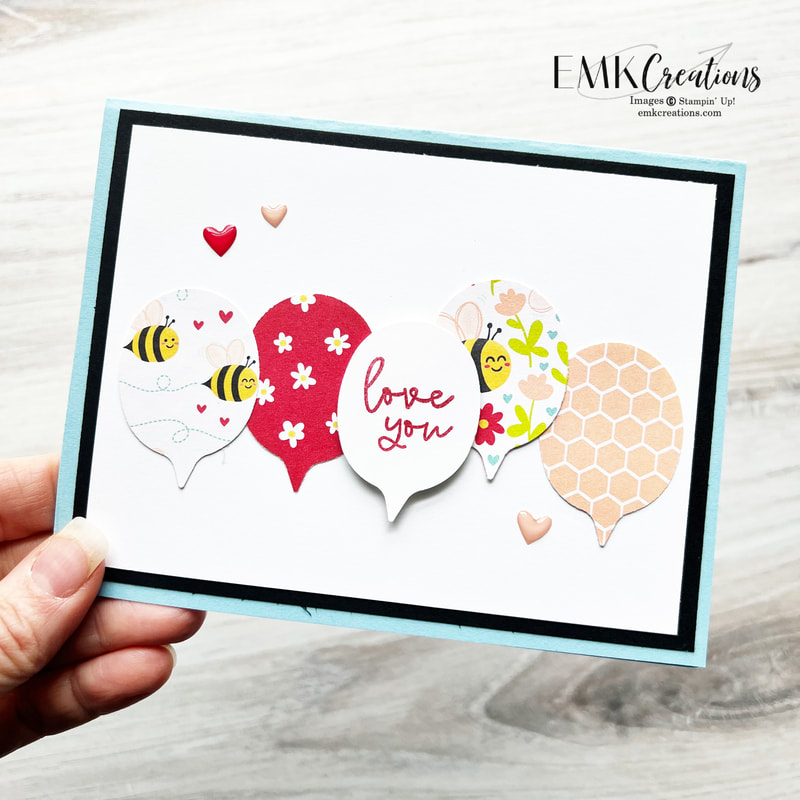
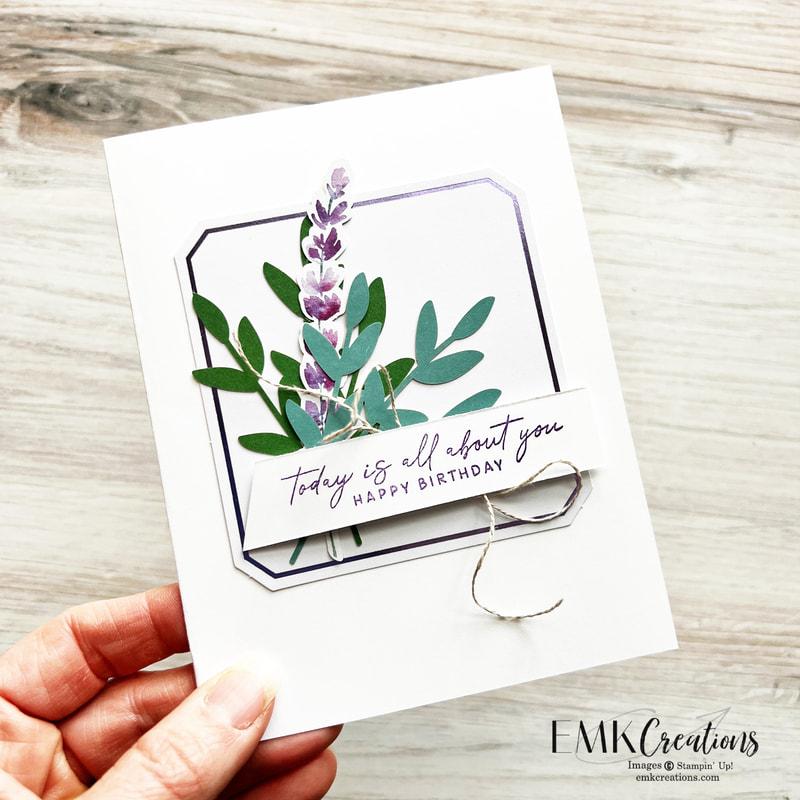
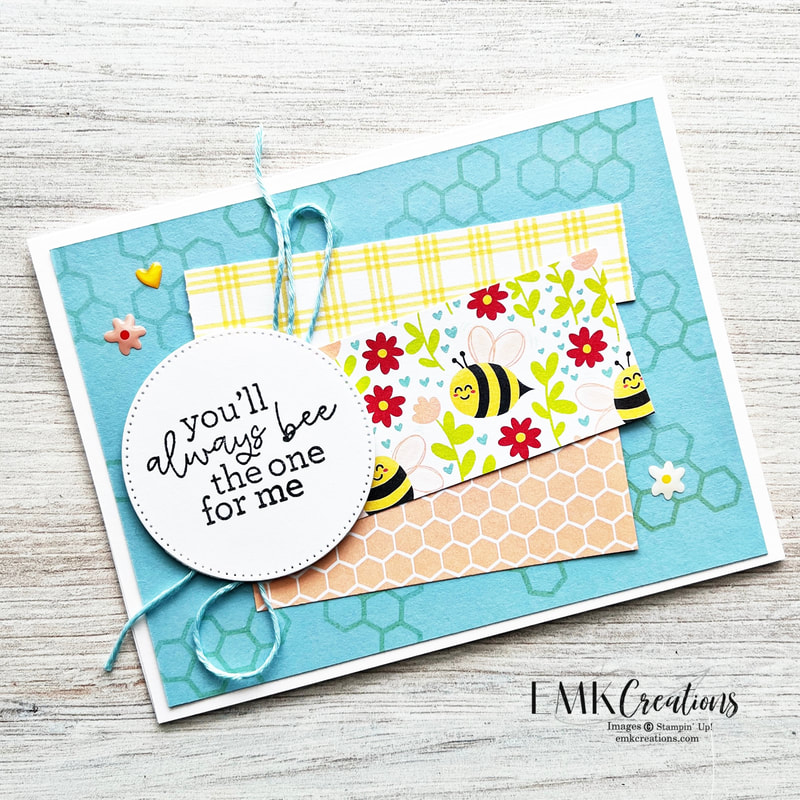
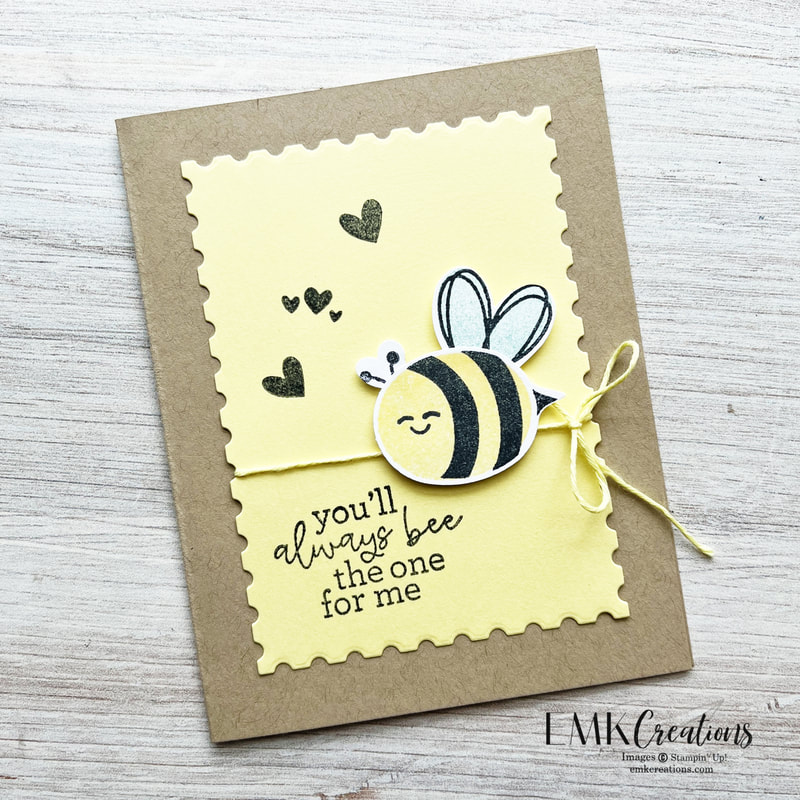
The sayings in the Bee My Valentine stamp set don't have to be used only for Valentine's Day. You can use for all kinds of other fun cards throughout the year.
The sayings in the Bee My Valentine stamp set don't have to be used only for Valentine's Day. You can use for all kinds of other fun cards throughout the year.
I created a video showing you how to use your brayer with bubble wrap to create a fun background. This is the same concept I used on the pillow box above. It mimics a honeycomb pattern which is why I loved it with the Bee My Valentine stamp set.
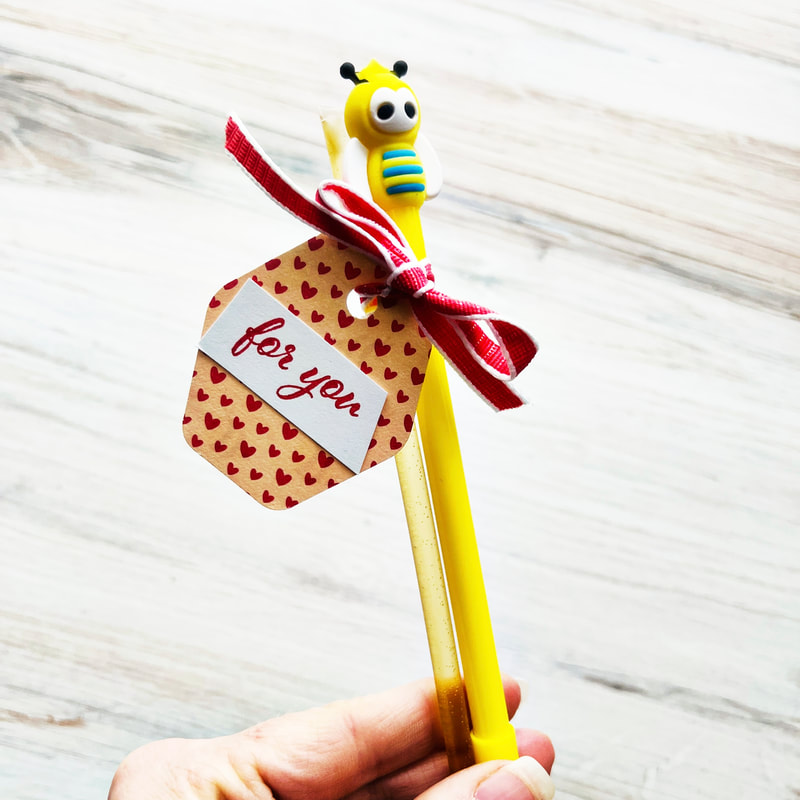
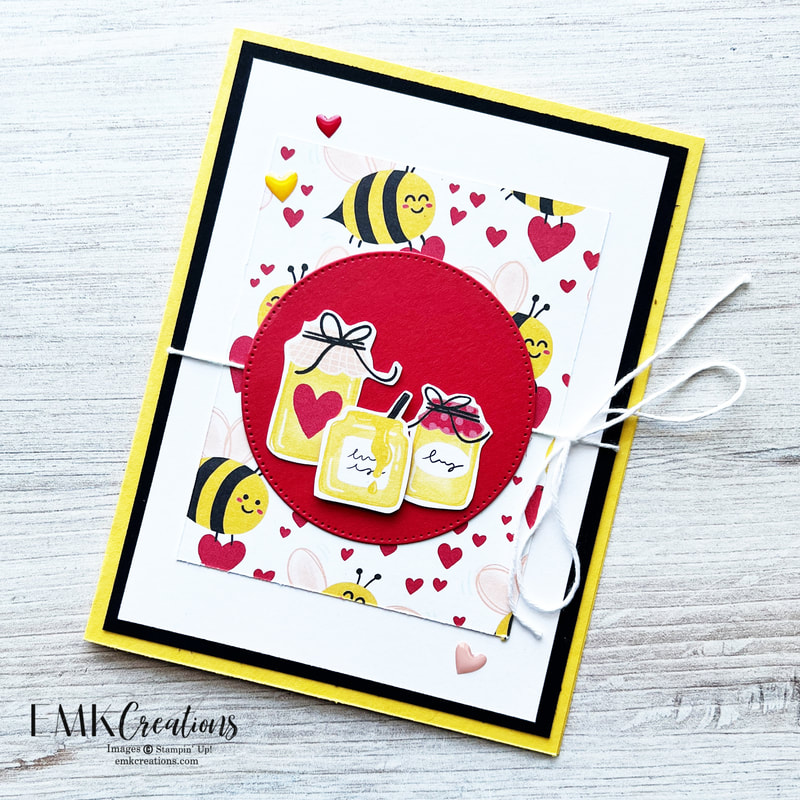
The finished card makes me smile! I fussy cut the bee from the Bee Mine Designer Series Paper.
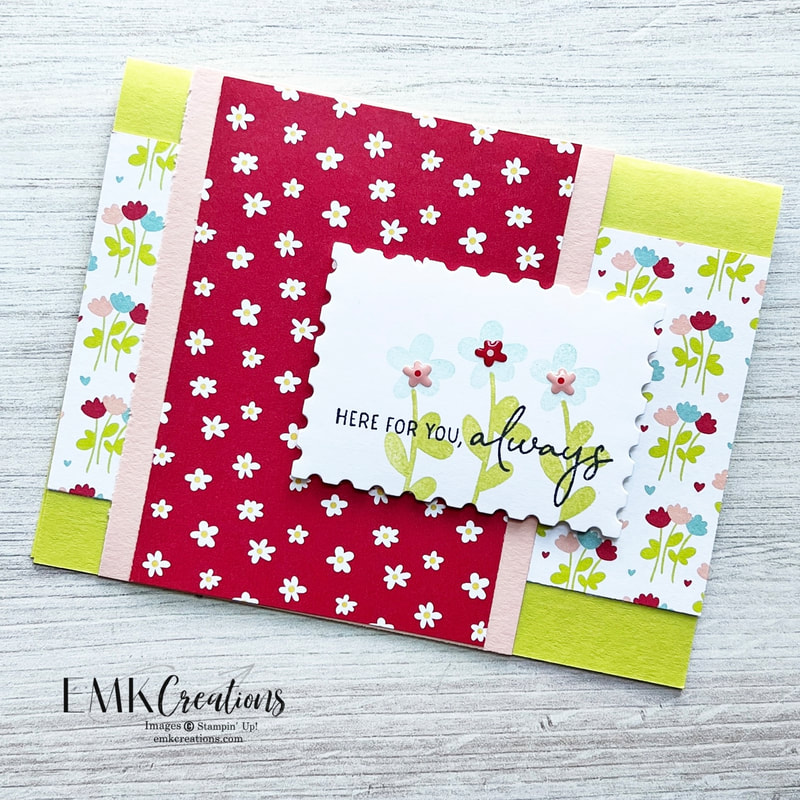
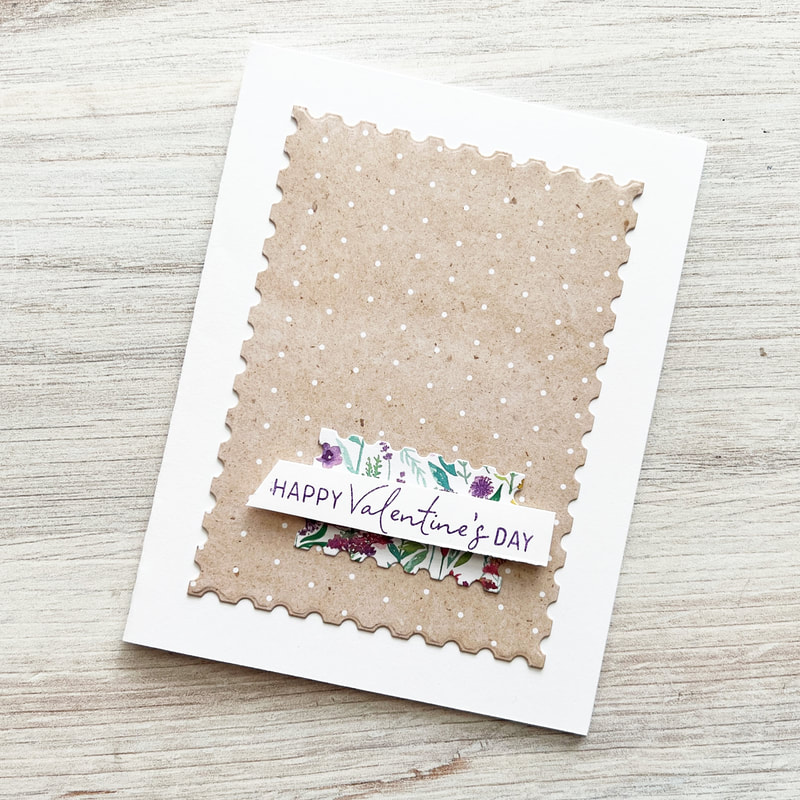
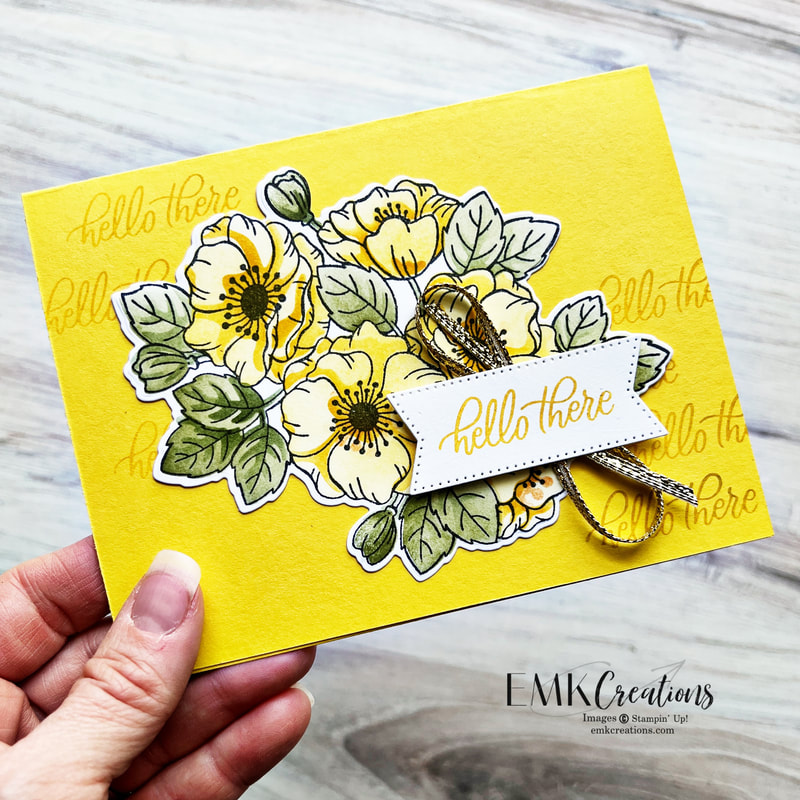
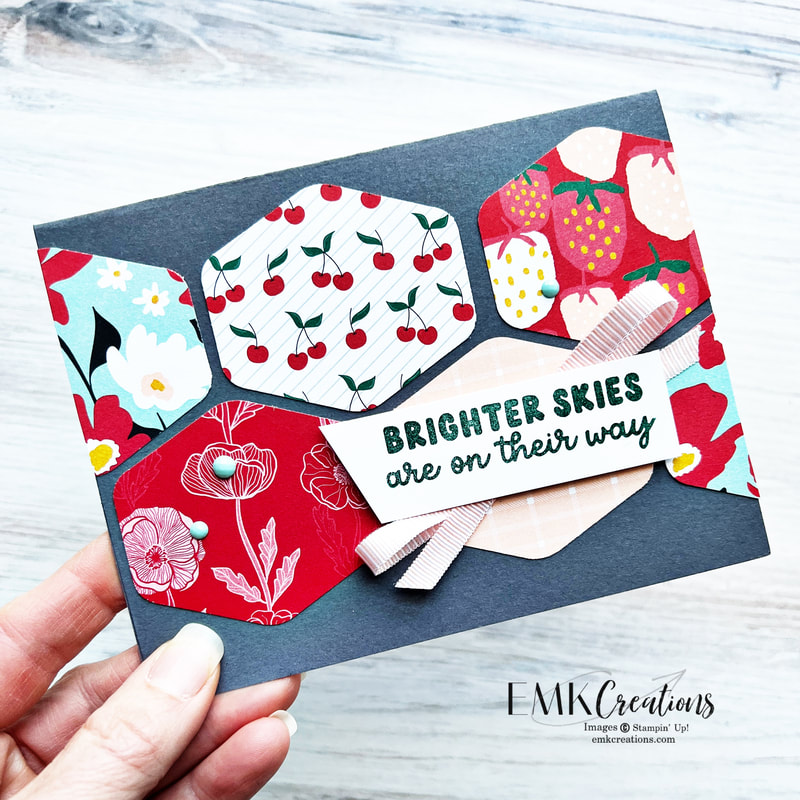
Quick and easy to recreate! The panel is 4 x 5 1/4 layered on a 4 1/4 x 5 1/2 base. The DSP strip is 1 1/2 x 4.
Quick and easy to recreate! The panel is 4 x 5 1/4 layered on a 4 1/4 x 5 1/2 base. The DSP strip is 1 1/2 x 4.
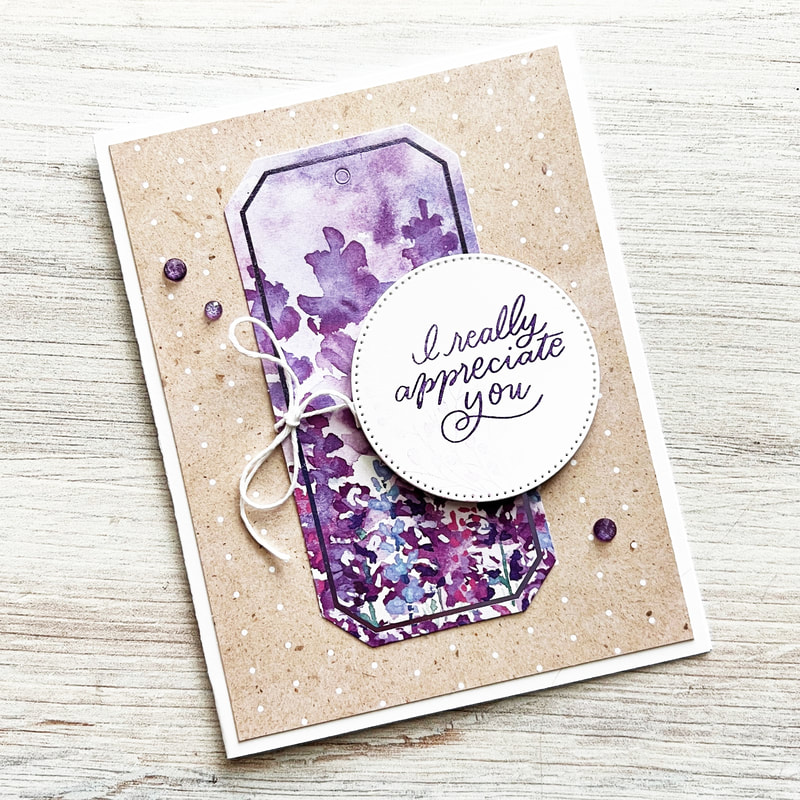
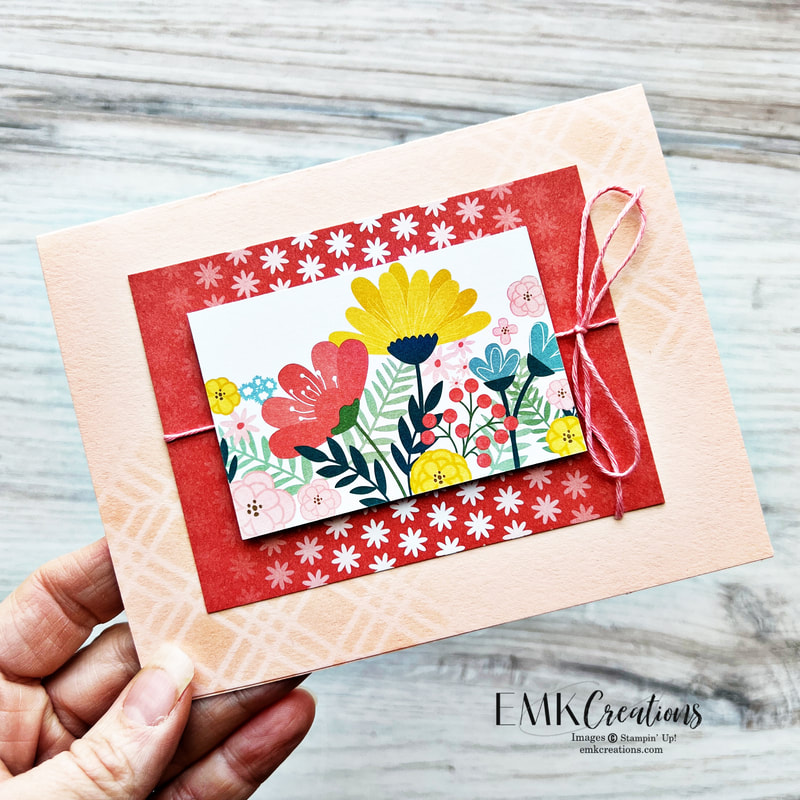
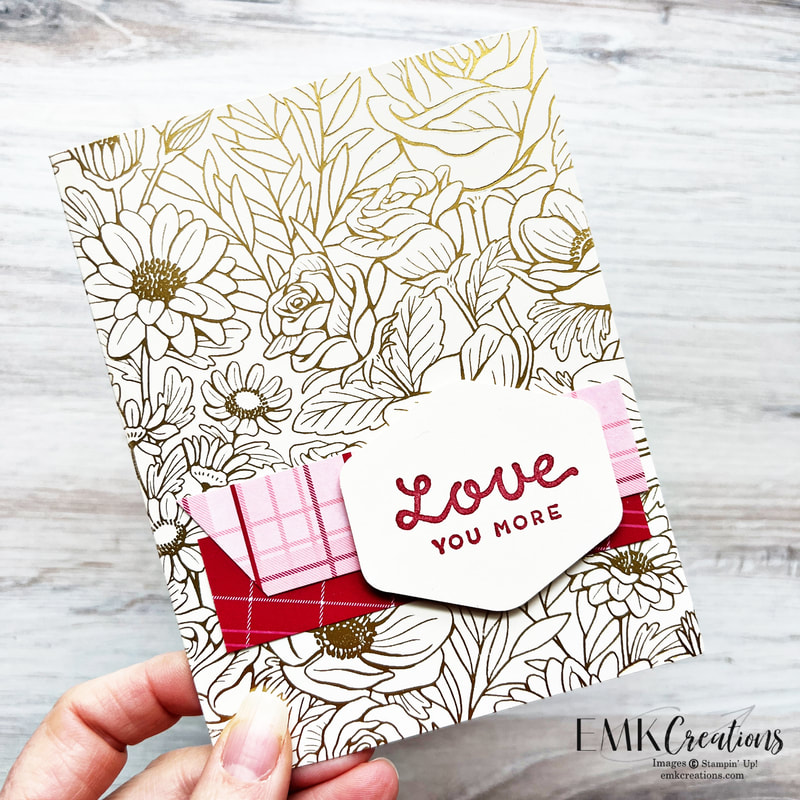
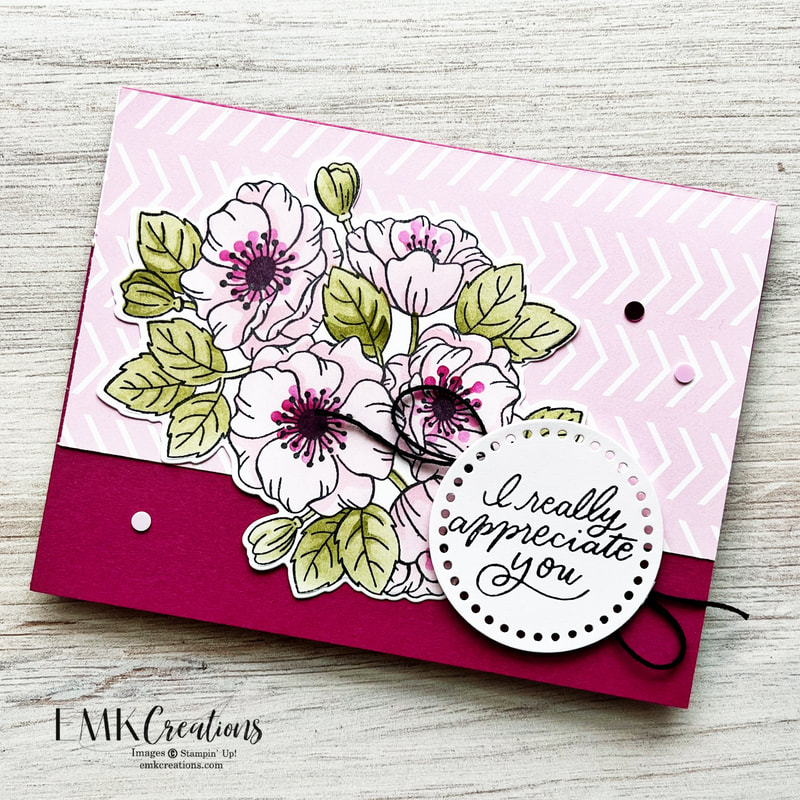
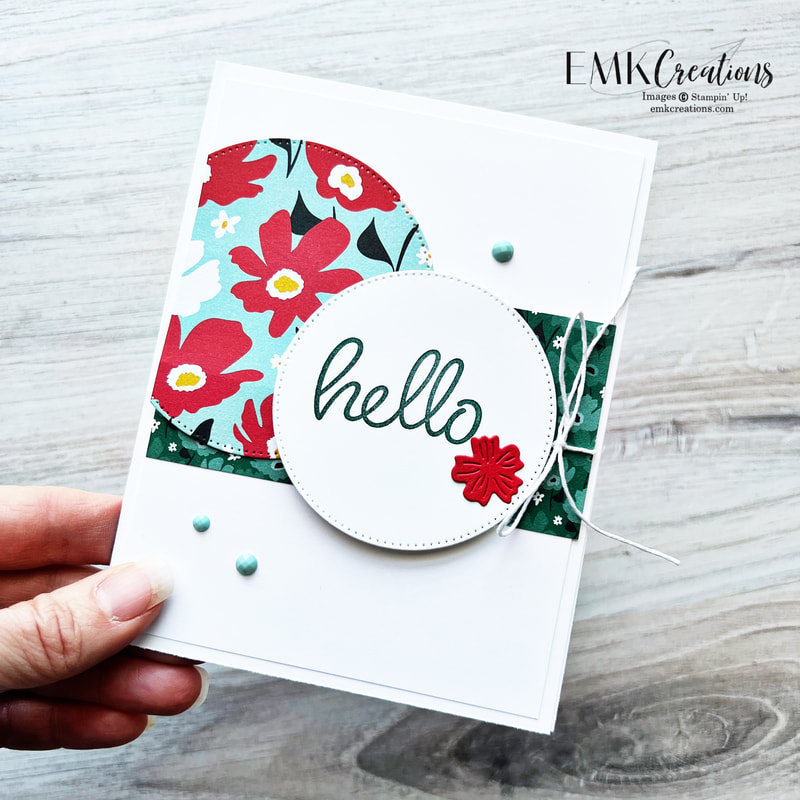
This card is one of the projects we are creating at my upcoming game night. I wanted to use the suite but not the bees. I think the embellishments in the middle of the flowers is the perfect touch.
Which is your favorite?
Order the Bee Mine bundle using host code RRW74977 during the month of February and I'll email you four fun project PDF's featuring the suite.
Order the Bee Mine bundle using host code RRW74977 during the month of February and I'll email you four fun project PDF's featuring the suite.
Product List

")


")
 Designer Series Paper")

 Bordered Ribbon")


 Gingham Ribbon")
")
 Designer Series Paper")
")


 Crinkle Ribbon")
 Designer Series Paper")

 Specialty Designer Series Paper")


 Circle Punch")
 Circle Punch")


")
 Designer Series Paper")
 Specialty Designer Series Paper")
 Designer Series Paper")
 Faux Leather Trim")
 Trim Combo Pack")


 Adhesive Backed Glimmer Paper")
 RSS Feed