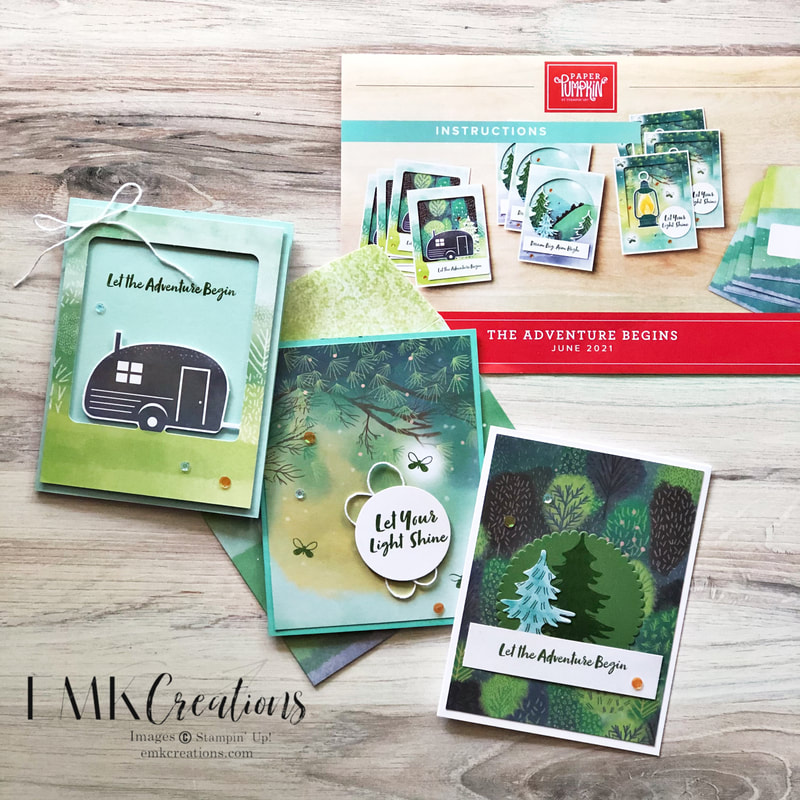
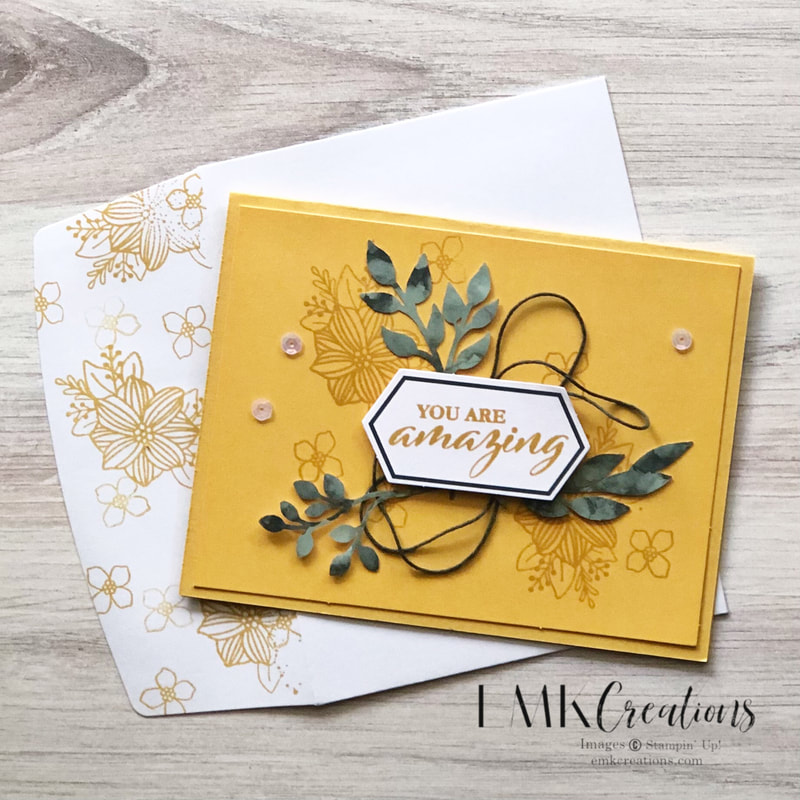
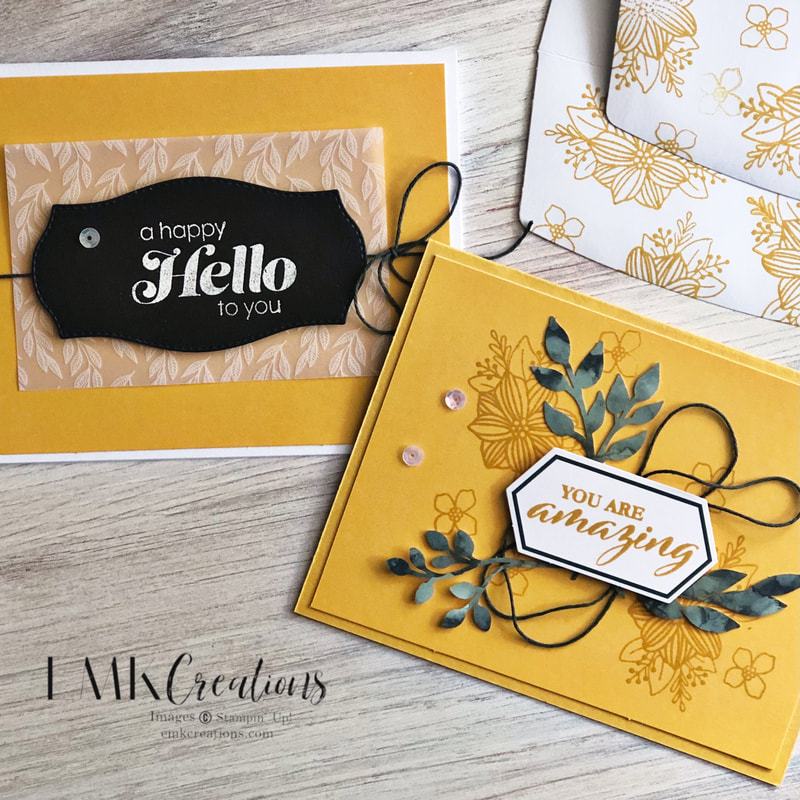
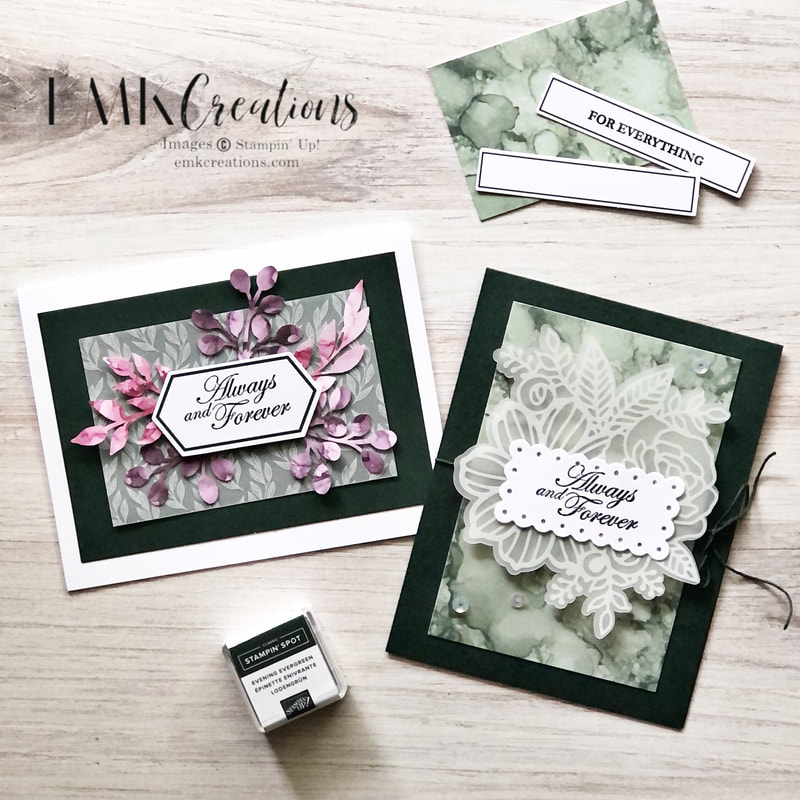
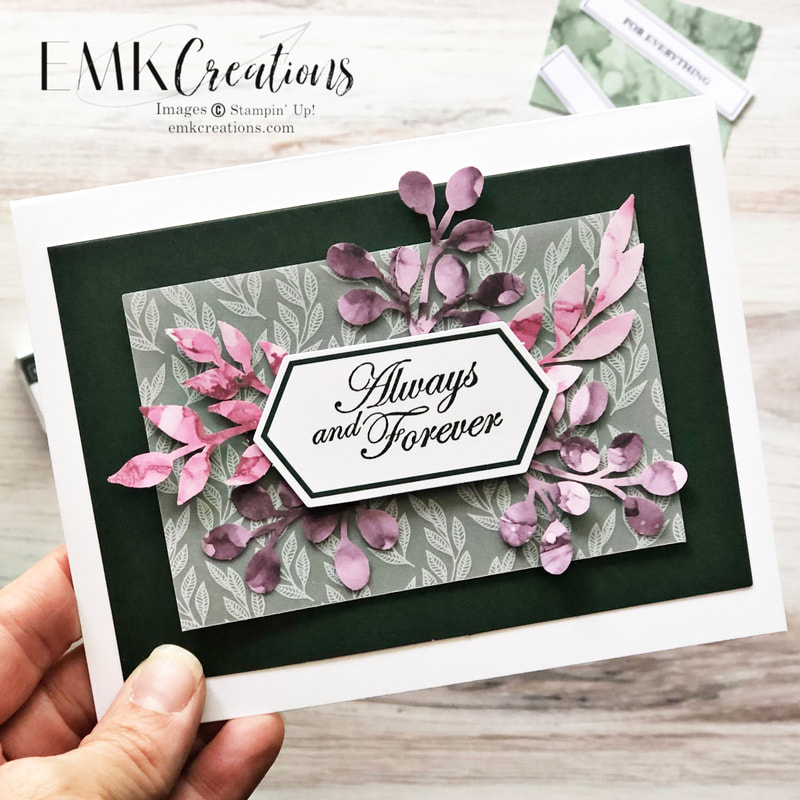
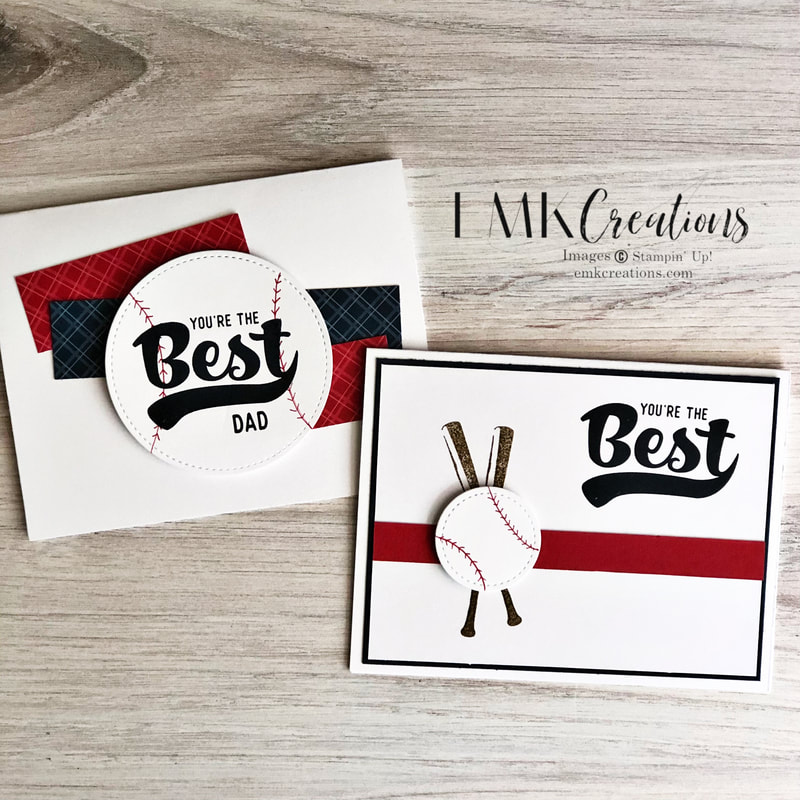
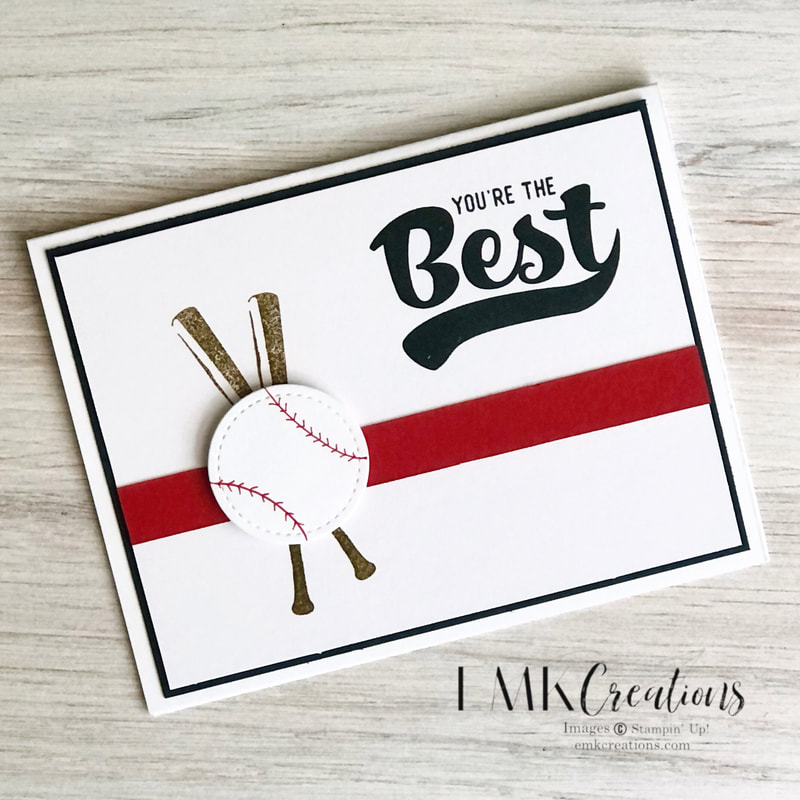
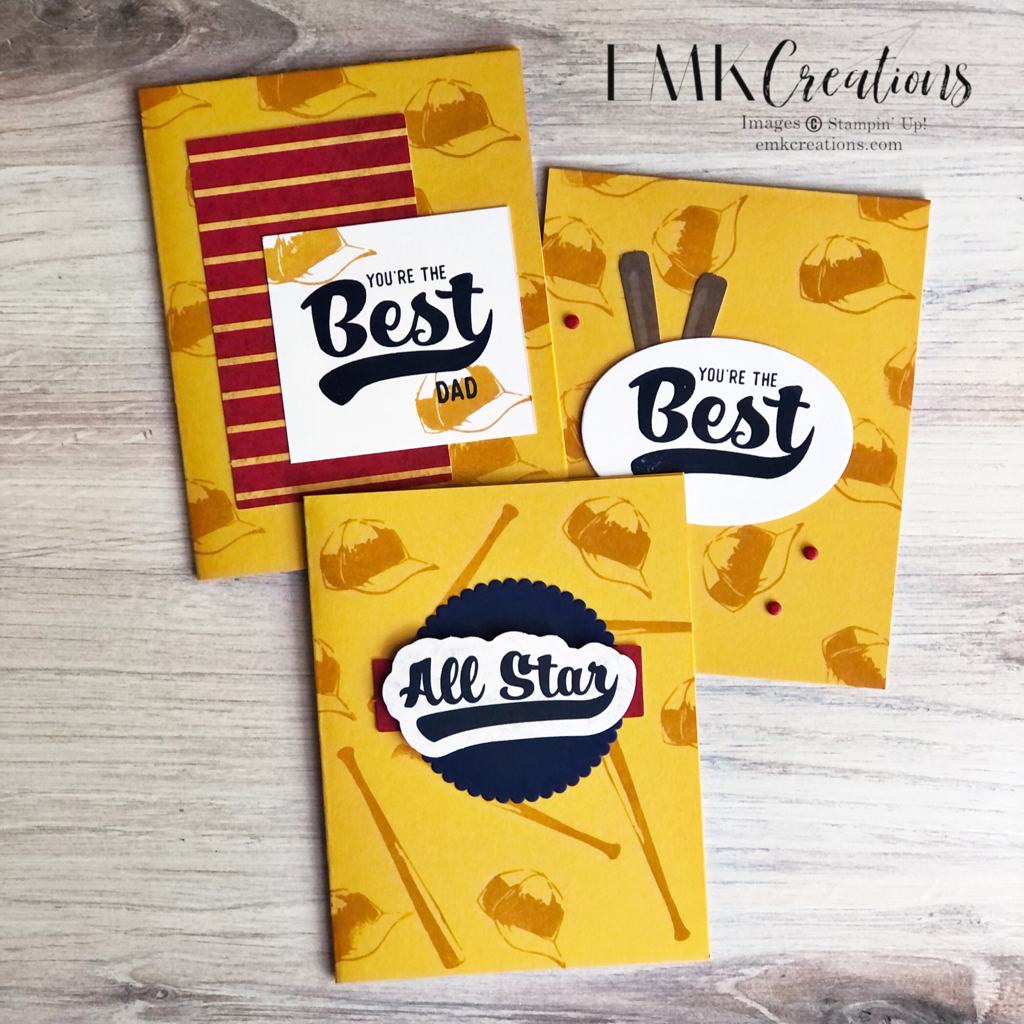
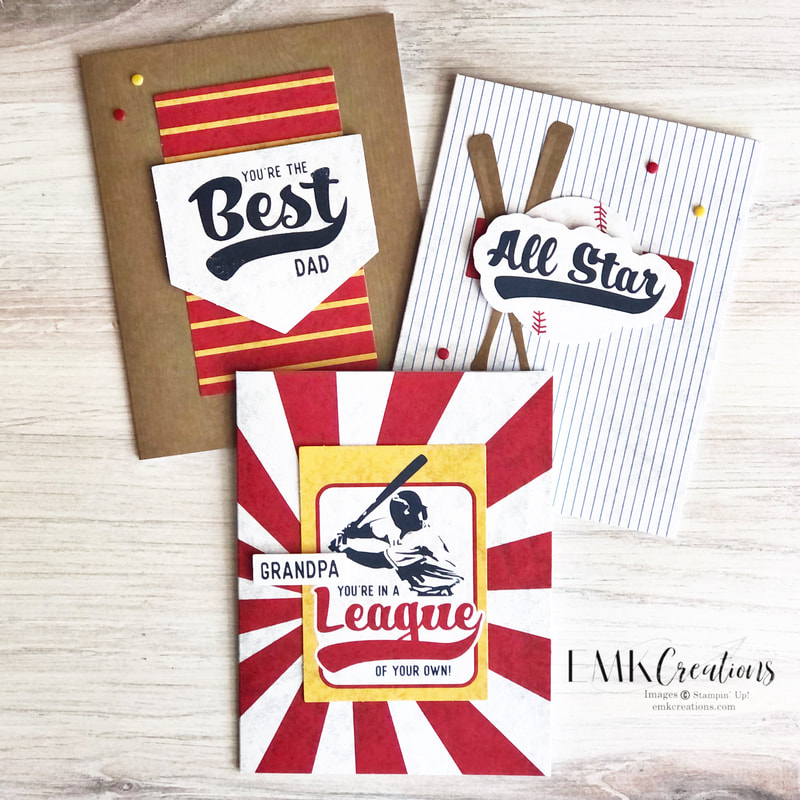
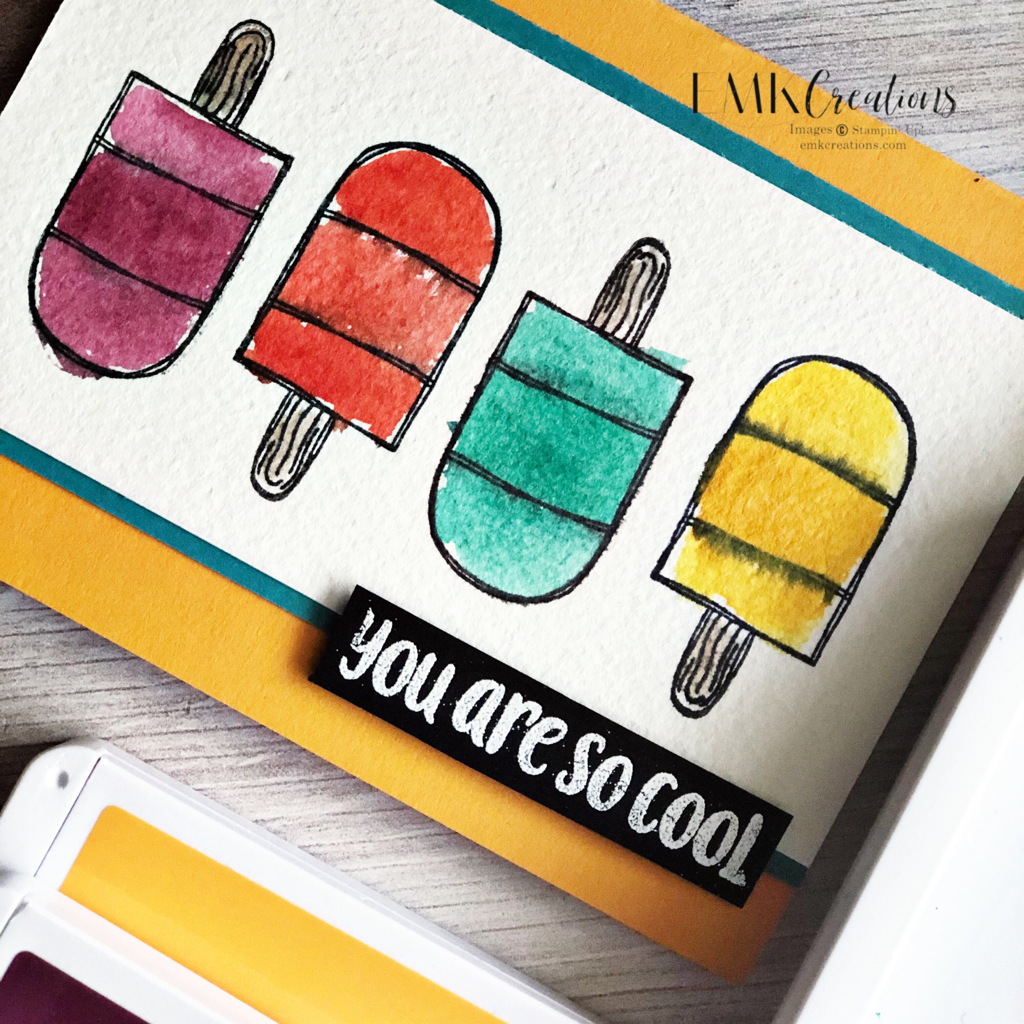
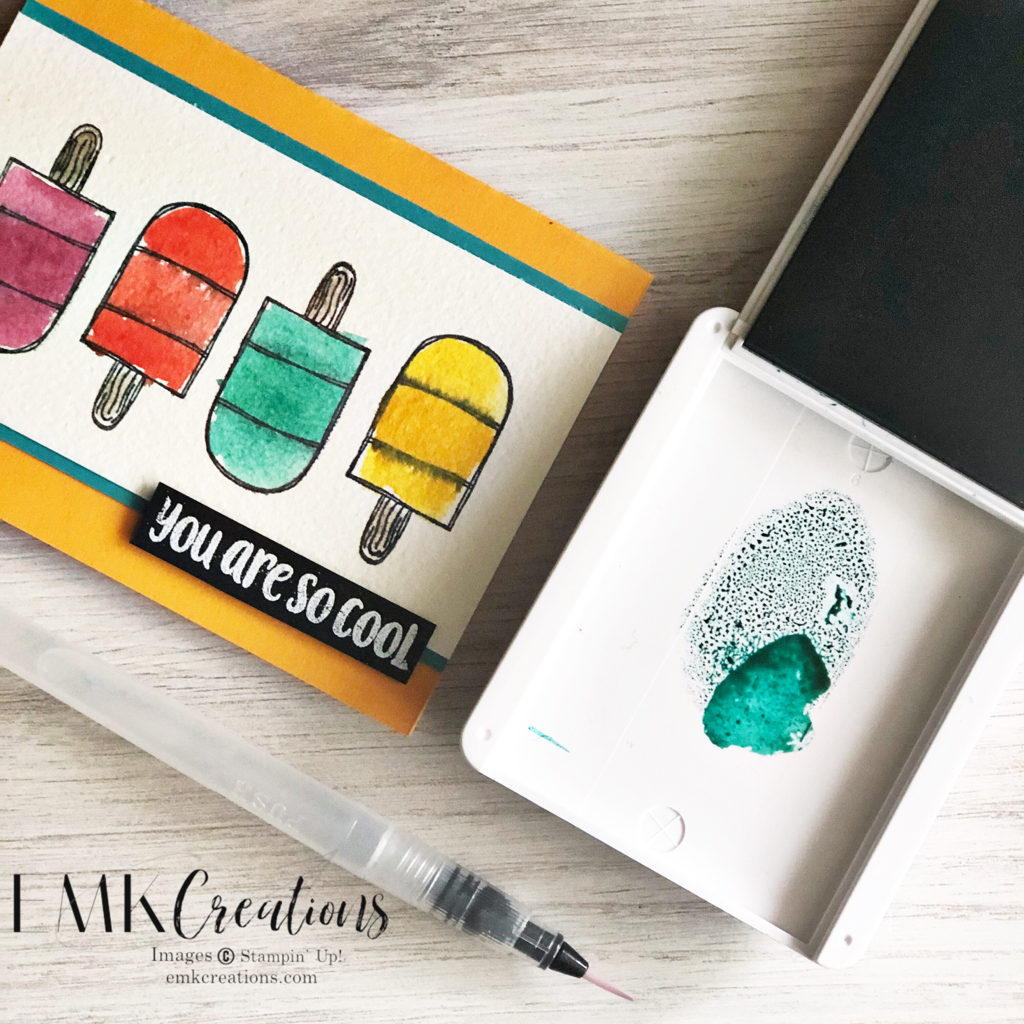
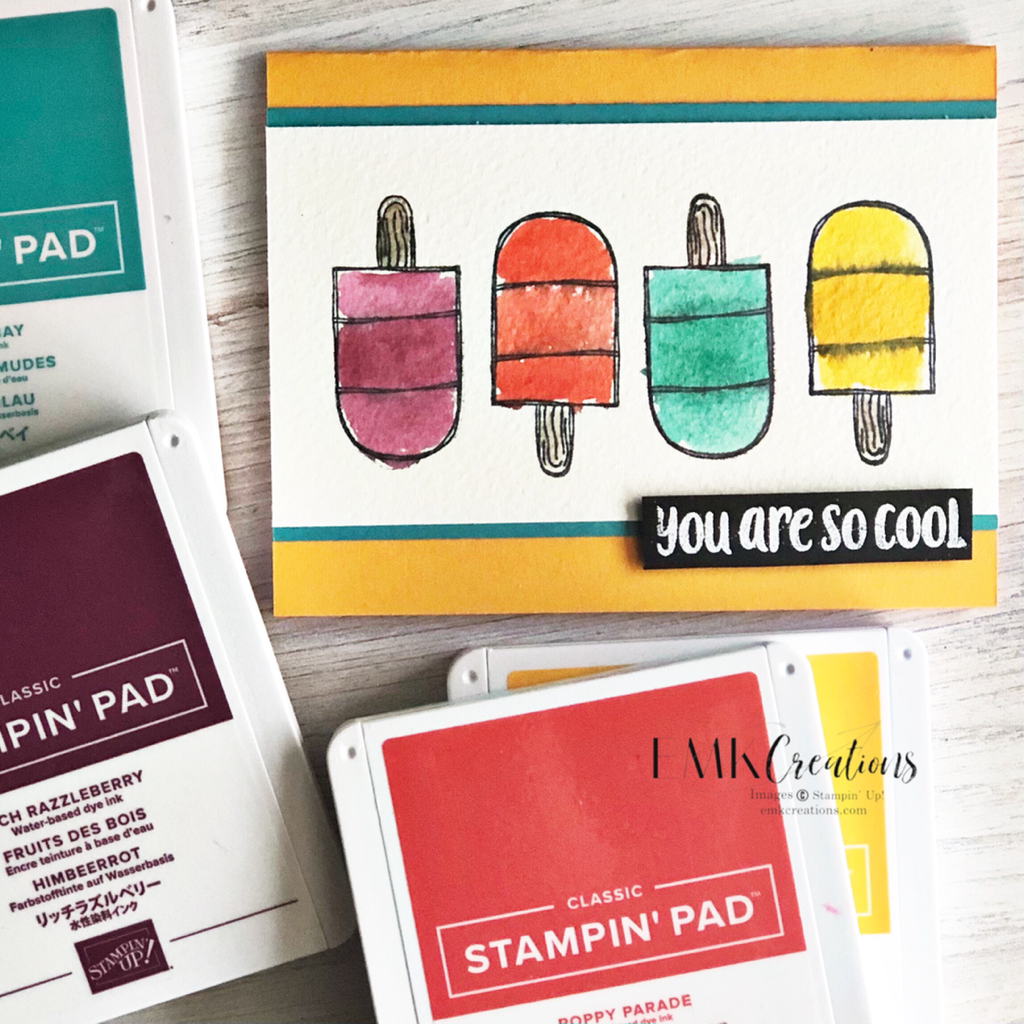
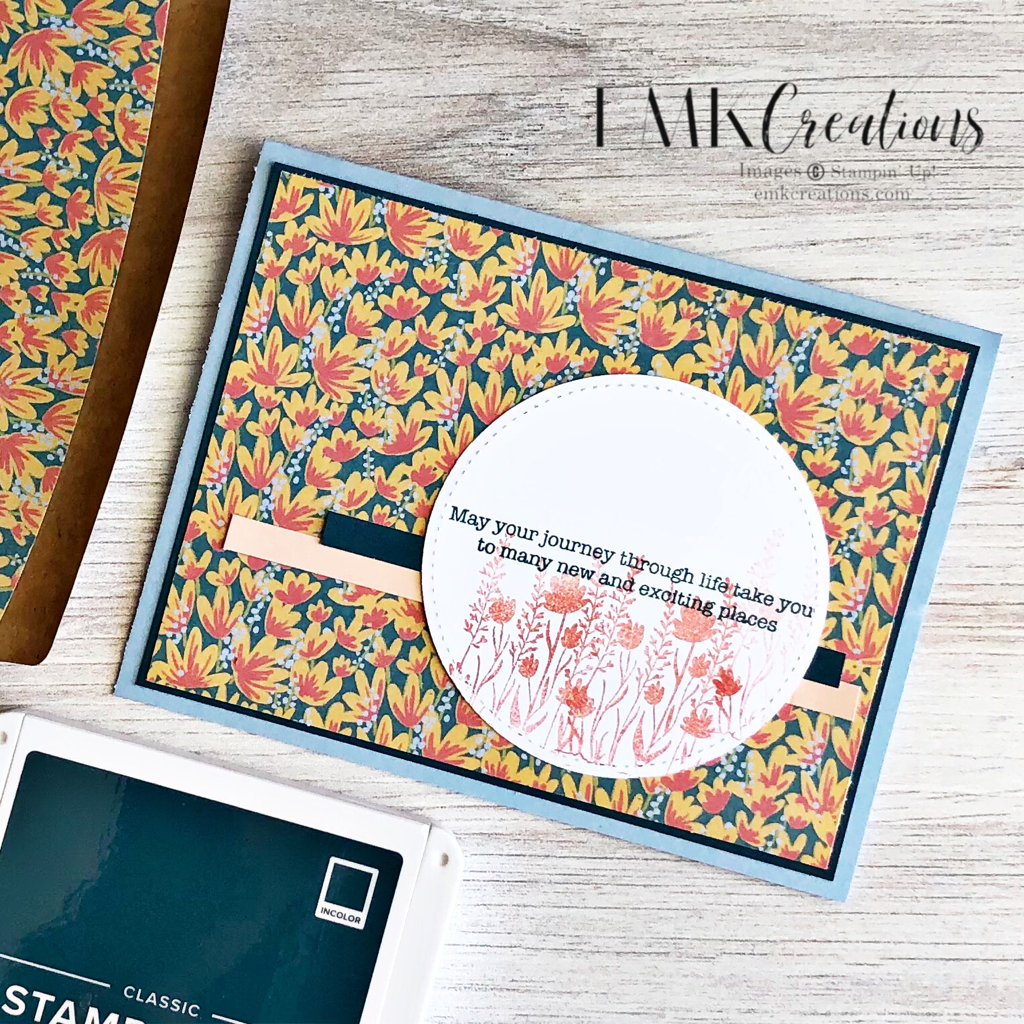
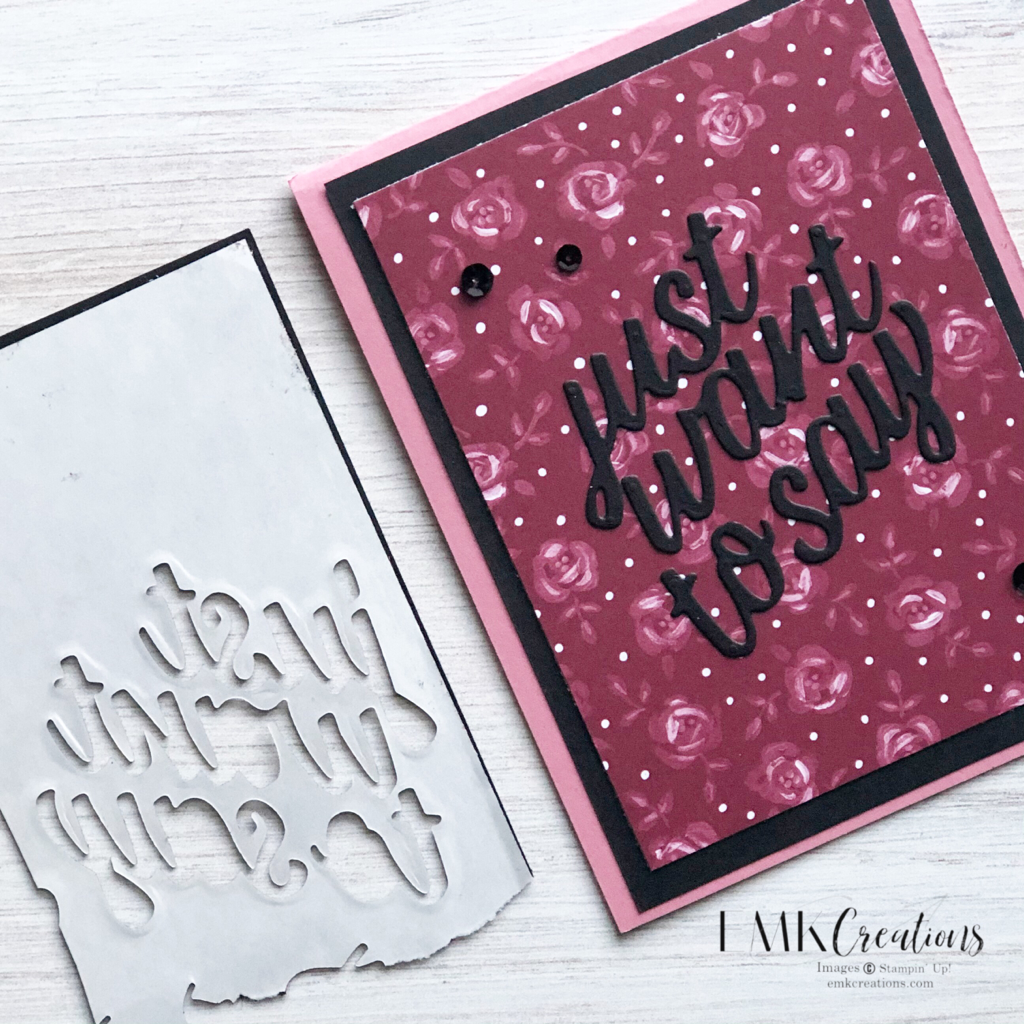
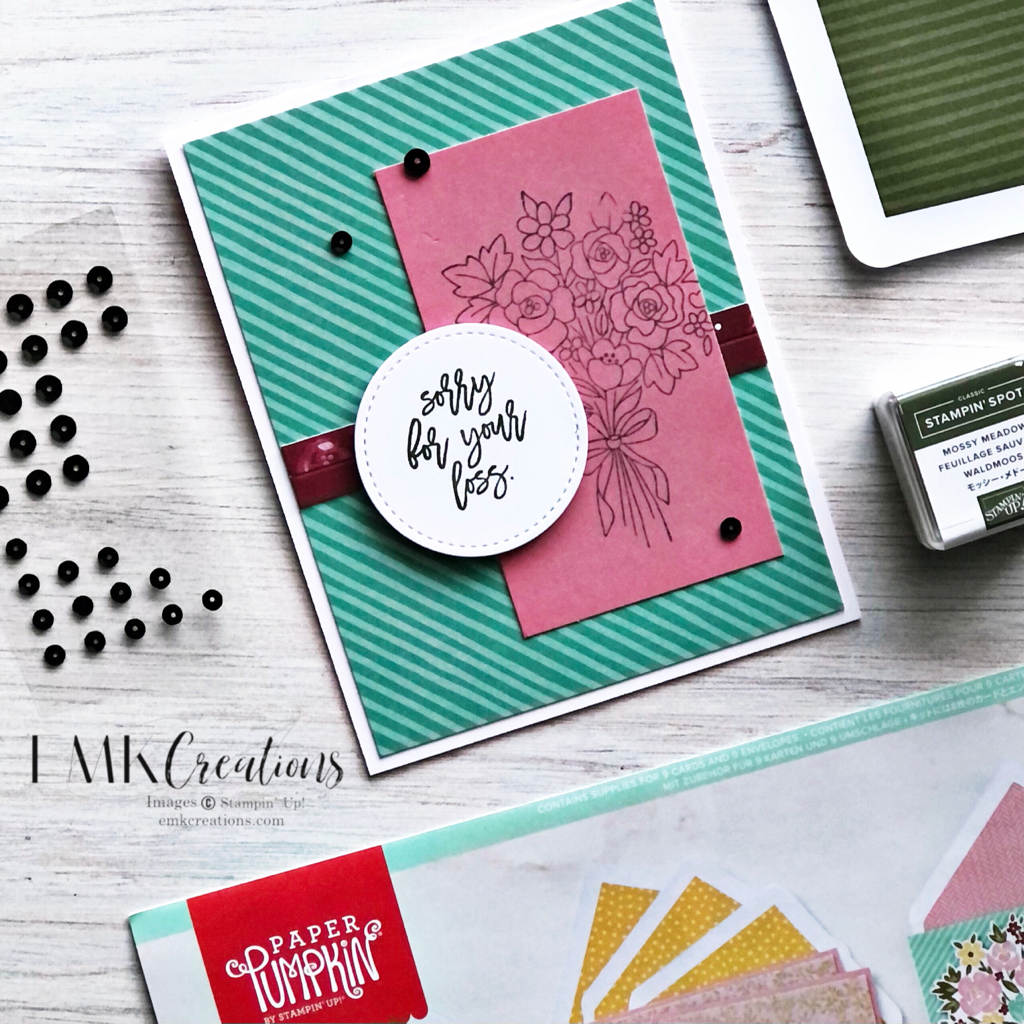
I couldn't wait to get my December kit. I'm a sucker for a good pun and this kit did not disappoint. I started out creating one of each card as intended and then I started playing around. I ended up making 25 cards from one kit! There are plenty of pieces to let you get creative and try new designs with just a few extra pieces of card stock.
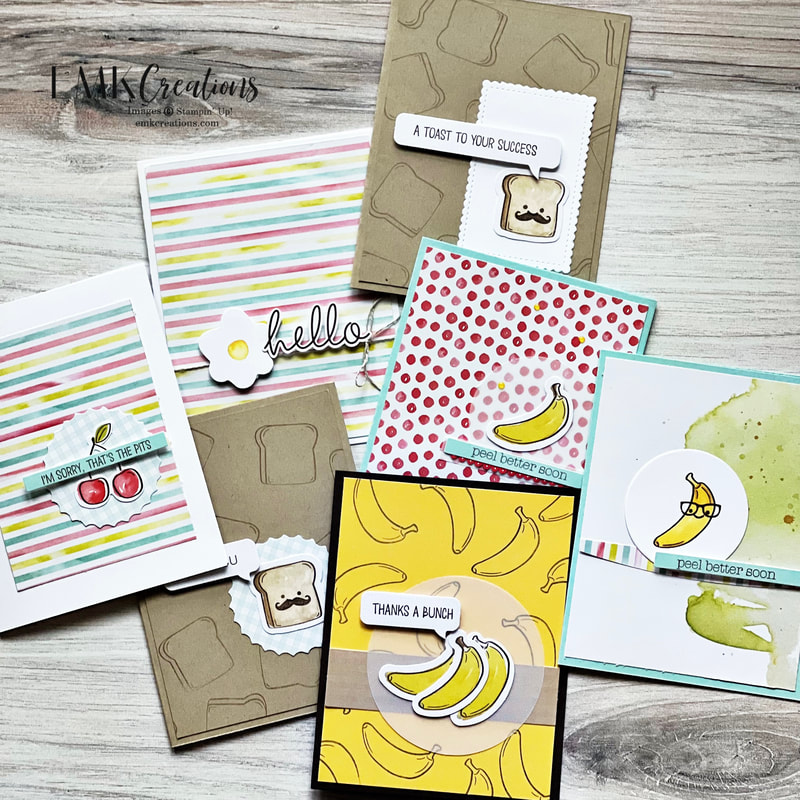
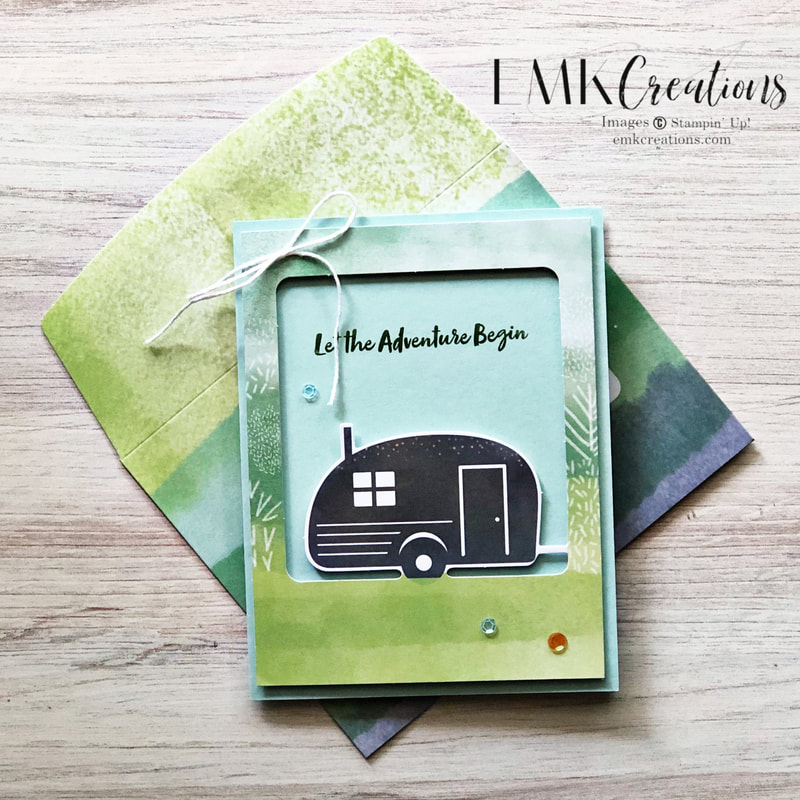
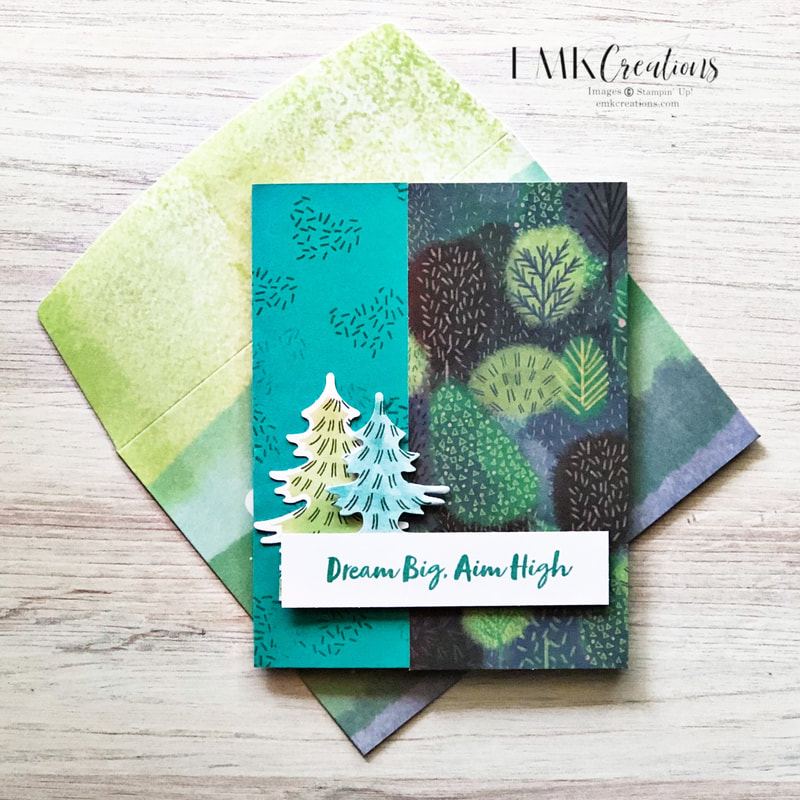
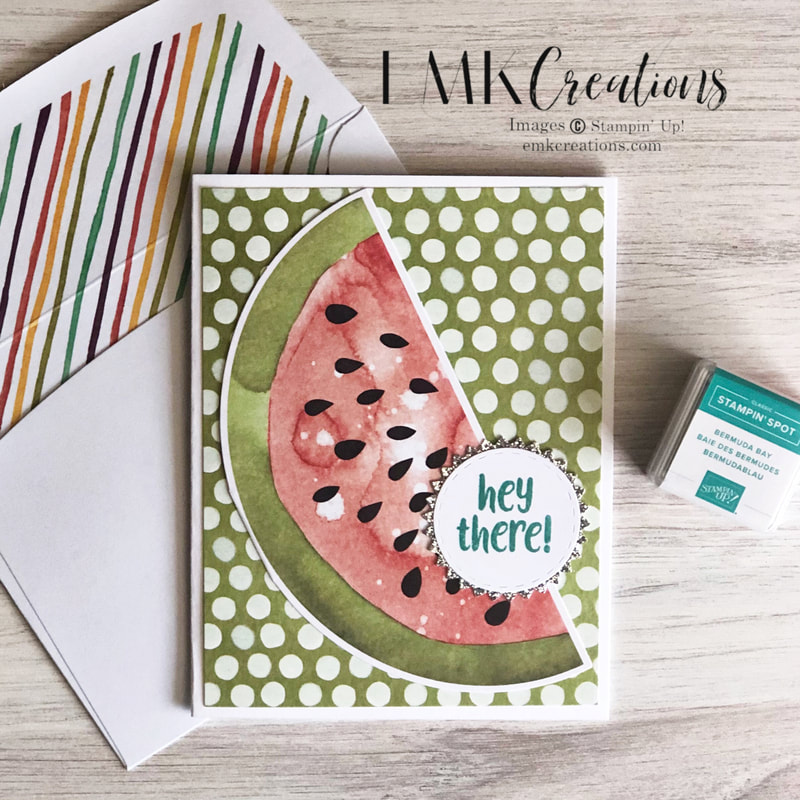
The small piece of striped paper below the circle is from one of the envelopes. I cut one of each style of envelope apart and used the pattern on various cards.
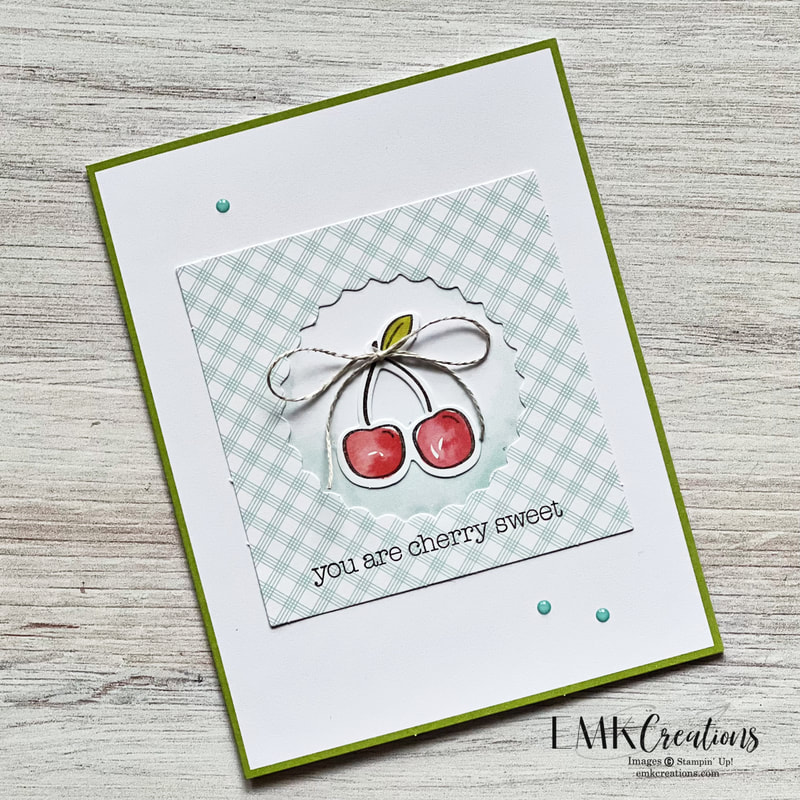
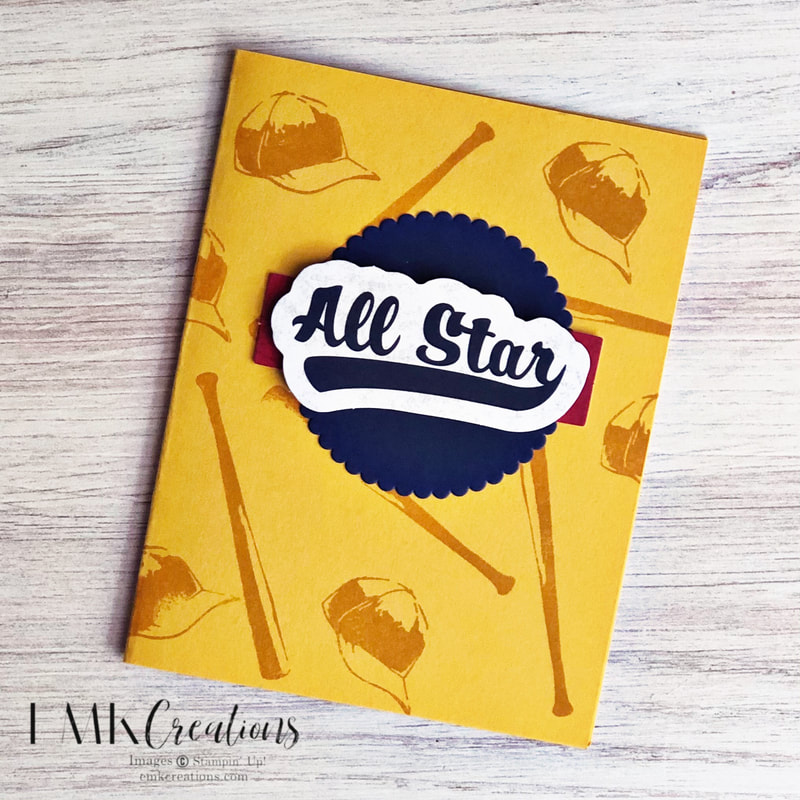
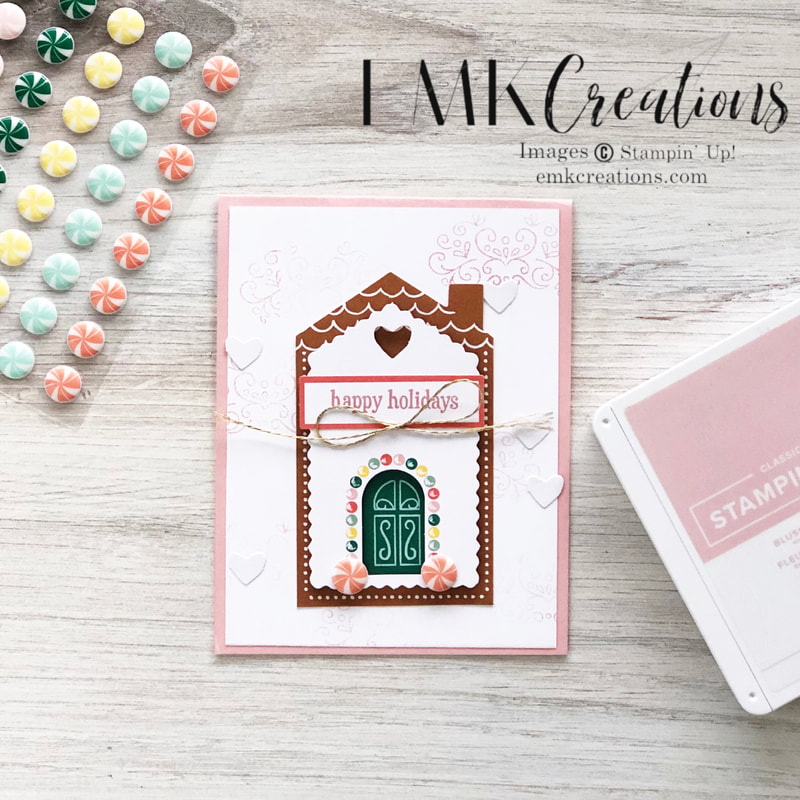
This one is pretty close to the sample. I decided that faces weren't always necessary!
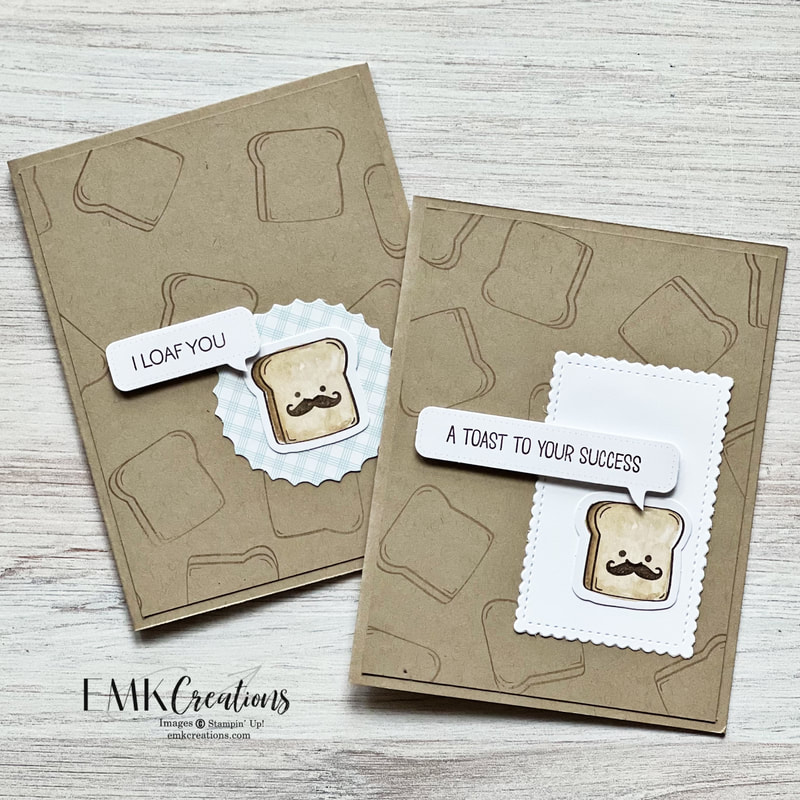
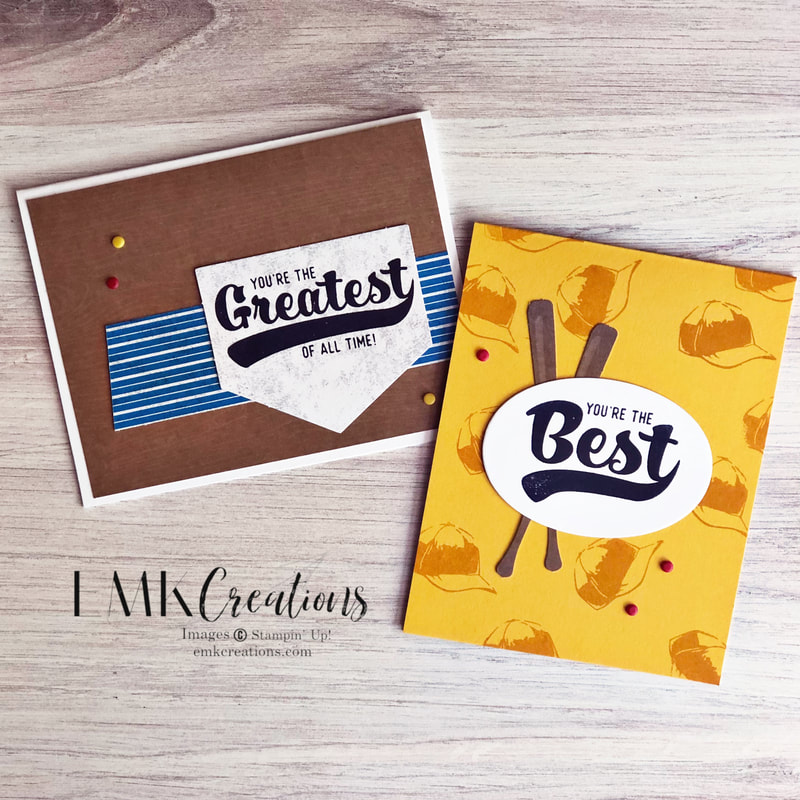
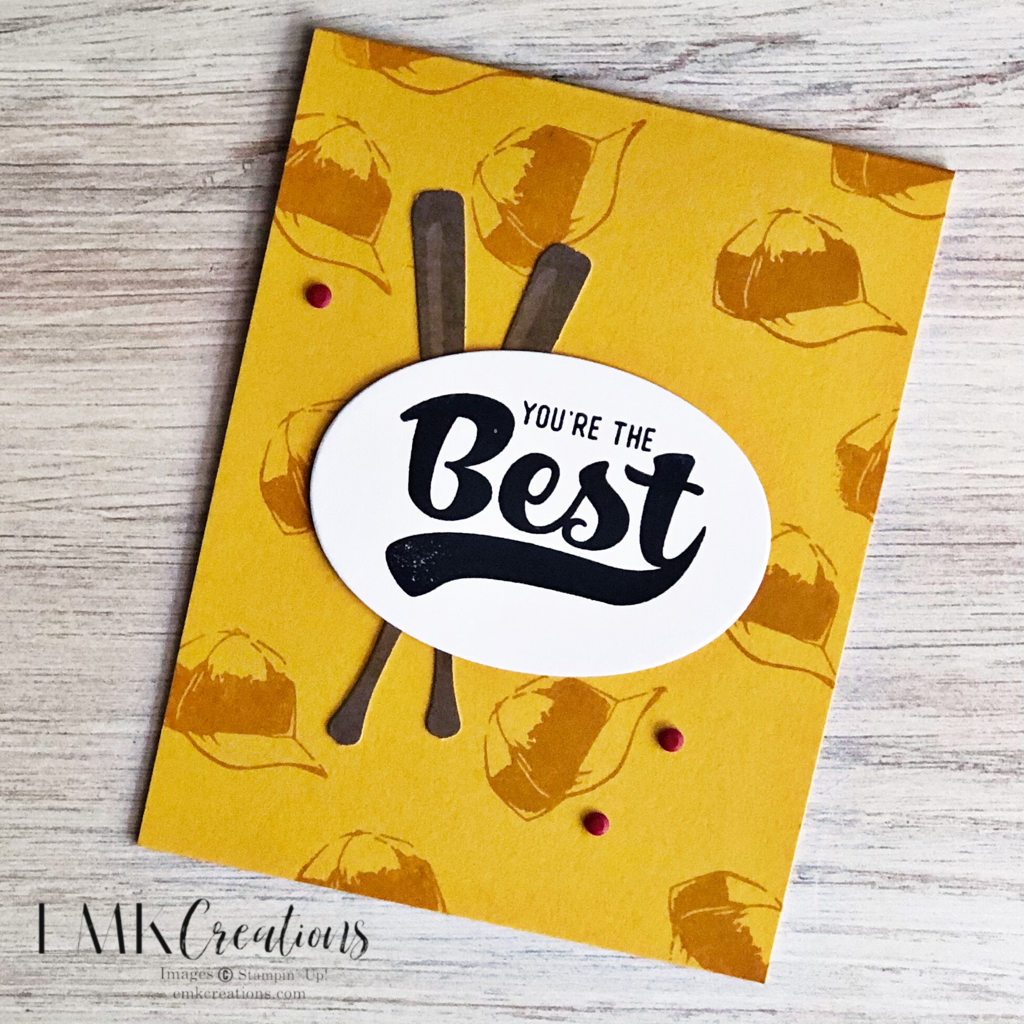
Which version do you like best? I love the mustache and both sayings. They are perfect for guy cards.
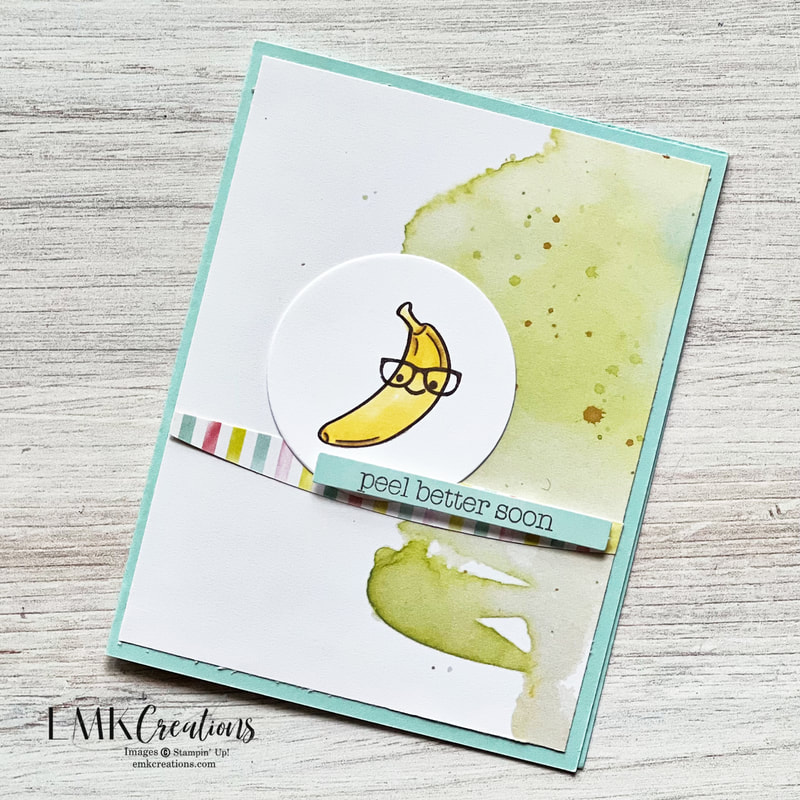
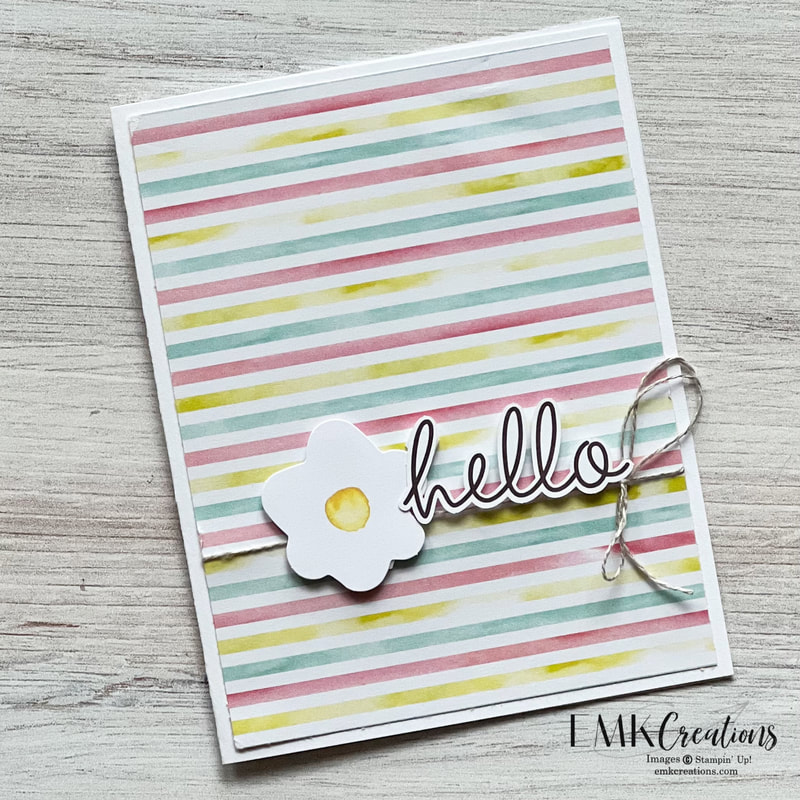
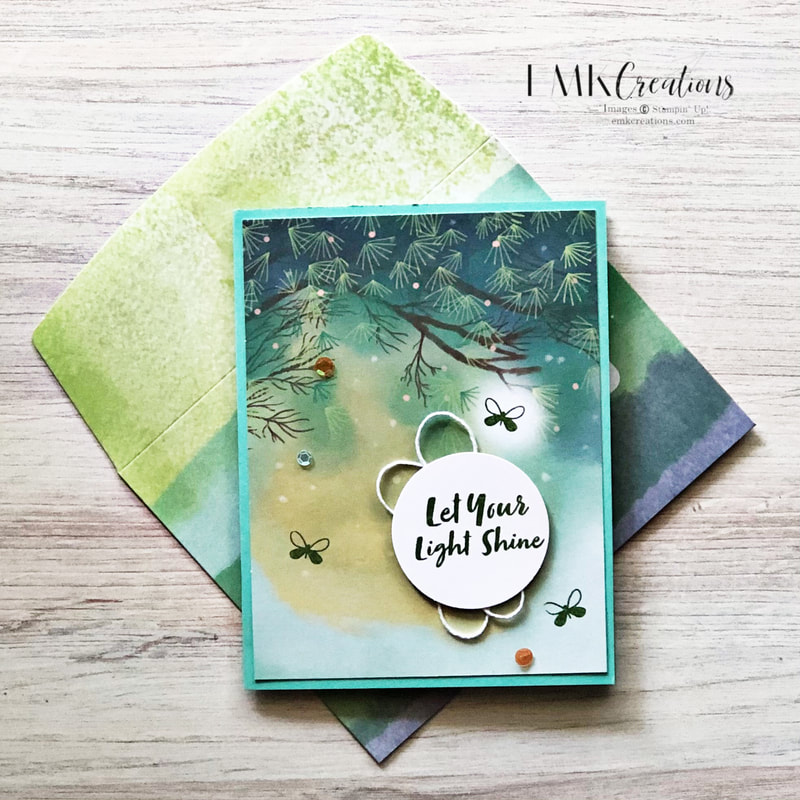
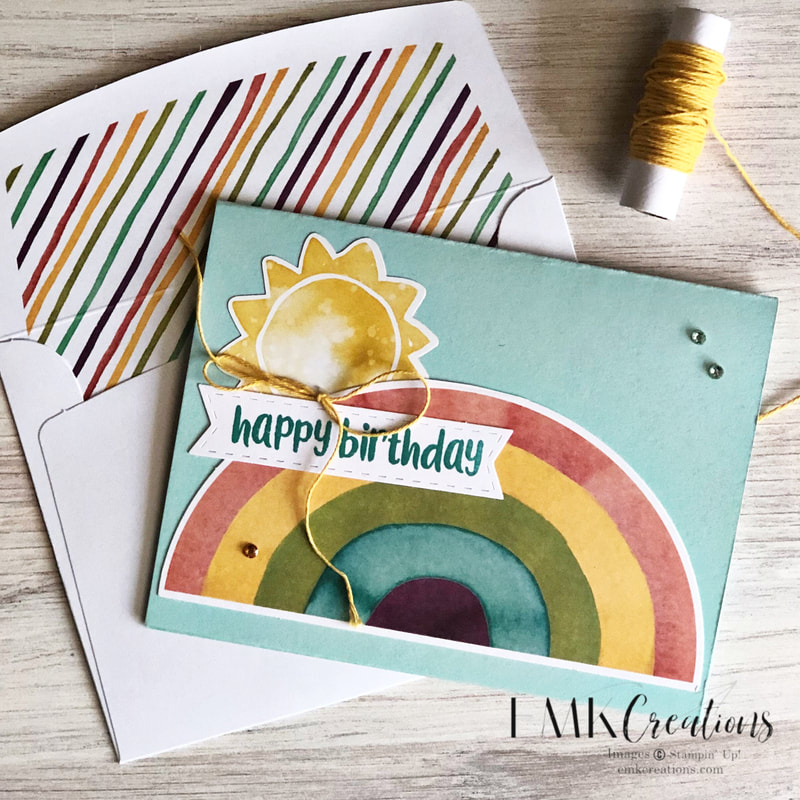
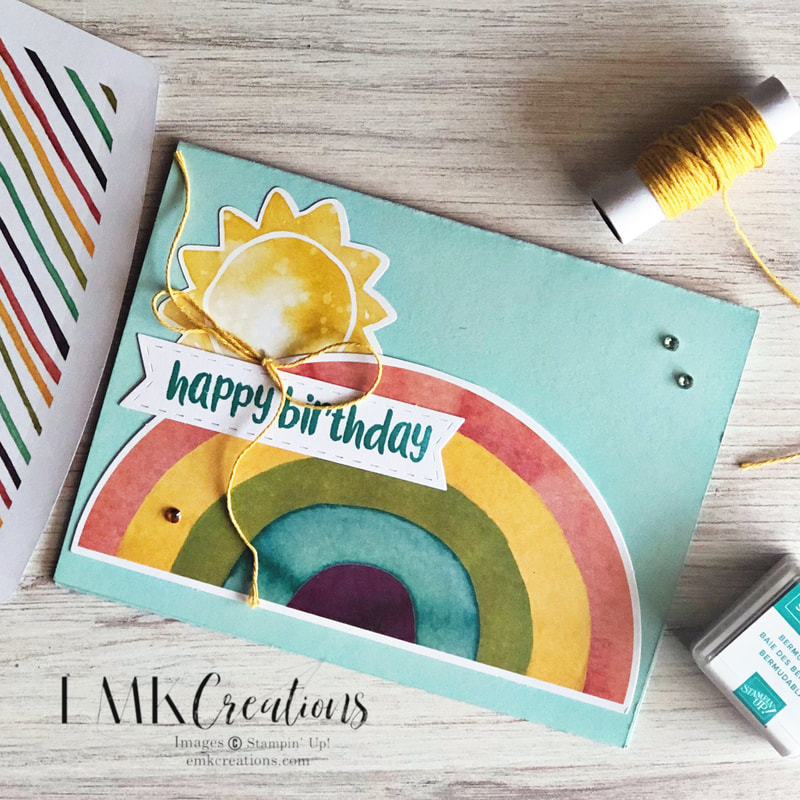
Two things about this one. First, it uses the inside of an envelope for the main background. I love the soft stripes.
Second, the egg looked like a flower to me! If you don't stamp the outlines it's a pretty flower.
Second, the egg looked like a flower to me! If you don't stamp the outlines it's a pretty flower.
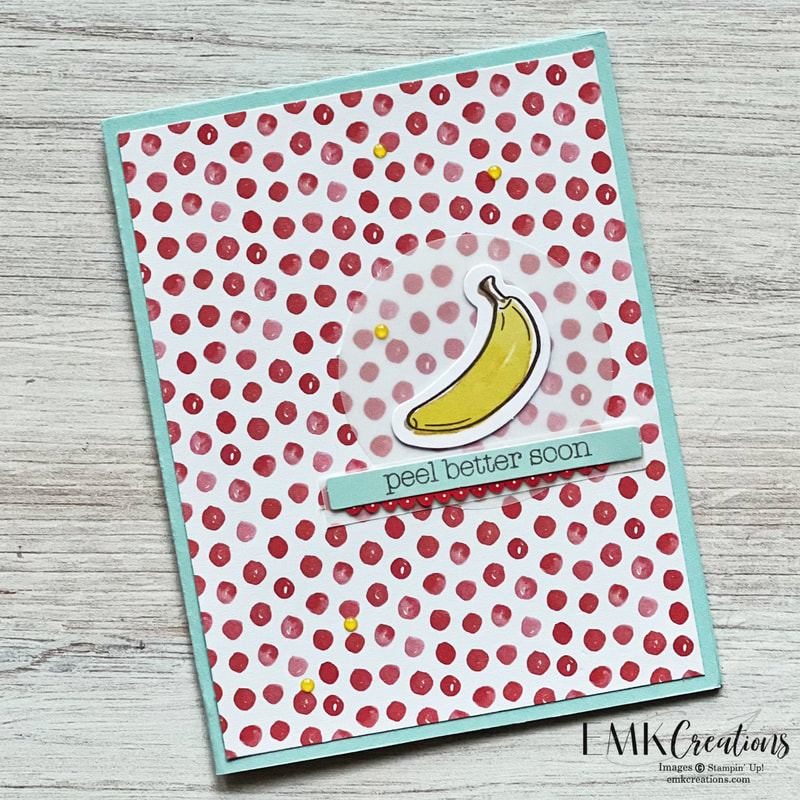
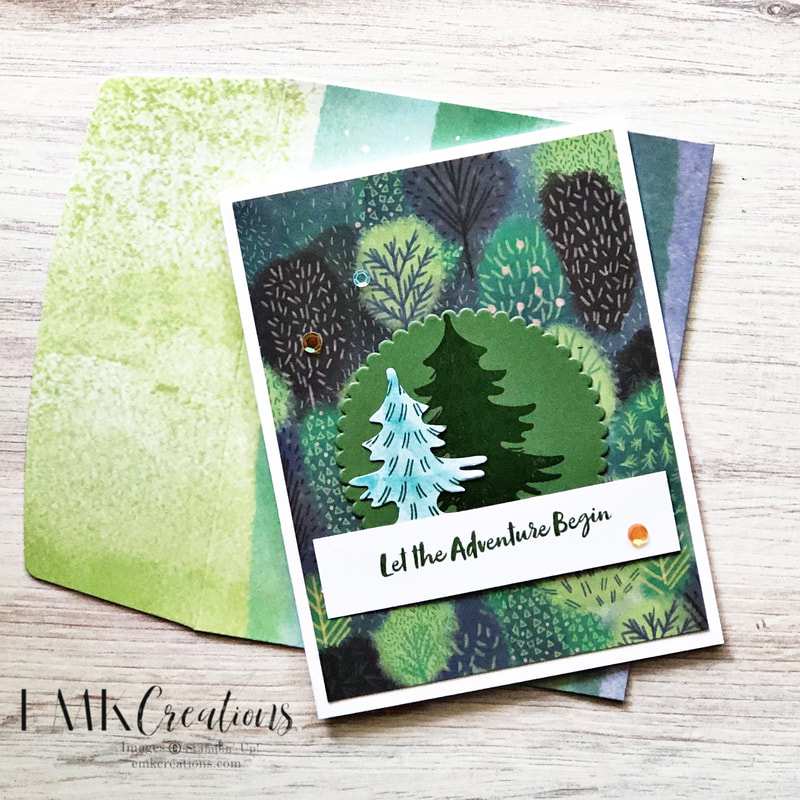
Another card using an envelope piece. So simple and basic but I love the bright red polka dots.
Signing up for Paper Pumpkin is easy. Simply go here and create your account. Or, consider a pre-paid subscription! You can even earn Sale a Bration rewards on 3, 6 or 12 month pre-paids.
Remember you can pause or cancel anytime but it's so fun to have a craft kit arrive on my door each month. Create as is or try some alternatives.
Remember you can pause or cancel anytime but it's so fun to have a craft kit arrive on my door each month. Create as is or try some alternatives.


 RSS Feed